


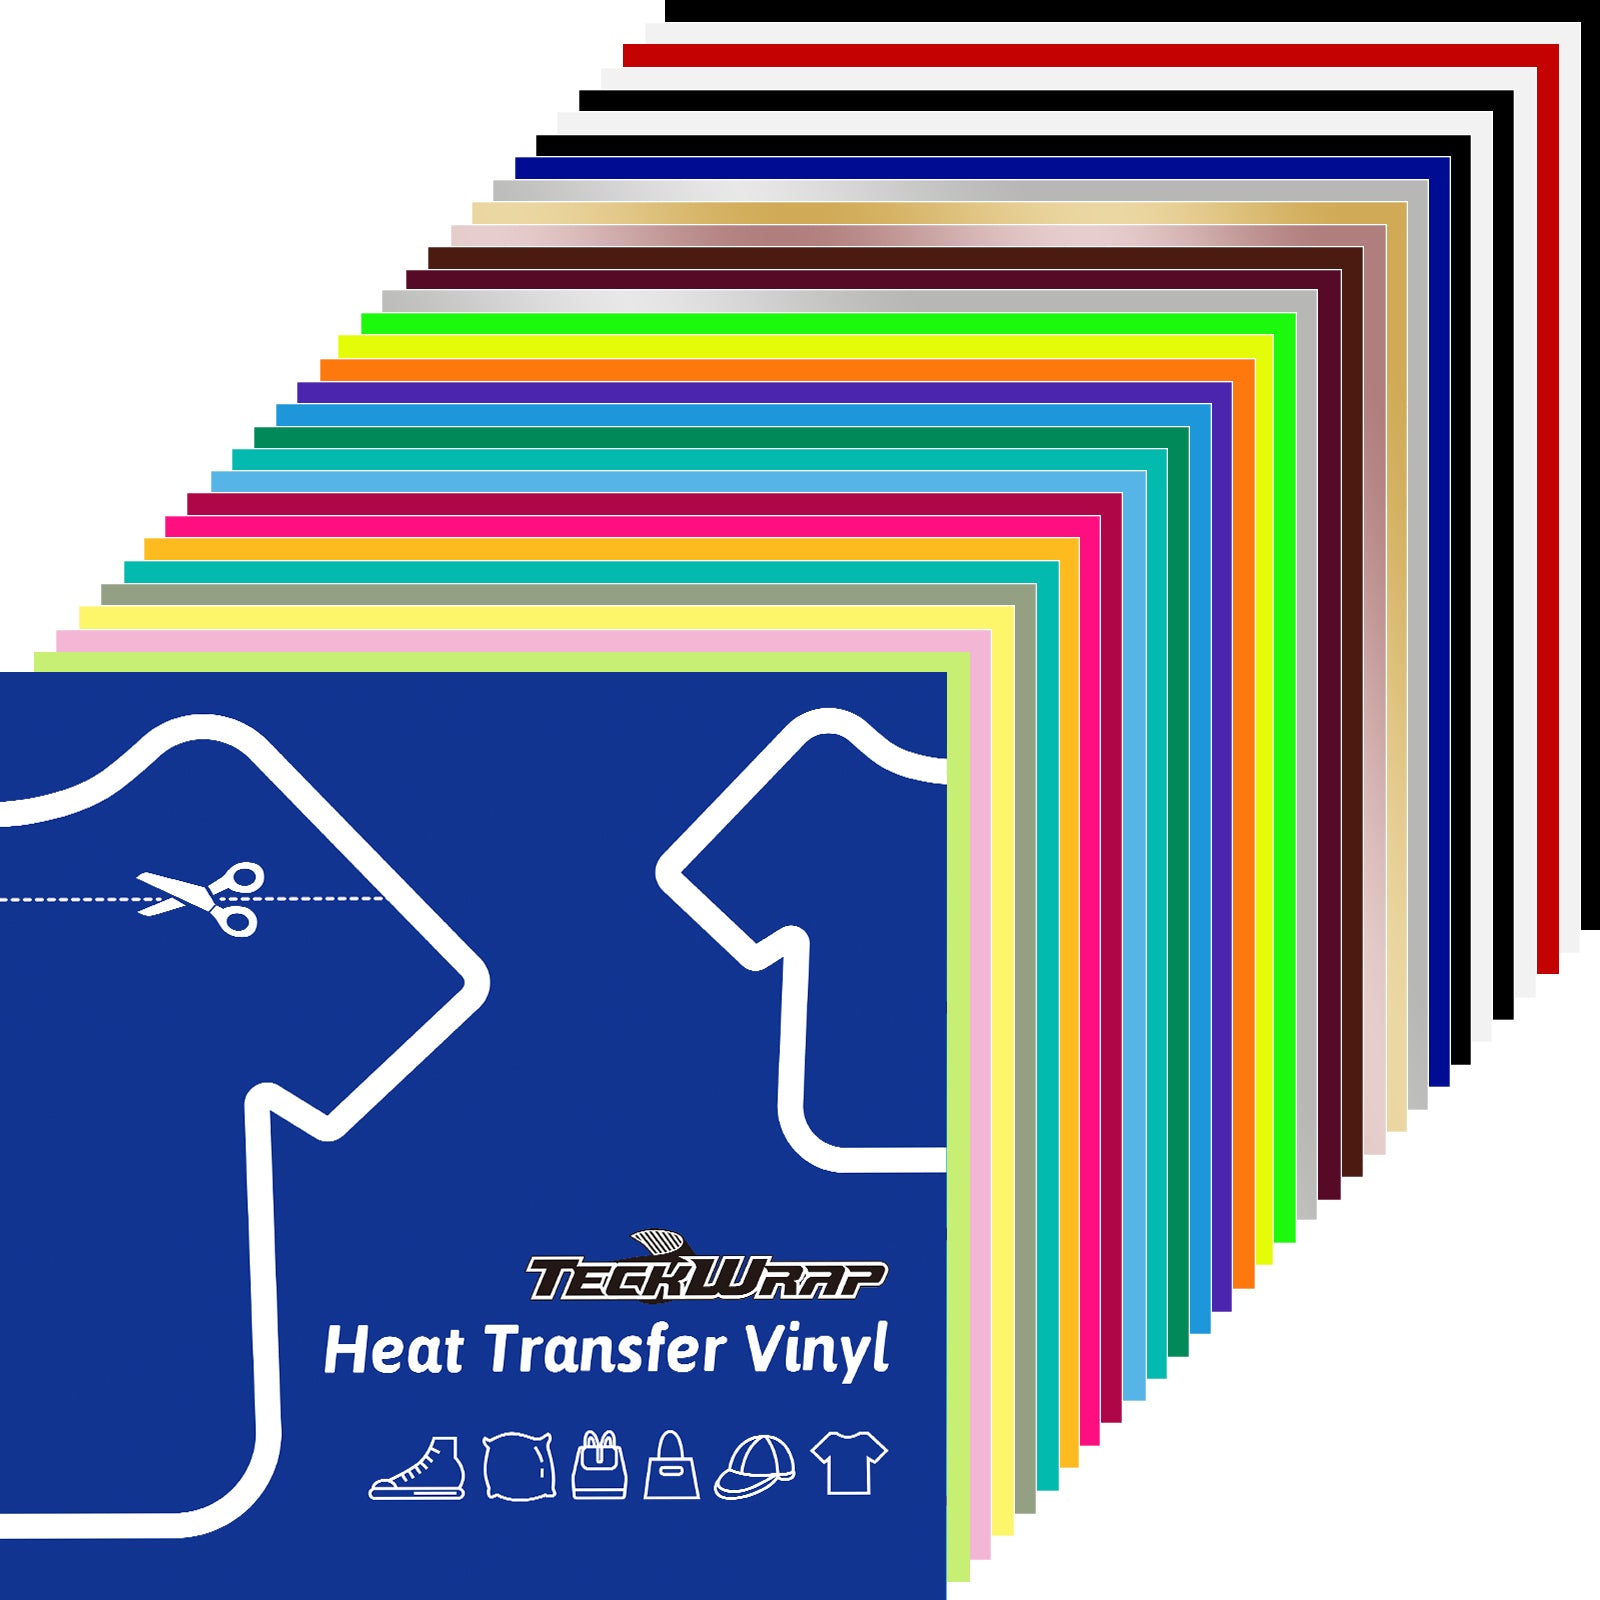
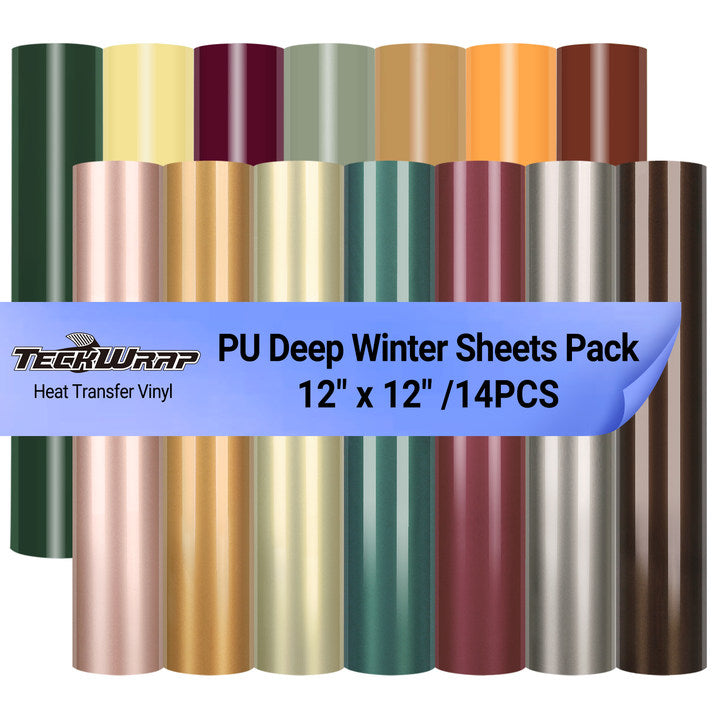


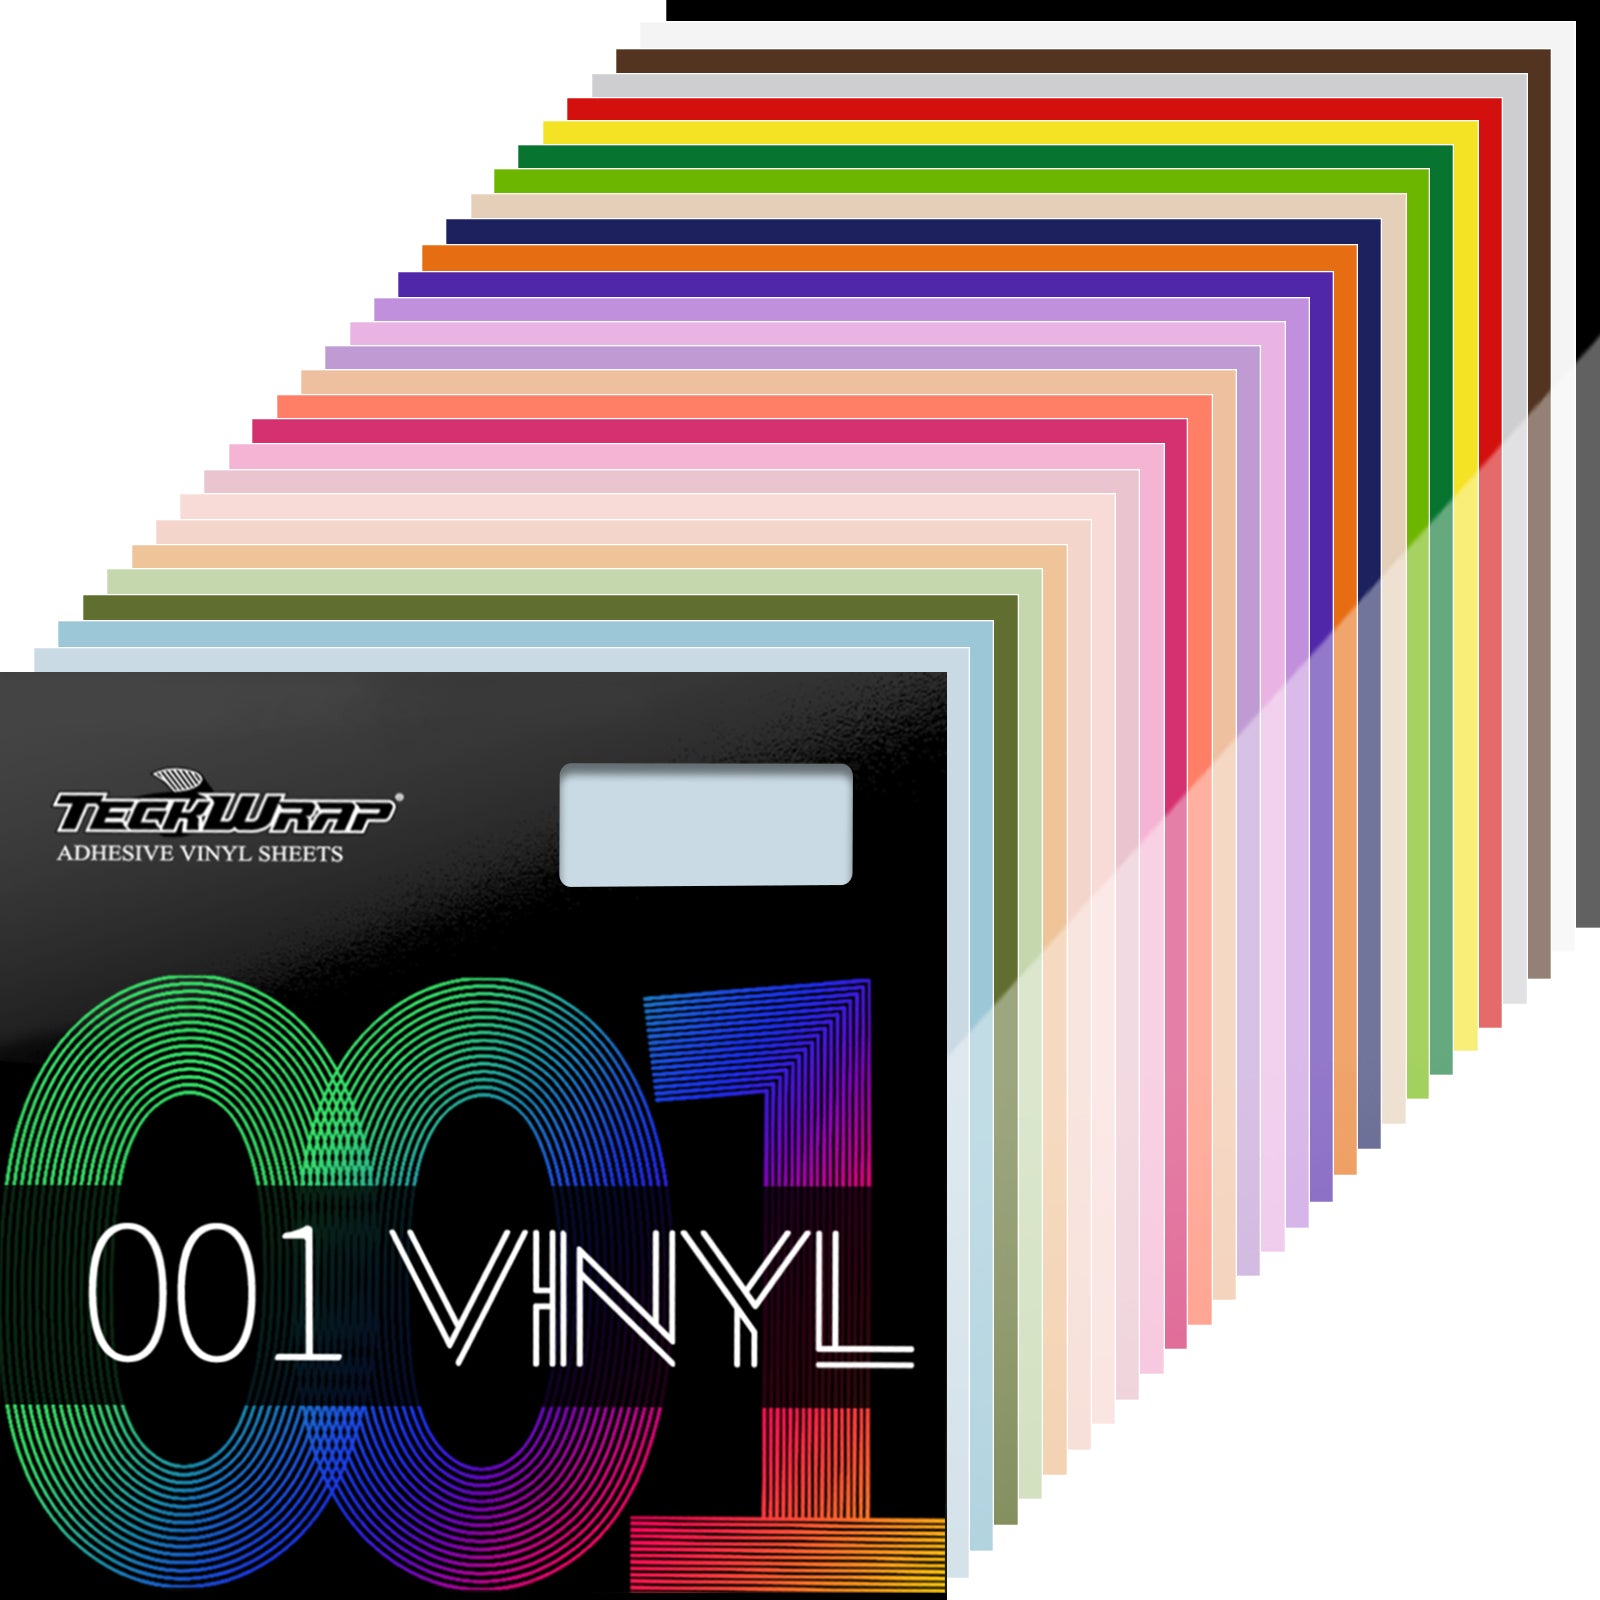
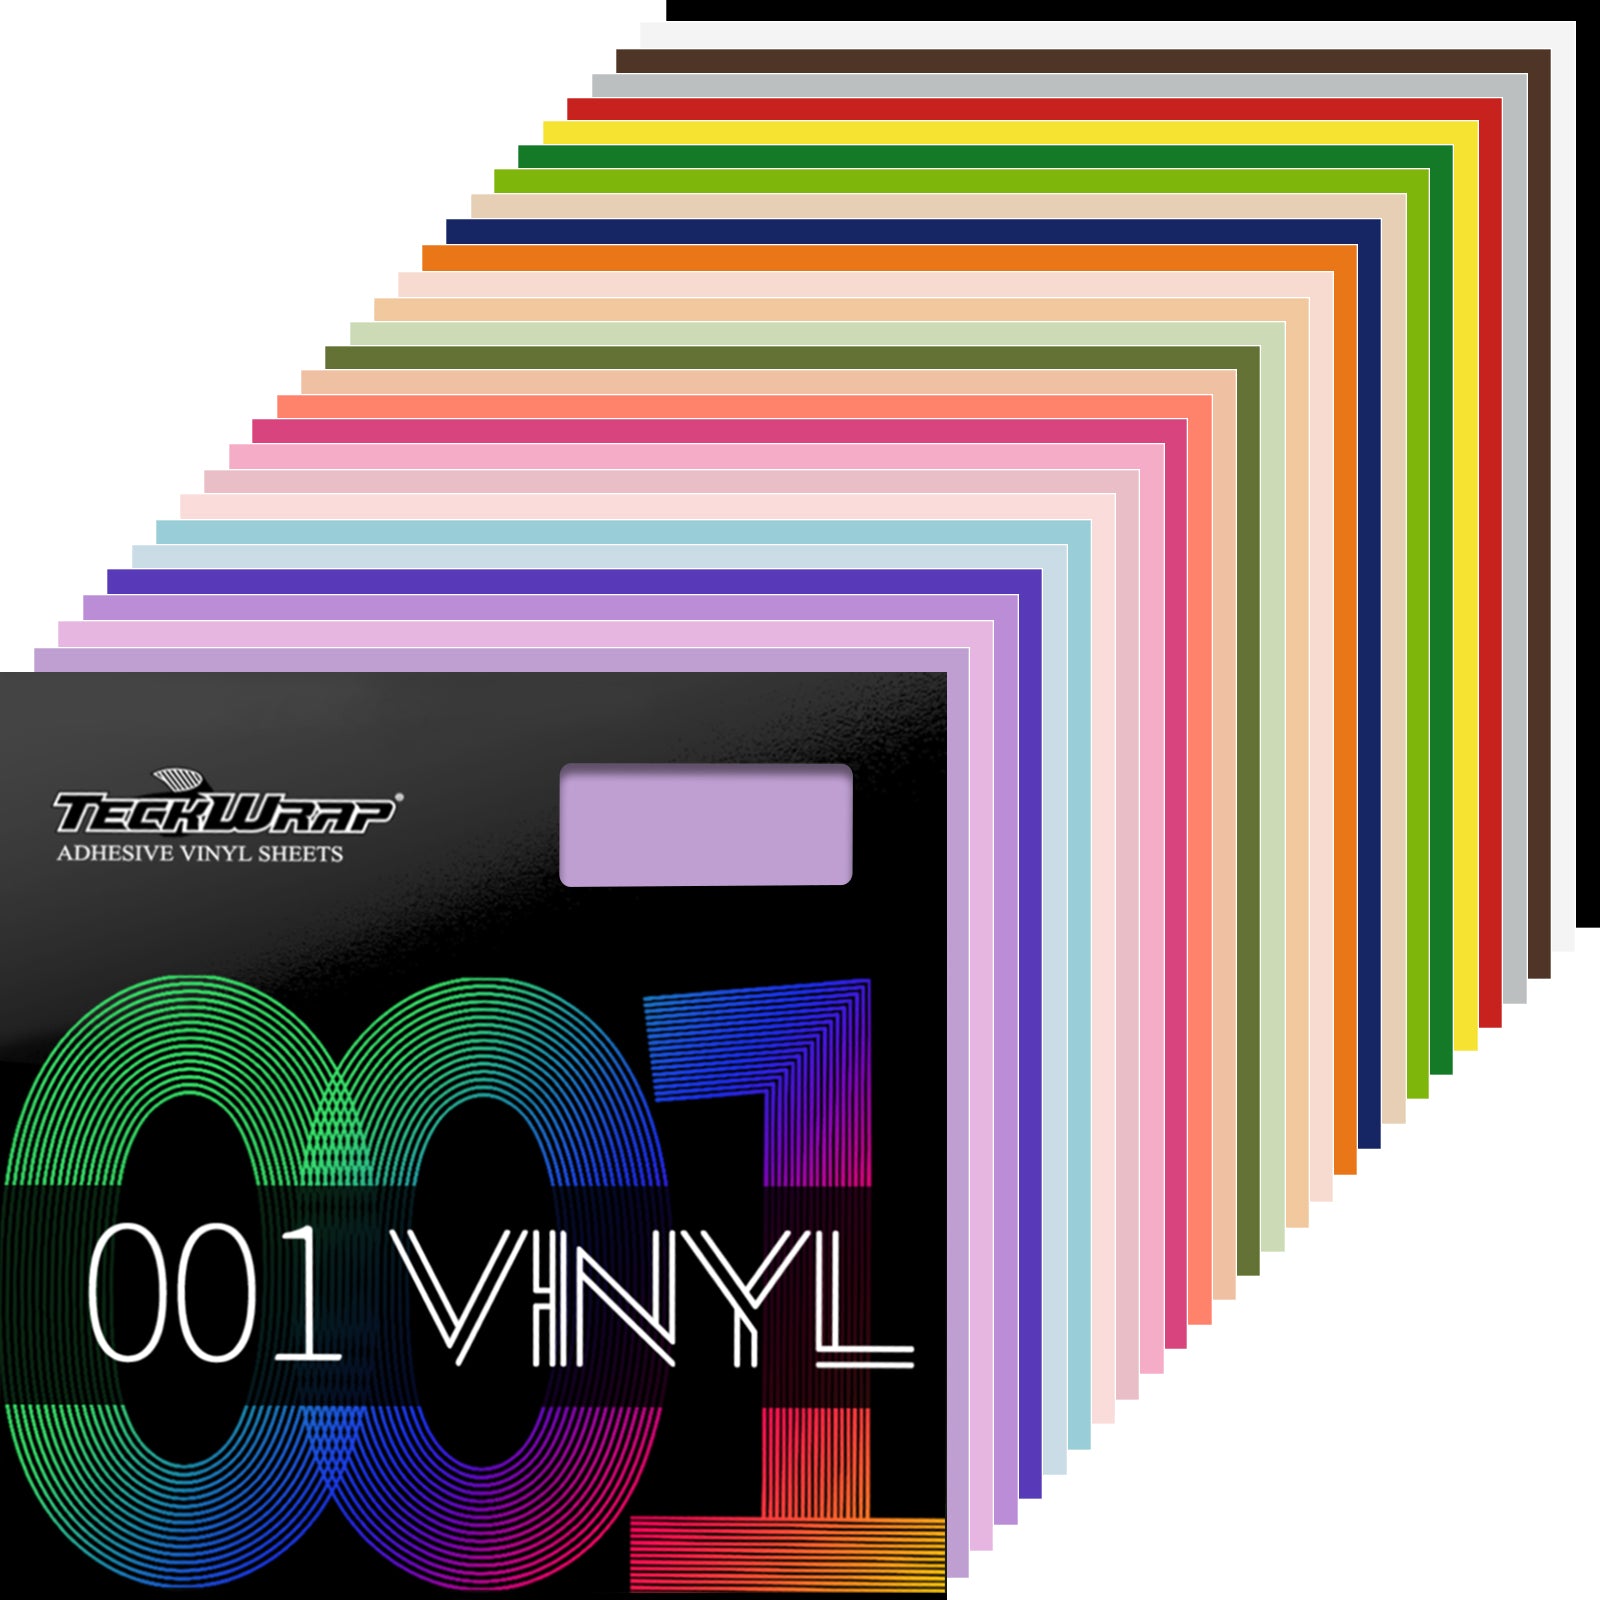


I am pleased with the quality of the vinyl. I’ve used it in several of my products, and I love the vibrant colors and how easy it is to weed. Great product
I love working with Teckwrap products. It makes working with vinyl so easy!
I'm practicing my craft with shirts and our crafts. I love this HTV vinyl, it's a beautiful color and it feels good.
It’s been a month and I still haven’t received it
Hi,We’re terribly sorry for the inconvenience caused. Your parcel was delay for a long time. It will be delivered today on 29th. Please keep an eye out for that. Thank you.
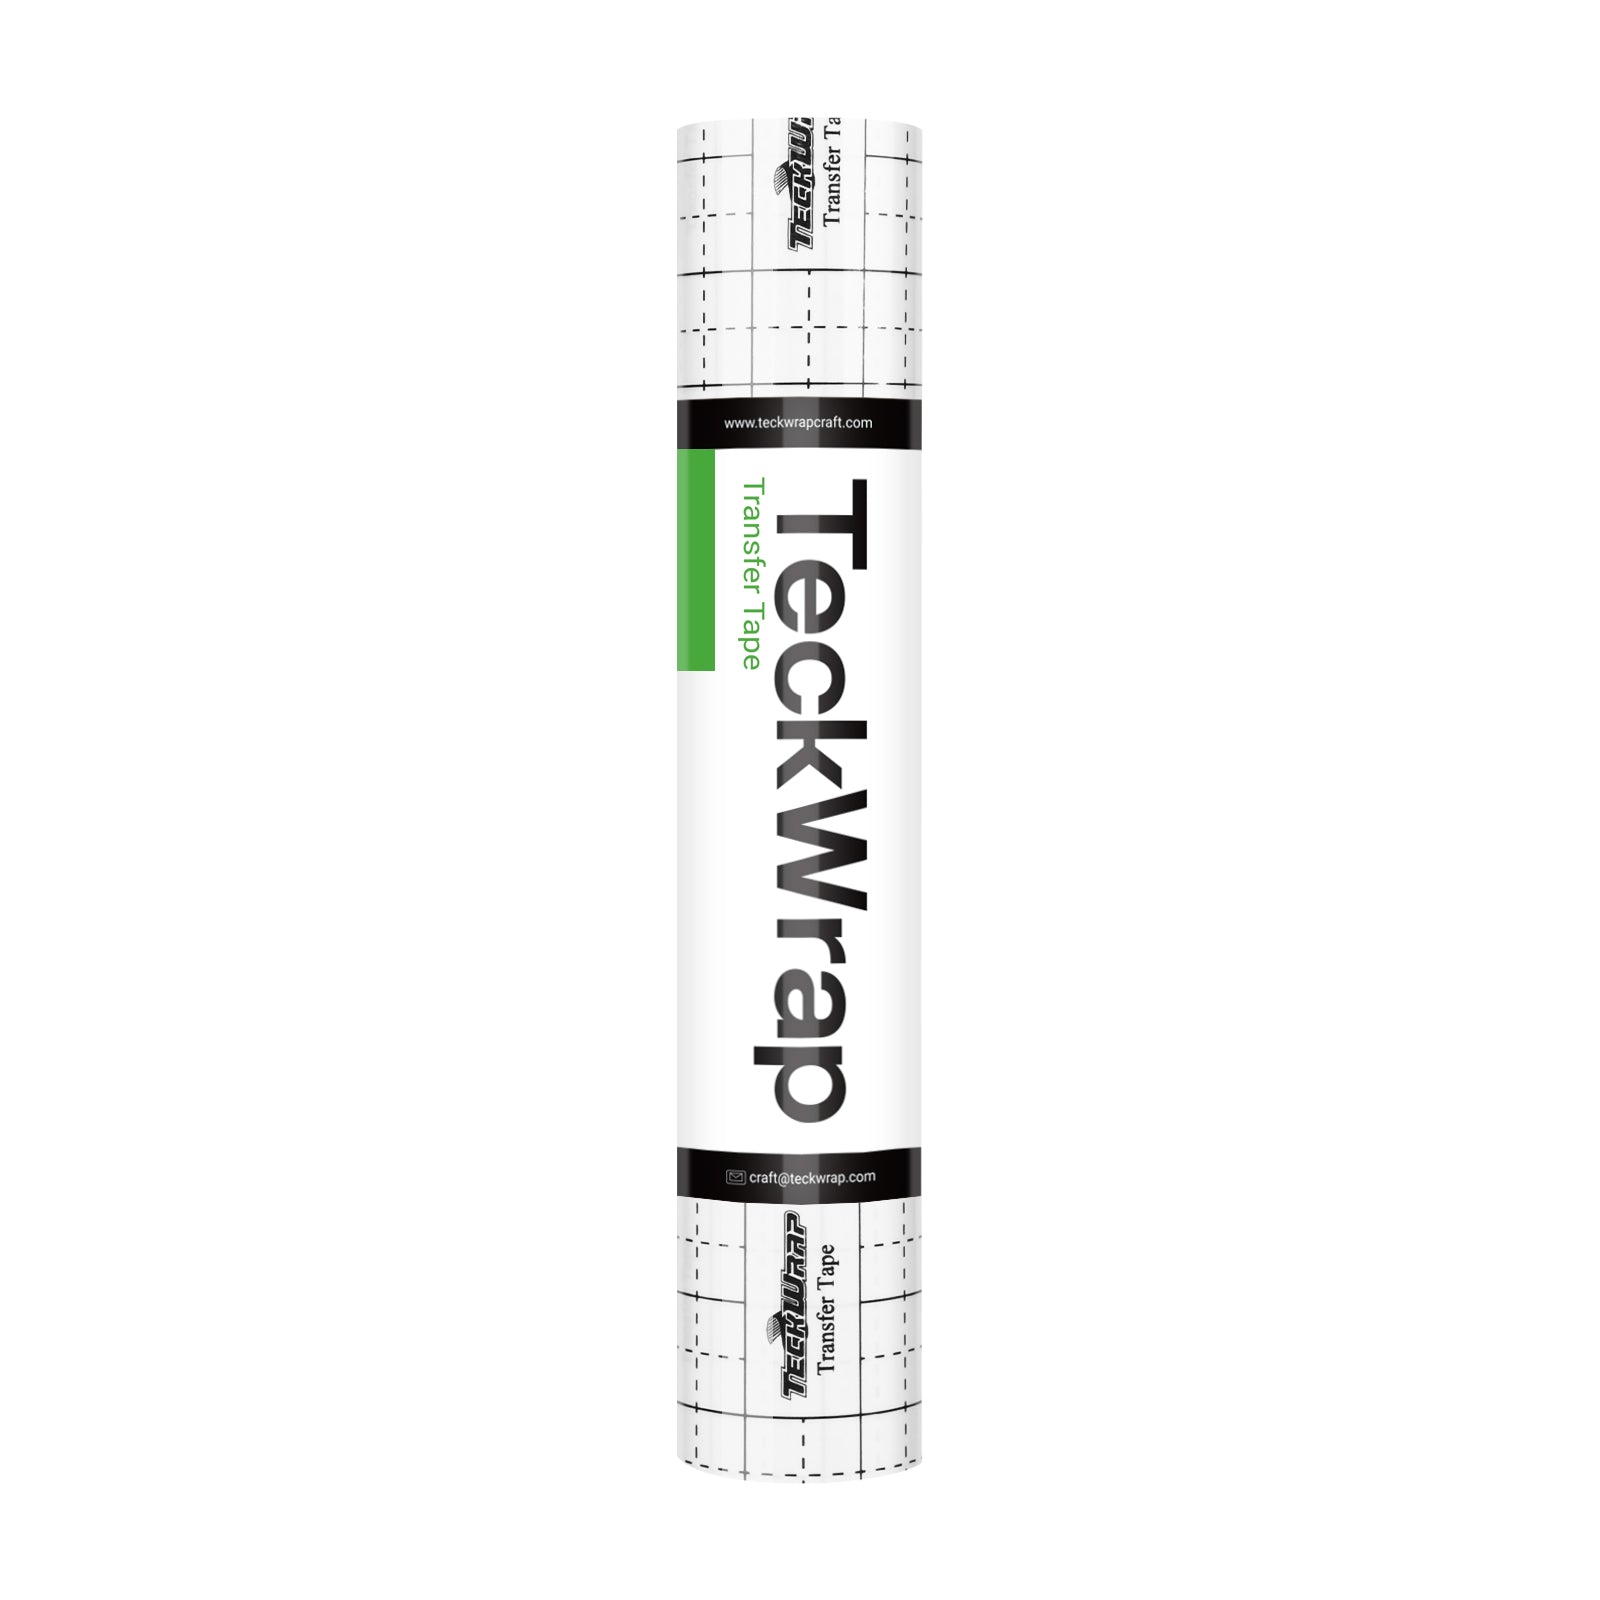
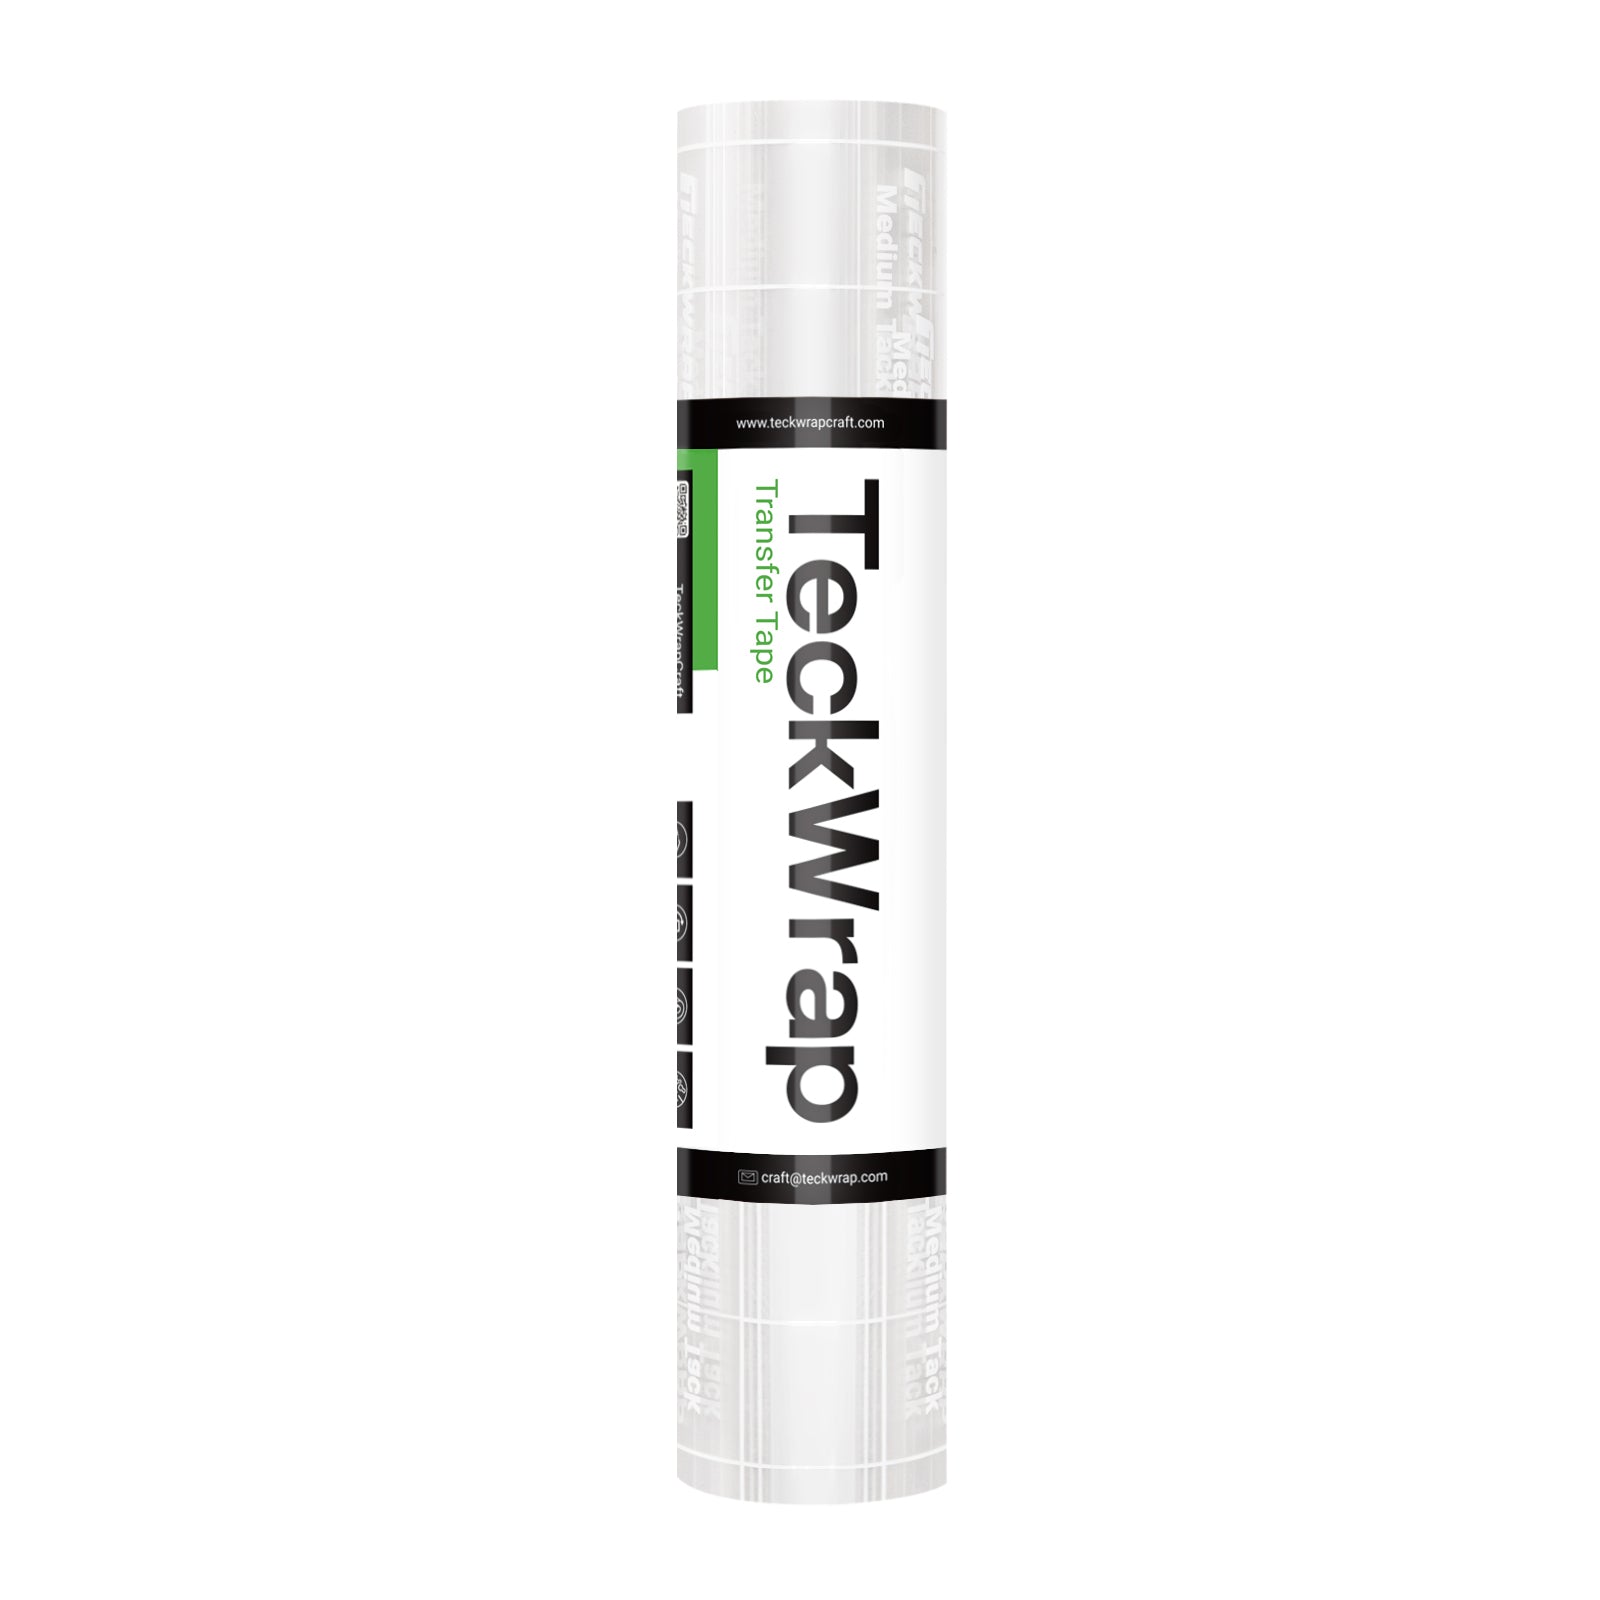
Love the way both the HTV and Adhesive vinyl cuts and weeds. The only thing I found out from your Customer Service is that I need medium tack transfer tape, because the adhesive letters would not stick to the tape I had.