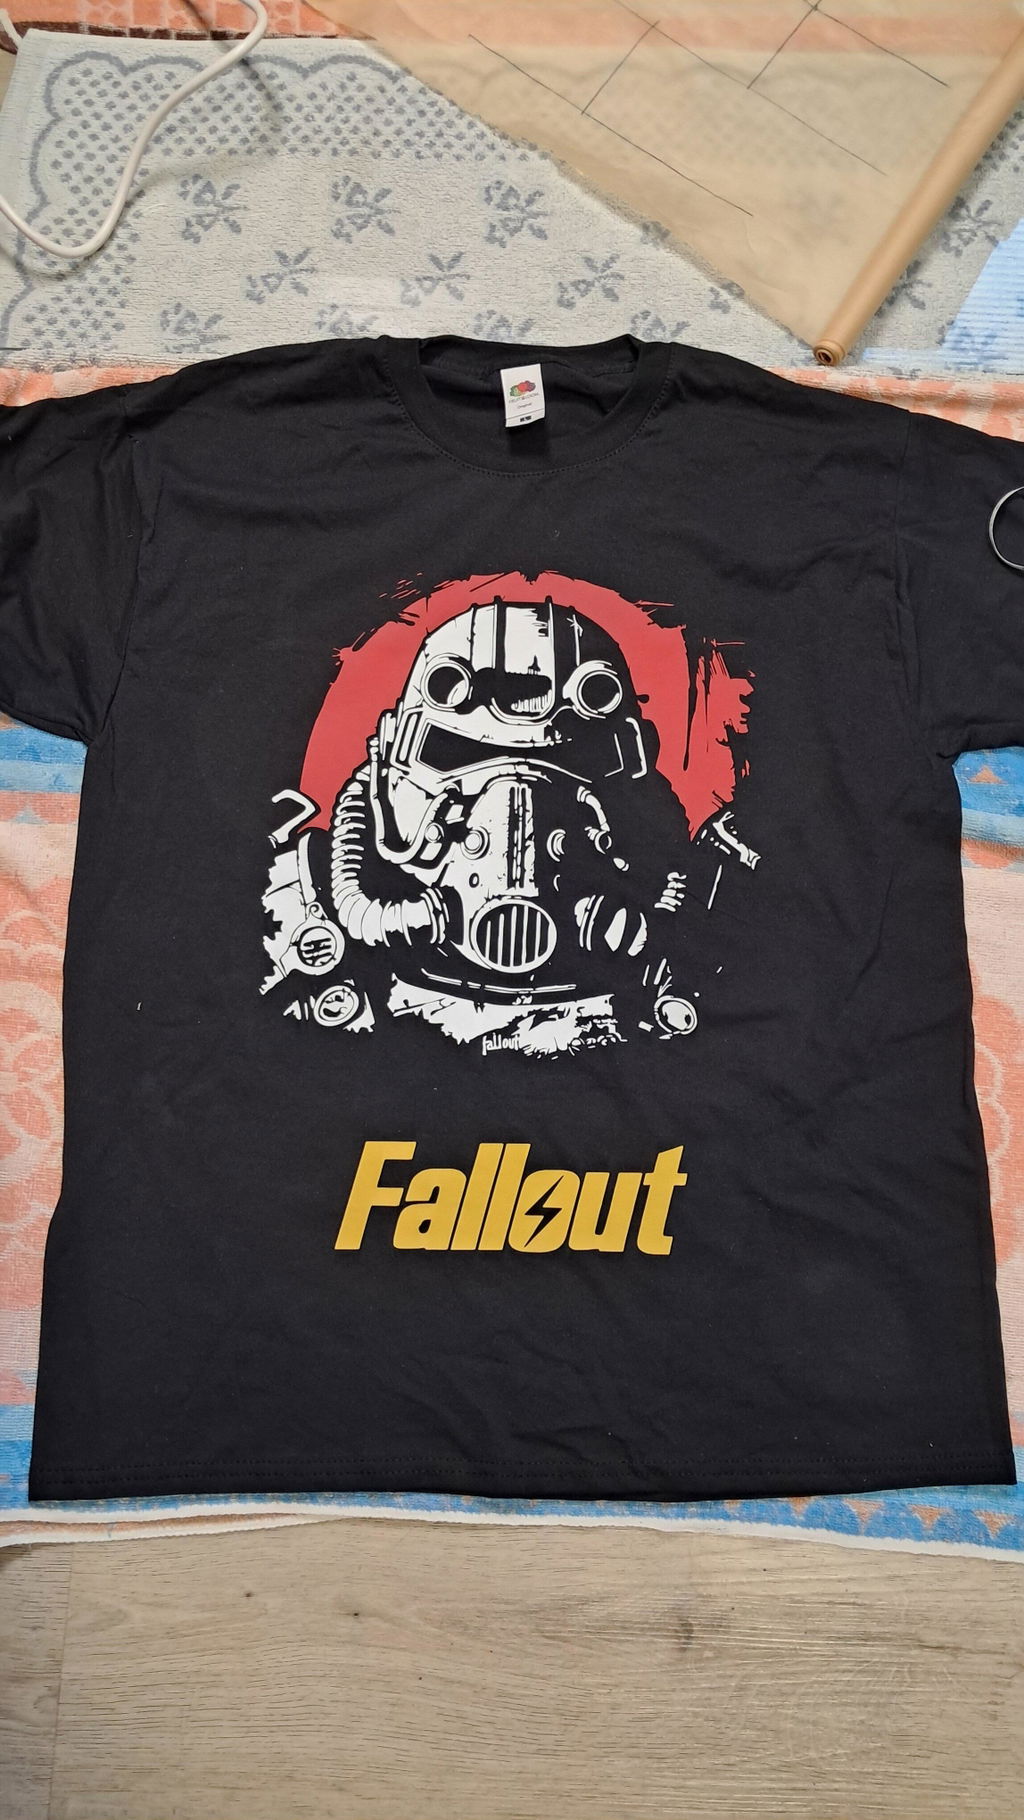
Yes, removable vinyl will stick to a shirt, but only for light, short-term wear. Expect a day or so before edges start lifting, and it won't survive a wash at all. It isn't built for fabric, it's designed for smooth, hard surfaces like walls and windows, so on a shirt it just sits on top of the weave with a weak grip. It's still genuinely useful for costumes, one-time events, and as a stencil for fabric paint or bleach designs. If you need a design that survives the laundry, use heat transfer vinyl (HTV) instead.
Removable vinyl looks exactly like every other craft vinyl on the shelf, until you actually try to use it on fabric. A lot of crafters reach for whatever roll is already loaded in the cutter and wonder afterward why their shirt design didn't survive the day.
This guide covers what removable vinyl actually is, why it behaves so differently on fabric than it does on a wall or a tumbler, the exact steps for applying it if you want to try it anyway, and the one technique where its weak adhesive is actually a feature instead of a flaw.
Removable vinyl, sometimes labeled indoor vinyl or temporary vinyl, is adhesive craft vinyl built with a low-tack, pressure-sensitive adhesive. Nothing needs to be activated with heat, it sticks the moment it makes contact, the same way a sticker does. On the smooth, hard surfaces it's actually designed for, things like walls, windows, glass, and plastic, that low tack still holds up remarkably well, typically 6 months to 2 years indoors before it's time to update the design.
Good To Know
Removable vinyl, permanent vinyl, and heat transfer vinyl can look identical on the roll, same colors, same finishes, sometimes even the same brand. What matters is the label, not the look. Each one is built for a different job.
That's a different product entirely from permanent, or outdoor, adhesive vinyl, which uses a stronger adhesive built to last years on things like car decals, laptops, and tumblers, and different again from HTV, which bonds with fabric fibers using heat. For the full side by side, our guide on the difference between permanent and removable vinyl covers it in more depth. The short version for this article: neither permanent nor removable adhesive vinyl was designed with fabric in mind at all. Using either on a shirt means repurposing a product meant for something else, which is exactly why the results are temporary.
Can You Use Removable Vinyl on a Shirt?
Yes, and it's simple to try. Cut a design, stick it on, and it will hold, at least for a while. Where people run into trouble is expecting it to behave like a real fabric decoration. It won't survive a wash, and depending on the fabric and how much the shirt moves during the day, it may start lifting at the edges within a few hours.
That's not actually a flaw for every project. If you need a design for a themed party, a costume, or a single event, removable vinyl gets the job done without touching a heat press. It's also one of the better options for masking off a design so you can paint or bleach around it, since you'll want to peel it away cleanly once you're finished anyway.
Best Uses for Removable Vinyl on a Shirt
Costumes & Themed Parties
A go-to for last-minute costume details or a themed party shirt you'll only wear once. Cut it, stick it, and you're ready to go.
One-Off Event Shirts
Team meetups, birthday shirts, a single school event. Ideal when the shirt only needs to look good for a few hours.
Fabric Paint Stencils
Acts as a mask so paint stays exactly where you want it. Peel it away once the paint is fully dry for crisp, clean edges.
Bleach Design Stencils
The same masking trick works with diluted bleach for a distressed, discharge print look, especially popular on dark cotton tees.
Temporary Labels & Props
Handy for costume name tags, photo booth props, or anything that needs a design for an afternoon and nothing more.
Want to see where removable vinyl really shines, outside of fabric? Our guide on what removable vinyl is used for covers wall decals, labels, and stencils in more depth.
Why It Doesn't Hold Well on Fabric
Fabric and a smooth wall have almost nothing in common as far as an adhesive is concerned. A wall or a window is flat and solid, so a vinyl decal's adhesive backing makes contact with the whole surface at once. Woven or knit fabric is the opposite. Zoom in and it's really just threads crossing over threads, with gaps and texture in between. A flat sheet of vinyl can only grip the raised threads it touches, not the surface as a whole, so the real contact area is a fraction of what it would get on a hard surface.
Add in the fact that removable vinyl's adhesive is intentionally weak to begin with, plus a shirt that flexes, stretches, and rubs against skin and other fabric all day, and you have a bond that was never going to hold for long. Washing finishes the job. Water, agitation, and detergent get under the edges almost immediately and lift the whole design off.
Heads Up
Never iron directly over removable vinyl. Unlike HTV, it isn't built to handle heat. An iron can melt the film or fuse the adhesive into the fabric, which defeats the entire point of using a removable product in the first place.
Removable Vinyl Compared to Other Ways to Decorate a Shirt
Method
Sticks to Fabric?
How Long It Lasts
Best For
Removable vinyl
Yes, weakly and briefly
A day or so of wear, gone after one wash
Costumes, one-time events, stencils
Permanent adhesive vinyl
A little better grip, still not built for fabric
A few wears at most, won't survive a wash
Rarely worth it over HTV for shirts
Heat transfer vinyl (HTV)
Yes, bonds into the fibers with heat
50 to 100 washes
Any shirt you plan to wear and wash repeatedly
Vinyl used as a stencil
The vinyl itself isn't the final design
One use, then peeled away
Bleach discharge designs, fabric paint designs
How to Apply Removable Vinyl to a Shirt, Step by Step
Gather your materials, then work through the six steps below in order.
Lay out everything above before you start. A clean, flat workspace makes the whole process faster and keeps your design from picking up dust or lint before it ever touches the shirt.
Step 2: Work on Your Removable Vinyl Design
Finalize your design in whatever software matches your machine, Design Space for Cricut, Silhouette Studio for Silhouette. Size it to fit the exact spot on the shirt where you want it to sit.
Step 3: Cut & Weed Out the Extra Vinyl
Cut a piece of vinyl a bit larger than your design on all sides and place it on the cutting mat. Burnish it with a squeegee so it's held firmly in place, then load the mat and let the machine cut. Use a weeding tool, tweezers, or a weeding pen to pull away every piece of negative space until only your finished design remains.
Step 4: Apply the Transfer Tape
Use a low-tack transfer tape, ideally one with a grid to help with alignment. Cut a piece larger than your design, lay it over the vinyl, and burnish firmly so it picks up every piece cleanly.
Step 5: Transfer the Design onto Your Shirt
Pre-press the shirt to remove moisture and wrinkles first. Peel the backing paper off your design so the whole thing is sitting on the transfer tape, then align it on the shirt and burnish with real pressure. Spend more time on this than feels necessary. Removable vinyl is not made for fabric, so it needs all the help it can get.
Step 6: Your Designed Shirt Is Ready
Slowly peel back the transfer tape at a low angle, keeping it close to the surface as you go. Your design is now on the shirt. Just remember it's temporary. A few hours of normal wear is a reasonable expectation, and if you made a stencil for paint or bleach, you can remove it as soon as that part of the project is done.
Tips for Using Removable Vinyl on a Shirt
Prep the shirt first. Wash it without bleach or fabric softener, dry it completely, then press out any moisture or creases before applying anything.
Use a genuinely low-tack transfer tape. It lifts away easily and leaves the vinyl sitting where you put it instead of pulling the design back up with it.
Press down firmly, especially the edges. This matters even more if you're using the vinyl as a stencil, since paint or bleach will creep under any gap it can find.
Let paint or bleach dry completely before peeling. Rushing this step is the most common reason a stencil design ends up smudged.
Peel slowly and at a low angle. It keeps the edges of your design crisp instead of tearing or curling.
Using Removable Vinyl as a Stencil
This is arguably the best legitimate use for removable vinyl on fabric, since here the vinyl was never meant to become the permanent part of the design. It's a mask that comes off once you're done.
For fabric paint, cut and weed your design, transfer it to a clean, ironed shirt, and press it down firmly, especially along every edge, so paint can't creep underneath. Paint over it, let it dry completely, and then peel the vinyl away slowly to reveal a crisp, clean design.
For bleach designs, the same principle works with diluted bleach instead of paint. Slide a piece of cardboard or a plastic bag inside the shirt so bleach can't soak through to the back, then mist a diluted bleach solution lightly over the fabric around your stencil rather than soaking it. Blot off the excess, watch the color shift as it works, then rinse the shirt with a little water and hydrogen peroxide to stop the bleaching before it goes further than you want, and wash as normal afterward. Work in a well-ventilated space and wear gloves, since you're handling bleach directly.
Either way, the stencil only needs to survive the length of one project, so the same low-tack adhesive that makes it a poor fit for wearable designs is exactly what makes it easy to peel away cleanly here.
What to Do If It Won't Stay On or Peels Fast
The Problem
Why It Happens
How to Fix It
Vinyl lifted within an hour
Normal for this product on fabric, the adhesive is weak by design
Treat it as single-wear only, or switch to HTV for anything you'll wear more than once
Edges curling first
Edges take the most rubbing and flexing as you move
Press extra hard along all edges during application, and avoid tight or textured spots
Paint or bleach bled under the stencil
The vinyl didn't fully seal against the fabric
Burnish more firmly before painting or bleaching, and avoid oversaturating with liquid
Sticky residue left behind
Rare for genuine removable vinyl, more likely a permanent vinyl was used by mistake
Double check the product label, a light rub with rubbing alcohol usually lifts any leftover residue
Frequently Asked Questions
Yes, for a short while. It sticks on contact like a sticker would, but the weak adhesive and the texture of the fabric mean it's only reliable for a few hours to a day of wear before edges start to lift.
Expect a day or so if the shirt isn't washed and isn't handled roughly. Any trip through the washing machine, and often a single wear with a lot of movement, will take it off completely.
For anything you plan to wear and wash more than once, use heat transfer vinyl instead. It bonds into the fabric fibers with heat and typically lasts 50 to 100 washes when applied correctly. Our guide on how long HTV lasts breaks down the full care routine.
No. Removable vinyl isn't built to handle heat the way HTV is. An iron can melt the film or fuse the adhesive into the fabric, which defeats the entire point of using a removable product.
Yes, this is one of its best uses. The vinyl acts as a mask so the bleach only reaches the fabric around it, and since you only need the stencil to survive one project, the weak adhesive that fails on wearable designs isn't a problem here.
A smooth, tightly woven cotton or cotton-blend shirt gives the vinyl the most surface contact. Ribbed or heavily textured knits give it less to grip and will lift even faster.
Good to Know
If you just need a shirt to look great for one afternoon, removable vinyl gets you there faster than waiting on a heat press. Reach for HTV instead the moment you want a design that has to survive the laundry.
These are the exact same texture and sheets that I am able to buy at Walmart. The green shirt is using your product, step by step instructions and the black is the product that I ordered from Walmart at 1/2 the price
I bought this big roll awhile back and never had to worry about strategically cutting my designs to fit into a short roll. I had all the vinyl in the world and I knew that I could easily take on big projects because my mega roll of 001M was always there. The peace of mind was definitely worth the purchase.