Heat transfer vinyl (HTV) and iron-on vinyl are the same material. Both bond to fabric with heat and pressure, and both leave you with a custom design that becomes part of the garment. The name is really the only thing that changes. Where you will notice an actual difference is in how you apply it, a household iron versus a heat press, and that is what this guide walks through.
If you have ever shopped for craft vinyl, you have probably noticed the same product going by two different names. One store calls it heat transfer vinyl. Another calls it iron-on. So which one is correct, and does the label change what you are actually buying?
The short version is that these are two names for one material. Below we will explain why both names exist, where the real differences actually show up, the uses and finishes worth knowing about, and how to apply a design so it holds up wash after wash.
Good to Know
This guide is about iron-on vinyl, not printable iron-on transfer paper. Those are two separate products. If you are comparing the two, see our guide on heat transfer paper vs vinyl.
"Iron-on" is a term Cricut made popular to help the material feel friendlier to home crafters. It gives the impression that you do not need a workshop full of equipment to use it. Any hobbyist can decorate a shirt or refresh their own wardrobe with a tool they already own at home, which widened the audience for the product. The word also suggests, correctly, that a regular household iron is enough to apply it.
Professionals and small business owners usually stick with the term heat transfer vinyl, because it describes what the material does in a production setting, typically with a heat press. That is why you see both names on shelves and online. One leans casual and beginner-friendly, the other leans technical. The vinyl inside the package is the same either way, which is exactly why it appeals to such a wide range of people, from weekend crafters to full-time apparel designers.
So Is There a Real Difference?
Since the material itself is identical, the differences you will actually notice come down to how you apply it and what you use to do it. Most beginners reach for a household iron, while businesses invest in a heat press. Here is a side-by-side look at how the two compare.
Factor
Household iron
Heat press
Heat control
Approximate, and it varies across the plate
Exact, set to the degree
Pressure
You judge it by hand
Even and consistent every time
Best for
Beginners and small, one-off projects
Detailed designs, bulk orders, business use
Learning curve
Takes some practice
Very forgiving
Durability of result
Reliable when applied well
Usually longer lasting
Cost to start
Low, since you likely own one
Higher upfront
The Bottom Line
An iron is perfectly fine when you are just starting out or making the occasional gift. Once you are producing shirts regularly, or you want crisp results you can repeat every time, a heat press earns its keep because it removes the guesswork around heat, time, and pressure. We go deeper in can you use an iron instead of a heat press.
Uses of Heat Transfer Vinyl
HTV works on almost any fabric project you can picture. A few of the most popular ones:
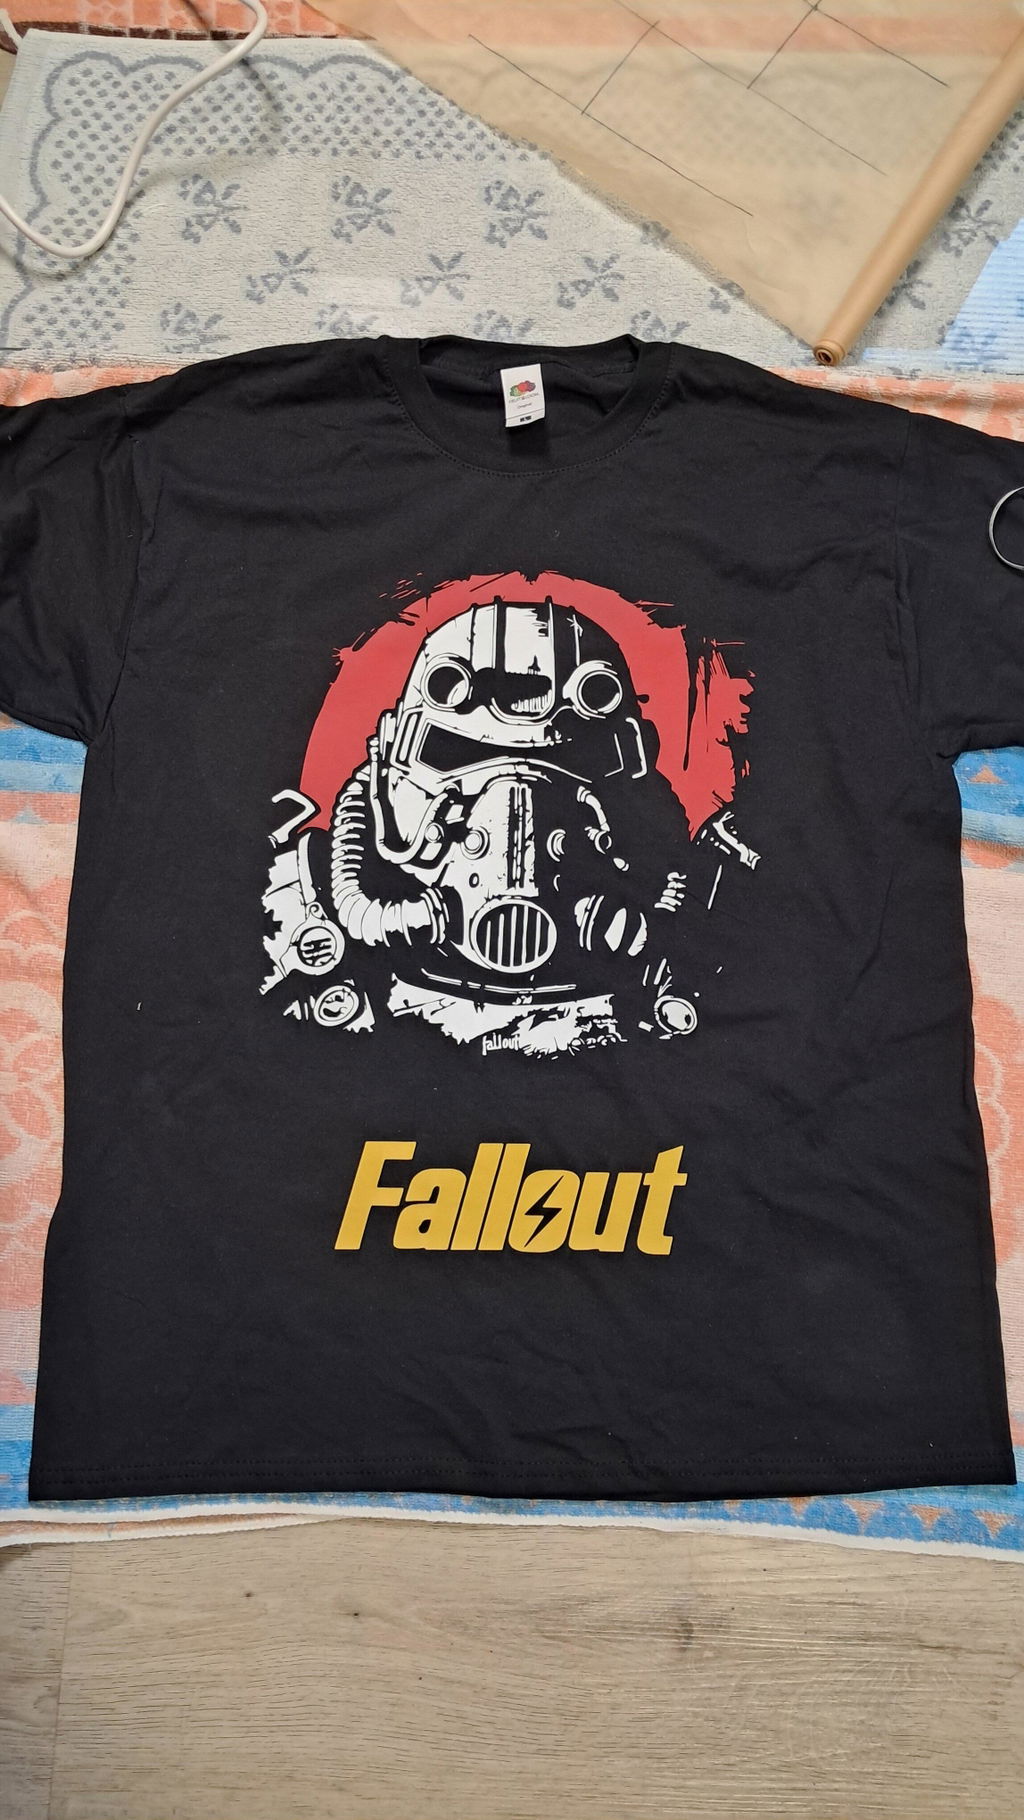
T-shirts and apparel. Add names, logos, or quotes to t-shirts, sweatshirts, hoodies, and jackets.
Hats and caps. Ideal for a small monogram, some text, or a team logo.
Tote bags and wallets. An easy way to turn a plain bag into something that feels personal.
Soft home decor. Think pillow covers, throws, curtains, table runners, and chair covers.
Baby items. Good-quality HTV is non-toxic, so onesies, bibs, and blankets are safe to decorate.
Sports gear. Put names and numbers on jerseys, shorts, and gym bags so your team stands out from the rest.
Types of Heat Transfer Vinyl
Part of the fun is choosing a finish, and HTV comes in plenty of them. Each one has its own look and texture. Here is how the TeckWrap range breaks down.
PU HTV
A smooth, glossy film in pastel, neutral, and basic shades. A great place for beginners to learn the ropes, and it handles patterned shirts well too.
You will need the same basics as a heat press setup, just with an iron standing in for the press. Cut and weed your design first (weeding simply means peeling away the vinyl you do not want to keep), then follow these steps.
Set up a firm surface. A sturdy table is perfect. Skip the ironing board, because it flexes and you will not be able to press hard enough.
Prep the fabric. If you can, press the blank garment for a few seconds first to remove moisture and wrinkles. A flat, dry surface helps the vinyl grip.
Position and cover. Lay the design where you want it, vinyl side down and carrier sheet facing up, then place a sheet of parchment paper or a thin cloth on top to protect it.
Press, do not glide. Heat the iron to the cotton setting, which is its hottest, then press down firmly and hold for the time your vinyl recommends. Lift and move to the next section rather than sliding the iron around. Since an iron is less powerful than a press, add a few extra seconds.
Cool, then peel. Let the design cool, then slowly lift the clear carrier sheet. If the vinyl starts to come up with it, lay it back down and press again.
Pro Tip
An iron without a steam function works best here. The holes on a steam plate can leave patchy spots, because the heat is not spread evenly across your design.
Durability of HTV
Applied correctly, HTV is built to last for the life of the garment. The two things that matter most are quality vinyl and the right combination of heat, time, and pressure. Get those right and your design should not peel or crack.
Your washing habits handle the rest. Turn the item inside out, wash it in cold water, and either hand wash with a mild detergent or use a gentle cycle. Let it air dry whenever you can. Stay away from bleach and harsh detergents, and avoid running an iron directly over the design.
Common Mistakes to Avoid
The Mistake
Why It Happens
How to Fix It
Forgetting to mirror the design
HTV is cut with the shiny carrier side facing down, so the design ends up reversed if you cut it as is
Mirror (flip) your design in the cutting software before you cut
Not pressing hard enough
Light pressure is the number one reason a design lifts or peels later
Press down firmly, and really lean into it if you are using an iron
Peeling at the wrong moment
Some vinyls are warm peel and others are cold peel, and pulling too early can lift the design
Check whether your vinyl is warm or cold peel before you pull the carrier sheet
Using the wrong fabric
Very heat-sensitive or highly stretchy synthetics can scorch or refuse to hold the vinyl
Stick to cotton, polyester, and cotton-poly blends, and test a scrap first
Washing it too soon
Fresh adhesive needs time to fully set before it goes through a wash cycle
Wait at least 24 hours before the first wash, then wash inside out in cold water
Frequently Asked Questions
Yes. They are simply two names for the same material. Both need heat and pressure held for a set time to transfer a design onto compatible fabric.
Mostly fabric items such as t-shirts, hoodies, tote bags, and hats. It is also a favorite for soft home decor like pillows and table linens.
HTV is the go-to for shirts. It comes in many finishes and works well on cotton, polyester, and cotton blends, so you can match the vinyl to whatever design you have in mind.
Yes, an iron is fine for beginners and small projects. A heat press gives more consistent heat and pressure, so it becomes worth the investment once you start selling or want repeatable results.
With standard PU HTV you can usually layer up to about four times. Follow the layering order and use short tack presses between layers so you do not over-cook the ones underneath.
Almost always it comes down to under-pressing, too little time, or washing too soon. Re-press with firm pressure, follow the recommended time for your vinyl, and wait a full day before the first wash.
Ready to Start Your Next Project
So, is there a difference between heat transfer vinyl and iron-on? Not in the material itself. The two names simply reflect who is using it and how. What actually shapes your result is the quality of the vinyl and how carefully you apply it. Get both right and your design will hold up wash after wash.
These are the exact same texture and sheets that I am able to buy at Walmart. The green shirt is using your product, step by step instructions and the black is the product that I ordered from Walmart at 1/2 the price
I bought this big roll awhile back and never had to worry about strategically cutting my designs to fit into a short roll. I had all the vinyl in the world and I knew that I could easily take on big projects because my mega roll of 001M was always there. The peace of mind was definitely worth the purchase.