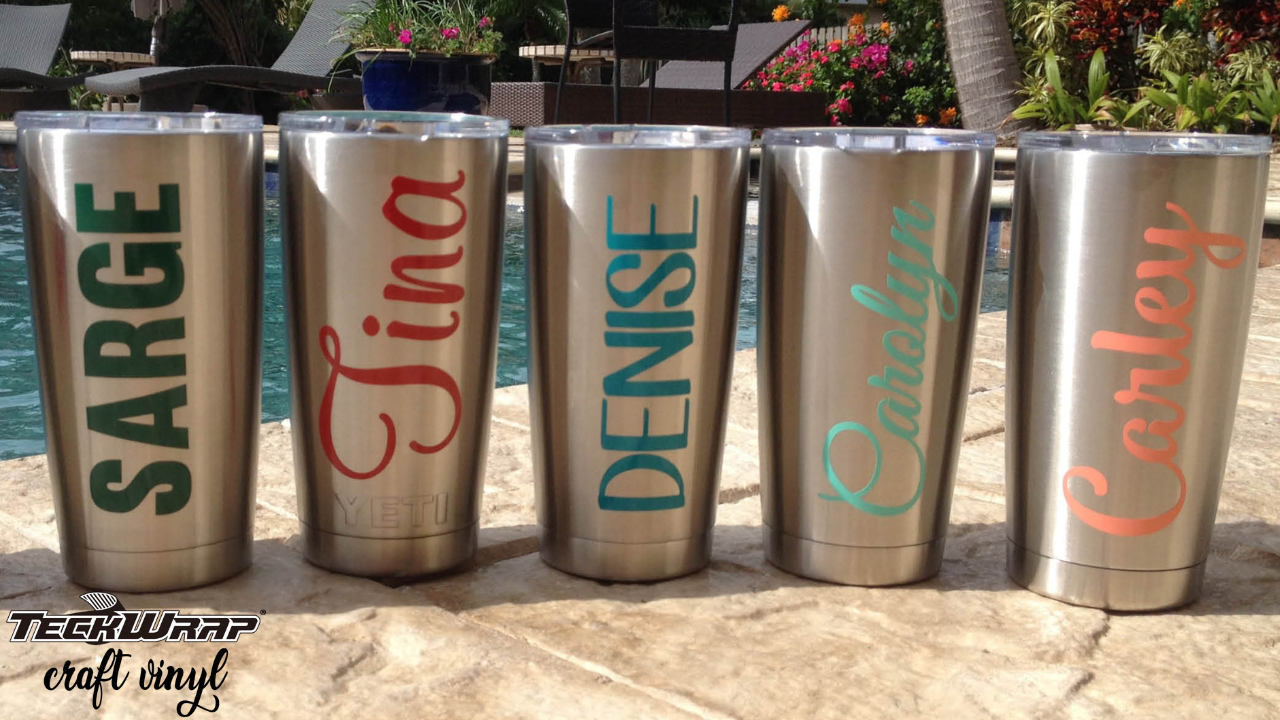
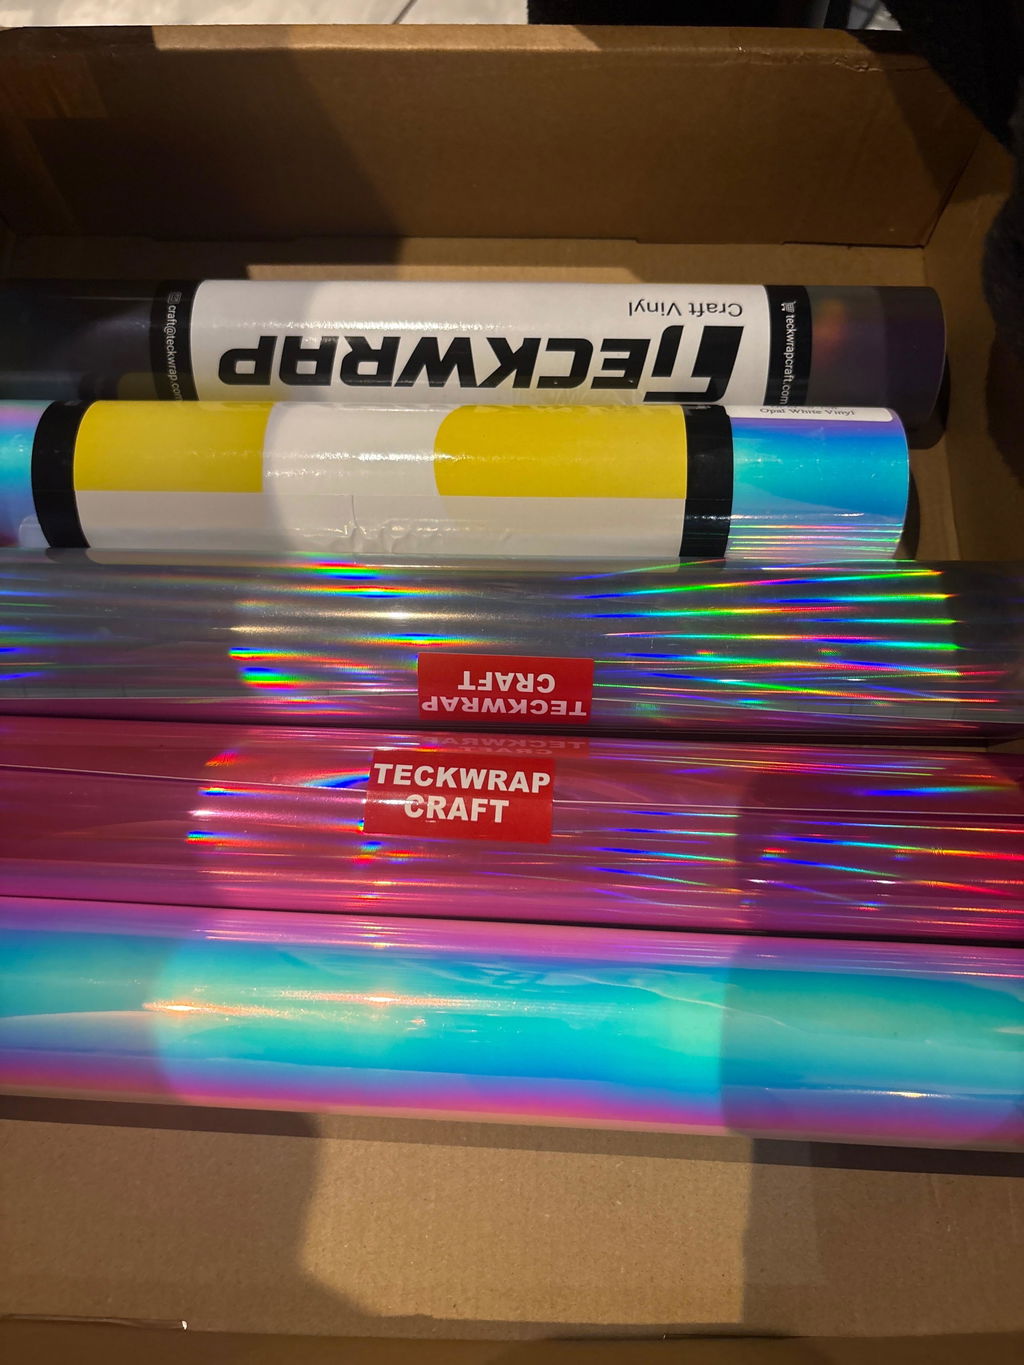
The best vinyl for tumblers is permanent adhesive vinyl. It bonds to hard, smooth surfaces like stainless steel, glass, and plastic, holds up to regular hand washing, and comes in almost any color or finish. Skip heat transfer vinyl for drinkware, and always clean the tumbler and let the design cure before the first wash.
A personalized tumbler is one of the most popular vinyl projects there is, and for good reason. It is quick to make, easy to gift, and a plain cup turns into something custom in a few minutes. The one thing that trips people up is choosing the right vinyl, because the wrong type peels within a week.
This guide covers which vinyl to use, what to look for when you buy it, how the tumbler material affects your results, the finishes worth trying, and how to apply a design to a curved cup without wrinkles. Everything you need to get a tumbler that actually lasts.
There are two main types of craft vinyl, and only one of them is right for drinkware. Here is how they compare for tumblers.
Permanent Adhesive Vinyl
Heat Transfer Vinyl (HTV)
How it sticks
Pressure-sensitive adhesive, you just press it on
Bonds with heat from an iron or press
Best surface
Hard and smooth: stainless steel, glass, plastic
Fabric, plus some specially coated blanks
On tumblers
The standard choice, made for this
Not recommended for most drinkware
Water and washing
Water-resistant and UV-resistant, lasts for years
Can lift or fade with repeated washing and heat
Ease for beginners
Easy: cut, weed, transfer
Needs heat and more setup
Permanent adhesive vinyl, also called outdoor or permanent vinyl, has a strong adhesive backing and resists water, UV rays, and everyday wear. It is easy to apply, which makes it a great choice for beginners, and it comes in a wide range of colors and finishes.
Heat transfer vinyl is the go-to for fabric. It bonds with heat, so it needs a surface that can take a press and does not bond well to bare stainless steel. On drinkware it also tends to fade with repeated washing, so we do not recommend it for tumblers. For anything you drink from and wash often, permanent adhesive vinyl is the clear winner.
What to Look For in Good Tumbler Vinyl
The vinyl market is crowded, and price alone will not tell you what will last. Here is what actually matters when you buy vinyl for a tumbler.
Film quality. Buy from a brand known for reliable adhesive vinyl. Cheap film might save a little up front, but it often will not stay put on drinkware, so it is wasted effort.
Durability. Look for vinyl rated for outdoor use, since that means it is water-resistant and UV-resistant. A strong adhesive is what keeps the decal from fading or lifting after a few washes.
Thickness and give. Thinner permanent vinyl conforms to a curved cup more easily and seals cleanly at the edges. Thick vinyl can leave raised edges that lift over time, especially on tight curves.
Color and finish options. Part of the fun is the range. A brand with plenty of colors, patterns, and finishes lets you match any theme.
Ease of application. Good vinyl peels off its backing cleanly, weeds without tearing, and smooths down with fewer bubbles.
Price for the quality. Compare cost per sheet or roll against the quality, not just the sticker price. The cheapest option usually costs more in redone projects.
At TeckWrap Craft, our adhesive vinyl uses a strong, pressure-activated adhesive and has been tested to stay durable and easy to work with, so your tumbler keeps its design for years.
Does the Tumbler Material Matter?
Permanent adhesive vinyl works on all the common tumbler materials, as long as the surface is smooth and clean. A few notes on each:
Stainless steel. The most common tumbler material and a great surface for adhesive vinyl. Clean it well and the vinyl holds beautifully.
Plastic and acrylic. These work too. Just make sure the plastic is smooth and truly grease-free, since some plastics resist adhesive at first.
Glass. A smooth, easy surface for adhesive vinyl, the same as any glassware.
Powder-coated or textured finishes. These are trickier because the vinyl has less smooth contact. Keep designs simple, burnish extra firmly, and consider sealing if the cup gets daily use.
Best Vinyl Finishes for Tumblers
Once you have picked permanent adhesive vinyl, the finish is where you get creative. Here are the options worth exploring for tumblers.
Matte & Glossy
The two everyday classics. Glossy gives a bright, reflective look, matte stays flat and understated. Both are easy to cut and apply, so they are perfect for a first tumbler.
A metallic finish with real surface texture that helps a design pop on a plain cup. Best on gentler curves, since heavy texture conforms a little less easily.
The process takes a little patience, but the payoff is worth it. Here is how to do it from start to finish.
Step 1: Gather Your Tools
Working with the right tools makes everything easier. You will want a cutting machine like a Cricut or Silhouette, weeding tools such as tweezers, a weeder, or a weeding pen, transfer tape (a gridded one helps with alignment), a cutting mat, and a squeegee.
Step 2: Clean the Tumbler
Start with a tumbler that is washed and fully dry, with no dust, debris, or grease on it. Finish by wiping it down with a 50/50 mix of isopropyl alcohol and water. A clean, dry, grease-free surface is what makes the adhesive grip properly.
Step 3: Size and Finalize Your Design
Pick your design from your cutting machine's library or bring in your own artwork. Measure the tumbler and size the design to fit the area you want to cover. If your design has small text, lean toward a slightly thicker font, since thin letters have less adhesive area and are the first thing to peel with washing.
Step 4: Place the Vinyl on the Mat and Cut
Cut a piece of vinyl a little larger than your design and place it on the gridded cutting mat, lined up with the top-left corner so it feeds straight. Load the mat into your machine and send it to cut. Do not mirror the design, since mirroring is only for heat transfer vinyl.
Step 5: Weed the Design
Unload the mat and weed away the extra vinyl from around and inside your design, leaving only the parts you want to keep. Intricate designs take longer, and the right weeding tools speed this up a lot.
Step 6: Apply Transfer Tape
Lay transfer tape over the weeded design and smooth it down with a squeegee to remove creases and lock everything in place. When you lift the tape, the design comes with it. Peeling the backing off in one motion while smoothing the tape down helps you avoid bubbles.
Step 7: Apply the Design to the Tumbler
Position the design on the clean tumbler and check that it looks straight from every angle before you commit. Then press it down starting from the center and working outward, smoothing top to bottom and then side to side. Burnish firmly with your squeegee so the whole design bonds, then peel the transfer tape away slowly at a low angle. If any vinyl lifts with the tape, press it back down and peel again more slowly.
Pro Tip: Curved Cups
Tumblers are tapered, so a flat design can wrinkle as it wraps. Two tricks help. First, cut small notches into the outer edges of the decal (not into the design itself) so the vinyl can splay around the curve. Second, lay the middle down first, then work outward, or split the design and apply it in halves. For a full walkthrough, see our guide on how to put vinyl on a curved surface.
Curing and Caring for Your Tumbler
How you treat the tumbler in the first few days decides how long the design lasts.
Let It Cure
Give the adhesive time to bond before the first wash. A cure time of 48 to 72 hours is typical, and it is worth the wait for a decal that stays put. Keep the tumbler away from water during this window.
Hand wash only, using a gentle dish soap.
Do not scrub directly over the design, and skip the dishwasher.
Use cool water rather than very hot water.
If the tumbler will be used daily or given to someone who may not baby it, a food-grade-safe sealant such as an epoxy or a dishwasher-safe topcoat adds an extra layer of protection. With good permanent vinyl, sealing is optional, but it does add insurance on high-use cups.
Common Mistakes to Avoid
The Mistake
Why It Happens
How to Fix It
Skipping surface cleaning
Oils and residue on the cup stop the adhesive from bonding
Wipe with a 50/50 alcohol and water mix, then let it dry
Using thick vinyl on tight curves
Stiff, thick film will not conform and lifts at the edges
Choose a thinner permanent vinyl with more give
A large design on the taper
Flat vinyl wrinkles as it wraps a curved, tapered wall
Notch the edges, or split the design and apply in halves
Pulling the transfer tape too fast
Quick or straight-up pulling lifts the vinyl with the tape
Peel slowly at a low angle and press down any lifting spots
Washing before it cures
The adhesive has not fully bonded to the surface yet
Wait 48 to 72 hours before the first wash
Frequently Asked Questions
Yes. Letting the adhesive vinyl cure creates a stronger, longer-lasting bond. The typical cure time is 48 to 72 hours. Check the manufacturer's instructions for the recommended time, and keep the tumbler dry until then.
With good quality vinyl, care is simple. Let the design cure fully before using the tumbler, and keep it away from water until then. After that, hand wash with a gentle dish soap, do not scrub over the design, and avoid the dishwasher.
Not necessarily. Premium adhesive vinyl is water-resistant and can last for years on its own. A sealant is optional and adds extra protection on high-use cups, especially ones you sell or gift. If you do seal, make sure the product is food-grade safe.
Yes. High-quality permanent vinyl is waterproof or water-resistant and holds up to regular use. With careful hand washing it often lasts around three years or more.
It is best not to. The high heat and water pressure in a dishwasher can loosen the adhesive and shorten the life of the design. Hand washing keeps a vinyl tumbler looking good far longer.
For most tumblers, no. HTV bonds with heat and is designed for fabric, so it does not hold well on bare stainless steel and tends to fade with repeated washing. Permanent adhesive vinyl is the better choice for drinkware.
THIS bubble free vinyl is AWESOME!!! No more struggles of trying to get trapped air out. There is a design issue with the vinyl holder that hangs on the door. The more rolls i place in it, the more the holder bows outward. Plus 2 of the stitched elastics came undone. Overall, THE best purchase i ever made in vinyl.
I am from New Caledonia and found this site to source vinyl paper; I placed my order on September 30th and received it on October 7th—shipping was very fast, and the package arrived intact.
I highly recommend any of the vinyl papers sold on this site, as the quality is excellent and the colors are incredible.