This vinyl has a real POP to it and is amazing to work woth!!
Great price and quality! 10ft rolls available compared to my local craft shop in the UK.

Updated By TeckWrap Craft On March 22, 2024

Looking for a way to add some extra sparkle to your projects? Glitter heat transfer vinyl (HTV) is the perfect solution.
In this post, we will teach you how to use this versatile material. We will also provide some tips for getting the best results. So what are you waiting for? Get started today!
Glitter vinyl is the perfect material to personalize almost any project. Whether you are a beginner or an experienced crafter, this material is easy to use and will make your projects stand out.
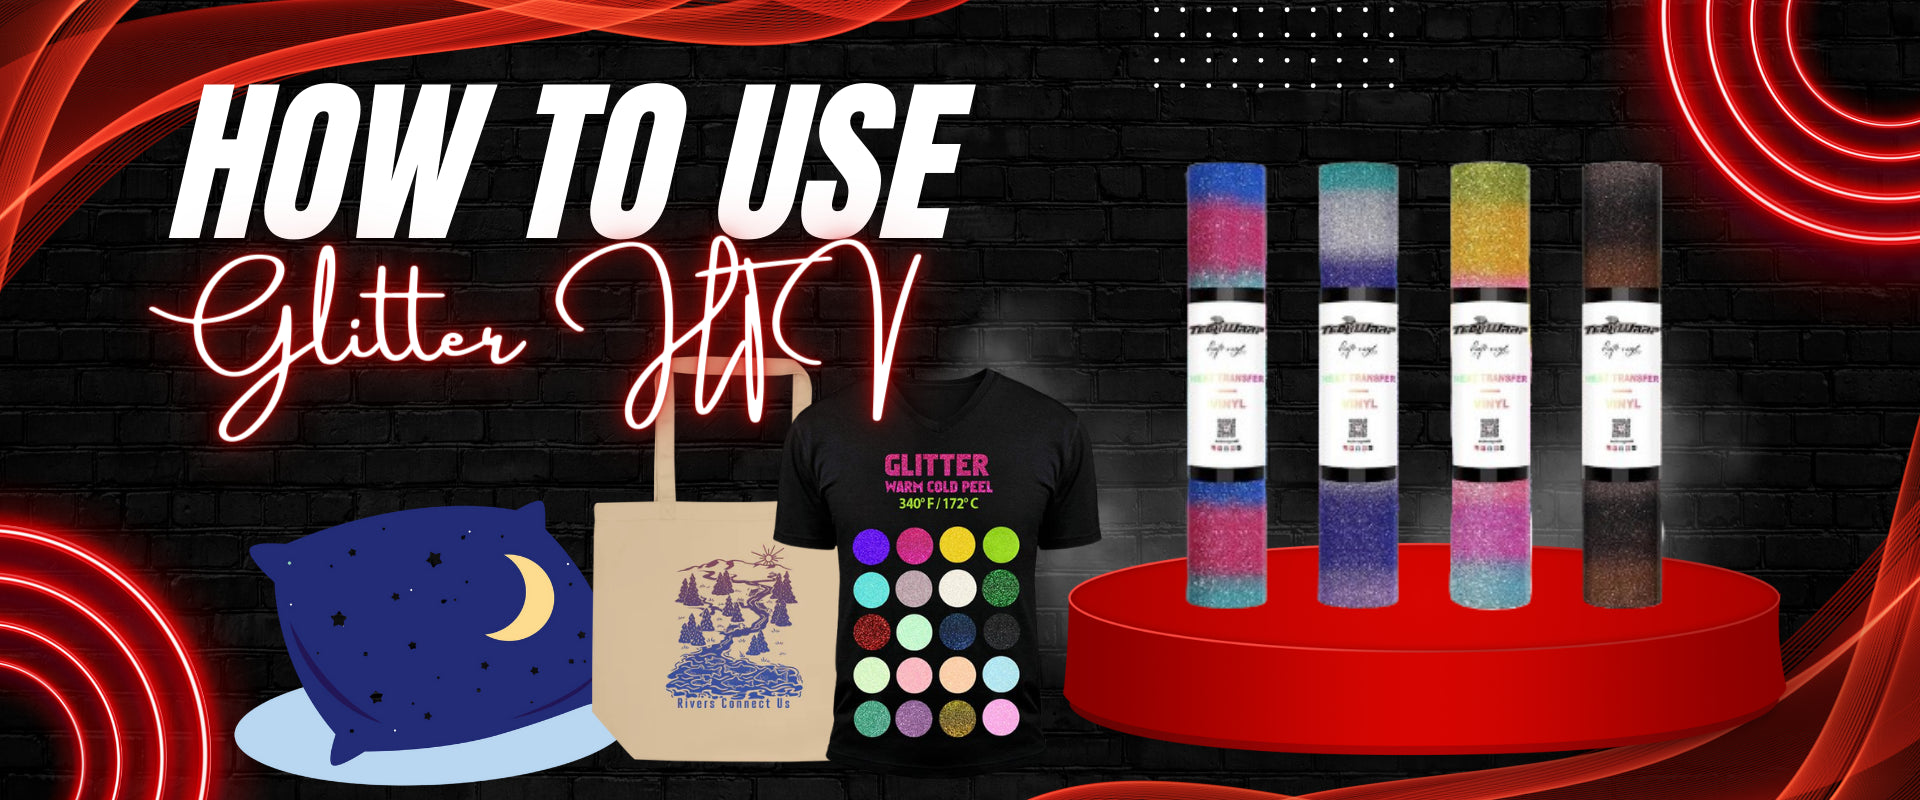
You can use iron-on glitter vinyl on t-shirts, bags, and more. HTV comes in a huge range of colors and styles. You can find glitter iron-on vinyl in holographic, galaxy, rainbow, or metallic finishes.
To start a project, you need the following:

Application of Glitter HTV on fabric is an easy process if you have the required tools and knowledge. With a little practice, you can master the method. Be sure to use fabrics like cotton, polyester, or poly-cotton blends with a high cotton content. Follow these simple steps for a lasting design:

To make sure that your Glitter HTV design lasts for a long time and maintains its vibrant shine, follow the care instructions mentioned below:

While applying Glitter HTV to your T-shirt or any other compatible surface, follow the safety tips mentioned below for a successful project:

You can use glitter iron on vinyl for personalized content and ads for your business or non-profit activities to increase audience engagement and site traffic.
Use cookies and data on engagement and site statistics to understand your visitor’s behavior. As a result, you can deliver and maintain services or products with the highest quality.
Also, google searches and videos are alternative data to create a great marketing plan. We’re no expert on this, but this is how we roll.
If you are applying Glitter Vinyl on your shirt, you would want it to be eco-friendly and non-toxic since it will come in contact with your skin and you want to avoid potential health risks. Premium-quality Glitter Iron-on, like the one TeckWrap Craft offers, is made with high-grade polyurethane that has been engineered keeping the highest manufacturing standards and eco-friendly practices in mind, guaranteeing a durable, vibrant product with minimal environmental impact.
The TeckWrap Craft Glitter HTV can withstand regular wear and washing, maintaining its superb shimmer and sparkle, however, its durability depends on proper application and care. When applied with the correct heat, pressure, and time settings, it forms a strong bond with your fabric, resisting cracking, peeling, and fading over time.
When using Glitter Heat Transfer Vinyl, it is important to get the heat settings right. High heat can damage its surface and we don’t want that. Use a heat press machine for perfect transfers. A dry iron won’t work. Ready to press? Just make sure you follow these settings:
Yes, you can use Glitter Heat Transfer Vinyl on non-fabric surfaces and they will look simply amazing. You might have to adjust the heat and pressure settings a bit but the result is awesome. Some of these are:

Here are some projects you might be interested in:

Q. Which side of glitter iron on vinyl goes down?
It's pretty simple: the shiny side goes down!
Q. What setting do I use for glitter vinyl?
To set glitter vinyl, you can use the same temperature as your regular iron-on vinyl.
However, because of the extra adhesive on the glitter vinyl, you will need to hold the iron in place for an extra 20 seconds.
If desired, you can also use a pressing clean cotton cloth to protect your fabric from the heat of the iron. Once it is cool, you're ready to show off your new creation!
Q. How do you iron on glitter transfers?
If you are worried about this, test a small piece of fabric first to see if it is safe to use the high heat setting on your project.
Glitter iron-on vinyl is a great way to add some sparkle to your next project tailored to your interests. Whether you are making t-shirts, totes, or pillowcases, this material will give them that special touch. Depending on your settings, your final output will look awesome.
Just follow these easy steps and tips for getting the best results. For an extra shine, spray a sealant after heat pressing the HTV. This will keep the glitter HTV in place and make it resistant to fading. Plus, select glitter iron-on with the best quality for longer-lasting prints.
More Articles You’ll Find Helpful
!