


I'm fairly new to all things cricut and vinyl, I can't try all the different techniques quick enough. The only way to learn is dive in and have a go. Well I've made my first 5 t/shirts and I'm impressed with the product and a bit impressed with myself. I'm now moving on to making some prize gifts for my local dog club. I keep you updated and if things continue to be as successful as the T/shirts I'll be well pleased. What's not to like about making professional looking results

Best Vinyl For Wood Signs And Artsy Project Ideas
Quick Answer
For most wood sign projects, heat transfer vinyl (HTV) is the best choice because it gives a painted-on, professional look that blends into the wood grain. For outdoor wood signs or any sign that will be handled frequently, permanent adhesive vinyl is more durable. Raw or porous wood must be sanded and sealed before applying either type.
Wood signs can be made with both heat transfer vinyl (HTV) and adhesive vinyl. The vinyl type you choose affects the look of the finished sign, how long it lasts, and whether it suits indoor or outdoor display. This guide covers the differences between the two types, how to prepare different wood surfaces, temperature settings for HTV on wood, project ideas, and the most common questions about vinyl on wood signs.
In This Guide
HTV vs Permanent Vinyl for Wood Signs
Use this table to decide which type of vinyl is right for your wood sign project.
| Factor | Heat Transfer Vinyl (HTV) | Permanent Adhesive Vinyl |
|---|---|---|
| Look and finish | Painted-on appearance. Sits flush with the wood surface. Looks hand-crafted. | Sticker appearance. Sits on top of the surface. Clean and crisp edges. |
| Durability on wood | Good for indoor use. Less resilient against moisture and outdoor elements. | Excellent. Strong adhesive bonds to sealed wood and holds outdoors. |
| Indoor vs outdoor | Best for indoor wood signs: home decor, welcome signs, frames. | Best for outdoor wood signs: business signage, front door signs, garden stakes. |
| Wood prep required | Sand and seal or paint the wood first. HTV does not bond well to raw porous wood. | Sand and seal or paint the wood first. Adhesive vinyl needs a smooth surface. |
| Application method | Heat press or EasyPress at 270 to 305°F, 10 to 15 seconds. | Transfer tape and squeegee. No heat required. |
| Sealing needed? | Seal if the sign will be handled often. Optional for decorative signs. | Seal with outdoor sealant for outdoor signs. Not needed for smooth indoor wood. |
| Best for | Decorative home signs, farmhouse style, personalised gifts. | Outdoor business signs, front door numbers, barn signs, garden markers. |
What Kinds of Wood Work with Vinyl?
Most wood types accept vinyl well as long as the surface is properly prepared. Here are the most common types used for vinyl sign projects.
- Natural wood (redwood, cedarwood, pine). Best for indoor decorations such as key holders, coasters, and wooden plates. Natural wood needs to be sanded and sealed before vinyl is applied.
- Crezon board (waterproof plywood). The best choice for outdoor signage such as barn signs, garden markers, and directional boards. Crezon board resists moisture and weather well.
- Wood substitute (HDU). High-density urethane contains wood fiber, plastic, and cement. It is not graded as lumber but accepts vinyl well and is popular for carved and dimensional signage.
- MDF and plywood. Both work well for indoor signs. MDF gives a very smooth, consistent surface that makes vinyl application easier than rough-grain natural wood.
You can use untreated, raw, sealed, stained, or painted wood for vinyl projects. Raw or untreated wood requires the most preparation before vinyl will stick and stay put.
How to Prepare Wood for Vinyl
Surface preparation is the most important step for a long-lasting vinyl wood sign. Vinyl peels from wood signs almost always because the surface was not prepared correctly.

1 Sand the Wood Surface
Use 220-grit sandpaper to sand the entire surface in the direction of the grain. Sand until the surface feels smooth with no raised grain, splinters, or rough patches. Wipe away all sanding dust with a slightly damp cloth. Let the wood dry completely before moving on.
Tip: Sand in the direction of the wood grain, not against it. Sanding against the grain creates scratches that show through vinyl after application.
2 Seal, Stain, or Paint the Surface
Raw wood is porous. The adhesive on both HTV and adhesive vinyl does not bond well to porous surfaces. Apply one of the following: a thin coat of acrylic paint for a coloured base, a wood stain for a natural look, or a clear sealant such as polycrylic or Mod Podge to create a smooth, non-porous surface. Let the coating dry fully, at least 24 hours.
Tip: Mod Podge Matte or Polycrylic in matte finish works well as a base coat on natural wood. One thin coat is enough. A thick coat creates brush strokes that show under vinyl.
3 Clean the Surface Before Applying Vinyl
Once the base coat is fully dry, wipe the surface with a lint-free cloth to remove any dust. If using adhesive vinyl, wipe with isopropyl alcohol to remove any oils or residue from handling. Let the alcohol dry completely (about 30 seconds) before laying the vinyl.
The most common reason vinyl peels from wood signs is that the wood was not sealed before application. A sanded, sealed, and dry surface is the foundation of a long-lasting vinyl wood sign.
Heat Transfer Vinyl on Wood

Heat transfer vinyl gives your wood sign a painted-on look. The vinyl sits flush with the wood surface rather than on top of it, which makes the design look like it was painted or stencilled directly onto the wood. This is why HTV is the most popular choice for farmhouse-style home decor signs, personalised gifts, and decorative wall signs.
HTV is easy to apply and mistakes made during weeding can usually be corrected during the pressing step. If you accidentally remove a piece of the design while weeding, you can place it back on the carrier sheet and it will transfer with the rest of the design.
HTV wood signs work best indoors. Outdoor moisture, rain, and sunlight affect the adhesive over time. If the sign must go outdoors, seal it properly with an outdoor-rated sealant and keep it in a shaded area away from direct rain.
HTV temperature settings for wood
Using the correct temperature is important on wood. Too high and the wood can scorch or the vinyl bubbles. Too low and the vinyl does not bond and will peel. These settings apply to painted and stained wood using TeckWrap Craft PU HTV.
| Wood Surface | Temperature | Time | Pressure |
|---|---|---|---|
| Painted or stained wood | 270 to 305°F (132 to 151°C) | 10 to 15 sec | Medium |
| Sealed raw wood (Mod Podge base) | 270 to 295°F | 10 to 12 sec | Medium |
| MDF or smooth plywood | 280 to 305°F | 10 to 15 sec | Medium |
Always pre-press the wood surface for 3 to 5 seconds before placing the HTV design. Pre-pressing removes moisture and ensures even heat distribution. Use a Teflon sheet or parchment paper between the vinyl and the heat press plate to protect the vinyl surface.
Permanent Vinyl on Wood

Permanent adhesive vinyl on a wood sign produces a clean, crisp design that sits on the surface of the wood. Permanent vinyl is more durable than HTV on wood and holds up better against handling, moisture, and outdoor conditions when applied to a properly sealed surface.
Permanent adhesive vinyl is the best choice for outdoor wood signs. It has a strong adhesive that holds up against environmental exposure. For business names, logos, or house numbers displayed outside in sunlight and rain, permanent vinyl on sealed wood is the right approach.
Apply permanent vinyl using transfer tape. Cut the design on your Cricut or Silhouette, weed the excess vinyl, apply transfer tape, position the design on the prepared wood surface, and press firmly using a squeegee or a soft cloth. Remove the transfer tape slowly at a low angle.
For textured or rough-grain wood surfaces, use a soft felt squeegee or a soft cloth rather than a rigid plastic squeegee. A rigid squeegee cannot reach into the low points of the grain and leaves air pockets. A soft tool conforms to the surface texture and presses the vinyl into the grain more effectively.
Does Vinyl on Wood Need to Be Sealed?
Sealing is not always required but it significantly extends the life of vinyl on wood in certain conditions.
- Indoor decorative signs (HTV). Sealing is optional. For signs that are purely decorative and will not be touched often, HTV on sealed or painted wood does not need additional sealing.
- Indoor signs that are handled (HTV or adhesive). For chopping boards, coasters, serving trays, and similar items that are regularly picked up or wiped down, apply a coat of Mod Podge Matte or Mod Podge Dishwasher Safe over the design. Let it cure for 28 days before washing.
- Outdoor signs (permanent vinyl). Apply an outdoor-rated sealant such as polycrylic or an exterior clear coat over the entire sign including the vinyl. This protects the vinyl edges from moisture and UV exposure. Reapply every 1 to 2 years for signs in harsh outdoor conditions.
- Rough wood surfaces (any vinyl). When vinyl is applied to slightly textured wood, seal the edges and surface of the vinyl to prevent moisture from getting under the lifted edges.
Project Ideas: Wood Signs with Vinyl
Project 1: Stained Wood Welcome Sign
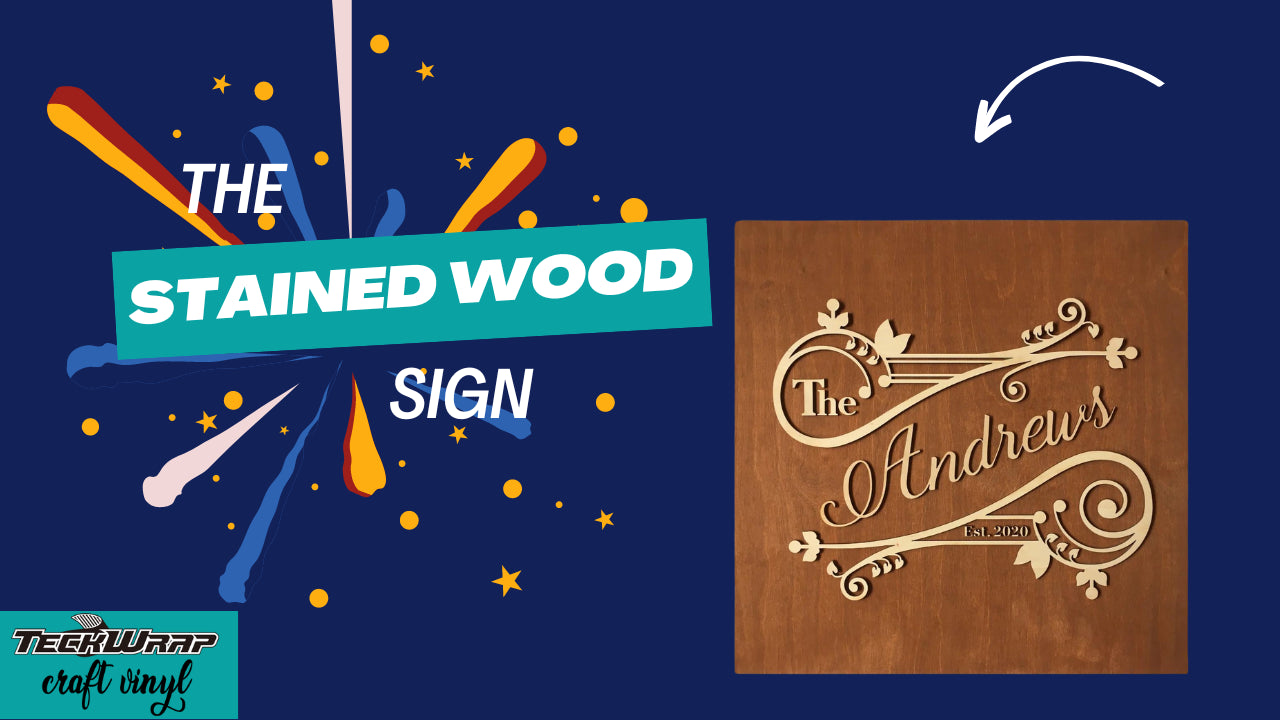
Sand the wood with 220-grit sandpaper until smooth. Apply a wood stain and let it dry for at least 24 hours. Apply permanent glossy adhesive vinyl directly to the stained surface using transfer tape. For added detail, use glitter HTV for accent elements and press with an EasyPress at the lowest temperature setting. Seal with matte polycrylic.
Project 2: Framed Wood Decor

Take a plain picture frame with a wooden insert or back panel. Sand the panel and apply a thin coat of acrylic paint. Once dry, apply HTV using a heat press at 270°F for 10 to 15 seconds. Peel the carrier sheet and seal with Mod Podge. Works for family name signs, quote prints, and personalised home decor.
Project 3: Wooden Serving Tray or Coaster
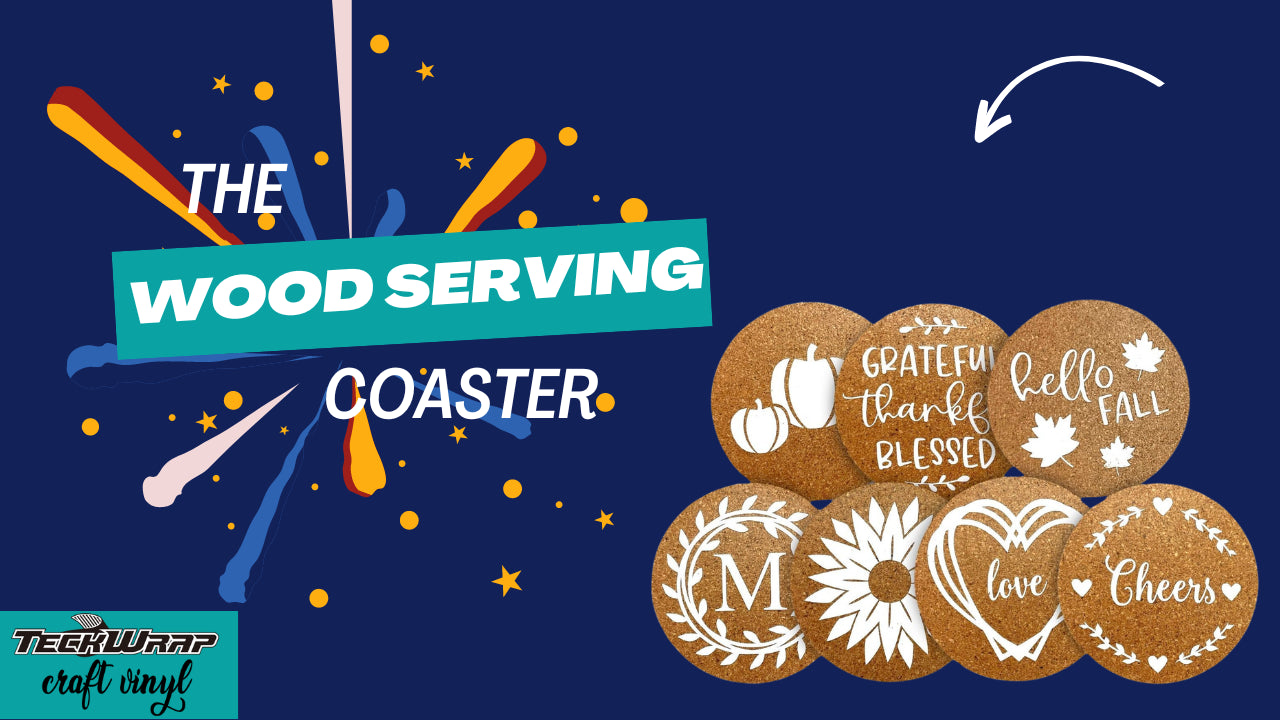
Sand the surface and seal with polycrylic. Apply permanent vinyl using transfer tape and a squeegee. Seal the finished design with Mod Podge Dishwasher Safe and cure for 28 days before using. These make practical personalised gifts that hold up through regular use and wiping.
Project 4: Outdoor Business or Address Sign
Use Crezon board or sealed exterior-grade wood as the base. Apply permanent adhesive vinyl in your design. Seal with an exterior clear coat. Permanent vinyl on properly sealed outdoor wood lasts several years. The most durable option for house numbers or business logos exposed to weather.
More wood sign project ideas
- Rustic wedding table numbers or seating signs (HTV on stained wood)
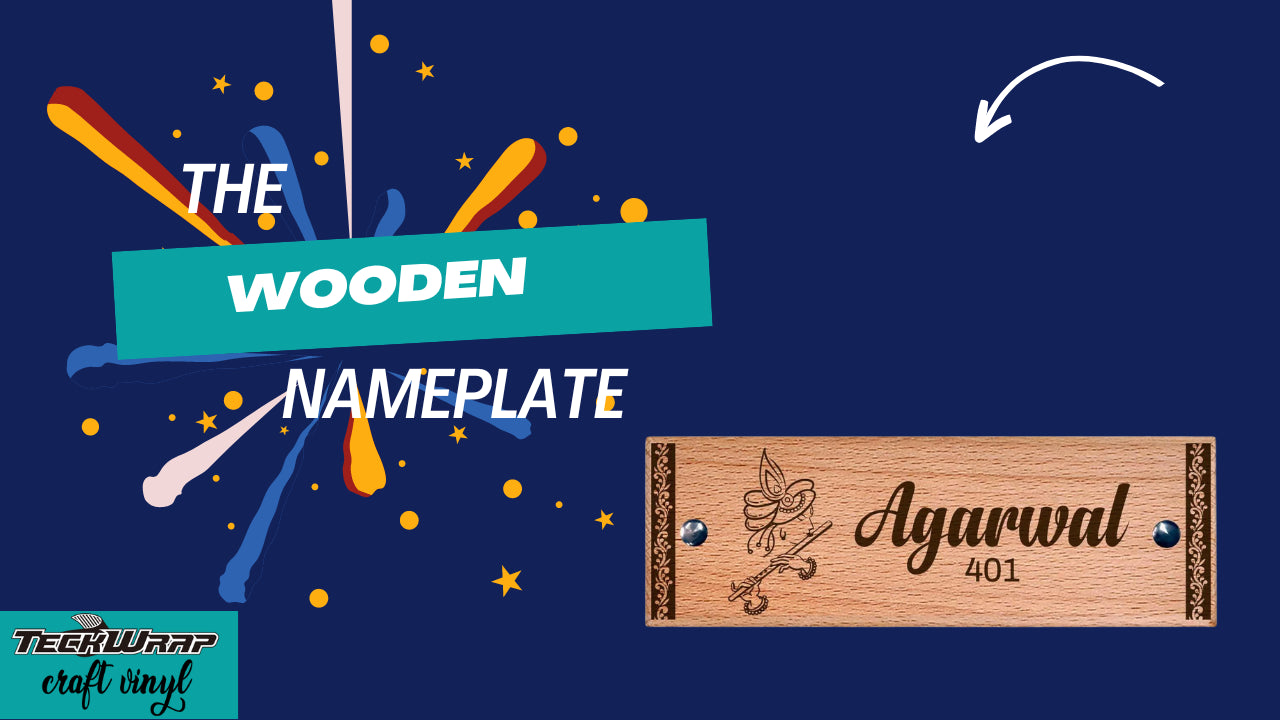
- Personalised wooden nameplates for doors or desks (permanent vinyl on painted wood)
- Seasonal holiday signs (HTV for a painted look, swap designs each season)
- Garden plant markers (permanent vinyl on sealed outdoor wood stakes)
- Wooden photo frames with name or date overlays (HTV on painted or natural wood)
Tips for Using Vinyl on Wood Signs
- Always sand and seal raw wood before applying vinyl. Vinyl does not adhere well to porous raw wood and will peel within days if the surface is not prepared.
- Use the correct squeegee for the surface. A soft felt or silicone squeegee works better on textured wood grain than a rigid plastic squeegee.
- Use medium pressure when pressing HTV on wood. Wood can crack or dent under heavy pressure. Set the heat press to medium pressure and check the wood after pressing.
- Work from the center of the design outward. When applying adhesive vinyl with transfer tape, press from the center toward the edges to push out air bubbles.
- Peel the transfer tape at a low angle slowly. Pull the tape close and parallel to the wood surface rather than lifting straight up. Lifting straight up can pull the vinyl away from the wood.
- Let HTV cool completely before peeling the carrier sheet. HTV on wood is cold peel. Peeling too soon lifts the vinyl from the surface before the adhesive has bonded.
Frequently Asked Questions
Heat transfer vinyl is the best choice for decorative indoor wood signs because it gives a painted-on look that blends with the wood. Permanent adhesive vinyl is better for outdoor wood signs or signs that need to be more durable. Both work well on properly prepared wood surfaces.
Yes. HTV sticks well to sealed, stained, or painted wood when applied at the correct temperature. The wood surface must be smooth and free of moisture before pressing. Raw, unsealed, or porous wood does not hold HTV well. Sand and seal the wood before applying HTV.
Sand the wood with 220-grit sandpaper until smooth. Apply a base coat of acrylic paint, wood stain, or a clear sealant such as Mod Podge or polycrylic. Let the base coat dry fully, at least 24 hours. Wipe the surface clean with a lint-free cloth before applying vinyl.
Press HTV on painted or stained wood at 270 to 305 degrees F (132 to 151 degrees C) for 10 to 15 seconds with medium pressure. Always pre-press the wood for 3 to 5 seconds first to remove moisture. Use a Teflon sheet between the press plate and the vinyl.
Sealing is not always required. For indoor decorative signs, no sealing is needed. For signs that are handled often (coasters, serving trays), seal with Mod Podge. For outdoor signs with permanent vinyl, apply an exterior clear coat sealant to protect against moisture and UV exposure.
Yes. Permanent adhesive vinyl is the right choice for outdoor wood signs. It holds up against sunlight, rain, and temperature changes when applied to properly sealed outdoor-grade wood. Seal the finished sign with an outdoor sealant for maximum longevity.
On properly prepared and sealed wood, HTV lasts several years indoors without peeling. Permanent adhesive vinyl on sealed outdoor wood lasts 3 to 5 years or more with proper application and an outdoor sealant coat. Poor surface preparation is the most common cause of early peeling.
Raw wood must be prepared before vinyl is applied. Sand with 220-grit sandpaper, apply a thin coat of acrylic paint or Mod Podge as a base coat, and let it dry fully. Applying vinyl directly to raw porous wood without sealing will result in the vinyl peeling within days.
Wrapping Up
For decorative indoor wood signs with a hand-crafted painted look, heat transfer vinyl is the right choice. For outdoor signs or signs that need to handle exposure and regular use, permanent adhesive vinyl is more durable. Both work well on wood when the surface is properly sanded, sealed, and dry before application.
TeckWrap Craft carries a full range of HTV and permanent adhesive vinyl in matte, glossy, glitter, holographic, and specialty finishes. All are compatible with Cricut, Silhouette, and standard cutting machines.
Shop TeckWrap Craft vinyl for wood signs.
More Articles You’ll Find Helpful
Keep Crafting with Us
Everything You Need to Know About Decorative Interior Films


June 23, 2026
Everything You Need to Know About Decorative Interior Films
Best Surfaces for Interior Films: Complete Guide


June 21, 2026
Best Surfaces for Interior Films: Complete Guide
Can Interior Films Damage Walls or Furniture?


May 21, 2026
Can Interior Films Damage Walls or Furniture?
- Choosing a selection results in a full page refresh.
!