Updated By TeckWrap Craft On April 23, 2025
How To Make DTF Transfers

Table Of Contents
- What Is A DTF Transfer?
- Tools Needed for DTF Transfer
- DTF Printer
- DTF Transfer Film
- Software For Printing DTF Designs
- Hot-Melt Adhesive Powder
- Automatic Powder Shaker
- Heat Press Machine
- Curing Oven
- DTF Transfer – A Step-by-Step Guide
- Step 1: Print Your Design On The Transfer Film
- Step 2: Powder The Image
- Step 3: Melt The Powder
- Step 4: Pre-press The Fabric
- Step 5: Transfer The Design
- Step 6: Peel Off The Film
- Step 7: Post-Pressing
- Common Mistakes To Avoid During DTF Transfer
- Is DTF Transfer Better Than Using Heat Transfer Vinyl?
- The Initial Cost
- The Speed Of Production
- A Wide Range Of Substrates To Work On
- Durability Of The Final Product
- Frequently Asked Questions
- Final Words
Fabric customization has evolved immensely over the years, with novel, innovative methods of design transfer being introduced with time. What really proved to be a complete game changer is the
What Is A DTF transfer?
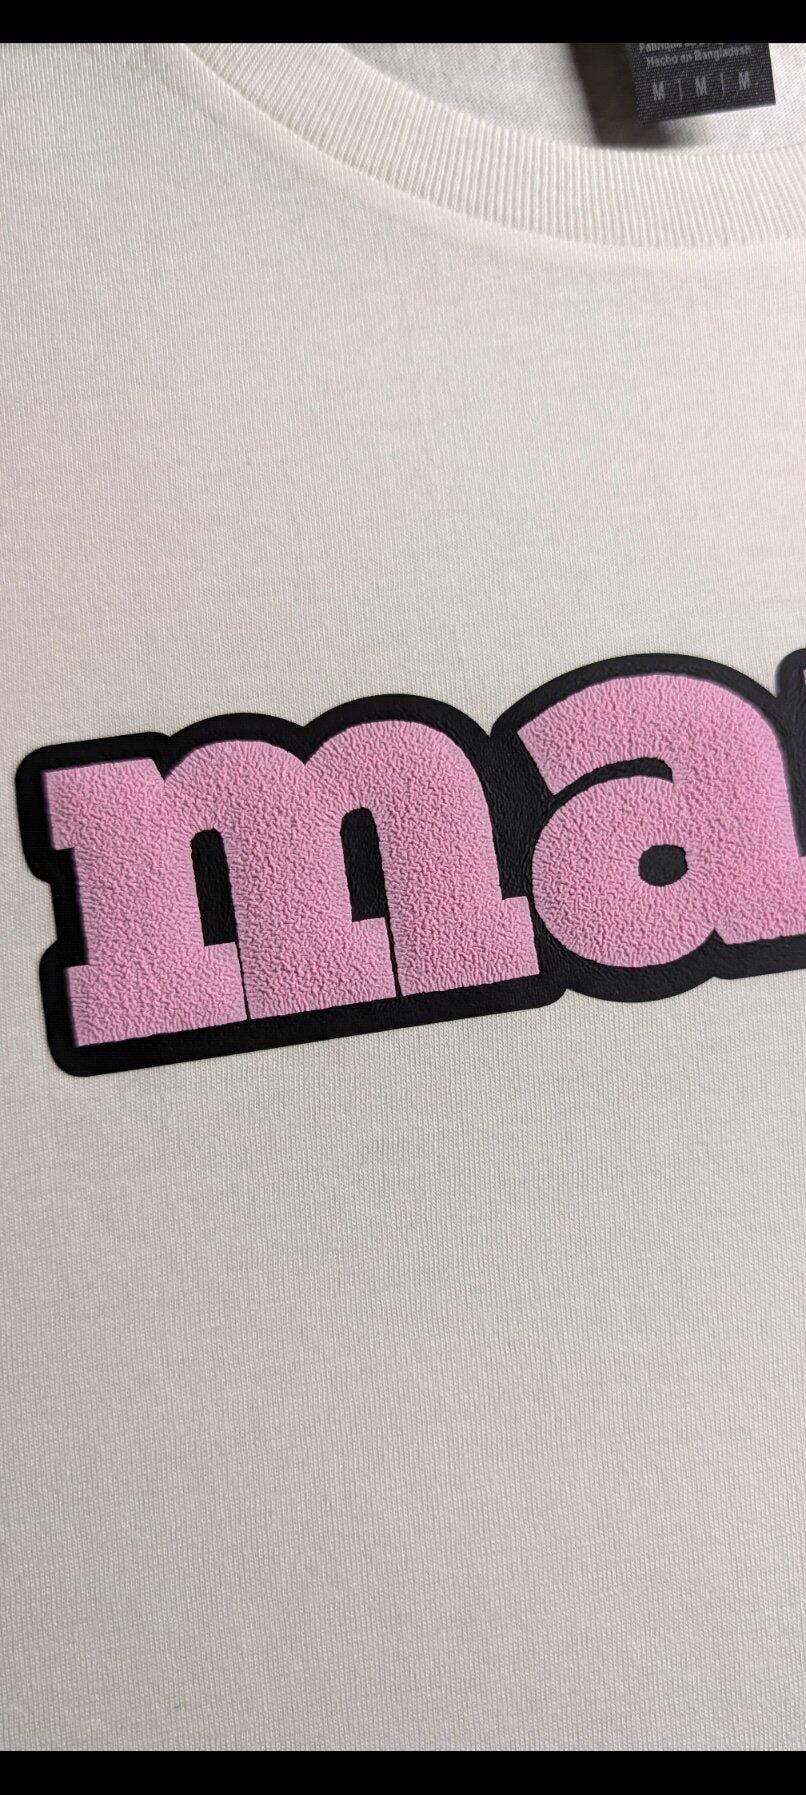
DTF is an acronym that stands for Direct to Film transfer. It is a technique through which you can print any design, graphics, or image that you have visualized, irrespective of how intricate it is, onto a special film, which is then transferred to a fabric made of cotton, polyester, or their blends using a heat press mechanism.
In this process, you have the freedom to choose the fabric, hence you can even opt for silk and synthetic material like rayon or terrycot. It makes customizing your garment quite simple as you do not have to weed off negative pieces or require masking. Just print and easily transfer through heat application beautiful, vibrant patterns on both light and dark-colored garments.
Tools Needed for DTF Transfer
For any project to be successful, having proper paraphernalia is the first step. To make successful DTF design transfers on your favorite t-shirt or any other fabric, you will need the following:
DTF Printer
This is no ordinary printer. It has multiple colored ink tanks that allow the printer to use CMYK settings. It uses specialized and unique textile inks designed in Cyan, Yellow, Magenta, White, and Black colors. The foundation of your design is formed by the white ink, while the colored pigments print the whole of it on the film in vivid hues. The inks are elastic in nature and do not crack when the garment is stretched after the design is transferred.
DTF Transfer Film
This is a film made up of polyethylene terephthalate (PET). It is a high-performance, crystal-clear film with better transfer characteristics that is available in the form of sheets and rolls of varying sizes. You can buy the size that best suits your needs. For instance, sheets are good for small-scale projects, but if you have a commercial set-up, you might want to buy rolls.
DTF transfer films are strong and dimensionally stable with a thickness of approximately 0.75mm. They are available in two variations: the cold peel and the hot peel. Printable two-sided cold peel films give the best result. Always opt for premium quality films for DTF transfers if you want perfection in your projects.
Software For Printing DTF Designs
Specialized RIP software is required for correct color performance in DTF printing. It prints CMYK and white-colored layers correctly. It ensures premium print quality and an optimum result.
Hot-Melt Adhesive Powder
This is a white granular powder that acts as an adhesive. It binds the colored pigments in the print to the fibers in the fabric. It allows you to transfer clear and vibrant prints to your garments that are also soft and elastic to the touch. A good quality powder offers superb adherence and great washability. It sticks precisely to the ink and not the film. There are different grades of DTF powder specified in microns. Use the one that best suits your requirements.
Automatic Powder Shaker
This is used in commercial setups. For a hobbyist delving into DTF transfer, this is an optional tool. It evenly spreads the hot-melt adhesive powder on the film. It also removes excess powder, ensuring a smooth transfer onto the fabric.
Heat Press Machine
To transfer the design printed on the film, you will need a
Curing Oven
It is a small industrial oven used to melt the powder on your DTF film. It uses heat to generate a chemical reaction and cure the adhesive. This is again an optional tool, as the heat press machine can also serve the purpose if used in no-contact mode.
DTF Transfer – A Step-by-Step Guide
Once you have the tools that you need, let’s start the DTF printing and transfer process. We present to you a comprehensive guide on how to transform your fabric into a beautiful piece of workmanship through DTF printing.
Step 1: Print Your Design On The Transfer Film
Visualize the design that you want on the fabric, create it, and then transfer it to the RIP software. Ideally, your design should be in the following formats: EPS, PDF, BMP, TIFF, JPG, PNG, or PSD. This will make the process smoother. The RIP software will convert your design into bitmap or raster format for error-free communication with the printer.
Put the matte finished side of the PET film facing up. This is where the ink will be applied. Mirror your image on the software. After you are satisfied with the colors and presentation of your design, you are ready to print. In the print dialog box, press ‘Print Color First’. This will lay the color down first on the PET film, and then follow up with the white ink. Once all is set, let the printer create its magic.
Step 2: Powder The Image
Do not touch the print on the PET film. Apply powder on it in such a way that the whole design is covered in it. It should be applied in a uniform manner when the ink is still wet.
Place the film on a tray and sprinkle the hot-melt powder evenly on the whole design. Now, rock the film gently from left to right so that the powder is spread all across the surface of the film. Once you are sure that the job is done, then very carefully shake off the excess powder. An automated shaker does this for you easily, but if you are working on a small scale and don’t have one, you can do it manually.
Step 3: Melt The Powder
This is where the curing oven comes in as it applies heat to your printed image, but if you do not have one, you can even use your heat press machine for this step. Place the film inside the heat press and bring the top platen very close to the image. It should not touch the design. Maintain a 4 to 7mm gap between the top platen and the film.
Depending on the powder that you are using and the equipment, it is better to follow the manufacturer’s specifications regarding the time and degree of temperature to be applied. After the powder is cured, the film will have a shiny orange peel-like texture all around. If you run your finger across it, it should feel nice and smooth. If the texture feels slightly tacky or has an oily residue, you may need to cure a bit longer. There should be no dry powder left on the design.
Step 4: Pre-press The Fabric
Before applying the design, you will have to pre-press the fabric that you are using as a substrate. Place the fabric in the heat press machine and apply heat to it for 2 to 5 seconds. This helps in making it flat, as there should be no wrinkles on it; otherwise, they will ruin the print. Furthermore, this removes the moisture that the fabric might have absorbed from the humidity in the air, which can affect the print quality.
Step 5: Transfer The Design
Now it’s time to transfer the design to the fabric. Place the PET film with the image and the melted powder onto the substrate where you want to position it. The colored design should face up. Place it in the heat press and apply heat to it for strong adhesion between the film and fabric.
Press the fabric according to the recommended time, temperature, and pressure. Generally, the curing is done at 160°C-170°C, applying medium to firm pressure for 15 to 20 seconds. After the time has lapsed, you will see that the film has attached to the garment. Remove it from the heat press. It is time to peel it off.
Step 6: Peel Off The Film
Let the film cool down to room temperature, then peel it off, lifting from one corner. Once the film is removed, you will see your beautiful design printed in ink on the fabric.
Step 7: Post-Pressing
This is an optional step that is highly recommended for optimum performance of the transfer. Press the fabric with the transferred design for 10 to 15 seconds in the heat press machine. This ensures that the inks are driven into the garment’s fibers, helping to strengthen their durability and wash fastness.
If you notice excess powder in the unprinted areas, usually around the edge of the design, you can easily remove it by placing a regular copy paper on the design, making sure it is fully covered and pressing it for three seconds in the heat press. Remove the copy paper, and the excess powder will be removed. Your fabric is ready to behold and win praise from all.
Common Mistakes To Avoid During DTF Transfer
The DTF design transfer technique is gaining a lot of traction amongst crafters; however, to master it, it is imperative to avoid the following mistakes:
- Be patient and take your time: While visualizing the design, creating it, and working on it on the RIP software, be patient to get all the elements right. You do not want to rush through the process and then regret it later on.
- Invest in high-quality equipment: Do not compromise when it comes to buying the printer, inks, PET films, heat press, and so on. Invest in the best equipment to get excellent results. Also, take care of the implements once you are done printing the fabric. Keep them away from dust and direct sunlight. You must also do the necessary maintenance of the DTF printer to avoid problems like clogged nozzles.
- Do not forget to preheat the fabric: This is an important step that will make a lot of difference to the final product and its design quality. If not done, it might ruin the whole effort of DTF printing. All excess moisture has to be removed before applying the print.
- Set the right temperature and pressure: This depends on the kind of fabric you are printing on. You will have to research the correct temperature and pressure that have to be applied for perfect transfers. If you are using customized DTF films, follow the instructions that come with them.
- Do not peel off DTF film quickly after the transfer: It is better not to be hasty when peeling off the PET film from the fabric. If your film calls for a cold peel, wait until it has completely cooled off before removing. If it has to be taken out warm, wait until it has cooled off a bit. Do not hurry to get over this step, as you might ruin your transfer.
Is DTF Transfer Better Than Using Heat Transfer Vinyl?
The answer to this query depends on your set-up, work, and usage, hence, individual situations have to be considered. Following are some of the points of comparison between the two methods to help you make an informed decision.
The Initial Cost
For novices, it is better to start with HTV transfers as the initial cost is quite economical. Also, the process is not that technically advanced. You just need to cut and weed out vinyl sheets before transferring the design to a fabric. All in all, it is easier and cost-effective to start with HTV printing than using DTF transfers.
The Speed Of Production
DTF is a better option if you want high production speed. HTV can be time-consuming, especially if you are weeding out intricate designs. DTF directly prints on a PET film, hence offering faster and higher production and efficiency. If you are working commercially, you can print multiple designs on a roll of PET film and consequently create a batch of garments.
A Wide Range Of Substrates To Work On
Unlike HTV, you can work on a variety of fabrics using DTF transfers. You can use both natural, pure fabrics, such as cotton and silk, and synthetic ones like polyester and rayon. When using HTV, you do not have this liberty. Hence, DTF transfers give you more variety and choice.
Durability Of The Final Product
In the DTF process, the ink is transferred to the fabric and driven into the fibers. A second press is required that allows a flawless transfer. This ensures the durability of the print and the fact that it will last longer without peeling, cracking, or stretching. HTV is also durable, but not as much as a DTF transfer.
Following are the differences between HTV and DTF transfer for better understanding:
| DTF Printing | Heat Transfer Vinyl |
|---|---|
| It is best for medium to large-scale production. | It caters more to small-scale orders. |
| It easily prints complex, multi-color designs and is not time-consuming. | Each vinyl has to be cut separately, followed by weeding off the extra parts, which needs time and patience. |
| The DTF print lasts longer on fabrics. | HTV is long-lasting as well, but can peel off and crack earlier than a DTF transfer. |
| Proper ventilation is required during the heating process. | No ventilation is needed in this process. |
Frequently Asked Questions
Final Words
DTF transfer is an emerging technology that is fast gaining popularity. It is highly versatile with reduced production time and cost. It also has no color limitations. If you want to delve into it, make sure you have the best equipment, and it can prove to be the gateway to expanding your business and accepting more clients!