Updated By TeckWrap Craft On June 29, 2024
How To Put Your Logo On A Hat? Cap Printing 101!

Are you thinking of printing caps with a company logo? Perhaps you want to create custom hats for your own clothing brand? Then read this post on how to put your logo on hat. To give you an idea, there are several printing techniques for cap printing.
There’s the sublimation technique on trucker hats. Or you can print heat transfer vinyl or transfer paper on baseball caps. Then there are embroidered hats where you can use iron on embroidery transfers for more elegant-looking logo hats, just like New Era Hats. Keep reading further so you can learn how to print your own logo on hats, sun visors, dad hats, baseball caps, and even beanies.
Supplies Needed For Printing Custom Hats
Cap printing is not like your usual t-shirt printing process. You’ll need specific machines and supplies to create your own custom hats. Here are the easiest supplies you should have to print custom logo hats:
- Heat Press Machine: It is best to invest in a cap heat press machine that has a curved rubber pad where you can easily keep the printable part of the cap. If you don’t have the budget for it, a Mini Heat Press Machine will also do but you can’t use it for sublimation printing as this may cause ghosting.
- Thermal Tape: This is placed on the sides of the print to prevent the material from moving. It’s heat-resistant and is particularly important if you’re using a mini heat press machine.
How Do You Make Custom Logo Hats?
There are different types of printing techniques when creating a custom hat. You can do screen printing or opt for custom embroidered hats. However, both techniques are costly, because you’ll be needing big machines and a wide space to accommodate these machines.
That’s why if it’s your first time creating custom baseball caps and want to opt for the easier and cheaper way, sublimation, heat transfer vinyl and transfer paper printing are the better options. All three printing processes will be thoroughly explained below.
Cap Printing Using Sublimation Technique
The easiest and cheapest way to customize hats is through sublimation printing. If you plan on giving out promotional hats, then this printing technique is best for you. However, there are limitations when it comes to sublimation cap printing, here’s what you need to remember:
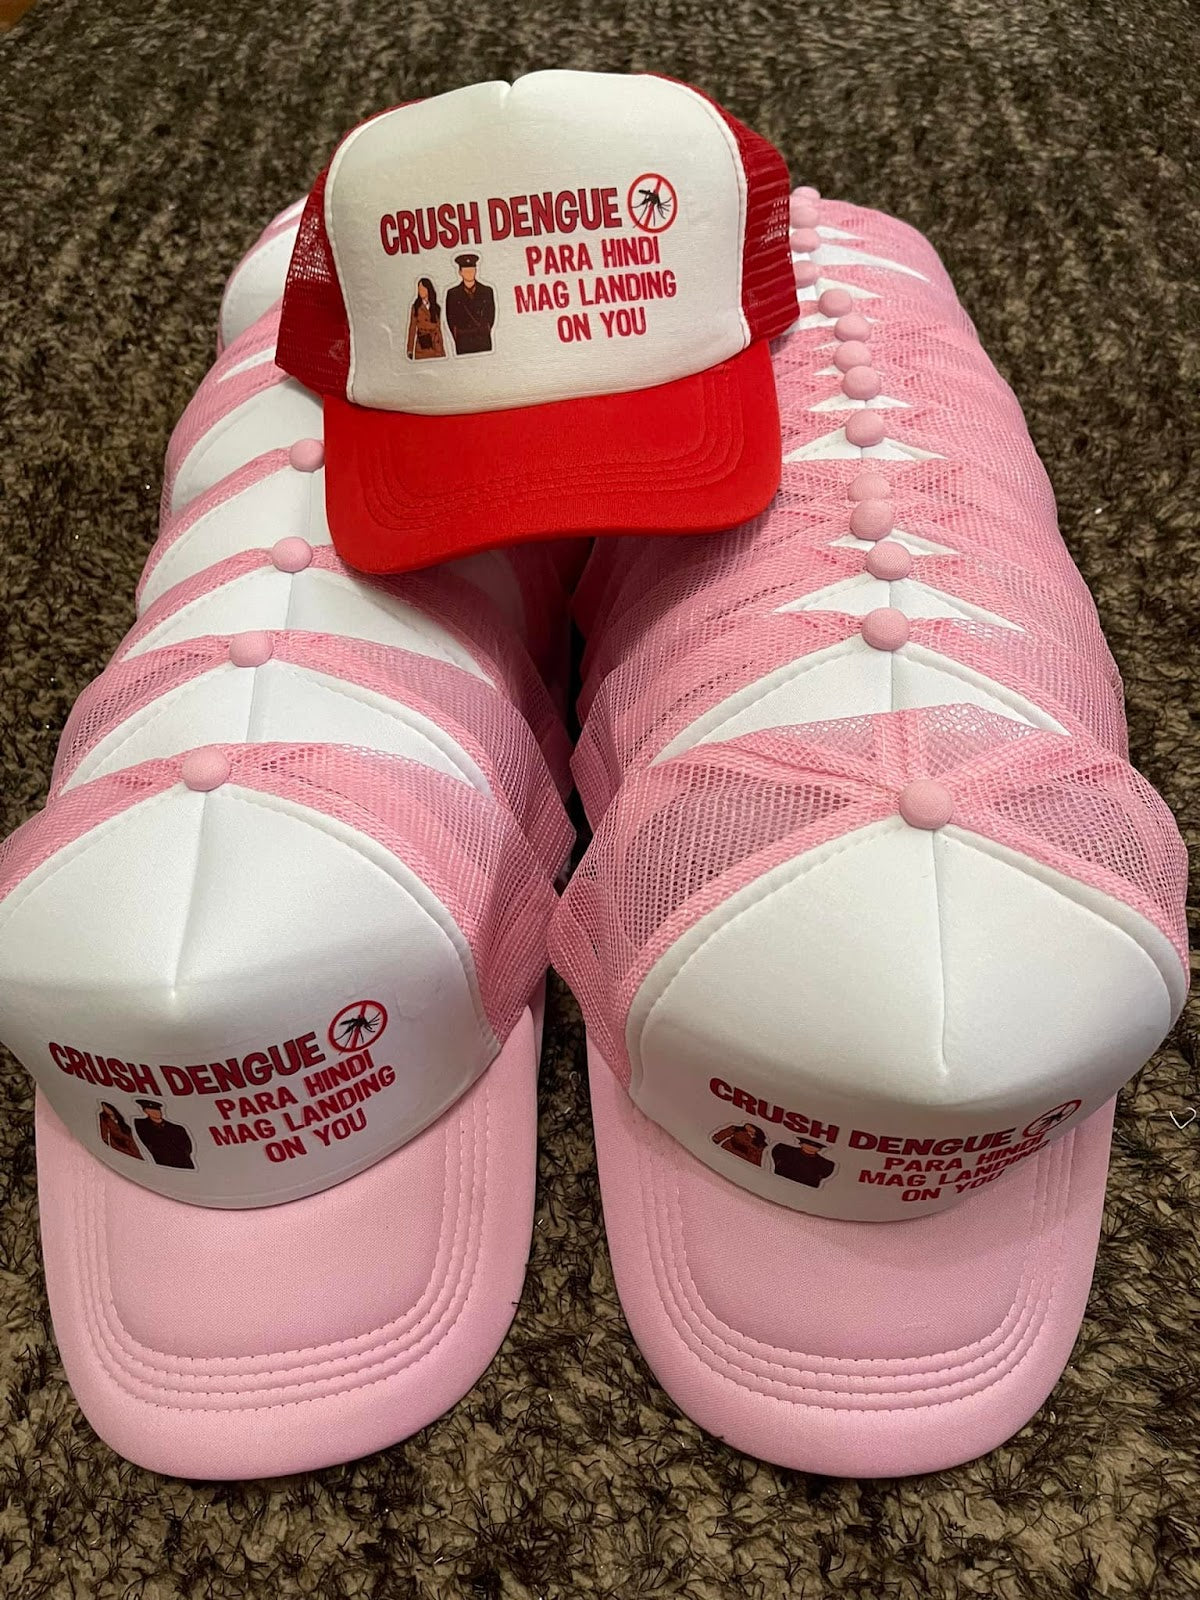
- You can only sublimate on special sublimation caps with the white printable area. Sublimation caps are like trucker hats like what you can see in the image below. The printable area of the sublimation caps is made of polyester. As a general rule, you cannot sublimate on 100% cotton garments.
- You can only use a cap heat press machine when sublimating on a cap. You cannot use a mini heat press machine as this may result in ghosting of the print.
- You cannot sublimate on a dark-colored baseball cap. You cannot sublimate on regular baseball hats.

Supplies Needed For Sublimation Printing On Caps
Whether you want to start a custom apparel line with your own logo on the cap, or want to print a brand logo on the cap, sublimating is an easy printing technique to try out. The first step is to gather the supplies you need:
- Cap heat press machine
- Sublimation cap or sublimation pre-curved visor
- Sublimation paper
- Inkjet printer with sublimation ink
- Thermal tape
- Scissors
How To Sublimate Print On A cap
- Print your design on the sublimation paper. Don’t forget to mirror the design.
- Cut the excess part of the sublimation paper, the part of the paper without the print.
- Start with placing the cap on the cap heat press machine.
- Make sure to secure the keep in place so it won’t move while pressing.
- Set the cap heat press machine temperature at 375-400° F and the press time is 60 seconds
- Pre-press the cap for 5 to 10 seconds.
- Secure the sublimation print in place using thermal tape.
- Press the hat for 60 seconds.
- Remove the transfer tape and sublimation print.
- Then you’re done!
Once you’ve mastered sublimating on caps, you can create customized hats easily and flawlessly. Whether it be your own hat, promotional caps with your business logo, or for gift ideas, the sublimation technique for cap printing is a surefire easy way to custom hats.

Cap Printing Using Heat Transfer Vinyl
If you want to custom logo hats with vibrant colors, then you can opt for heat transfer vinyl printing. The good news with printing customized hats using heat transfer vinyl is you can use a mini heat press machine. Furthermore, you can print heat transfer vinyl on any kind of baseball cap regardless of color.
If you want to print monogram logos or minimalistic design layouts on a cap, the heat transfer vinyl printing is the printing technique of choice. Not only that, but HTV printing on caps are the go-to choice for many clothing brands if custom embroidered printing is not available.
Supplies Needed For Heat Transfer Vinyl Printing On Caps
To print custom caps through heat transfer vinyl printing, here are the supplies you need to gather:
- A baseball hat of your choice (If you plan to print on the center part of the cap, make sure to choose a cap without a lined panel center all the way).
- Heat transfer vinyl of your choice (Check out TeckWrap Craft’s HTV collection)
- Cutting machine (Silhouette or Cameo)
- Weeding tools
- Cap heat press machine or Mini Heat Press Machine
- Optional if you’re using a Mini Heat Press Machine: Heat-resistant rubber cap molder or rolled-up clothing that will keep the printing surface of the hat flat.

How To Print Heat Transfer Vinyl In A Cap
- Cut the heat transfer vinyl
- Weed the heat transfer vinyl
- Place the cap on the cap heat press machine or place it in a cap molder if you’re using a Mini Heat Press Machine
- Pre-press the cap for 5 to 10 seconds
- Set the temperature of the cap heat press machine at 320 °F and the pressing time is between 15 to 20 seconds
- If you’re using a Mini Heat Press Machine, set it to Medium, use firm pressure and press for 20 seconds.
- Place the HTV on the desired print area of the cap, and use thermal tape to keep it secure. Make sure to avoid printing on the lined panel.
- Press and you’re good to go!
- Make sure not to fold the hat at least 24 hours after printing so as not to cause the printed vinyl to get creased
Cap Printing Using Transfer Paper
If you want to print logo hats with multiple colors and layering heat transfer vinyl seems like a difficult job, then you can print on a cap using transfer paper. This is a better printing technique than screen printing for multi-colored logos because it’s faster and the colors are more accurate.
Just a piece of advice though when printing transfer paper on caps, just like HTV printing, you need to do away with caps that have a center front panel lining all throughout as this is hard to print transfer paper or HTV over it. For easier printing, make sure to look for caps that have a flat printing surface just like the image shown above.
Supplies Needed For Transfer Paper Printing On Caps
- Dark transfer paper for dark-colored caps
- Light transfer paper for light-colored caps
- Mini Heat Press Machine or cap heat press machine
- Inkjet printer with pigment ink
- Scissors
- Cutting machine (for designs that are complicated to cut)
- Heat-resistant transfer tape as a carrier sheet
- Teflon sheet

How To Print Transfer Paper On A Cap
- Start with printing your design. It is best to place a black outer border on the design for easier cutting later on. Always use the highest quality print setting on the ‘Printer Properties.
- If you’re using light transfer paper, don’t forget to mirror the design. If you’re using dark transfer paper, there is no need to mirror the design.
- Cut the excess part of the transfer paper, which is not part of the design itself. You can use scissors or an Exacto knife for easy to simple designs. While for complicated designs that you don’t want a white background underneath it, you can use a cutting machine.
- If you’re using the cap heat press machine, place the cap securely on the heat press machine. If you’re using a mini heat press machine, place a cap molder.
- Don’t forget to pre-press the cap for 5 to 10 seconds.
- Set the cap heat press machine at 365°F. If you’re using a Mini Heat Press machine, set it to Medium.
- If you’re using dark transfer paper, you’ll need heat-resistant transfer tape to serve as a carrier sheet. Place the heat-resistant transfer tape over the design to keep the design in place and to serve as a carrier sheet.
- Press the design for 5 seconds then remove the carrier sheet.
- Place a Teflon sheet over the design, and press again for 10 seconds.
- Let the print cool off for 10 seconds before removing the Teflon sheet.
- You’re done!

Frequently Asked Questions
Capping It All Up! No Pun Intended!
With everything you just learned, it’s safe to say that if you want to create custom hats, faster and cheaper, the best printing techniques are heat transfer vinyl printing, sublimation printing and transfer paper printing. Screen-printed and embroidered hats are also go-to printing options, however, the start-up costs are expensive.
For bulk orders of hats for giveaways, you can save money with sublimation printing. For multi-colored logos, it is best to use transfer paper. While for clothing brands with minimalistic designs or monograms, your best option is heat transfer vinyl printing.


