Updated By TeckWrap Craft On May, 24, 2025
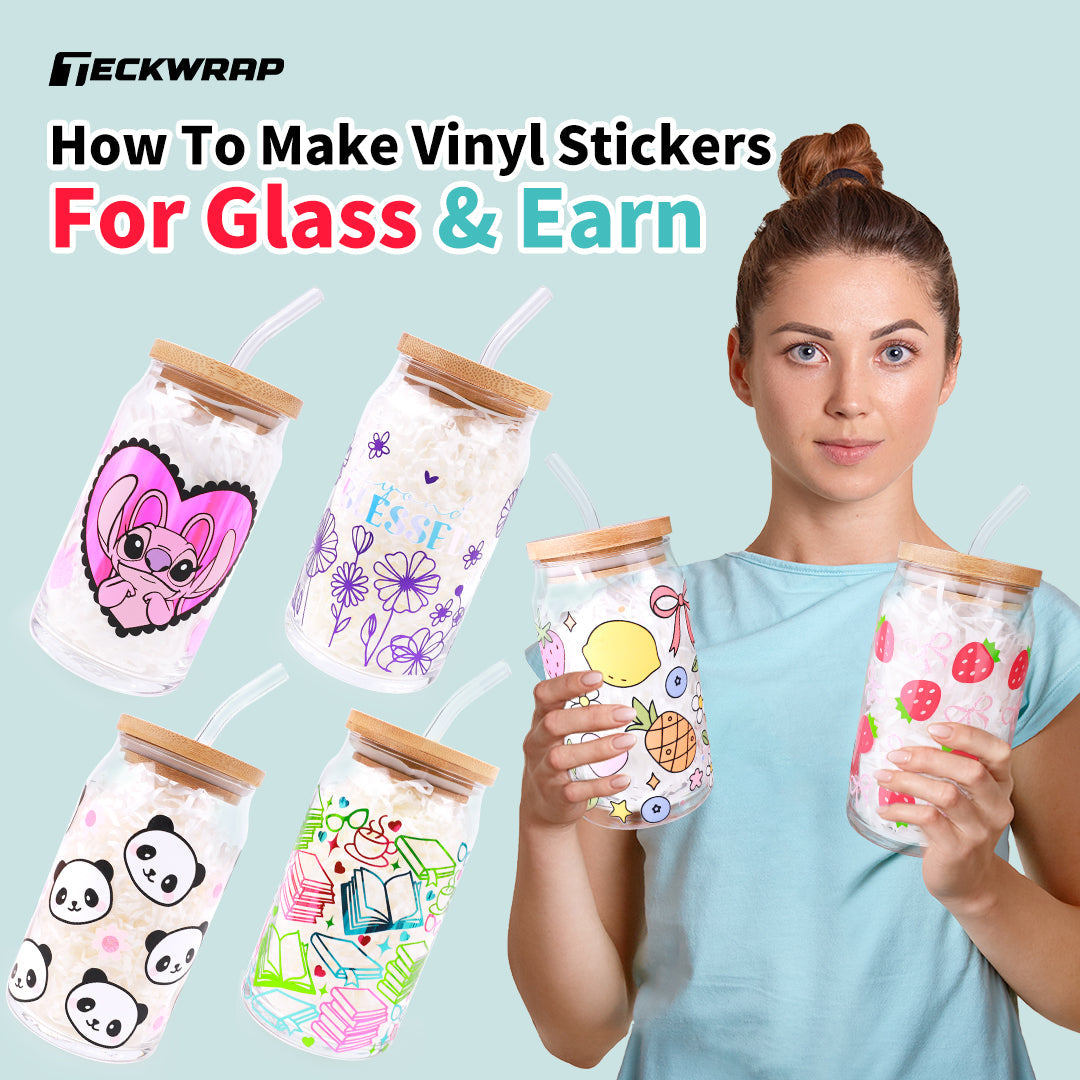
How To Make Vinyl Stickers For Glass And How To Earn From It

Table Of Contents
- What Is A Vinyl Sticker?
- Tools Needed For Making Vinyl Stickers
- Steps For Making Vinyl Stickers
- Step 1:Create Your Design
- Step 2: Choosing A Vinyl
- Step 3: Prepare The Design
- Step 4: Cut The Vinyl
- Step 5: Weed Out Extra Pieces
- Step 6: TRansfer The Vinyl Onto The Glasses
- Multi-Colored Inkjet Printable Stickers For Glass
- How To Make Inkjet Printable Stickers For Glass
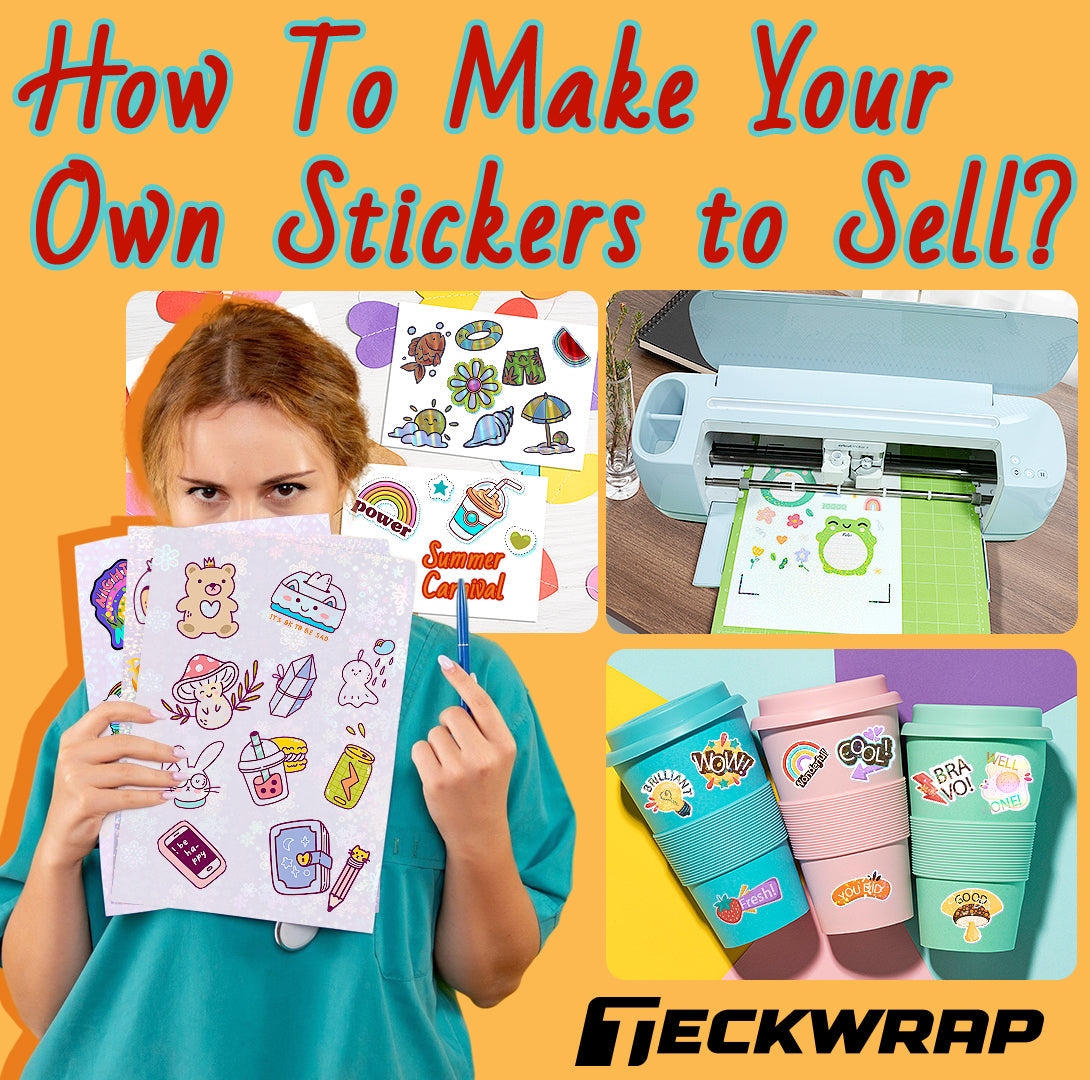
- How To Make This Into A Business?
- Frequently Asked Questions
Want to decorate glass jars, bottles, windows, or doors in a remarkably creative way? Now you can easily do that with permanent craft adhesive vinyl. You can make stickers for glass by cutting and applying vinyl designs using transfer tape and a squeegee. Here’s a detailed method to streamline the process and make it easy to create amazing decals and signage for glass surfaces.
What Is A Vinyl Sticker?
The vinyl sticker is crafted with durable polyurethane material. Permanent vinyl is used for glass and is equipped with a strong adhesive backing that forms a robust bond with the surface it is applied to. It is available in many different colors and finishes and can be cut into any shape or design with ease. You can stick it to cups, windows, jars, bottles, or any other smooth, clean, and dry surface. It gives a long-lasting performance without peeling, cracking, or fading with time.

Tools Needed For Making Vinyl Stickers
Crafting is easy and fun when you have all the materials and the right equipment on hand. Here is a list of tools you will need to create vinyl stickers for glass:
- Permanent adhesive vinyl
- Cutting machine (Silhouette Cameo or Cricut machine)
- Cutting mat
- Weeding tool
- Transfer Tape
- Squeegee
- Scissors
Steps For Making Vinyl Stickers
If you have all the tools, it's time to bring creativity into play, so without further ado, here are the steps on how to make vinyl stickers for glass:

Step 1: Create Your Design
Create or choose the design that you want on the glass using the design software that is compatible with your cutting machine. If you are working on Adobe Photoshop or Canva, you will have to import the design to the software of your machine. Cricut uses Design Space and for Silhouette, you will work on Silhouette Studio. In Cricut, you also get a whole library of designs that you can choose from to make your vinyl sticker for glass.

Step 2: Choosing A Vinyl
Permanent adhesive vinyl comes in different colors and finishes such as matte, glossy, holographic, glitter, glow-in-the-dark, and more. You can choose the one that best suits your craft plan. The vinyl is available in the form of rolls and sheets of different sizes so you can select the right size without wasting material.

Step 3: Prepare The Design
Adjust the dimensions of your design on the software according to the space on your glass blank and cut a piece from the vinyl roll bigger than it from all sides. Adjust the material setting as well. This will automatically set the blade depth, force, and speed for accurate cuts. For best results, do a test cut to see if the vinyl is weeding easily.

Step 4: Cut The Vinyl
Place the vinyl on the cutting mat and apply a squeegee to it. This removes creases if any. The mat comes with a grid that helps in the correct placement of the vinyl piece. It is sticky and thus holds the vinyl firmly when it is being cut. Load it into the machine and allow the machine to cut your design.

Step 5: Weed Out The Extra Pieces
After the machine has cut your design, it is time to weed out extra vinyl pieces. Weeding is removing excess vinyl, leaving you with only the original decal that you finalized on the software. For best results, keep a printout of the design in front of you so you can remove all pieces correctly. If you are working with a text design, don’t forget to remove the inner details like those of the letters A, O, and P.

Step 6: Transfer The Vinyl Design Onto The Glass
Remove the backing of the adhesive vinyl slowly. All components of the design should be on the transfer tape now. Apply it on the glass where you want it to be. The grid will help you align it correctly. Burnish with the squeegee again so that it adheres perfectly.

Multi-colored Inkjet Printable Stickers For Glass
If you want to make multi-colored stickers to decorate glass surfaces such as doors and windows, the easiest and most time-efficient way to do so is by using Inkjet Printable Sticker Paper Sheets. These deliver vibrant colors and sharp prints, making your designs come to life with excellent clarity and detail. Make sure to laminate your stickers to make them waterproof. Even after that, it is better not to expose them to excessive water.
How To Make Inkjet Printable Stickers For Glass?
The process of making printable stickers for glass is very easy too. You will need the same supplies, however, in place of permanent adhesive vinyl, you will get Inkjet Printable Sticker Paper Sheets. These are available in different finishes such as matte, glossy, translucent, and holographic. Here’s the rest of the process:
- Finalize your design on the software compatible with your cutting machine. Set its dimensions according to the size of the sticker sheet. You can also have multiple small stickers on the sheet.
- You will use the Cricut ‘Print and Cut' feature for this. Once you have printed your stickers, allow them to dry completely to prevent smudging.
- Once your stickers have dried, apply a laminate sheet of your choice on top and squeegee over it for smooth adhesion. This is important for the durability of your stickers.
- Allow your machine to cut the stickers. You can make kiss-cut or die-cut stickers. Now you can remove their backing and apply them to decorate the glass surface of your choice.
If you want custom stickers in bulk and do not have the setup to make these yourself, you can get them printed, prepared, and delivered to your door through TeckWrap Craft.
How To Make This Into A Business?
Wouldn’t it be great to make money from something you love doing? Yes, there are millions of people selling crafts online. But don’t be discouraged and intimidated because you can stand out by making your product noticeable. The first step is to build your brand identity. Most likely, your first clients will be your family and friends.
The vinyl stickers that you make for them can be documented to add to your portfolio. Word will spread about your quality of work which can be the start of your brand building. You can gradually expand your reach by selling outside your close circle.
You can start selling at school fairs and support local sports teams by making their promotional materials. You can even collaborate with local party planners to create stickers for souvenirs, invitations, and other party needs.

Establish Your Online Presence
Pick a great name for your brand and create your social media presence. You can post videos or blogs about the vinyl crafts that you are making. You have to make a great first impression as it can make or break your business.
Selling in your local community is a great start. However, you cannot expect your sales to peak because your community’s reach is limited. You may look into selling online through Etsy or Amazon before eventually launching your own website.
Cost To Get Started
Another important question to ask is, “What will be the cost of starting a custom sticker business?” Not much. If you are starting from scratch and don’t even have any tools, here’s the cost breakdown. With roughly $500, you can purchase your vinyl cutting machine and a new printer. You will need an additional $200 to $400 for other crafting supplies. So initially, you should have at least $1000 to start your business.
Permits And Licensing
If you are just starting, you can register your brand under your name. You have the option not to register it as a business until you see profit coming in. For more details about this, you can check your local state for the specific regulations and requirements.
Frequently Asked Questions
Summing Up
You can make vinyl stickers easily for glass with permanent adhesive vinyl. If you are a beginner and you don’t have a cutting machine to create your vinyl designs, it is advisable to start with a simple pattern.
Surely, you must be excited to start working on your first vinyl sticker project for glass. Don’t forget to be patient especially if you don’t have enough tools and equipment to make crafting easy for you. For premium-quality vinyl and tools, visit the TeckWrap Craft website.