Great price and quality! 10ft rolls available compared to my local craft shop in the UK.

How To Get Bubbles Out Of Vinyl?
Updated By TeckWrap Craft On April 08, 2024
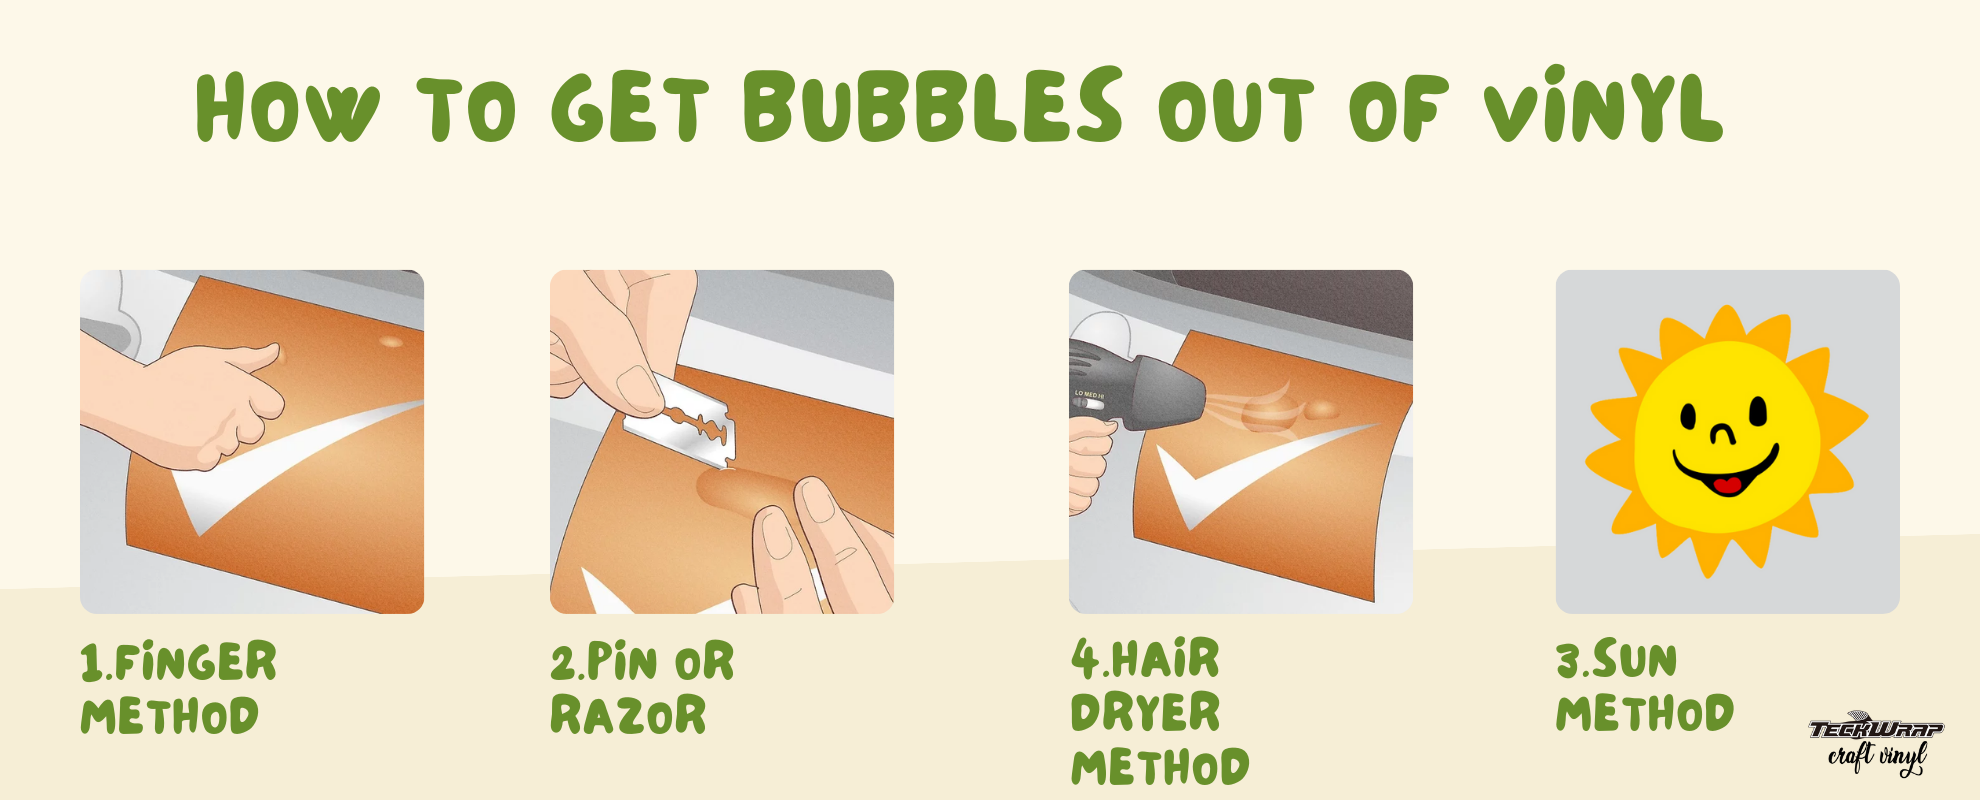
Table Of Contents
After spending countless hours customizing a vinyl project to perfection, you will be highly frustrated to see unsightly air bubbles on its surface. These can definitely ruin your project but fortunately, they can be easily removed with different effective techniques.
Why Does My Vinyl Have Bubbles?
Sometimes the culprit to air bubbles is the way a decal is applied. Rule of thumb, peel the backing off the vinyl design gently to apply it to the surface of your project. Exert slight pressure as you adhere it and work your way from one edge to the other. Once it’s in place, rub it with a squeegee from the center out towards the edges to remove trapped air and ensure strong adhesion.
If you see that some bubbles have found their way into your vinyl decal, even after following the procedure correctly, don’t worry! These can be easily removed using any of the 4 ways mentioned below.
How To Get Bubbles Out Of Vinyl Projects?
There are many ways to save your vinyl projects from unwanted air bubbles. Here’s how you can remove them:
The Finger Method
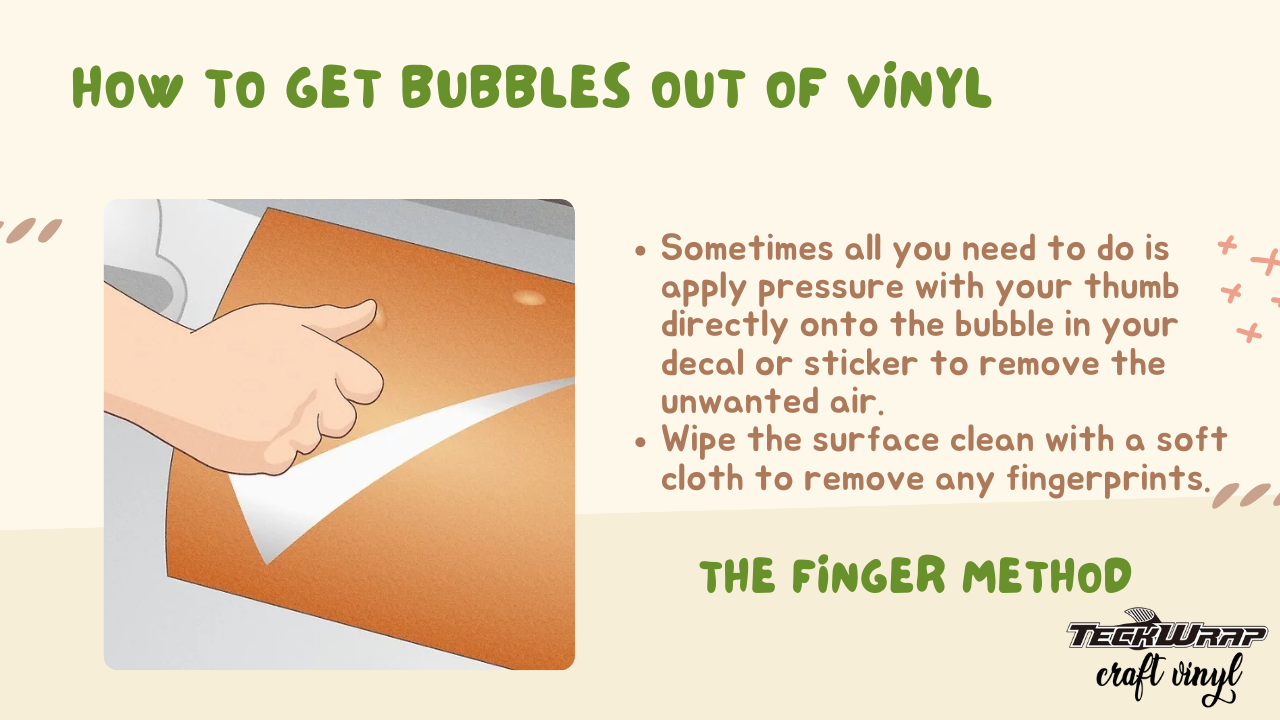
Sometimes all you need to do is apply pressure with your thumb directly onto the bubble in your decal or sticker to remove the unwanted air. Wipe the surface clean with a soft cloth to remove any fingerprints.
The Straight Pin Or Razor Blade Method
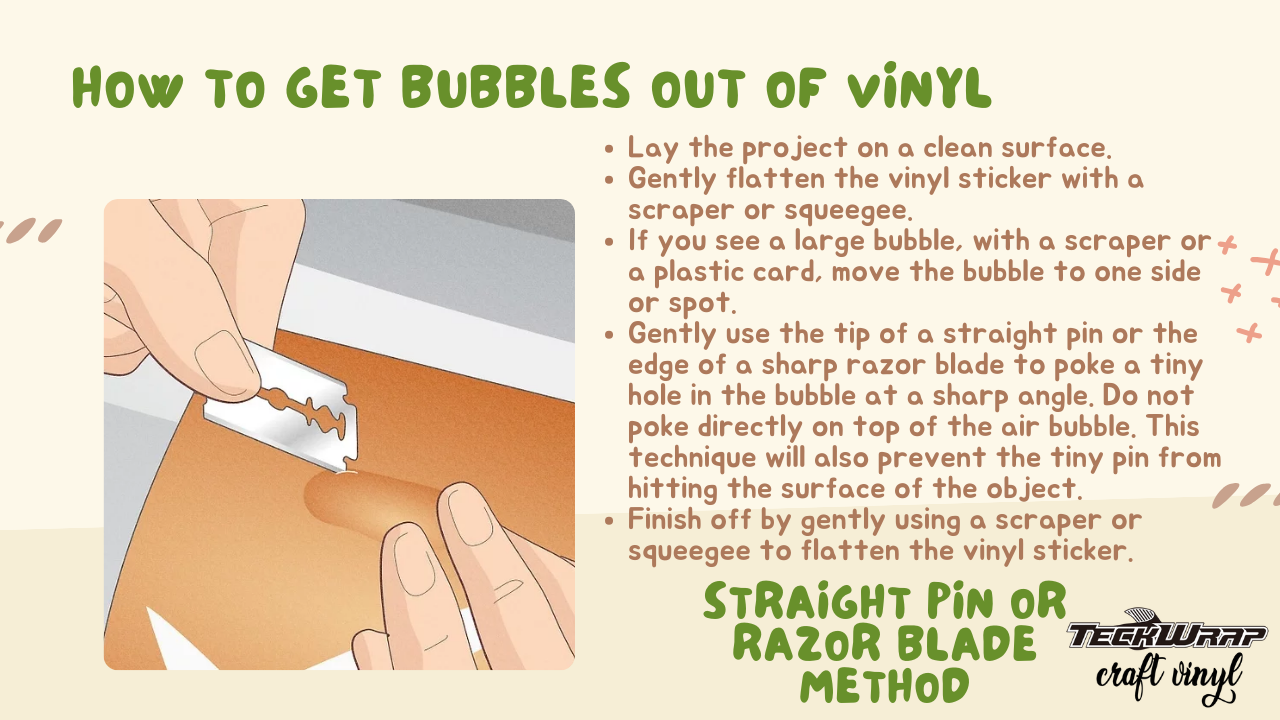
- Lay the project on a clean surface.
- Gently flatten the vinyl sticker with a scraper or squeegee.
- If you see a large bubble, with a scraper or a plastic card, move the bubble to one side or spot.
- Gently use the tip of a straight pin or the edge of a sharp razor blade to poke a tiny hole in the bubble at a sharp angle. Do not poke directly on top of the air bubble. This technique will also prevent the tiny pin from hitting the surface of the object.
- Finish off by gently using a scraper or squeegee to flatten the vinyl sticker.
The Sun Method
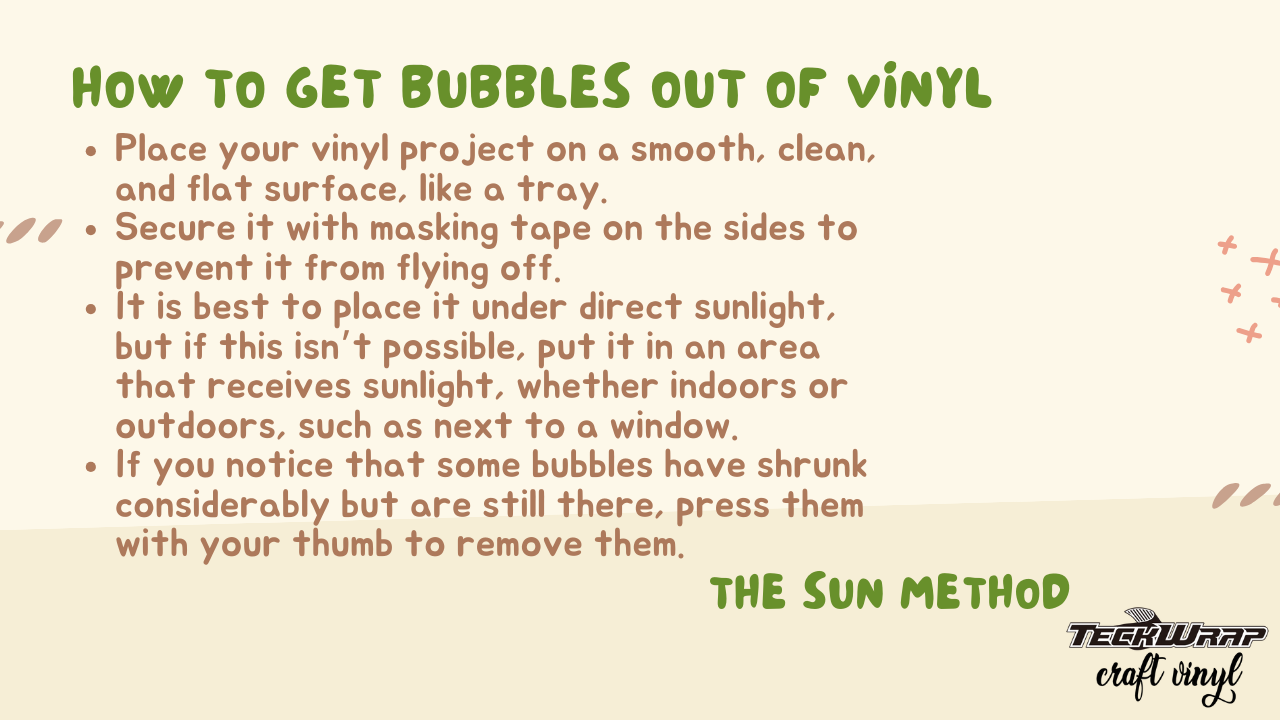
Another convenient way to remove air bubbles from vinyl is by exposing them to sunlight.
- Place your vinyl project on a smooth, clean, and flat surface, like a tray.
- Secure it with masking tape on the sides to prevent it from flying off.
- It is best to place it under direct sunlight, but if this isn’t possible, put it in an area that receives sunlight, whether indoors or outdoors, such as next to a window.
- If you notice that some bubbles have shrunk considerably but are still there, press them with your thumb to remove them.
The Hair Dryer Method
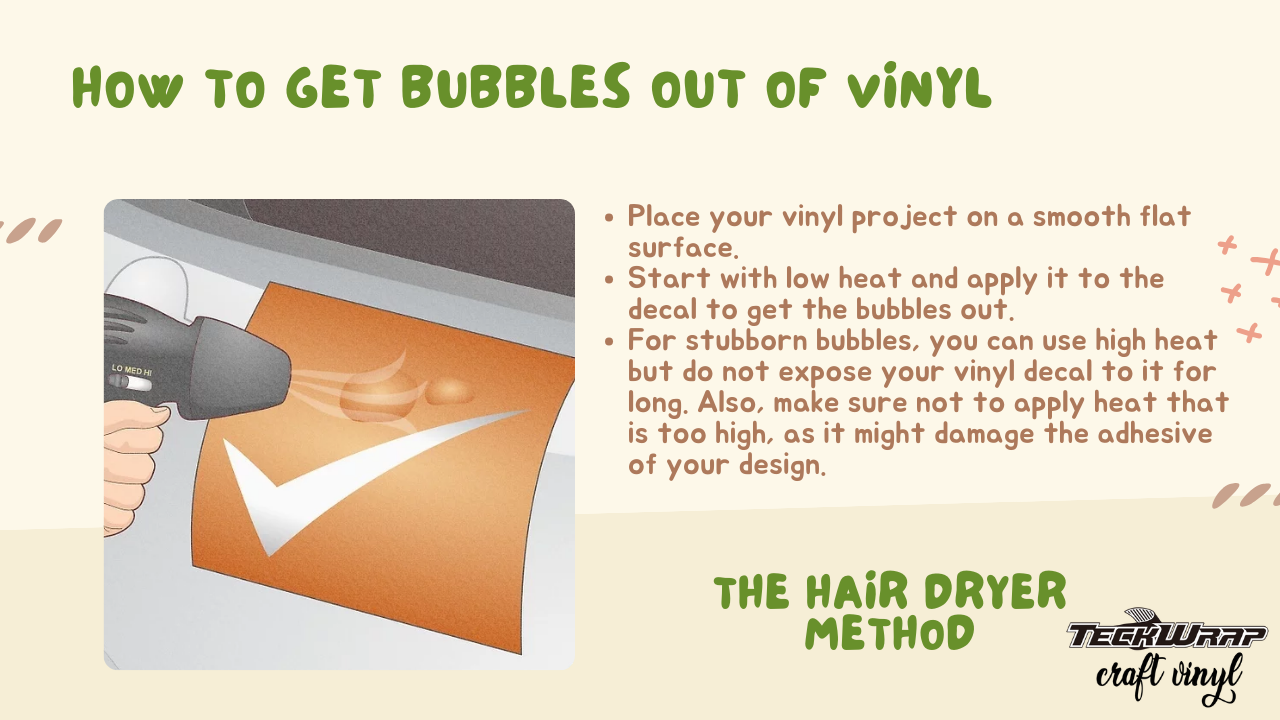
A hair dryer can also be used to get rid of air bubbles from vinyl stickers or decals. Here's what you should do:
- Place your vinyl project on a smooth flat surface.
- Start with low heat and apply it to the decal to get the bubbles out.
- For stubborn bubbles, you can use high heat but do not expose your vinyl decal to it for long. Also, make sure not to apply heat that is too high, as it might damage the adhesive of your design.
This technique can be used for vinyl decals applied on a vertical glass surface like a window. You can simply point the hair dryer directly to it. Smoothen with an application tool and clean the surface with a glass cleaner afterward.
Additional Reminders
Do not wait till the last moment to remove air bubbles from your decal projects. The longer you wait, the more likely they will remain in their expanded state. When popped, they will be harder to flatten, potentially affecting the adhesive property of the decal, or making the hole more visible. You will also probably expend more effort to press on the decal repeatedly to smoothen it out.
To prevent bubbles, make sure your surface is clean. If you are working with heat transfer vinyl, pre-press your fabric to flatten it and remove any moisture. This will also help the vinyl adhere better.
Frequently Asked Questions
Q. Do bubbles in vinyl decals go away?
Yes, you can get rid of the bubbles if they appear in your vinyl design by gently scraping them off the edge with a squeegee or poking a hole in them with a fine pin and then using a squeegee to flatten the vinyl. This blog mentions all the techniques.
Q. Can you heat the vinyl to get bubbles out?
Yes, you can apply heat to your vinyl decal to get bubbles out, however, do not do so excessively as it can damage the adhesive. Slightly warm it up and gently smooth it out with a squeegee.
Q. Will air bubbles in vinyl decals go away on their own?
No. The air bubbles in your vinyl decal will not go away on their own. You will have to use different techniques depending on their size.
Q. How do you prevent air bubbles from the heat transfer vinyl design?
After transferring the HTV design onto a fabric, peel the carrier sheet very slowly. This will prevent the air bubbles from penetrating under the vinyl. Also, before applying the design, press the fabric to remove creases and moisture.
Conclusion
Prevention is key. Employ the right application technique at the onset. Peel the adhesive backing slowly. Paste the decal and smoothen it applying even pressure all over from the center towards the edges.
As soon as you see an air bubble, employ any of the techniques mentioned above to get rid of it.
Remember to not only smooth out the spot with the bubble but also to drive the application tool to the edge of the sticker to achieve a seamless finish.
The more you practice applying decals on different types of surfaces, the better you will become at preventing air bubbles. If they still find their way into your projects, you can easily use the appropriate technique to remove them.
More Articles You’ll Find Helpful
Keep Crafting with Us
- Choosing a selection results in a full page refresh.
!


