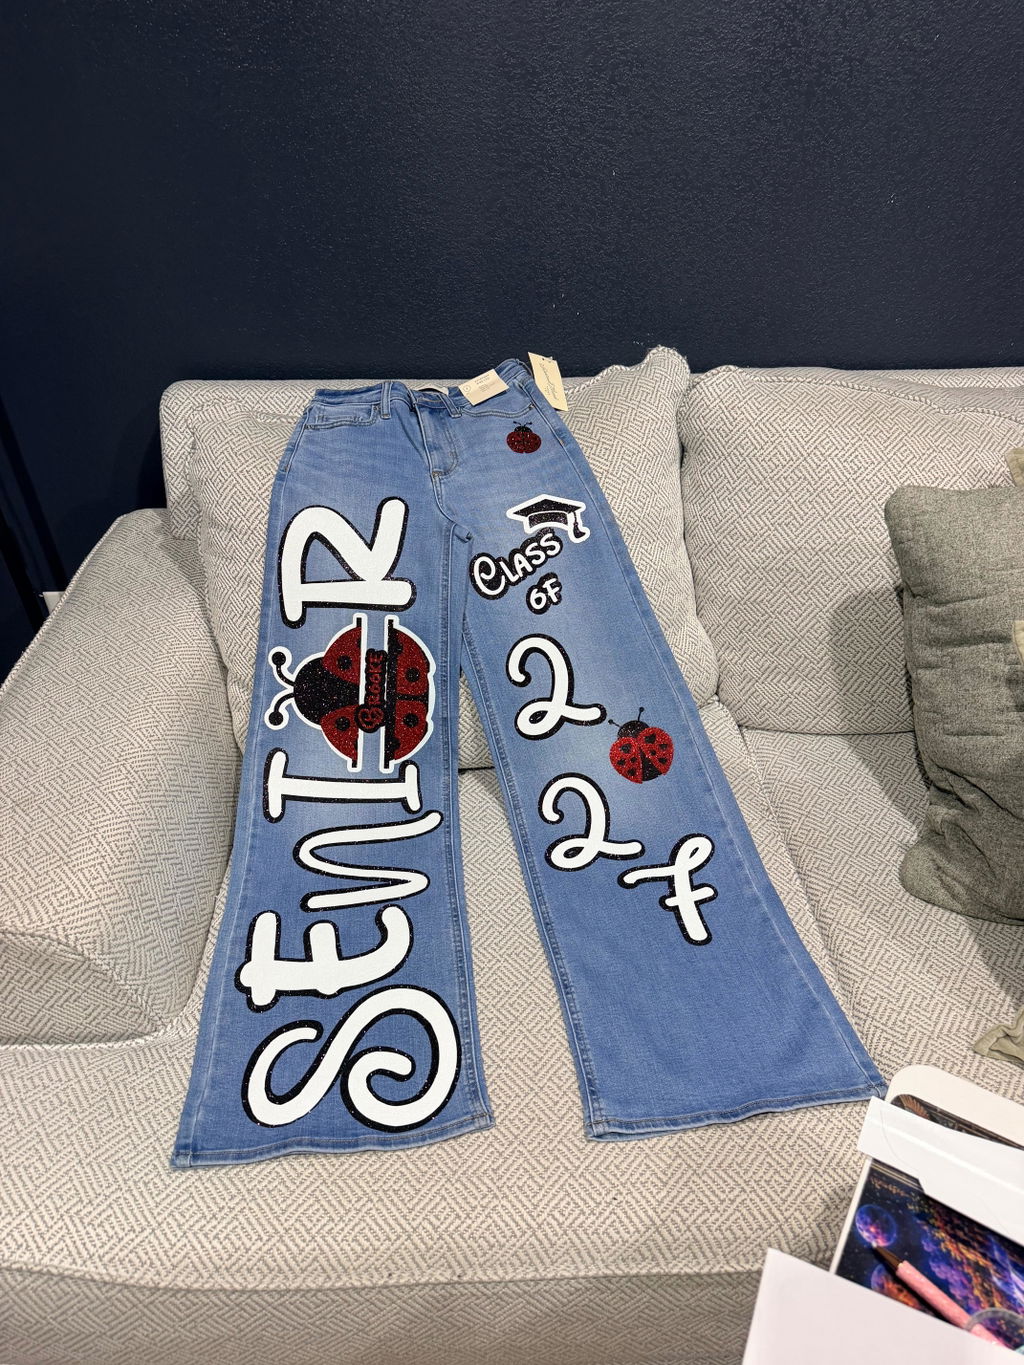
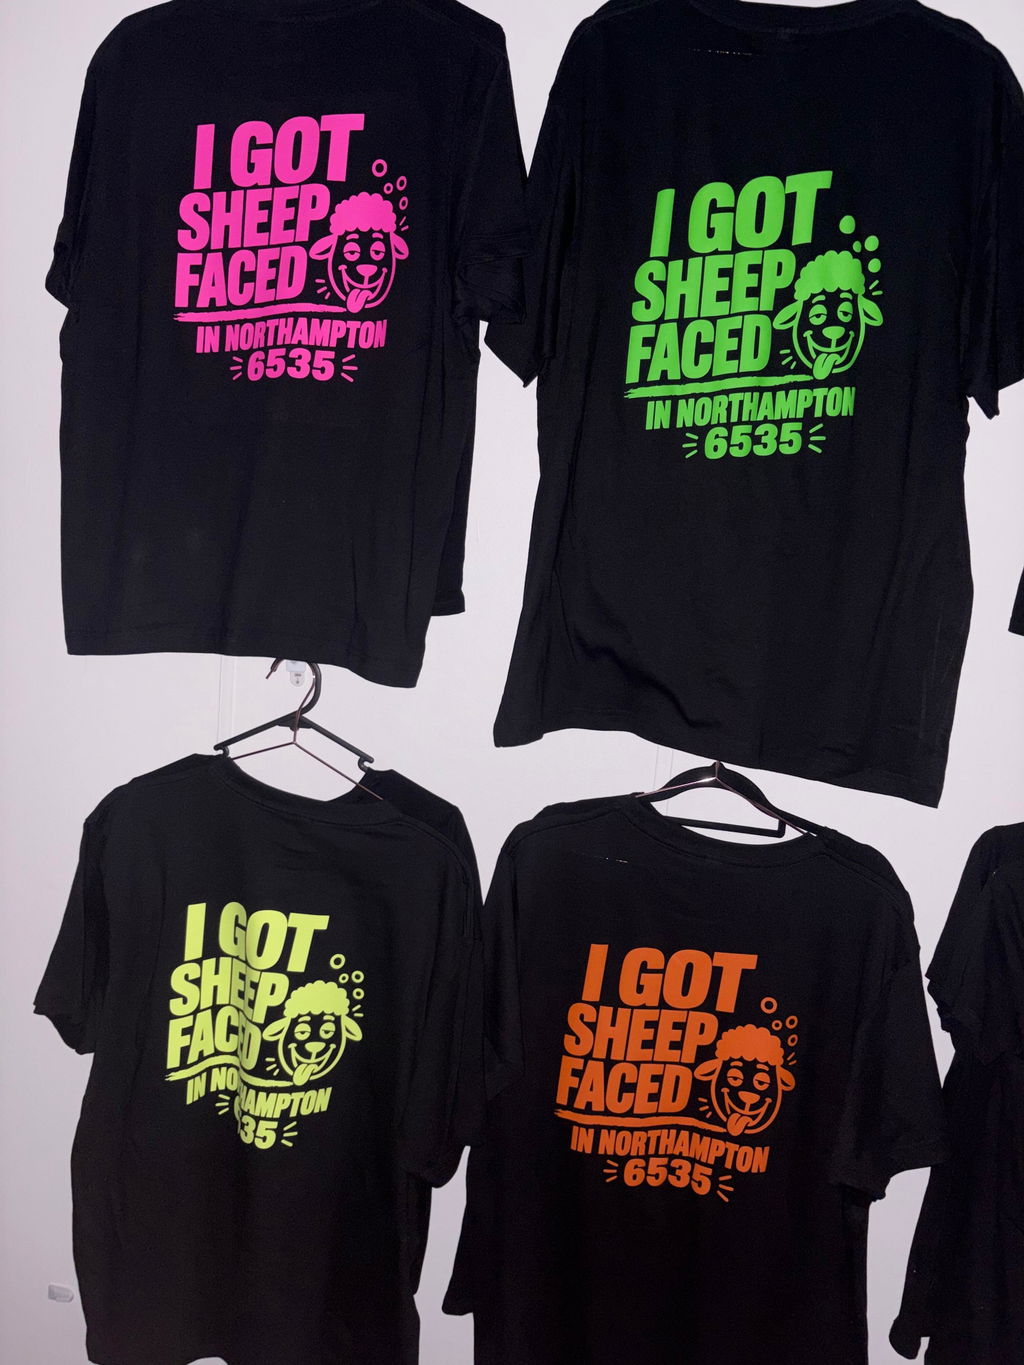
Small errors such as a missed weeding piece or a wrinkle are fixed in place by reheating that spot only. Bigger errors such as a backwards or misplaced design need the vinyl warmed and lifted off before you press a fresh piece. Scorch marks and torn details are covered with a patch of matching HTV. Only melted vinyl and burned fabric cannot be saved.
You lift the carrier sheet and find the lettering reversed, or spot a stray piece you forgot to weed, or notice the design sitting two inches off center. The shirt is rarely ruined. You just need the right fix for the type of mistake, because the wrong fix usually makes it worse.
Is Your Design Peeling or Lifting?
That is a different problem with its own fixes. If the design held at first and then started lifting, cracking, or coming away after a wash, read how to fix heat transfer vinyl when it peels off instead. It covers re-pressing temperatures by fabric, fabric glue and stitching. This guide is for mistakes made during the project.
Start again on a fresh blank. Heat damage is permanent
Pro Tip
Practice the fix on a scrap of the same fabric first. Two minutes there stops one mistake becoming two.
How to Remove HTV
A reversed design, a spelling error or badly misplaced layers all need the vinyl off first. If it has not fully adhered, tweezers alone may lift it. If it has bonded, use heat or a solvent.
Household Iron
Fastest. Set it high and dry, hold the garment taut with the decal toward the plate, and lift the vinyl with tweezers once it wrinkles. Both vinyl and fabric get very hot.
Hair Dryer
Slower but gentler, and better on heat-sensitive fabric. Warm on low until the adhesive softens, then peel from a corner at a shallow angle.
Adhesive Remover
Products such as Vinyl Lettering Remover dissolve the glue without harming the fabric and let you target one part of a design. Apply inside the shirt, then lift with tweezers.
Two Things Nobody Warns You About
Heat does not remove the adhesive residue. The film comes off but a faint tacky ghost stays behind, usually visible on dark fabric, so plan to press fresh HTV over that area. Only an adhesive remover clears the glue properly. Protect your iron plate. Melted adhesive transfers onto the soleplate, so keep a cover sheet between the two.
Wrinkles, Bubbles and Scorch Marks
These are the most forgiving mistakes, because the design is correct and only the surface needs work.
Lift the affected area just enough to get underneath, without stretching the vinyl.
Smooth it out with a weeding tool, squeegee or your fingers, working from one edge to push the air out.
Cover and re-press with parchment on top, in short bursts rather than one long press.
Let it cool, then check the edge with a fingertip before deciding on another pass.
Bubbles usually appear on layered designs where heat was applied too long, so use shorter intervals across multiple layers.
Scorch marks are different, because the fabric itself has changed and cannot be restored. Cover them with a patch cut to match the design. Patching also beats removal for a single wrong letter or a torn detail, since removal risks stretching the fabric and always leaves residue. Only remove when orientation or placement is wrong, because no patch fixes those.
The 11 Mistakes to Avoid
Mistake
How to avoid it
1. Forgetting to mirror the design
Mirror every design before cutting. HTV goes on face down, so nothing looks wrong until the carrier comes off
2. Wrong blade or force settings
Run a test cut in the corner of the sheet. Glitter and puff are thicker and need more pressure than PU
3. Vinyl shiny side up on the mat
Shiny carrier side faces down, dull adhesive side faces the blade
4. Missing a piece while weeding
Hold the weeded design against a window or light pad before pressing. Check inside letters like A, B, O and R
5. Tearing fine detail
Work under strong light with a proper weeder or tweezers, pulling excess away from the design rather than across it
6. Misaligning the design
Crease the garment to find the center line and measure down from the collar so placement repeats across a batch
7. Skipping the cover sheet
Always lay Teflon or parchment over the design. It stops the vinyl scorching and keeps adhesive off your plate
8. Pressing over seams or zips
Raise the fabric clear with a pressing pillow or folded towel so pressure lands evenly
9. Layering incompatible finishes
Four layers maximum. Glitter and holographic only as the top layer, since nothing bonds over them
10. Forgetting the final press
Go over the whole design again with parchment on top. Around 10 seconds on a press, 20 seconds per section with an iron
11. Washing too early
Wait 24 to 48 hours to cure. Then cold water, inside out, no bleach or fabric softener
One more worth naming: cheap vinyl. Inconsistent adhesive coverage causes most of the problems above, so the better the film, the fewer mistakes you meet.
The Right Way to Apply HTV
Build the design in your cutting software and mirror it.
Cut it shiny side down with the right settings for your finish. Test cut first, or use heavy duty scissors if cutting by hand.
Weed the excess with a weeder, tweezers or weeding pen from our blanks and tools range.
Prepare the garment. Wash it, then pre-press 3 to 5 seconds to drive out moisture and creases. Trapped moisture is a common cause of poor adhesion.
Position the design carrier side up, centered and straight.
Cover with Teflon or parchment. Use your HTV's stated settings on a press, or the cotton setting with no steam on an iron.
Press firmly and evenly, then peel the carrier slowly from one corner. Check whether your vinyl is a warm or cold peel first, because pulling a cold peel film while warm lifts the design with it.
Do the final press, then wait 24 hours before washing.
HTV works on cotton, polyester, poly-cotton blends, canvas and denim, plus leather and wood if you like to experiment. Sand wood smooth first. Matching vinyl to the right material prevents most heat and pressure problems, and our guide to the best fabrics for HTV covers the options.
Storing HTV
Badly stored film loses its tack, fades, or picks up surface damage, so the project fails before you start.
Keep rolls cool, dry and out of direct sunlight. Aim for around 75°F and 50 percent humidity, since anything warmer degrades the adhesive
Never fold the film, especially along adhesive lines, because creases are permanent
Separate colors and types with parchment or dividers to prevent color bleeding and adhesive transfer
Use the oldest stock first, and replace any film showing texture changes, discoloration or lost tack
A vinyl roll storage rack keeps rolls upright and uncreased, which handles most of that list on its own.
Frequently Asked Questions
Not in place, since nothing reverses orientation once pressed. Warm the vinyl with an iron or hair dryer, lift it with tweezers, then press a fresh mirrored piece. Expect faint residue where the old design sat, so have the new one cover the same footprint.
One of the easiest fixes. Reheat that spot for a few seconds until the adhesive softens, then lift the piece out with tweezers. The rest of the design stays untouched.
Usually, though it depends on the fabric. Heat and a slow peel work on cotton and blends. Delicate or stretchy fabrics are riskier, and an adhesive remover applied inside the garment is gentler than repeated ironing. Expect some residue either way.
The design melts and warps, and the fabric can scorch. Neither is reversible. If you are unsure of your settings, start at the lower end of the temperature range and add time rather than heat.
Up to four for most designs. Specialty finishes such as glitter or holographic must be the top layer, because anything pressed over them will not bond and will come away later.
Yes. For storing rolls, aim for roughly 75°F and 50 percent relative humidity. Storage above that degrades the adhesive before you ever use the film.