Posted By TeckWrap Craft On January 12, 2022

Can you apply vinyl on a foil balloon? Yes. With permanent adhesive vinyl, you can customize foil balloons at home using a cutting machine like Cricut, weeding tools, and transfer tape. Simply cut the lettering in the font of your choice, remove the negative vinyl, and apply it to the smooth surface of the foil.
Design foil balloons with inspirational sayings and uniquely decorate your space or give them to a young one as a gift and make their day. Let’s discuss in detail how to successfully create DIY foil balloons sayings with vinyl.
Supplies Needed
Step By Step Guide: How To Make DIY Fil Balloon
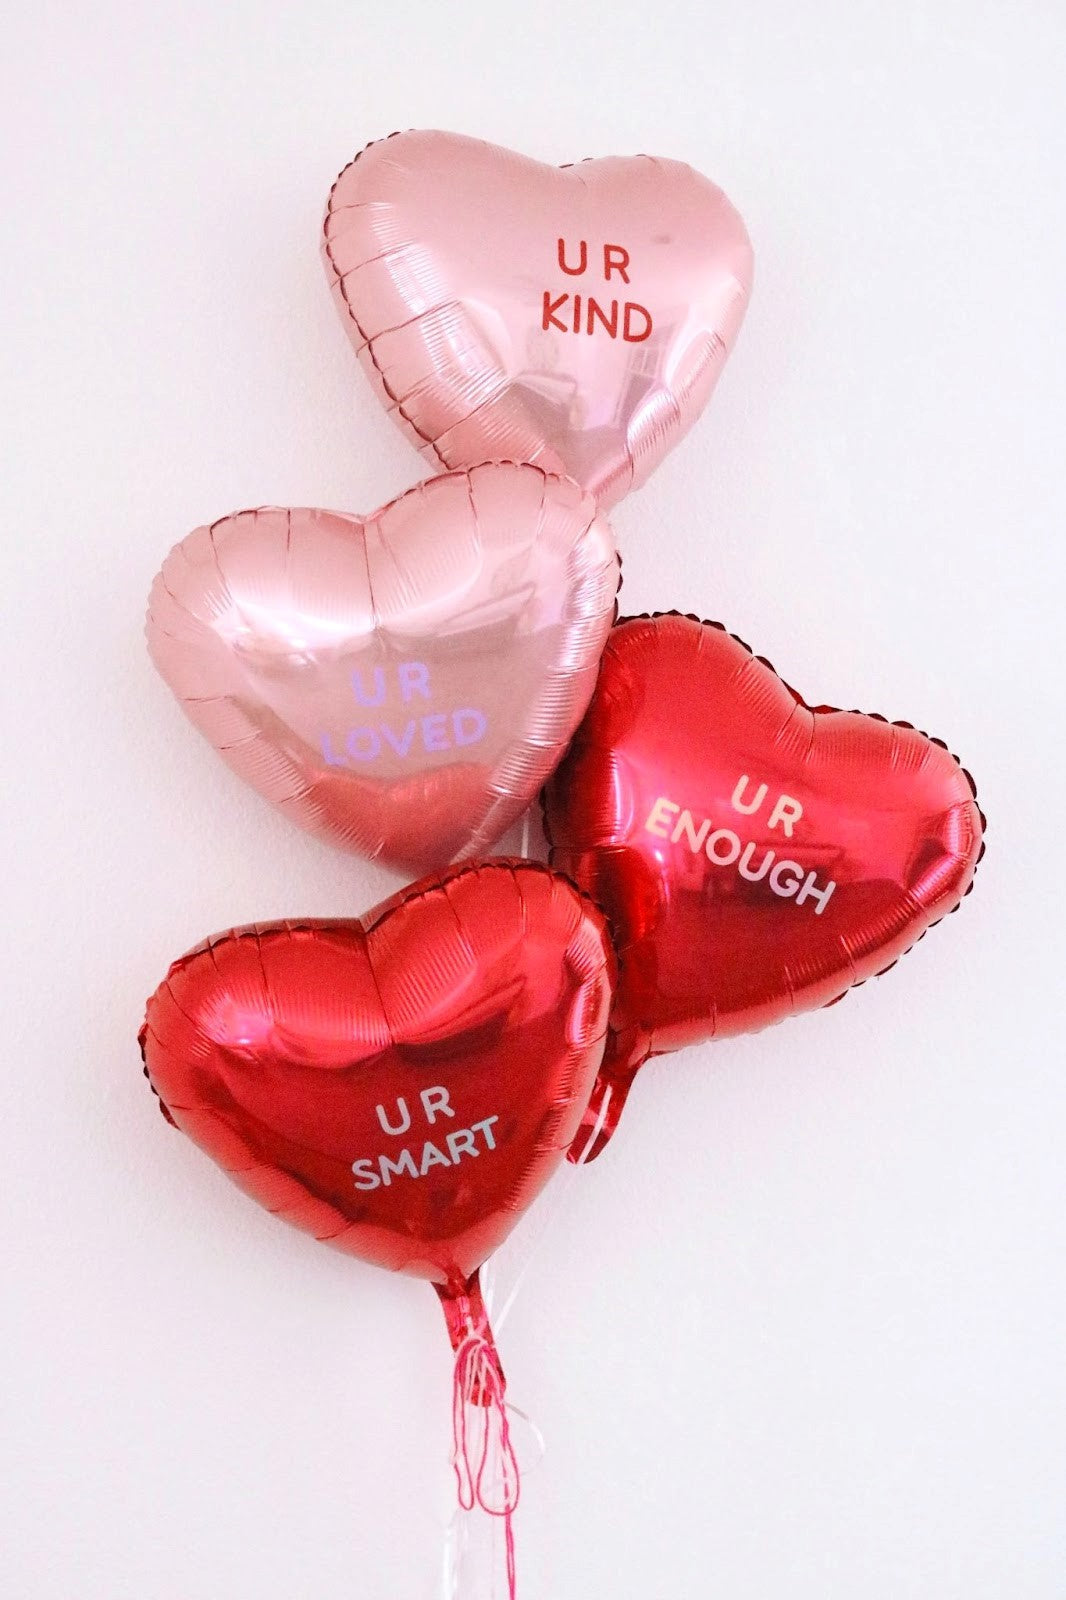
The shimmery foil balloons bring a playful touch to any celebration. Specially customizing them with a cool saying doubles the fun factor. Here’s how to personalize foil balloons with permanent adhesive vinyl to match the occasion perfectly.
Step 1:
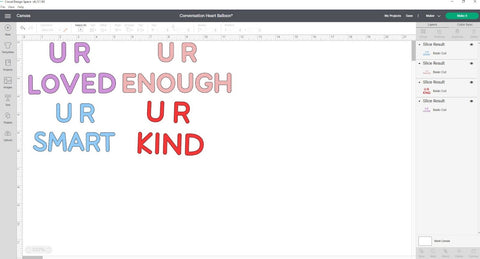
To start this project off we need a design ! I am using my cricut machine so I searched what cricut had to offer for valentines day and I found these cute conversation heart sayings.
You can always make your own as well. I also suggest choosing the colors of your vinyl before cutting your project. I chose 3 colors that I loved to match my balloons.
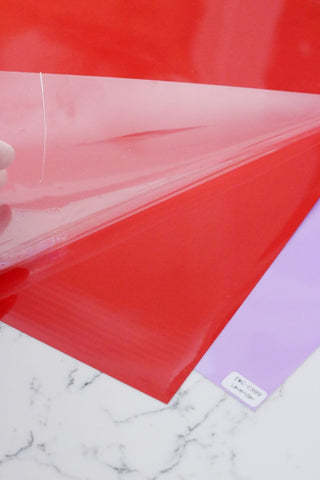
- Colors:
- Lavender
- Pure Red
- Pearlescent Opal-Hyacinth Blue
Step 2:
I took quick measurements of the heart balloon to give me an idea of how I wanted to size my image in design space before accidentally cutting out the wrong size.
Next step is crucial and you don't want to skip this! TeckWrap Craft sheets and vinyl may contain a plastic protective film layer that you must peel off prior to cutting. The protective film layer is there to protect the vinyl sheets from scratches (which I love). This is especially wonderful for shiny vinyl.
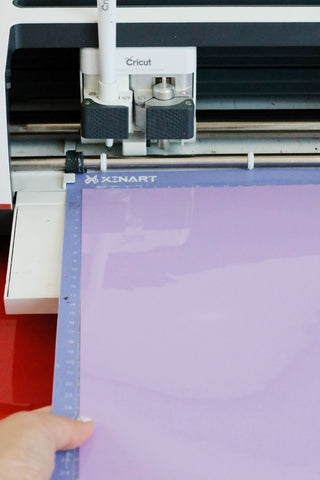
Step 3:
Now we are ready to load our mat ! Place the adhesive vinyl on the cutting mat with the shiny side facing upwards, load your machine and let’s hit start!
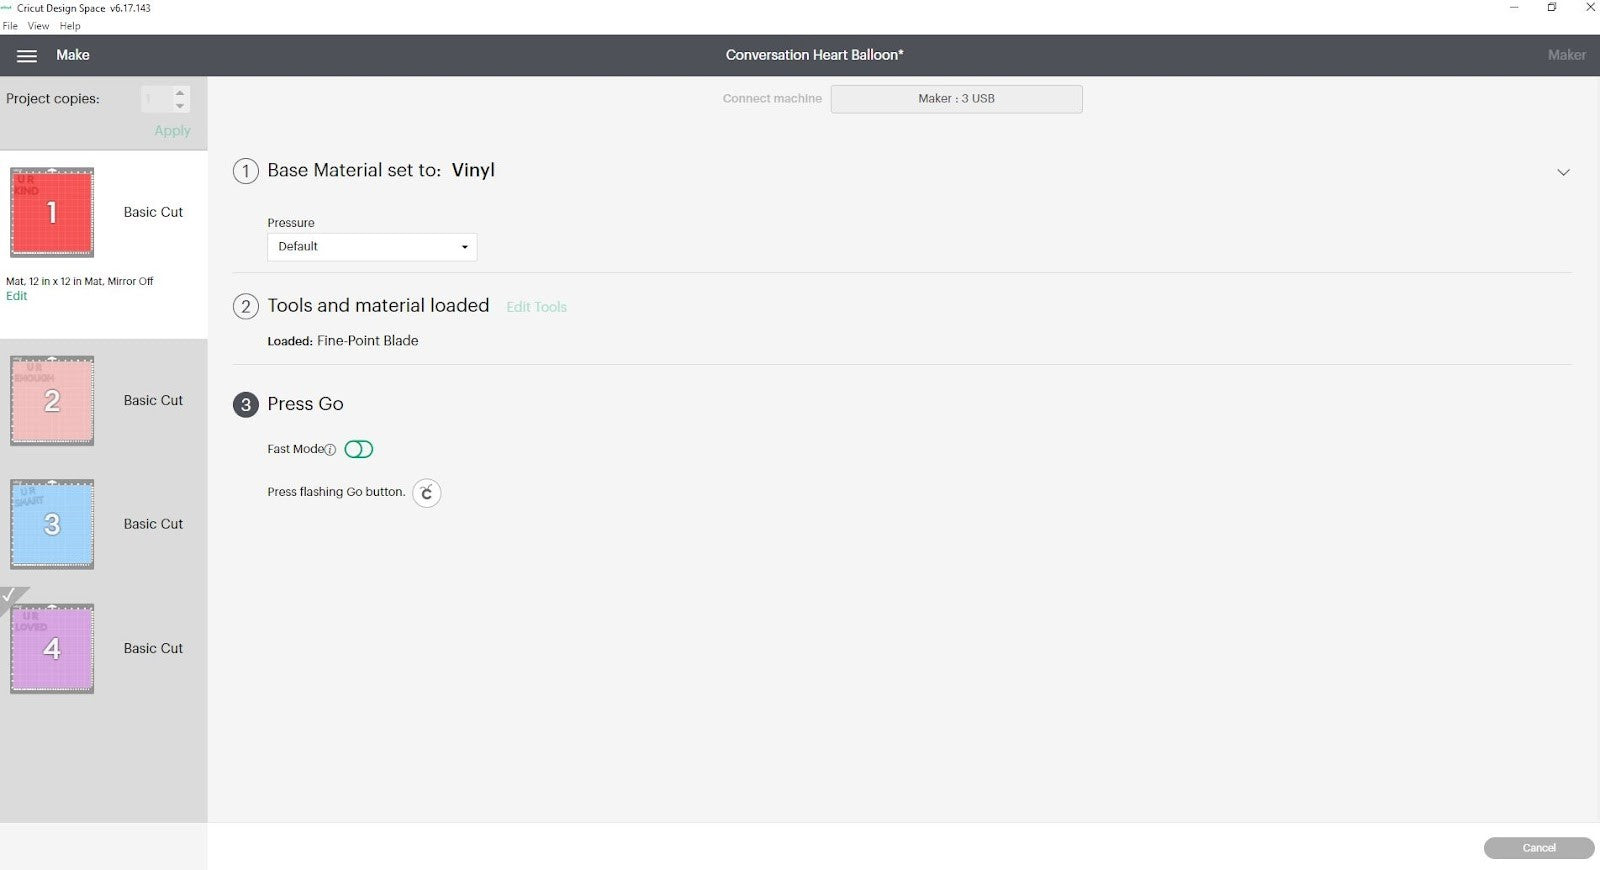
Step 4:
I set the material for cutting to Vinyl. Depending on the texture and thickness of the vinyl you are using you will be able to adjust it. The regular vinyl setting worked perfect for all my cuts.
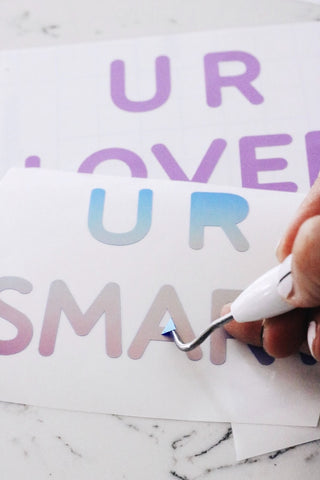
Step 5:
One of my most favorite things about TeckWrap vinyl is the easy weeding. I first peeled off the larger area of my vinyl by hand by peeling the corner and pulling it off. It exposes just the image which makes it easier to focus on the smaller areas to weed out. Like the inner pieces of the words.
I use the sharp pointy edge of this tool to make it easy to weed out smaller pieces. You can use other weeding tools and pens as well but this is the one I went with this time around.
Step 6:
Next is applying transfer tape! I highly recommend using a not so sticky transfer tape. This will allow the transfer tape to not stick so hard to your balloon and may cause it to pop or leave extra sticky residue when peeling back.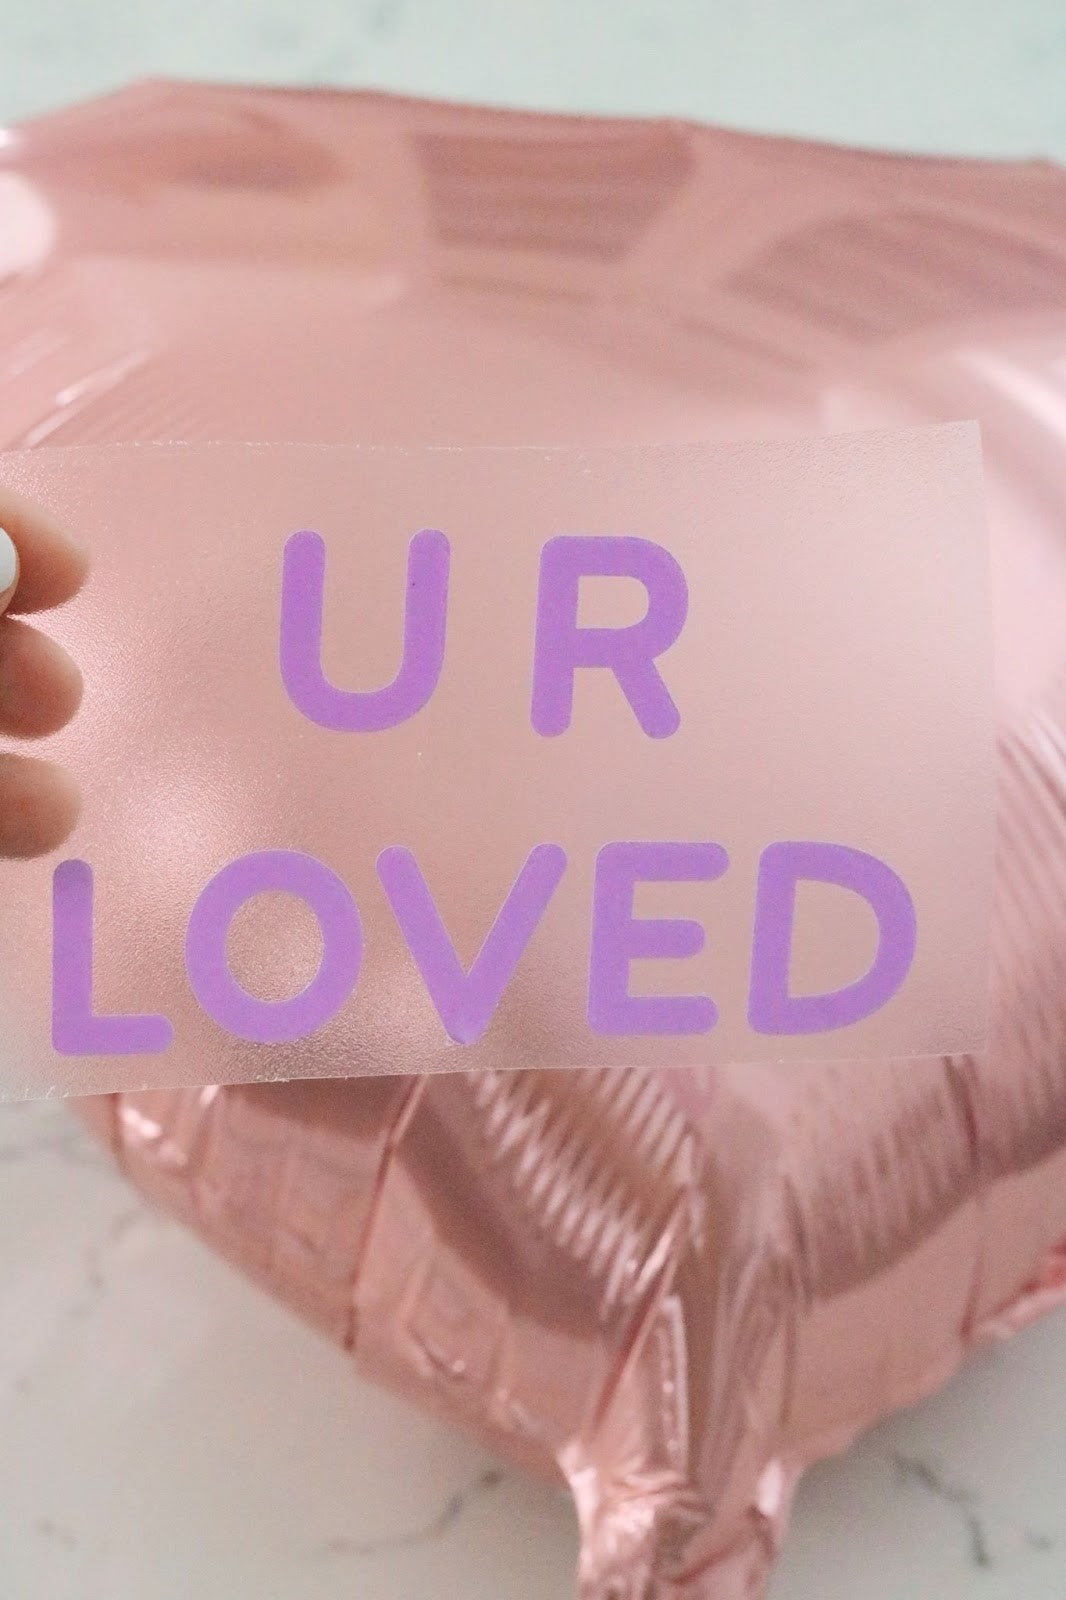
Step 7:
Once you apply the vinyl make sure to give the words and letters a little rub to help it stick to your balloon and begin to peel back at an angle. When you slowly peel back your transfer tape at an angle it will allow you to go back and make sure if any letters have not stuck properly to lay back down the transfer tape and give the letters another little rub to push it back down on the balloon. I didn't need to do that extra step but you never know! Sometimes things happen when crafting.
And check out the final product! Isn’t it so cute?! I hope this inspires you to create your own vinyl decals for your balloons and spice up your decor.