Updated By TeckWrap Craft On February 24, 2025

One of the challenges crafters face is to determine the right size of the Heat Transfer Vinyl design that they want to apply on a t-shirt. Getting the perfect decal size is very important. It should neither be too big nor too small. No matter how pretty or complicated your design is, if its dimensions are not proportionate to the size of your t-shirt, your whole project will be ruined. Hence we present our cheat sheet guide for HTV sizing to give you a general idea of the measurements you should follow.
You can pin this blog for quick access whenever you're designing. This is just an estimated guide, so it's best to manually determine the appropriate decal size as well. We've also included the method for taking these measurements. Read on to customize t-shirts like a pro!
Not All Shirt Sizes Are The Same
It is important to know that not all shirt sizes are the same. A medium shirt from Brand A may fit differently than a medium shirt from Brand B. Similarly, an Asian regular fit is different from the American one. When shopping online, pay attention to the size guide.
How to determine the HTV decal size then? You can cut a sheet of paper according to the size we have mentioned in the tables below and place it where you want the decal to be. If it doesn’t seem to fit well, you will have to measure the decal size manually.

Cheat Sheet HTV Sizing Chart
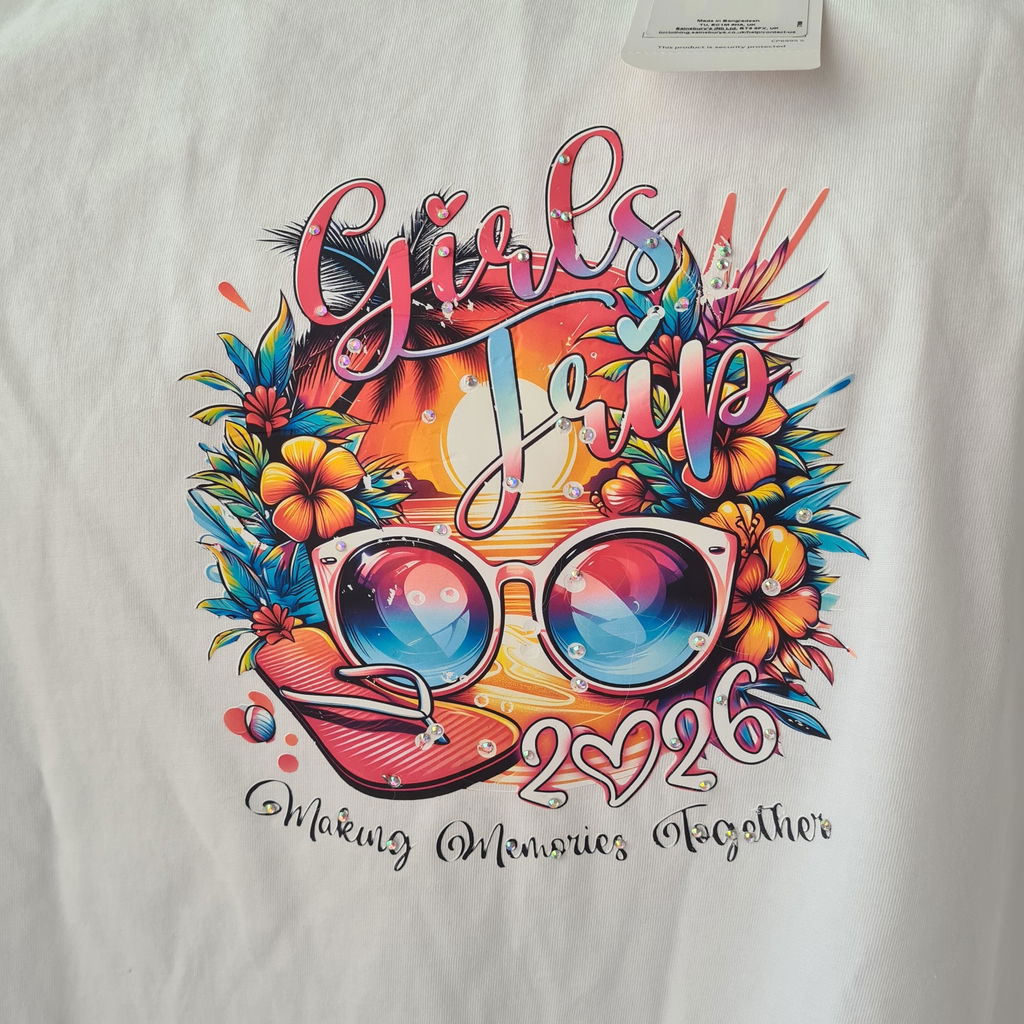
Here’s the cheat sheet for heat transfer vinyl design sizing in inches. The dimensions stated below are for standard center printing. You can add or subtract an inch from the suggested measurements. Here’s the HTV decal size guide for:

Kids’ T-Shirts
| Age |
Decal Size |
| Below 6 months |
3”x3” |
| 6-9 months |
5”x5” |
| 18 months and older |
6”x6” |
| 2-3 years old |
5”x5” |
| 4-5 years old |
6”x6” |
Place the HTV decal between one to two inches below the neckline.

For Teens’ T-Shirts
| Shirt Size |
Decal Size |
| Extra Small |
6.5”x6.5” |
| Small |
7”x7” |
| Medium |
7.5”x7.5” |
| Large |
8”x8” |
| Extra Large |
8.5”x8.5” |
For teen t-shirts, place the HTV decal at least two inches below the neckline.

For Adults’ T-Shirts
| Shirt Size |
Decal Size |
| Extra Small |
9”x9” |
| Small |
9”x9” |
| Medium |
9”x9” |
| Large |
11”x11” |
| Extra Large |
11”x11” |
| 2XL |
12”×12” |
| 3XL |
12”×12” |
| 4XL |
13”×13” |
For adult round-neck shirts, place the HTV decal two to three inches below the neckline. For shirts sizes 3XL and 4XL, place the decal three to four inches below the neckline. For V-neck shirts, place the decal one to two inches below the neckline.

Why Is It Important To Pick The Right HTV Size And Placement?
The right HTV decal size and placement are important to achieve a balanced, eye-catching design that upgrades the overall look of your project. Here’s why you should take utmost care of the perfect HTV size:
-
Professional Appearance: A well-sized and properly placed design gives a high-quality look to the final product. Everyone would know it is designed by an HTV expert.
-
Makes Design Clearer: If you have applied text or graphics of the right size on your t-shirt, they will be clear and easy to read from the intended viewing distance.
-
Balanced Look: It also prevents the design from looking too crowded, stretched, or disproportionate on the garment.
-
Consistent Branding: If you are representing a brand, or the t-shirts are for business or team apparel, correct sizing and placement add a cohesive, professional touch.
-
Prevents Wasted Material: Determining the right size reduces the risk of using more heat transfer vinyl than required, saving time and money.
-
Improves Durability: Correct placement of the HTV decal helps avoid seams and folds that can cause peeling or cracking of the vinyl over time.

How To Manually Measure The HTV Decal Size For Correct Placement
To be really sure whether your HTV decal is of the right size or not, it is best to manually determine it and also see its placement on the t-shirt. Here's how to measure if you want your design centered on the front of your shirt:
- Get a ruler or measuring tape, chalk, and household iron.
- Lay the shirt on a flat surface and fold it in half lengthwise.
- Using a household iron, press the shirt on the folded part to create a crease. This crease serves as a guide or mark. Don’t unfold the shirt just yet.
- Fold the shirt in half crosswise and iron on the folded part to create a crease.
- When you unfold the shirt, you’ll see the center point where both crease lines meet. That’s where you’ll place the decal.
- Now measure from the neckline down. These measurements are stated above at the bottom of each table.
- Use chalk to mark the desired spot.
- The design should end at least four to five inches above the bottom edge of the t-shirt. Use chalk to mark this spot too.
- Measure the distance from one mark to the other with a ruler or measuring tape to determine the right size of your decal.
- Cut a piece of paper in the suggested size and place it on the shirt to check the proportions. Adjust accordingly.

Frequently Asked Questions
Q. How big should my HTV design be?
Generally speaking, the HTV decal size for adult shirts should be between 9 to 13 inches; for teen shirts, 6 to 9 inches, and for toddlers and infants, 3 to 6 inches.
Q. What side of the HTV goes down?
The glossy side of the HTV goes down on the cutting mat. This is the one with the carrier sheet. The dull side faces the blade. When placing the HTV design on the t-shirt, the glossy side should face up.
Q. What size should the image be on a 4XL shirt?
The recommended size on a 4XL shirt is between 12 to 14 inches. Having said that, it’s always best to manually measure the decal size to be accurate and get a professional look.
Final Thoughts
There you go! This cheat sheet will go a long way in helping you design amazing t-shirts. Just remember, the guide above is your basic starting point—you can always adjust the decal size to fit your needs. Use your judgment to determine the best measurements according to your t-shirt. After all, the perfect design is one that looks great and feels just right! Have fun!