Updated By TeckWrap Craft On October 29, 2025

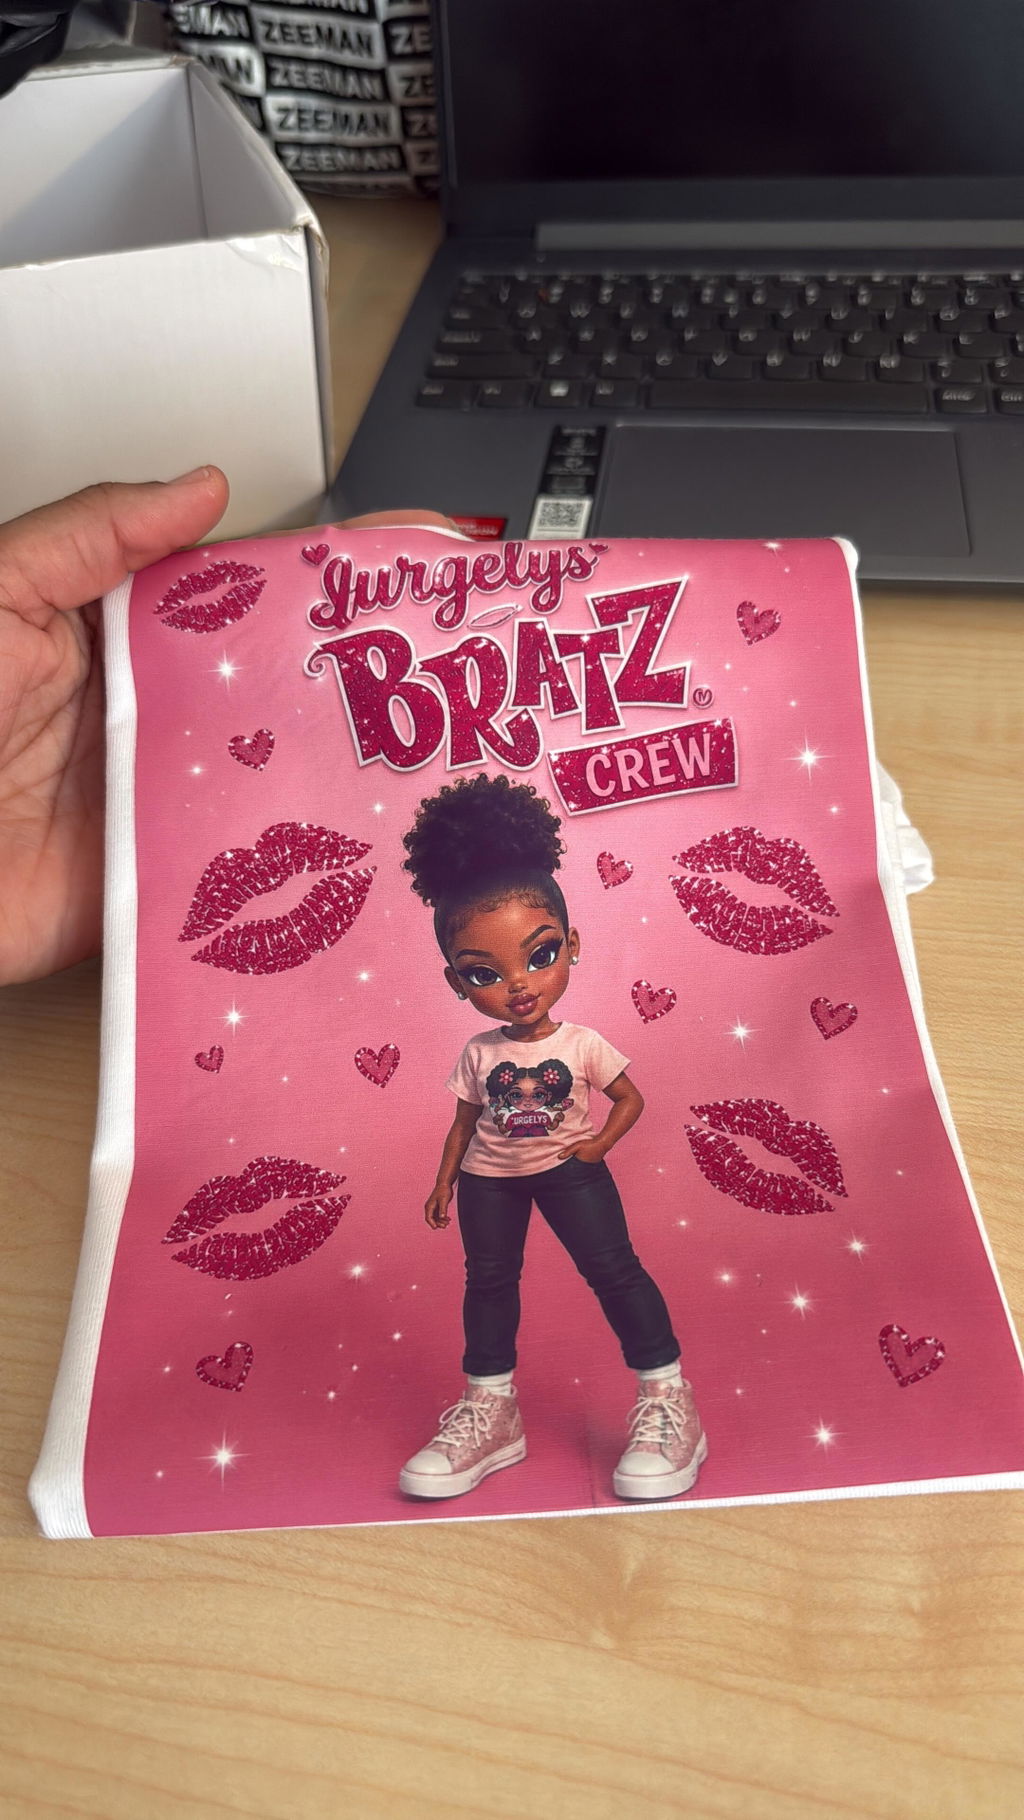
Printed heat transfer vinyl with an exquisite design on it enhances the overall aesthetic of your craft and gives you ample room for creativity. You can easily use printed HTV by finalizing a design, cutting the vinyl with an automated cutting machine, and applying it to a compatible garment with the right amount of heat, pressure, and time settings on your heat press.
You can buy printable heat transfer vinyl and transfer your selected design or image to it using an inkjet printer. Printed HTV offers a versatile solution for adding vibrant designs and graphics to your apparel. Let’s see in detail how you can easily use this amazing product with the right set of tools.
Where To Buy Printed HTV?
The best place to buy printed HTV is one that provides a good variety of premium-quality vinyl and the necessary tools all under one roof. And what if you can browse this collection from the comfort of your home?
TeckWrap Craft is the one-stop online crafts store that has it all. You can enjoy an assortment of heat transfer vinyl films with different patterns printed on them. These are also available in different color combinations, giving you a lot of choice. You can buy them both in the form of rolls and sheets.
TeckWrap Craft also has high-grade Inkjet Heat Transfer Vinyl. You can print any exquisite design or image of your choice on it in vibrant colors and transfer it onto your garment. A heat transfer mask is also available to make the transfer easy. HTV works best with cotton and cotton-blend fabrics.
The Method Of Using Printed Heat Transfer Vinyl
It is very easy to use printed HTV to design your shirt or any other garment or soft accessory such as a tote bag, cap, and so on. Before you begin crafting, you first need to set up your work area for ease of movement and comfort. Below is the list of supplies you will need for this project:
Step 1: Design Preparation
- Finalize the design using the software that is compatible with your cutting machine. Set its dimensions according to the space on your t-shirt, where you want to place it.
- Select the material on your software. For Inkjet Heat Transfer Vinyl, you will select printable vinyl on Cricut Design Space.
- It is important to remember not to mirror your printable HTV design.

Step 2: Cut The Design
- Cut a piece of your vinyl bigger than your design and place it on the cutting mat. For printable HTV, you will first print your image on the matte side of the sheet using an inkjet printer, let it dry, and then place it on the mat. Burnish it with a squeegee to ensure adhesion.
- Load the mat into the cutting machine and allow it to cut. The side where you have the print should face up.

Step 3: Weed Excess Vinyl
- Once your design is cut, weed out the negative pieces so that only the design that you initially finalized on the software is in front of you.
- You can use a weeder, tweezers, or a weeding pen for this. Take your time. Sit in a well-lit area and work slowly.

Step 4: Apply Heat Transfer Mask
- A heat transfer mask works the same way as a transfer tape. The difference is that the transfer tape may melt when exposed to heat, but the heat transfer mask can withstand high temperatures.
- Remove the backing of the heat transfer mask to expose its sticky side, then apply it to your printable vinyl design. Burnish with a squeegee. The mask now carries your design, ready to be transferred onto the fabric.

Step 5: Transfer The Printed HTV Design
- Pre-press the T-shirt or any other garment you are planning to revamp. This will remove moisture and creases from it.
- Now, position the printable heat transfer vinyl decal onto the shirt where you want it to be. Using a heat press, apply heat to the vinyl with medium pressure at 150°C for 15 seconds.

Step 6: Peel Off The Heat Transfer Mask
- Let the design cool down, then peel off the mask slowly at an angle. Don’t pull it vertically. Keep it closer to the surface.
- Press the design once again for five seconds.
You have successfully transferred your HTV design onto a T-shirt. This is how you use printed HTV in a few easy steps. Enjoy your work of art and win praise from all.

Frequently Asked Questions
Q. Where can you get a heat transfer mask from?
Printed HTV doesn't come with a heat transfer mask. You will have to purchase it separately. It is readily available at craft stores. You can easily get a premium-quality heat transfer mask online from TeckWrap Craft.
Q. What setting do you use for printed HTV?
When working with printed HTV, you need to set the temperature at 150°C, and the duration should be 15 seconds.
Q. Should I mirror the printable HTV design?
No, you don't need to mirror the printable HTV design, as it is placed with the printed side facing up on a cutting mat and the garment you are designing.
Q. Which side of the printed HTV goes down?
The glossy side goes down on the cutting mat. The printable matte side faces up.
Q. How to use printed HTV without a transfer sheet?
You can apply the printed HTV design without a transfer sheet only if it is in one piece. You can cover it with parchment paper and apply heat. If it is an intricate design with different pieces, you will have to use a heat transfer mask to keep them together; otherwise, it will be ruined.
Make Amazing Crafts With Printed HTV!
Printed HTV is fun and easy to use. Whether for custom apparel, accessories, or home decor projects, it provides endless possibilities for expressing your imagination on fabric.
By following our simple guide, you can make some superb crafts with printed HTV and receive admiration from all. For durable, long-lasting projects, always use supreme quality heat transfer vinyl from TeckWrap Craft. We offer an extensive variety and constantly add new products to quench every crafter’s thirst for more.