Updated By TeckWrap Craft On September 16, 2024
What Do You Need To Make Stickers At Home?

Vinyl stickers are easy and fun to design. To make stickers at home you need Inkjet Printable Sticker Vinyl from TeckWrap Craft, an automated cutting machine such as Cricut or Silhouette, a cutting mat, and a laminate sheet.
Using the appropriate tools for crafting vinyl stickers is paramount to achieving precision, durability, and a professional finish. Let’s see what implements you need and how they can be used to make vibrant stickers at home.
Things You Need To Make Stickers At Home
If you want to enhance efficiency and perfection when making stickers at home, you will need the following:
- Premium Sticker Vinyl: You can get the finest sticker vinyl from TeckWrap Craft. It has superior adhesive properties, ensuring a strong and long-lasting bond with various surfaces.
- Inkjet Printer: An inkjet printer is essential for transferring exquisite designs on vinyl sticker sheets. You can choose from the HP ENVY 5055 Wireless AIO Photo Printer; Canon Pixma Pro-200; Epson EcoTank ET-8550; and Epson Expression Photo XP-970.
- Automated Cutting Machine: This includes machines like Cricut and Silhouette.
- Cutting Mat: It loads the sticker sheet into the cutting machine. It provides a stable and protective surface for the precise cutting of stickers.
- Squeegee: This helps in smoothing out and firmly adhering vinyl stickers onto compatible surfaces.
- Weeding Tool: If your sticker’s design is such that you have to remove negative vinyl pieces from it, you will need weeding tools such as a tweezer, weeder, or a weeding pen.
- Laminate Sheet: This forms a protective layer over the printed sticker design to enhance its durability and longevity. Laminated sheet safeguards the vinyl stickers from harsh external elements and wear.
- Transfer Tape (Optional): It facilitates the application of vinyl stickers to different compatible surfaces.
How To Make Custom Stickers At Home?
You can easily make custom stickers at home with TeckWrap Craft’s Printable Sticker Vinyl. Here’s how to do it:
- Finalize the design of the sticker that you want on the software compatible with your cutting machine and print it on sticker vinyl using an inkjet printer.
- Let the print dry then apply a laminate sheet on it with the help of a squeegee.
- Place the sticker vinyl on the cutting mat, load it into the machine, and allow it to cut.
- Remove the backing from the sticker and paste it on the desired smooth, clean, and dry surface using a squeegee. You have successfully made your vinyl stickers at home.
Making Vinyl Stickers Using Cricut Machine
With a Cricut cutting machine, you can easily cut your stickers printed on vinyl sheets. You can make any design you want with Design Space, the software compatible with the machine. You can also choose from the preset designs available.
The concept of Cricut Print-then-Cut is possible when you print a cut sensor marking on printed images. This marking helps the Cricut machine determine where to cut. Most Cricut machines like Explore Air 2, Cricut Maker, and Explore 3 have the Print-then-Cut feature. However, Cricut Joy can only provide you with the draw and cut features.
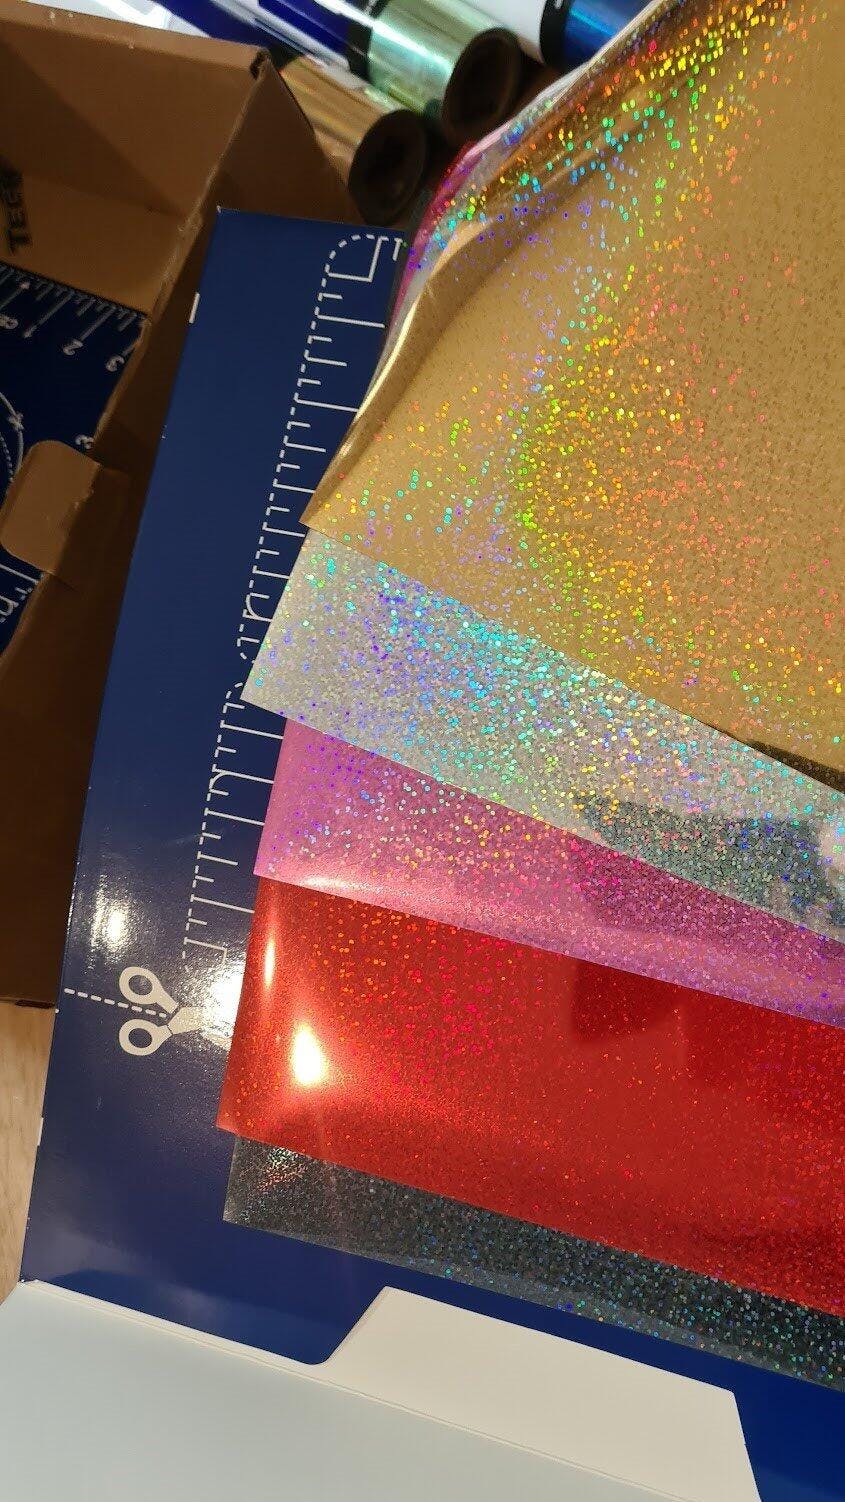
TeckWrap Craft’s Adhesive Vinyl For Making Stickers
TeckWrap Craft has many amazing adhesive vinyl films that you can use to make sticker designs. Vinyl is versatile in that it can stick to most smooth and flat surfaces. There are a lot of vinyl designs and patterns that you can choose from to make stickers.
With an extensive variety available, it is just the question of what particular vinyl film to use for your sticker. You can start your own craft and sticker business with the help of TeckWrap Craft.
Frequently Asked Questions
Print, Cut, And Stick!
There are so many fun and creative ways of making stickers! You can make colored or black and white stickers! You can also design them for your family and friends for holidays and special occasions.
You can make kiss-cut sticker sheets using our Inkjet Printable Sticker Vinyl. So what are you waiting for? Bring creativity into play and make amazing stickers to embellish different surfaces. Don’t forget to share your exquisite pieces of workmanship with us!