Posted By TeckWrap Craft On September 12, 2022
How To Use TeckWrap Craft Color Changing Vinyl?

Table Of Contents
- What Is TeckWrap Craft Color Changing Vinyl?
- Different Types Of TeckWrap Craft Color Changing Vinyl
- Method To Use TeckWrap Craft Color Changing Vinyl
- Supplies You Will Need
- Step-By-Step Procedure For Using Color Changing Adhesive Viny
- Step 1: Prepare The Surface
- Step 2: Pick A Design
- Step 3: Choose The Vinyl Settings For The Cutting Machine
- Step 4: Place The Vinyl On The Cutting Mat
- Step 5: Use A Weeding Tool To Remove The Excess Vinyl
- Step 6: Apply Transfer Tape
- Step 7: Place The Design Onto The Substrate
- Step 8: Remove The Transfer Tape
- Step-By-Step Procedure For Using TeckWrap Craft Color Changing Heat Transfer Vinyl
- Tips For Using TeckWrap Craft Color Changing Vinyl
- Frequently Asked Questions
Tired of repeating the same old designs for your crafts? Are you looking for a special material that could instantly elevate your projects? TeckWrap Craft’s Color Changing Vinyl is just the product you need! It is very easy to use and adds enchantment and fascination to your crafts with its shade-shifting abilities.
At TeckWrap Craft, we have both adhesive and heat transfer vinyl in color changing series. These have further sub-categories that respond to sunlight exposure and temperature changes. Application of these is a breeze with the right tools and perfect settings.
In this article, we’ll tell you all there is to know about this nifty crafting material and explain how you can use it for your vinyl designs. Read on to learn more!
What Is TeckWrap Craft Color Changing Vinyl?
This is a specialized vinyl film available at TeckWrap Craft that responds to UV exposure and temperature fluctuations. It is a remarkable material cherished by crafters for its ability to bring a touch of magic to their projects. It changes color when exposed to sunlight or varying temperatures and is often referred to as ‘UV-reactive’ or ‘temperature-sensitive’ craft vinyl.
Our UV-responsive adhesive and heat transfer vinyl contains special pigments or coatings that react to ultraviolet light or sunlight. When exposed to UV rays, this vinyl can change color creating a captivating visual transformation. This feature is particularly popular for outdoor crafts, as the vinyl's appearance can change when taken outside into natural sunlight.
The temperature-sensitive adhesive and heat transfer vinyl at TeckWrap Craft responds to the cold. It shifts colors or hues when exposed to low temperatures. For example, it might exhibit one color at room temperature and transition to a different color when cooled. This property adds an element of interactivity and surprise to craft projects, making them adaptable to varying environmental conditions.
Crafters use these vinyl films for a wide range of creative endeavors. Common applications include making unique outdoor decorations, personalized apparel and accessories, custom home decor items, and inventive artworks. The ability of this vinyl to change appearance helps create visually dynamic and engaging pieces that captivate the viewer's attention.
Whether you're crafting for personal enjoyment or aiming to create attention-grabbing items, UV-reactive, and cold color changing vinyl offers a unique and exciting way to infuse creativity into your projects.

Different Types Of TeckWrap Craft Color Changing Vinyl
At TeckWrap Craft, we have different types of color changing adhesive and color changing heat transfer vinyl. These are available both in rolls of different sizes and A4 sheets. A brief description of each is given below:
TeckWrap Craft Cold Color Changing Vinyl
This crafting material is thermochromic in nature. The word ‘thermochromic’ refers to the property of a substance to change color when exposed to a change in temperature. At TeckWrap Craft, we have cold color changing vinyl that transforms into different shades when the temperature is below 59°F (15°C). The adhesive vinyl in this series is available in the following variants:
- New Cold Color Changing Adhesive Vinyl: These are amazing solid shades such as Rose Pink, Tiffany, Lavender, Yellow, Orange, and so on. These turn from light to dark and vice versa when exposed to low temperatures. They have a superb glossy finish.
- Neon Cold Color Changing Adhesive Vinyl: These are neon colors that present a different shade when exposed to cold temperatures. These include Yellow Green, Pink Purple, Aqua Dark Green, Blue Purple, and so on. These are available both in rolls and sheets.
- Clear Cold Color Changing Adhesive Vinyl: This amazing vinyl changes from clear to colored sheet when exposed to cooler temperatures. For example from clear, it might change to Yellow, Rose Red, Green, Blue, and so on.
We also have temperature sensitive heat transfer vinyl. It is called Pastel Color Changing Heat Transfer Vinyl. It changes shades when the temperature gets below 82°F.
We recommend using cold color changing vinyl for projects that are regularly exposed to low temperatures. If you’ve got a favorite mug, cup, or tumbler that you love using for cold liquids like lemonade, consider decorating it with this product! You can even decorate bowls in which you serve ice cream. Use our color changing heat transfer vinyl on your garments if you are moving to colder regions or going somewhere where the air conditioner will be on. For gettings heat transfer project ideas check our blog.
It’s important to note that your design will change back to its original color when the surface of the vinyl returns to room temperature. This is normal! As soon as the material is exposed to cold temperature again, the color changing effect will return.
If you’re an artist who likes playing with colors, the possibilities are endless. You can choose between both solid and neon colors, and the vinyl is available both in the form of sheets and rolls, so feel free to choose whatever material you’re more comfortable with!
TeckWrap Craft UV Activated Color Changing Vinyl
This vinyl material shows a stunning color changing effect when it is exposed to ultraviolet (UV) light. Apply it to a project, and you’ll notice that the design will appear one color indoors and a different color when exposed to the sun!
In adhesive vinyl, you get the UV Color Changing Vinyl and in HTV you get the following variants:
- Glitter UV Color Changing Heat Transfer Vinyl: This is a beautiful vinyl sheet that will add glitz and glamor to your garments. It is overlaid with minute flecks of glitter and changes color from white to pink, purple, gold, blue, and so on when exposed to sunlight.
- UV Neon Color Changing Heat Transfer Vinyl: This is the amazing HTV in neon shades that responds to exposure to UV rays, It is available in neon green and neon pink colors.
We recommend using this adhesive vinyl material for projects that are displayed outdoors, such as signs and banners. If you use this vinyl product to decorate home decor items, make sure to place them near the windows so they’re exposed to sunlight and the color changing effect can be seen.
As for best heat transfer vinyl, apply it on fabrics that will be worn outside especially during the day so that the sun can do its magic and make it change colors. You can apply it on T-shirts, shirts, jeans, and other casual daily wear garments.
Method To Use TeckWrap Craft Color Changing Vinyl
Now that you know what color changing vinyl is, you’re probably wondering about the steps for using it. Well, you’re in luck! This crafting product is incredibly easy to work with. In this section, we’ll walk you through the procedure for applying color-changing adhesive vinyl to your designs. For more information about how to use heat transfer vinyl check our blog.
Supplies You Will Need
For this method, you will need the following materials:
- Color Changing Vinyl. Choose the premium quality color changing vinyl from TeckWrap Craft. You can get what you like from the variants mentioned above in different shades.
- An Electronic Cutting Machine. The best thing about our vinyl is that it is compatible with all commonly used craft cutters, die cutters, and sign plotters. If you are a novice, you can even work with a pair of scissors if your design is simple or a craft knife. If working with vinyl is a long-term project for you, it is better to invest in a cutting machine like Silhouette or Cricut.
- A Cutting Mat. A standard-grip green mat with a grid will work well with this type of material. You can get this from the TeckWrap Craft accessories section.
- Weeding Tool: At TeckWrap Craft we have a tweezer, weeder, and a weeding pen. All these are excellent weeding tools with an ergonomic grip. Get the one that best suits your needs.
- Transfer Tape: This helps in accurate transfer of the color changing adhesive vinyl to any smooth, clean, and dry substrate. At TeckWrap Craft, we have transfer tapes with a grid for precise placement.
- Squeegee: You would want a smooth, crease-free transfer to the substrate. You can select from our mint squeegees in different sizes.
Step-By-Step Procedure For Using Color Changing Adhesive Vinyl
To apply this material to your crafting projects, you’ll need to complete the following steps:

Step 1: Prepare The Surface
Clean the surface with soapy water then wipe it dry with a microfiber cloth. Clean it with isopropyl alcohol to remove any traces of dirt, grime, and grease. Wipe it once again to ensure that it is completely dry.
Step 2: Pick A Design
Choose a design of your choice. You can create one on the software of your choice such as Adobe Illustrator, Canva, and so on or you can select an already existing design. If you are using a Cricut or Silhouette cutting machine, you will have to transfer your design to the software that they are compatible with. With Cricut, you get Design Space, and with Silhouette, the Silhouette Studio. These have their own library of designs as well. You can easily pick a design from there. You can even use an SVG file.
Keep in mind the specific color changes you’re expecting to see on your vinyl, and make sure that they go well with the background of the base material. Also, set the dimensions of the design according to the space on the substrate.
Step 3: Choose The Vinyl Settings For The Cutting Machine
This step will depend upon the brand and model of the vinyl cutter that you’re using. You can check the vinyl packaging to know the specific settings that are recommended for your cutting machine. This information will also be available on the packaging of the vinyl.
However, generally speaking, color changing vinyl is thicker than regular adhesive vinyl. Here are some of the settings that you can use on different machines but we recommend doing a test cut before cutting the actual design to be very sure:

- Cricut Explore Air 2: Customize using holographic vinyl cut setting.
- Cricut Maker: Premium outdoor, extra pressure.
- Silhouette Cameo 4: Blade 2, Speed 4, Force 7.
These are not final figures. Always go for a test cut to ensure they work with your cutting machine and TeckWrap Craft’s Color Changing Vinyl.
Step 4: Place The Vinyl On The Cutting Mat
Get the green cutting mat from TeckWrap Craft that has standard tack and place the rectangular or square piece of color changing vinyl on it. It should be bigger than the size of your design. This vinyl comes with a protective sheet on top. Remove it before cutting the vinyl.
Make sure that the vinyl is placed onto the mat with the shiny side facing up. You can use a squeegee to press down on the vinyl in order to ensure that it is firmly secured. Load the cutting mat into the machine.
Step 5: Use A Weeding Tool To Remove The Excess Vinyl
Once you have given the command to cut and the design is perfectly carved on your vinyl, unload the mat and remove the sheet from it. It is time to weed out the vinyl. Press the tip of the weeding pen on the piece of vinyl that you want to remove. You can also use tweezers or a weeder for this step. We recommend starting around the outer side of the design and then moving towards the center.
Step 6: Apply Transfer Tape
For this step, you will need to cut a piece of transfer tape that can cover the entirety of your design. Peel the paper backing off and stick the transfer tape onto the vinyl. Use a squeegee to burnish the tape. This will ensure that the vinyl design fully adheres to the tape. To transfer the design, peel away the backing of the vinyl.
Step 7: Place The Design Onto The Substrate
Take the transfer tape with the vinyl design on it and position it over the desired location. Once the design is in place, use a squeegee to press down on the vinyl. We recommend starting from the center and working towards the edges until you’re sure the image has completely transferred and fully pasted on the substrate.
Step 8: Remove The Transfer Tape
Once the vinyl has been shifted onto the substrate, peel off the transfer tape very slowly at an angle keeping it close to the surface. Your design has been applied!
Step-By-Step Procedure For Using TeckWrap Craft Color Changing Heat Transfer Vinyl
To apply this vinyl to compatible fabrics that are cotton, polyester, and poly/cotton blends, it is recommended to follow steps 2 to 5 mentioned above. The only difference will be the following:
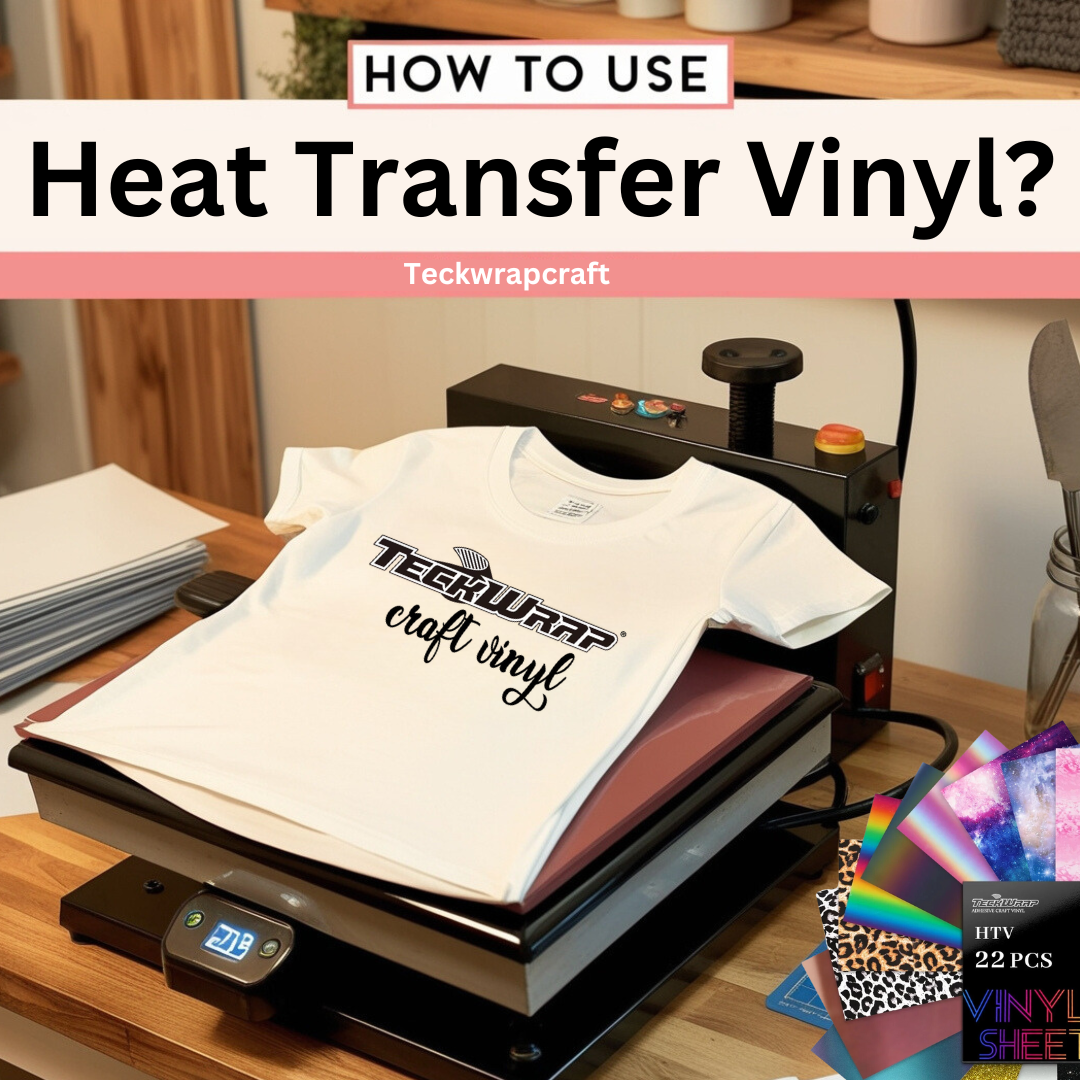
- In tools, you will have to add a heat press machine and heat-resistant parchment paper or Teflon sheet. These are essential as heat press vinyl requires heat and pressure to be applied for a specific period of time for it to adhere perfectly to the garment. You can also use a dry, household iron but for a more professional transfer, a heat press machine is highly recommended.
- Prepare the best fabric for heat transfer vinyl by washing it and ironing it after it has dried completely. This will pre-shrink the garment and remove moisture from it completely. Do not use bleach or fabric softener while washing.
- In step 2, when you are finalizing the design on the software, mirror the image, that is flip it horizontally. This is because your color changing heat transfer vinyl will be cut from the adhesive side and placed on the fabric facing the right side up. Do not forget this when working on the software.
- Another thing to take into account is to place the color changing heat transfer vinyl with the matte adhesive side facing up on the cutting mat. Since we have flipped the image horizontally, we will have to take care of the fact that the vinyl is placed correctly on the cutting mat. The shiny side will face down.
Place The Vinyl On The Garment
Place the color changing HTV design on the fabric where you want it to be after it has been cut and the negative vinyl weeded out. The shiny side should be facing up now. Put parchment paper on top and apply heat and pressure for the recommended time. The temperature should be 285°F / 140°C with medium pressure for 12 seconds. These are the recommended settings. You might have to adjust them a bit.
Remove The Carrier Sheet
Once the time is up, remove the parchment paper and then peel off the carrier sheet slowly. If the vinyl comes off with it, replace the sheet and the paper and apply heat and pressure for some more time. Slowly remove the carrier sheet and your beautiful color changing vinyl HTV design has been transferred for everyone to behold and win praise.

Tips For Using TeckWrap Craft Color Changing Vinyl
Using color-changing craft vinyl that responds to temperature changes and UV exposure can be a fun and creative endeavor. Here are some tips to help you make the most of this unique crafting material:
- After application, let the color changing design cure for at least 48 hours before exposing it to elements.
- Select a suitable surface for your project. Make sure it's clean, smooth, and free of any debris or oils. The vinyl will adhere better to a clean surface. If you are using heat transfer vinyl, make sure the fabric is prewashed and preshrunk. There should be no moisture on it.
- Plan your design to take full advantage of the vinyl's color changing properties. Consider how temperature fluctuations or exposure to UV light will affect your project's appearance.
- Before applying the vinyl to your final project, perform a test on a small, inconspicuous area to observe how it responds to temperature changes and UV exposure in your specific environment.
- Apply even pressure when adhering adhesive color changing vinyl to the surface to minimize the risk of air bubbles or wrinkles. You can use a squeegee or similar tool to help with this.
- Press down firmly on the vinyl to ensure it adheres securely to the surface. Pay extra attention to the edges and corners to prevent peeling.
- Avoid using abrasive materials or harsh chemicals that may damage the vinyl when cleaning after the design has been transferred.
- Color changing vinyl offers endless creative possibilities. Don't be afraid to experiment with different designs, temperatures, and lighting conditions to see how the colors transform. Embrace the playful and surprising nature of this material.
- When not in use, store your color changing vinyl in a cool, dry place away from direct sunlight or extreme temperature fluctuations to maintain its properties over time. Save it from humidity as well.
- Keep a record or take photos of your color-changing vinyl projects under various conditions. This can be helpful for future reference and inspiration.
Frequently Asked Questions
Bedeck Surfaces With The Exquisite TeckWrap Craft Color Changing Vinyl
This is the complete procedure for using TeckWrap Craft’s color changing vinyl! It’s a wonderful and magical material that adds life to any project that it’s used on. Check out our website, grab a few rolls, and start elevating your craft creations today!


