


This is a good bundle to try. As always easy to use.
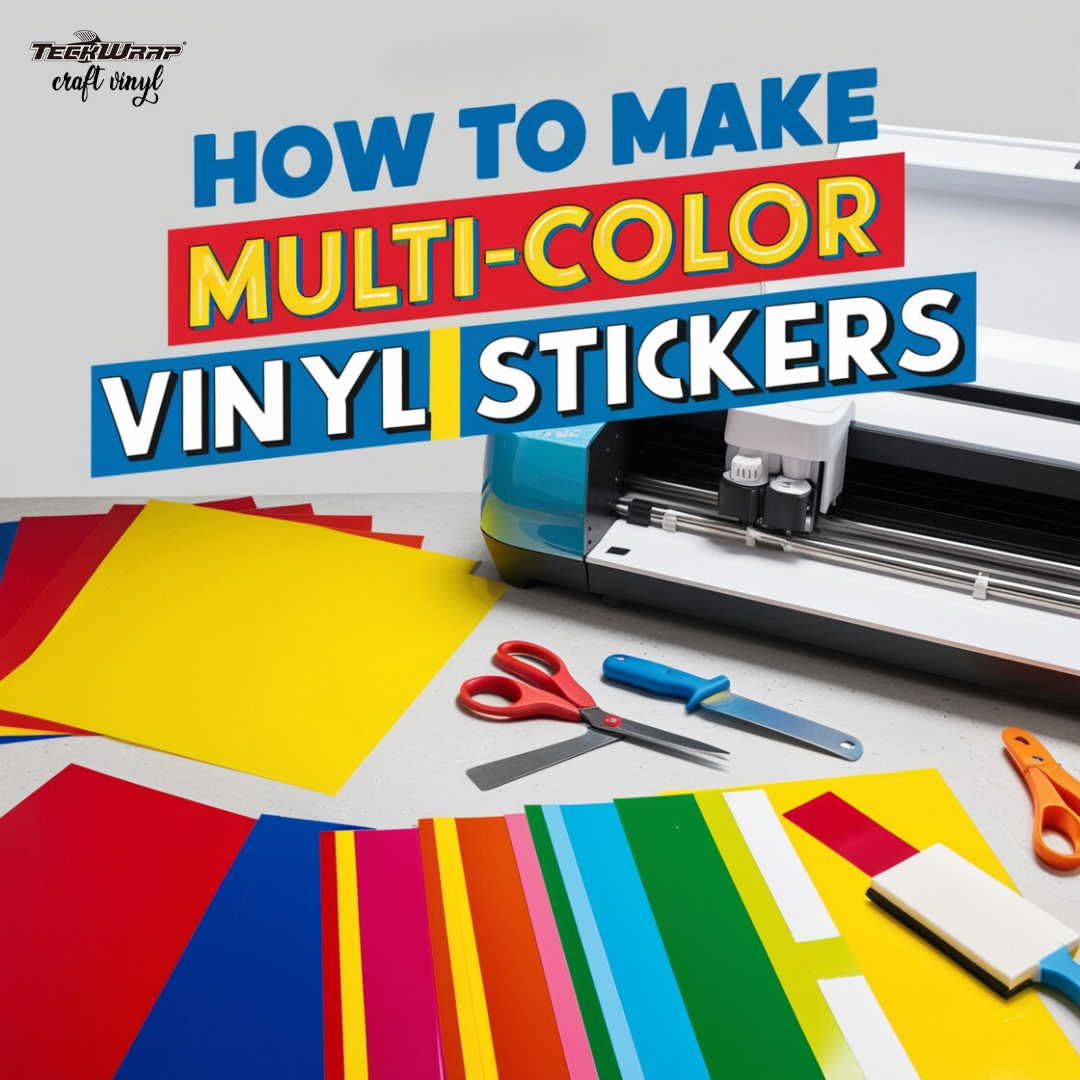
How to Make Multi-Color Vinyl Stickers Using TeckWrap Craft Vinyl
Table of Contents
- What Kind of Vinyl to Use?
- Supplies Needed for This Project
- Step-By-Step Instructions How to Make Multi-Color Vinyl Stickers
- Step 1: Choose a Design
- Step 2: Determine the Sticker’s Right Size
- Step 3: Ungroup the Design
- Step 3: Cut the Design
- Step 4: Weed the Vinyl
- Step 5: Layering Vinyl
- Tips on Creating Multi-Color Custom Vinyl Decals
- Adhesive Vinyl vs Printable Vinyl
- Adhesive Vinyl Available at TeckWrap Craft
- Frequently Asked Questions
- What Types of Vinyl Can Be Layered?
- Can You Layer Vinyl on Top of Vinyl?
- How Many Layers Can You Layer Vinyl?
- What Kind of Vinyl Is Used on Stickers?
- Multi-Color Vinyl Decal Design Ideas You Can Create
Sure it’s easy to create one-colored decals and just stick it directly to a blank merchandise. But what about multi-color vinyl stickers? Have you challenged yourself to do that? It might be one of the biggest hang-ups when it comes to vinyl stickers creations.
When creating multi-color vinyl stickers, there are two crucial steps — how to ungroup a design on the cutting machine software and the actual process of layering two or more adhesive vinyl.
If you haven’t done this kind of project before, practice with a simple design and two vinyl colors only. Read further to know more.
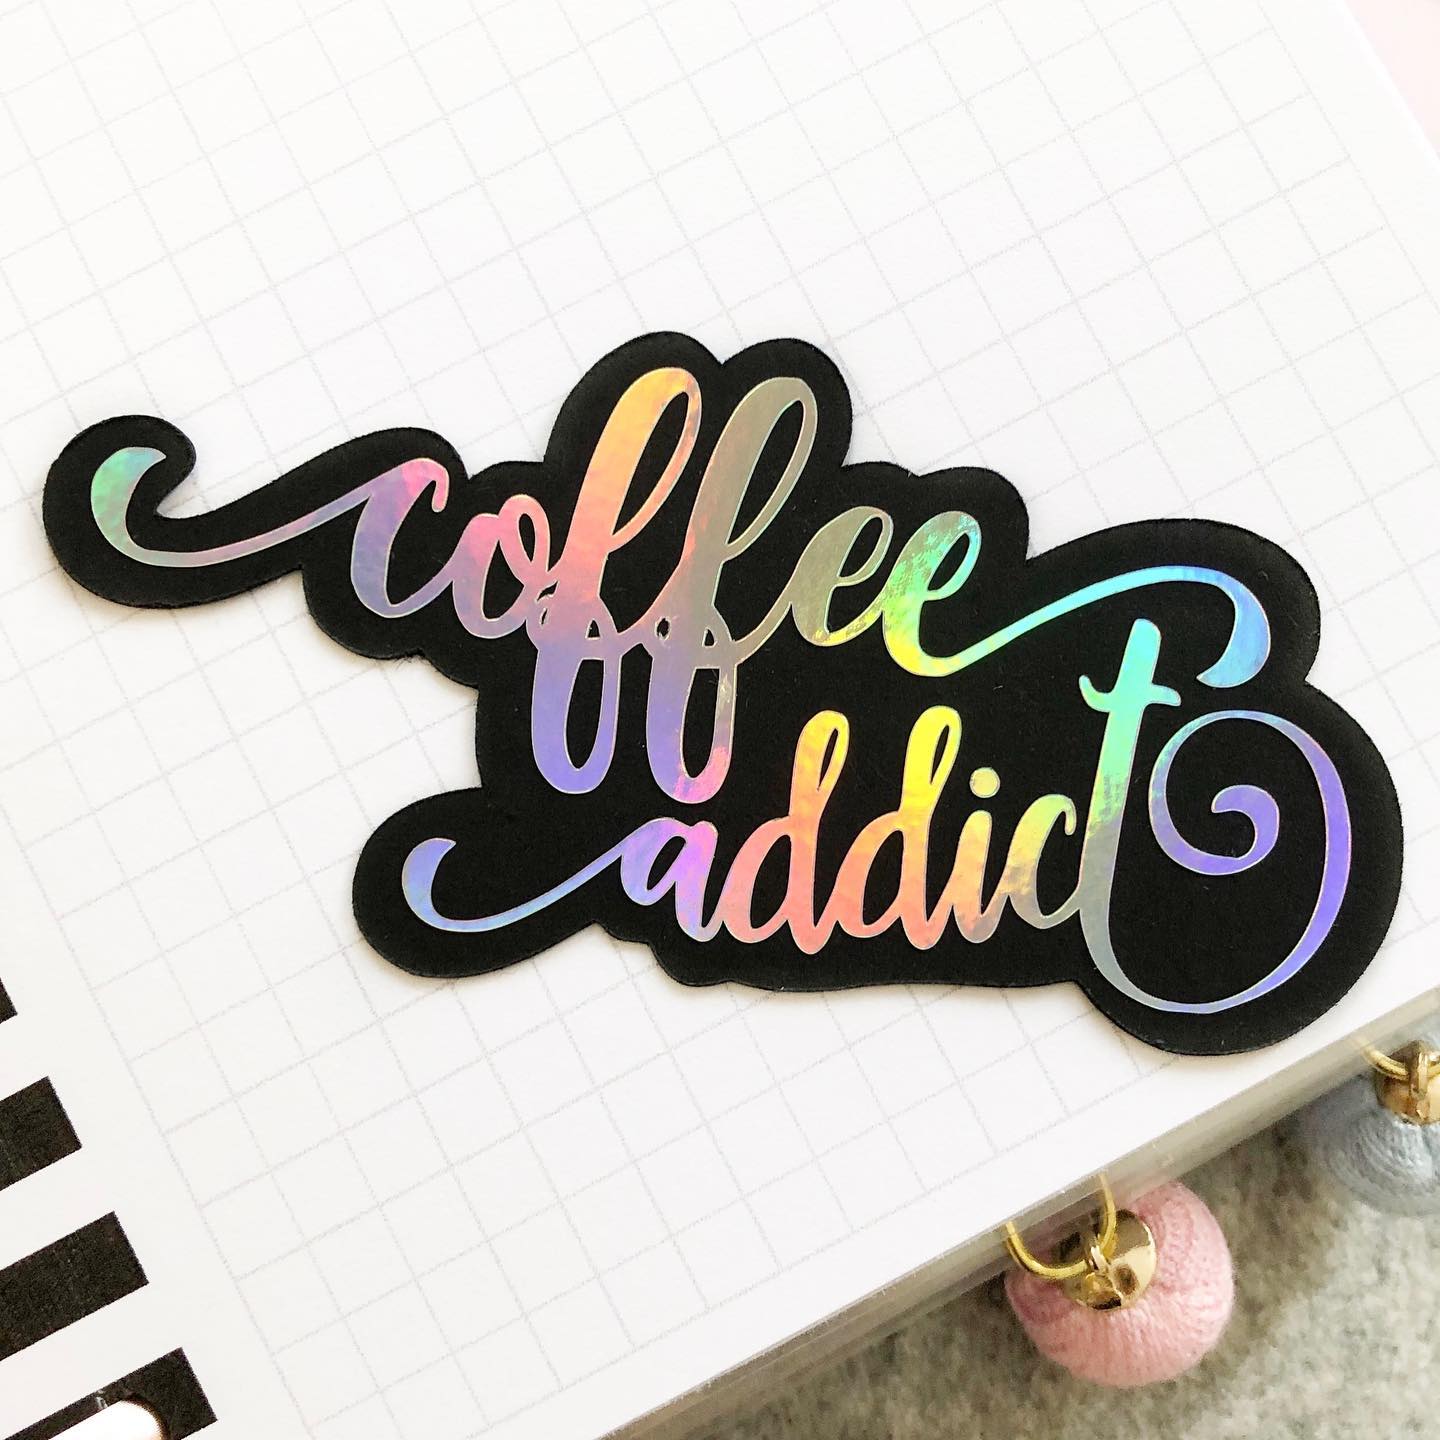
Multicolor vinyl decal using TeckWrap Craft’s black and silver holographic vinyl
What Kind of Vinyl to Use?
Adhesive vinyl from TeckWrap Craft will be used in creating multi-color vinyl stickers. There are two types of adhesive vinyl — removable and permanent. It is recommended to use permanent adhesive vinyl to create stickers so it can last longer and you can basically place it on any type of merchandise.
Take note, that the process for layering vinyl for T-shirts or garments is different. Since garments will need a heat press machine, the whole process is different. Read this blog post on How to Layer Vinyl on a Shirt Like a Pro: A Step-By-Step Guide.
Supplies Needed for This Project
- Cutting machine (Silhouette or Cricut)
- Permanent vinyl or vinyl sheets (color or pattern of the vinyl depends on your design)
- Transfer paper or transfer sheet
- Parchment paper or onion paper
- Weeding tool
- Ruler or measuring tape
- Scrapper tool or a used credit card
- Layered SVG files or you can create your own
Check out this great tutorial!
Step-By-Step Instructions How to Make Multi-Color Vinyl Stickers
Multi-color vinyl decals require a lot of effort. That’s why you need to learn the basic principles for this type of project. Here are several things you need to remember:
- For a layered design, up to three different types of vinyl are allowed to be stacked. You can exceed that number but it will be a risk to your creation. Anything exceeding that, the sticker might be too thick and may not stick well.
- A special type of vinyl like glitter and color-changing vinyl should be on top of the design. Special types of vinyl should never be on the bottom because the other upper layers won’t stick.
- When choosing an SVG, make sure it has been layered well and can be ungrouped.
See the photo below? This Dog Mama sticker will be the inspiration for this step-by-step guide. For this project, we’ll try to create two layers of vinyl, with three different colors. The base vinyl is a baby pink glossy adhesive vinyl.
The font is a black matte adhesive vinyl. Lastly, the paw is Fuschia holographic glass flower adhesive vinyl. Of course, all from TeckWrap Craft. Here’s where the learning starts!
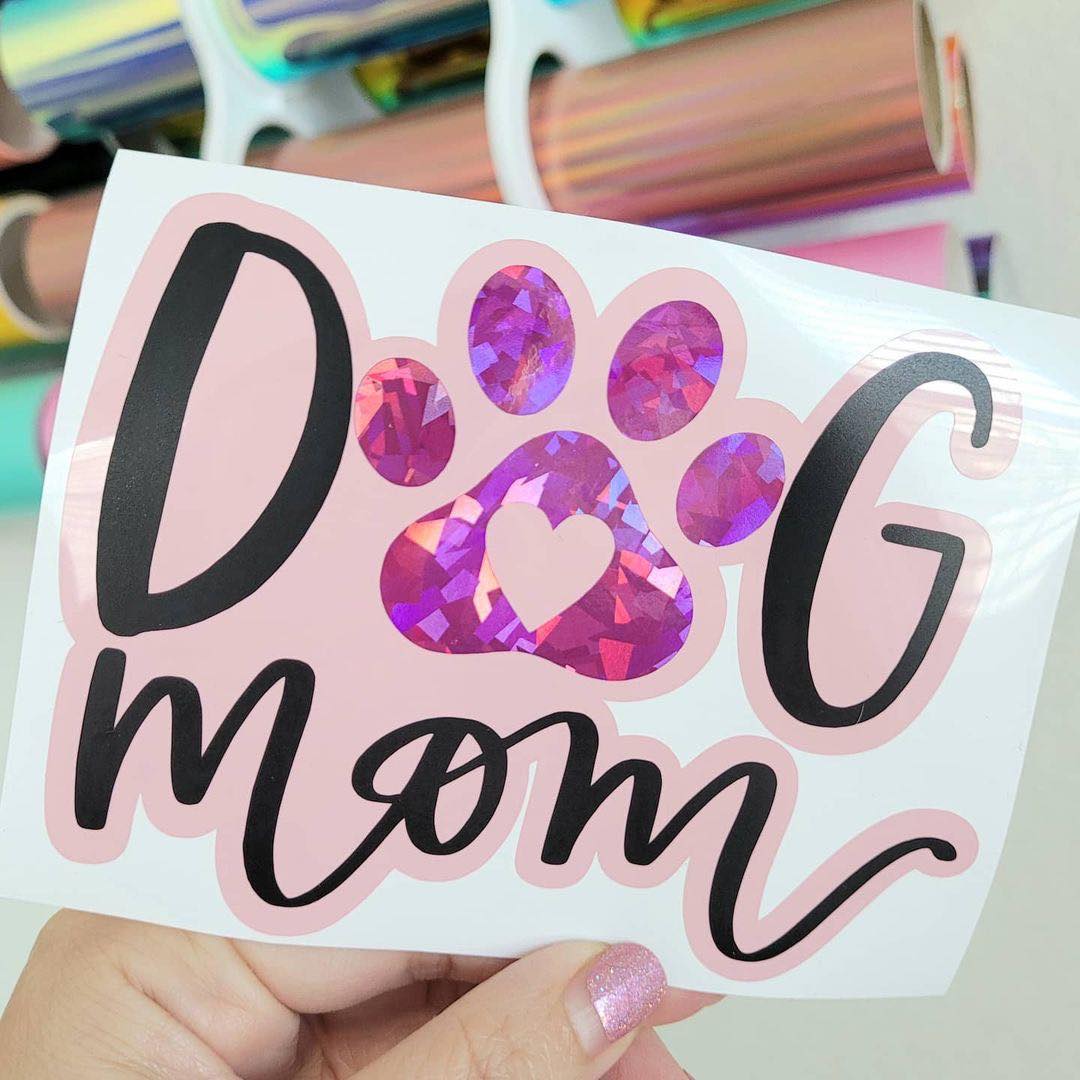
Design by TeckWrap Craft
Check out the original post from the TeckWrap Craft Facebook Page
Step 1: Choose a Design
Before anything else, choose your design. If you have graphic editing skills, you can create this design using your Silhouette or Cricut Design Space. Start with the text, use the free vectors in the design space for the paw, and create an outline for the pink vinyl.
For your other projects, if you’re not sure of your editing skills, you can always download free SVG files or purchase them. Just make sure to purchase from a reliable source. Also, make sure the SVG file has been outlined well and can be ungrouped.
Step 2: Determine the Sticker’s Right Size
Of course you have to determine the right size of the sticker. This will depend on where you plan to stick the decal. This is where you need your ruler or measuring tape. For instance, if you plan on sticking the decal on a glass tumbler, measure your desired size.
This size is what you follow on your cutting machine’s design space. Once you have adjusted the sticker’s size on the software, you can’t change it. Never change the size especially after ungrouping the SVG, which takes us to the next step.
Step 3: Ungroup the Design
Once the design is ready, and you have adjusted it to the right size, ungroup the design in your cutting machine’s software. Ungrouping means you need to separate each layer of the design into its corresponding vinyl color.
For the Dog Mama design above, it needs to be ungrouped into three parts (because there are three colors of vinyl).
- If you’re using Silhouette: Click the whole design, right-click, and click ‘Ungroup’.
- If you’re using Cricut Machine, whether it’s Cricut Joy or Cricut Explore Air: Click the design, on the upper right side of your screen under the ‘Layers’ click ‘Ungroup’.
Once you have ungrouped your design, separate all three separate images. When you cut the design, later on, you have to cut on three different pieces of vinyl. The next step is to cut the three components separately.
Step 3: Cut the Design
It doesn’t matter which ungrouped component you cut first, as long as you did it right. So for this project, the pink vinyl is the base, the paw is the holographic glass vinyl, and the text is black vinyl. Always use a cutting mat. Once you’re done cutting set it aside and get ready to weed it.
Step 4: Weed the Vinyl
For long-time crafters, this is an easy task. For beginners, weeding means removing the excess vinyl you don’t want on your sticker. Basically, what’s left on the vinyl are only the ‘Dog Mama’ and the paw.
Step 5: Layering Vinyl
The next step is layering the vinyl. Here’s a step-by-step process on how to easily layer multi-color vinyl stickers:
- Transfer the second layer to a transfer tape, in this case, the texts ‘Dog Mama’
- Prepare the bottom layer so you can stick the second layer to it.
- Place the parchment paper or onion paper over the bottom layer so the second design won’t stick to it.
- You need to make sure you have the correct placement of both designs, that’s why you have the parchment paper sandwiched between the two layers.
- Once you’re sure of the placement, start with one side when transferring.
- Rip off a side of the parchment paper and start transferring the top layer to the bottom layer.
- Using a scraper tool or used credit card, remove bubbles and scrape both front and back to ensure the design transfers well.
- Repeat the process with the other layer until you’re done.
- You can follow the same technique when creating a multi-colored car decal.
There you have it! Super easy, right? You can now stick the vinyl decal to your tumbler, mug, water bottle, notebook, or for whichever merchandise you plan to stick it. If you plan on selling stickers, leave the paper backing behind and make sure to cut out the excess white portions.
You might be interested in reading this post if you plan to sell stickers: Business Ideas: How to Make Your Own Stickers to Sell.
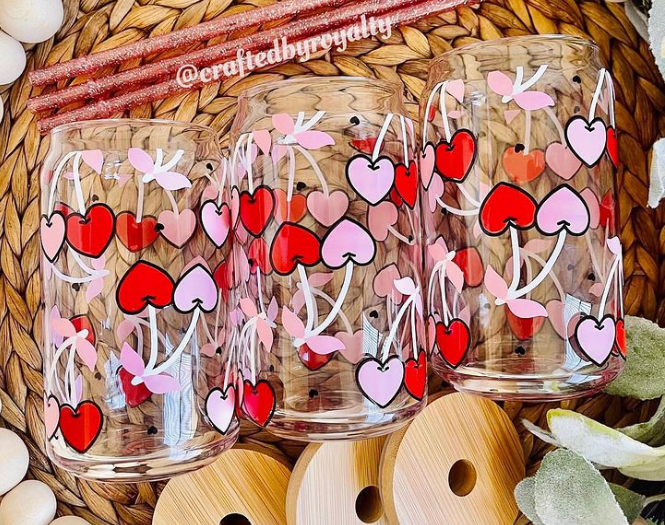
Artwork by craftedbyroyalty using TeckWrap Craft vinyl
Tips on Creating Multi-Color Custom Vinyl Decals
When you make a multi-color vinyl sticker, there are things you need to do and avoid.
- If you’re not confident in your placement skills, you can place registration marks as a guide on each layer.
- If you’re not familiar with creating stickers with multiple colors, start with a small design. Stickers of small designs are easier to work with especially when you’re still practicing.
- A special type of vinyl like glitters should be the top layer all the time.
- The transfer tape you should use should be large enough to cover the largest vinyl layer.
- As much as possible, work with three layers of vinyl only. Anything more than that would be too thick.
- When you cut vinyl, always use a cutting mat.
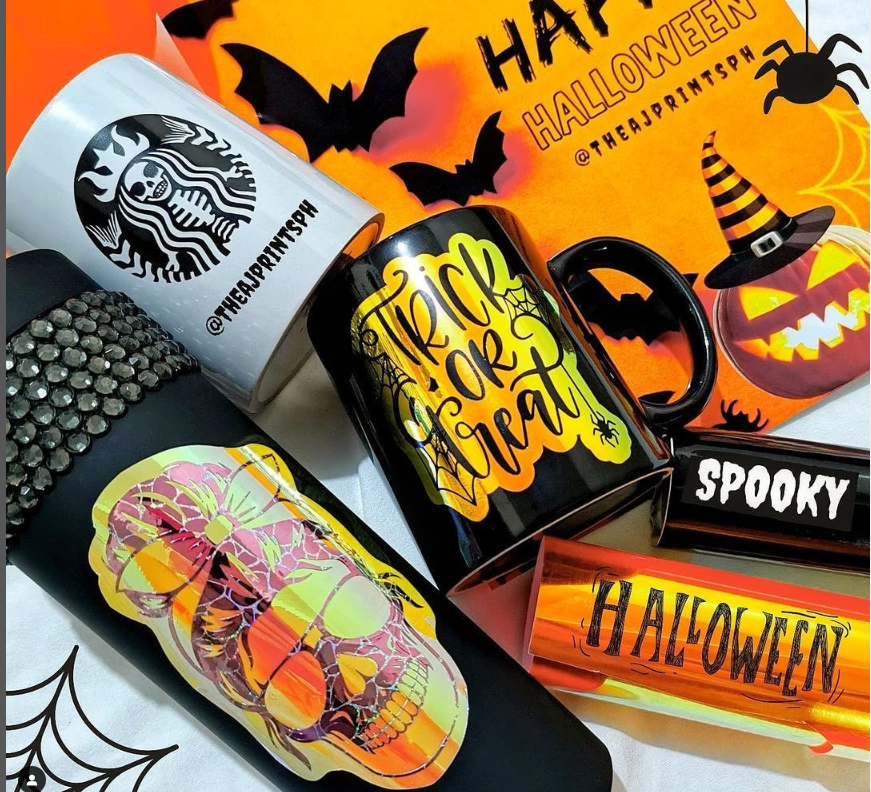
Halloween custom crafts by theajprintsph using TeckWrap Craft vinyl
Adhesive Vinyl vs Printable Vinyl
Aside from creating multi-color vinyl decals, you can also opt for a printable vinyl using a laser printer or pigment-based ink printer. However, there’s a big difference between using adhesive vinyl and printable vinyl.
However, for creating multi-color vinyl decals, adhesive vinyl is recommended as compared to printable vinyl. There are several disadvantages to using printable vinyl:
- Some printable vinyl is not waterproof. Thus when used on washable merchandise like mugs or tumblers, the ink may fade over time.
- Since the ink is used on printable vinyl, the ink may fade over time, regardless of where is it used.
- The size of your design may be limited especially when you have a standard-sized printer.
- If you’re creating bulk orders, the printing and cutting process may be tedious process.
- The number of colors may be limited especially for RGB printers.
- Buying ink from time to time is an additional cost for you.
Adhesive Vinyl Available at TeckWrap Craft
If you use adhesive vinyl, you have a lot of advantages. You can create a sticker with multiple colors and even a patterned design. In TeckWrap Craft, here are the designs and patterns you can use:
- Rainbow Stripes
- Christmas Plaid
- Reflective
- Galaxy
- Opal and Holographic
- Textured Metallic
- Color-changing
- Glow-in-the-dark
- Patterned
- Glitterized
- Smart vinyl
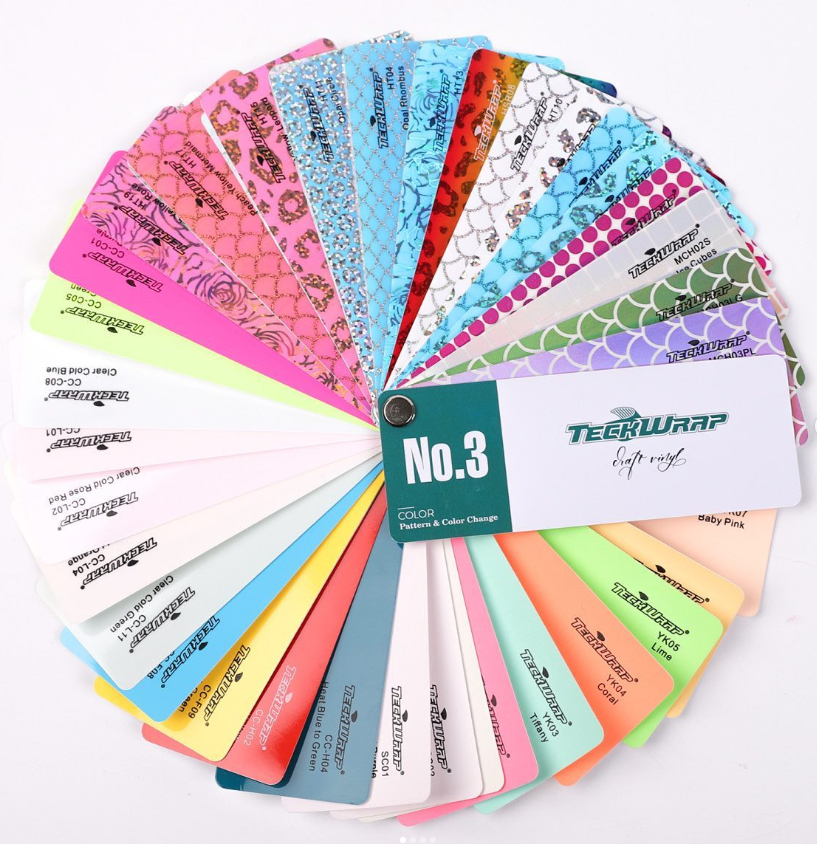
Get to pick your vinyl with this TeckWrap Craft sample kit
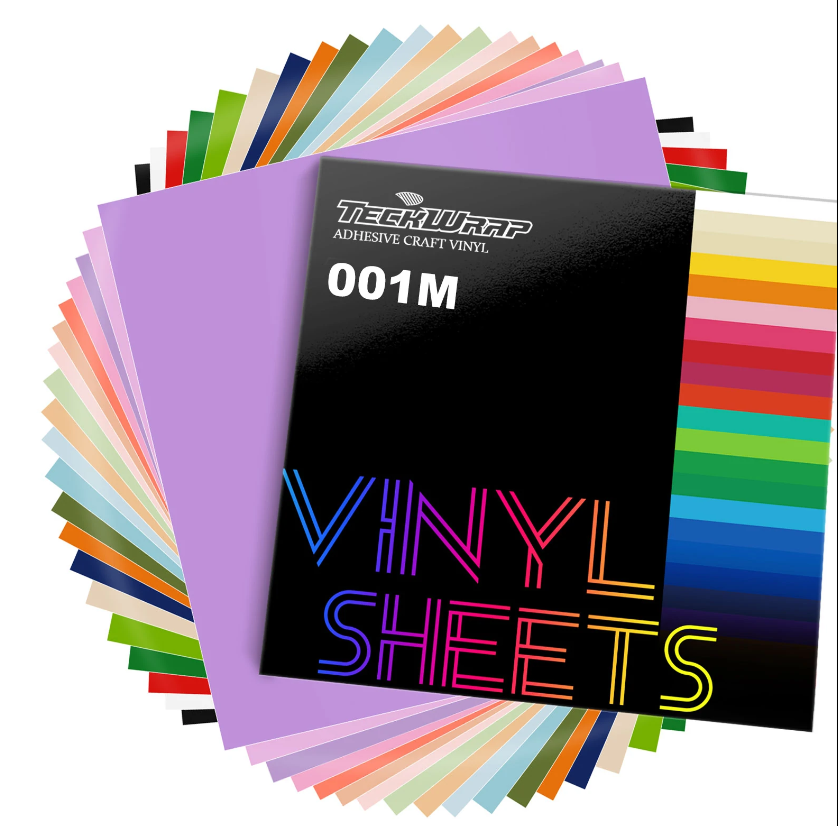
If you’re creating small craft stickers, you can purchase a sheets pack of vinyl from TeckWrap Craft rather than buying a roll of meters of vinyl. You don’t want a lot of excess vinyl around your workshop, right?
However, if you plan to make a multi-color sticker with a bigger design for wall decals, you can start purchasing bigger rolls of adhesive vinyl. Your love for vinyl crafts is a brilliant idea for a start-up business.
Frequently Asked Questions
What Types of Vinyl Can Be Layered?
Both adhesive vinyl and heat transfer vinyl can be layered. However, the layering for adhesive vinyl and heat transfer vinyl does not have the same technique.
Can You Layer Vinyl on Top of Vinyl?
Yes, you can layer on top of the vinyl. Make sure to use a special type of vinyl especially glitter vinyl as the top layer. The layering of vinyl starts on the design space when you ungroup the SVG file.
How Many Layers Can You Layer Vinyl?
If you plan to stick the layered vinyl to merchandise that gets washed often like a mug or tumbler, it is best to limit the number of layers to three. You don’t want your sticker to be too thick.
What Kind of Vinyl Is Used on Stickers?
Adhesive vinyl or printable vinyl can be used to create stickers. If you’re into Cricut crafts, it is better to use permanent adhesive vinyl to create stickers with multiple colors.
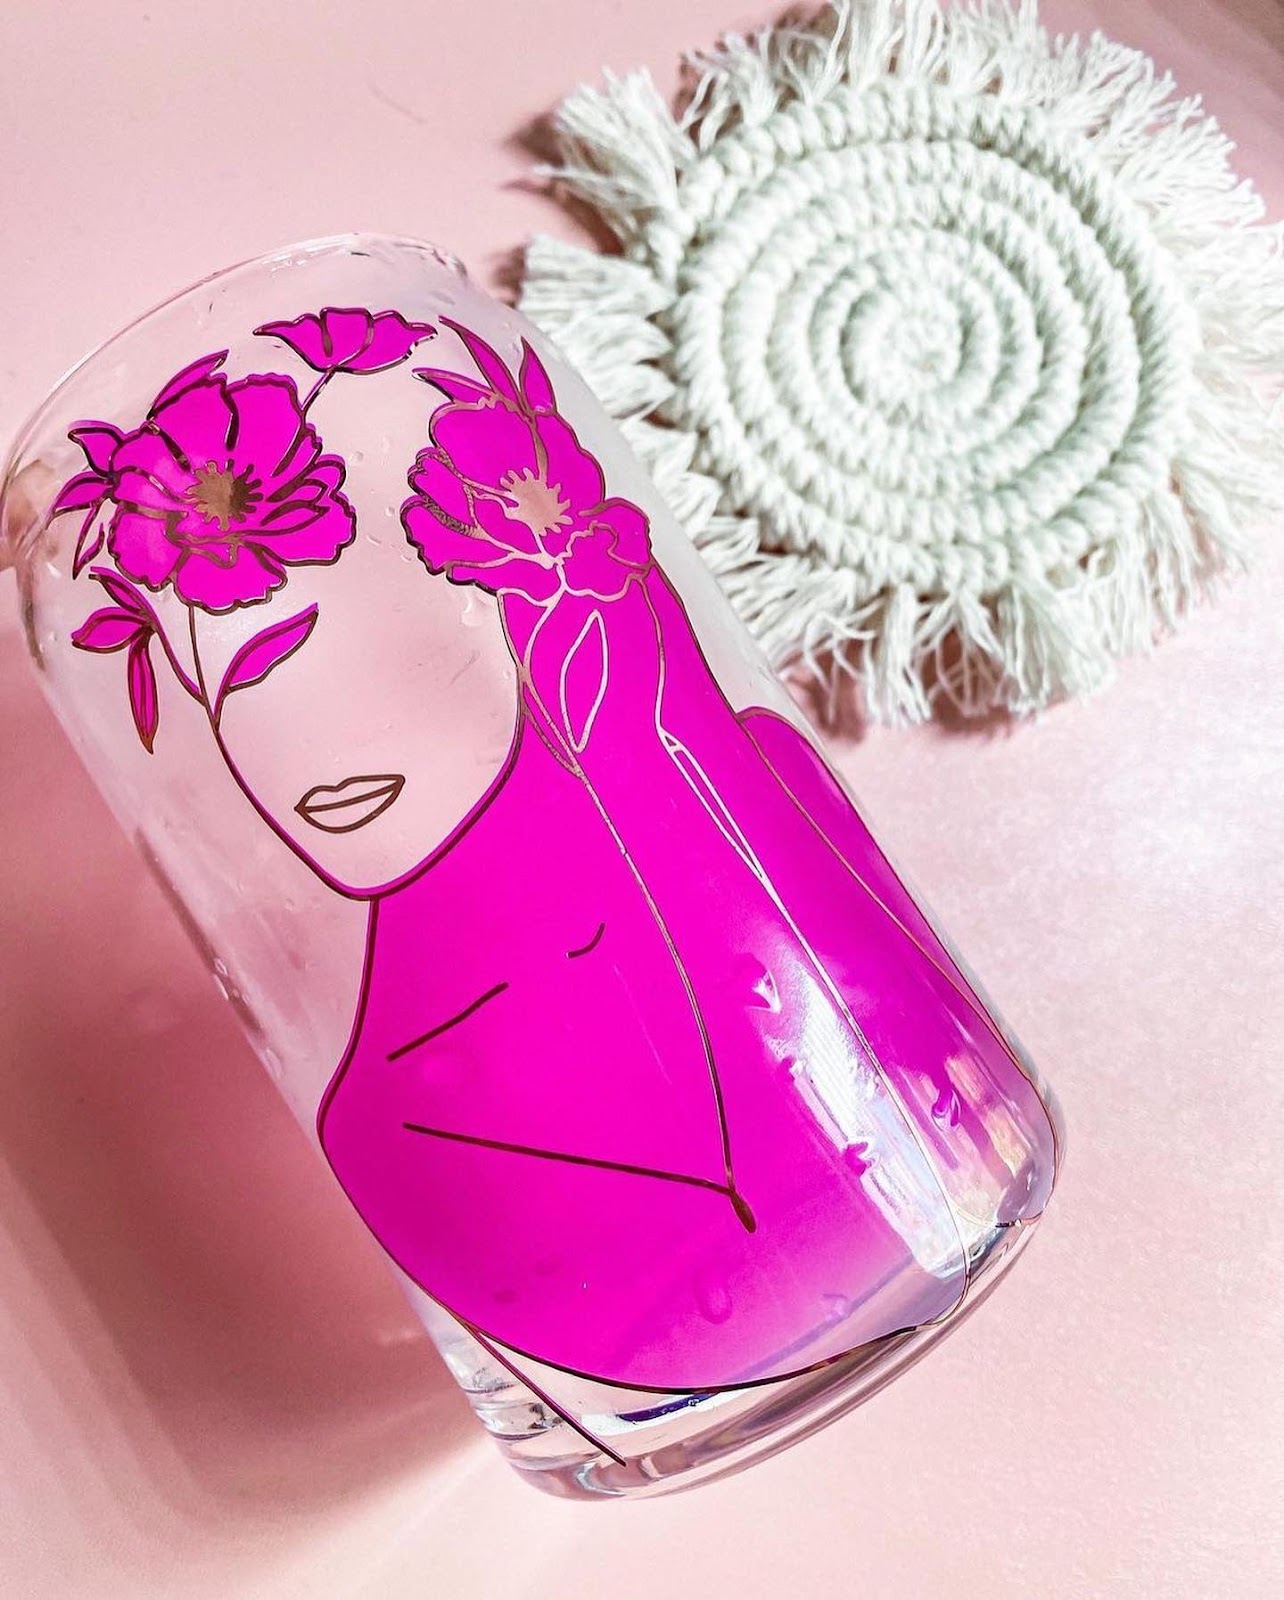
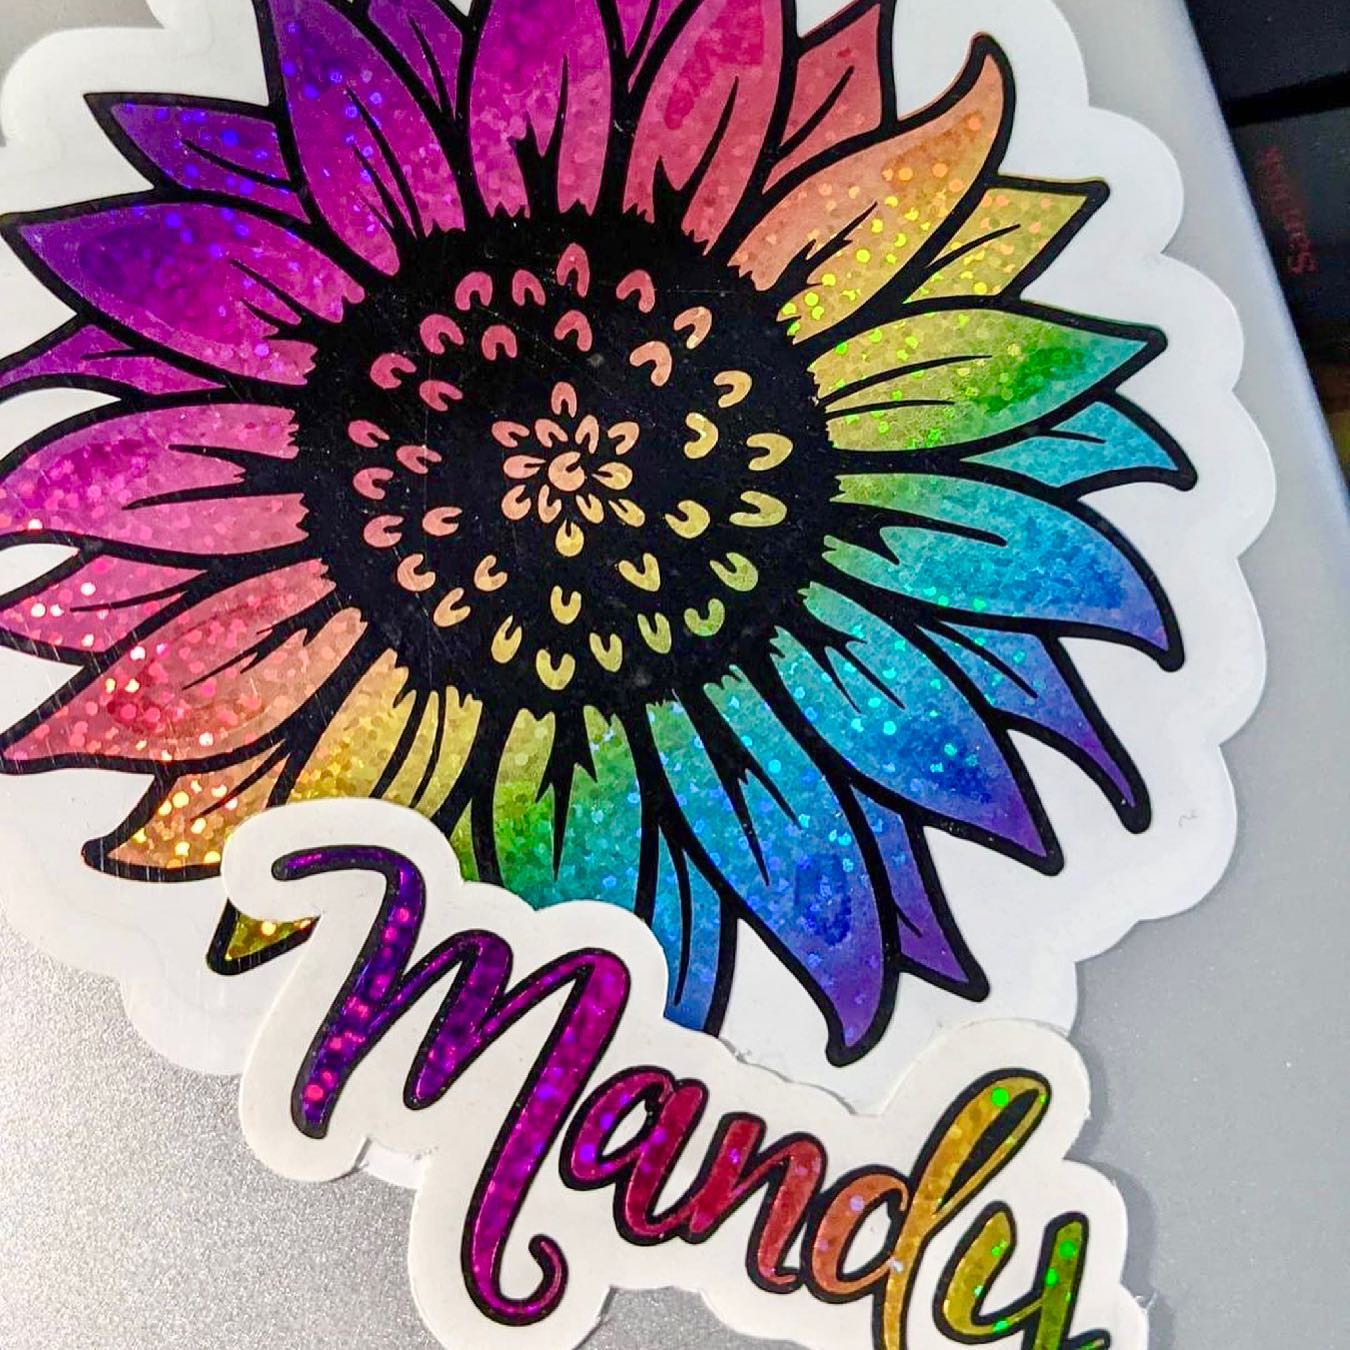
Multi-Color Vinyl Decal Design Ideas You Can Create
Find inspiration from these multi-color vinyl stickers using TeckWrap Crafts. If you have an original creation that you want to share with the world, you can upload it on Instagram or Facebook, and don’t forget to tag our official pages.
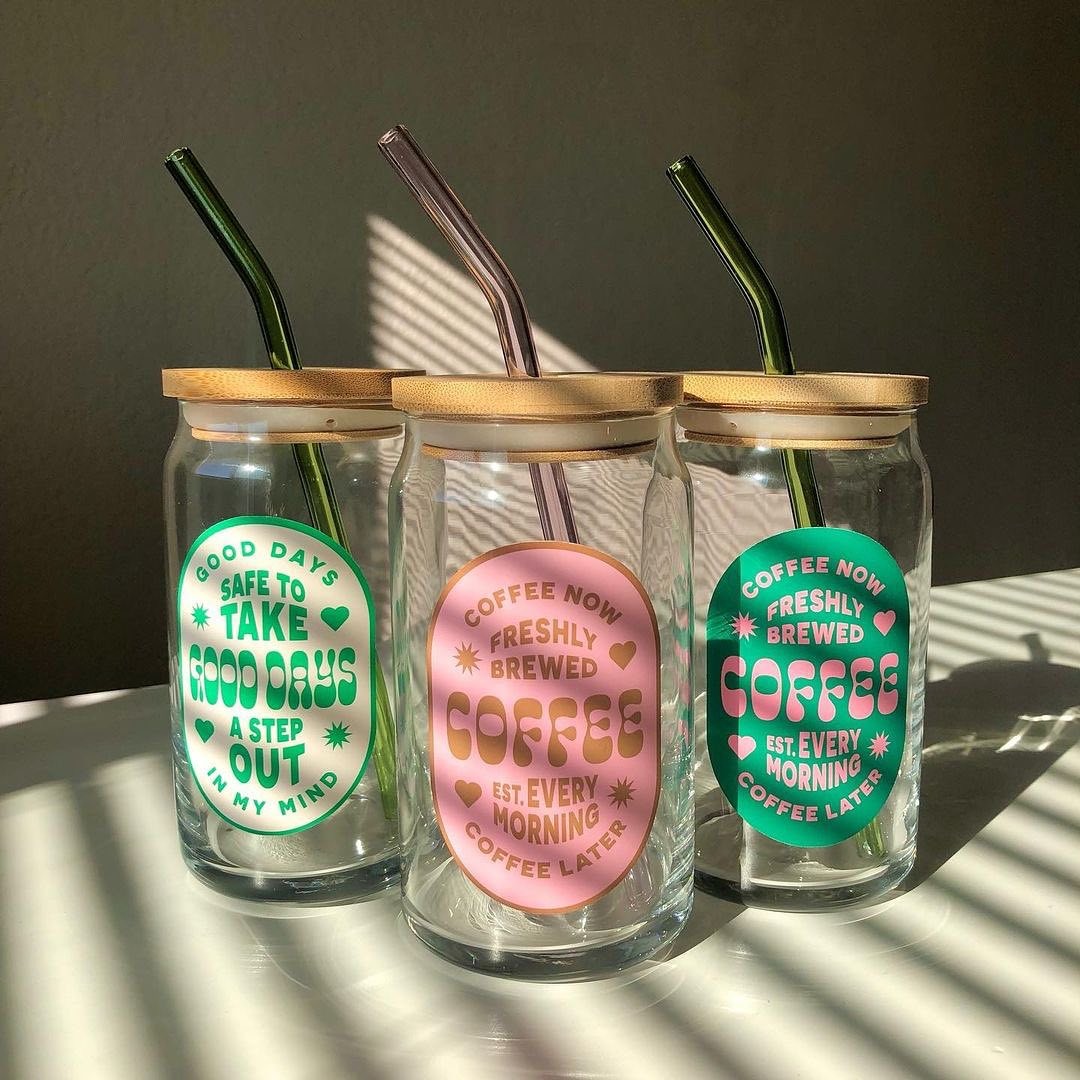
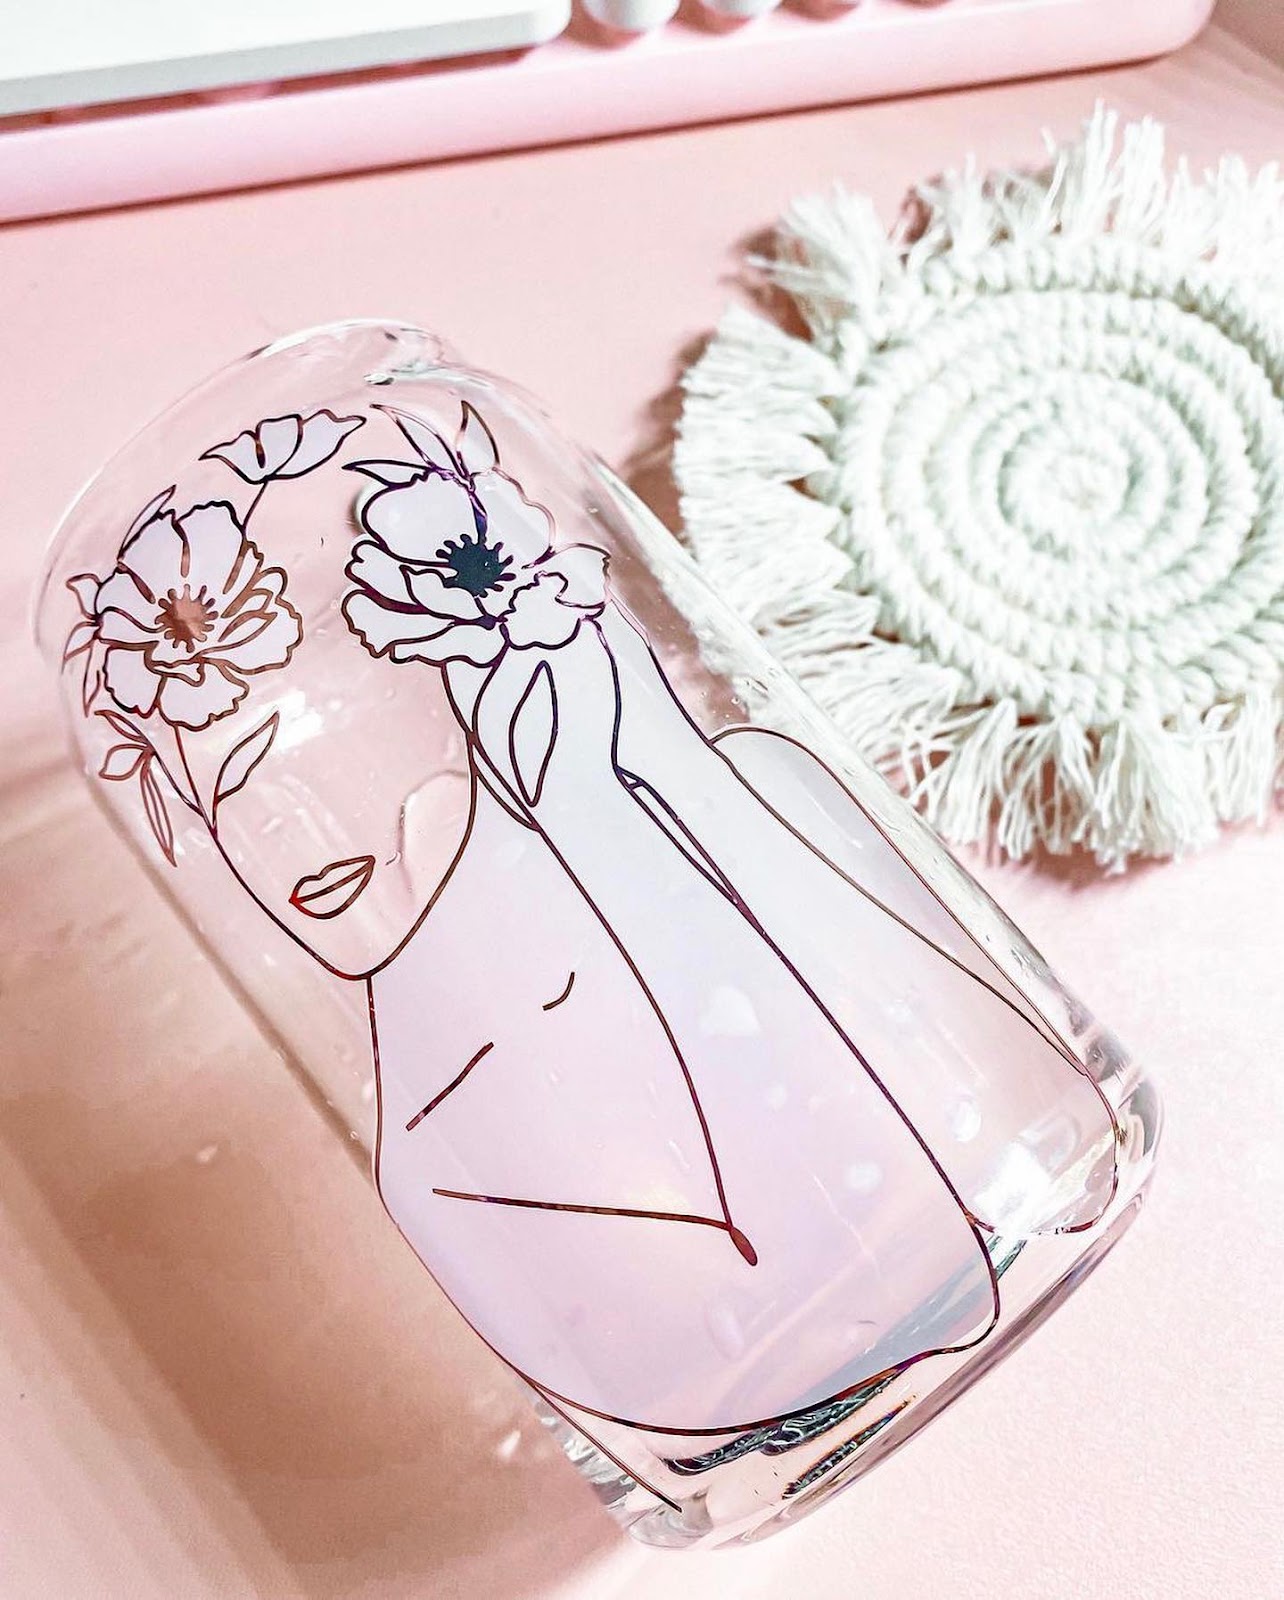
 Creation by dazzlemecups |
Creation by craftsbymarissa_ |
 Image from TeckWrap Craft Facebook Page |
Beercan glasses available at TeckWrap Craft |
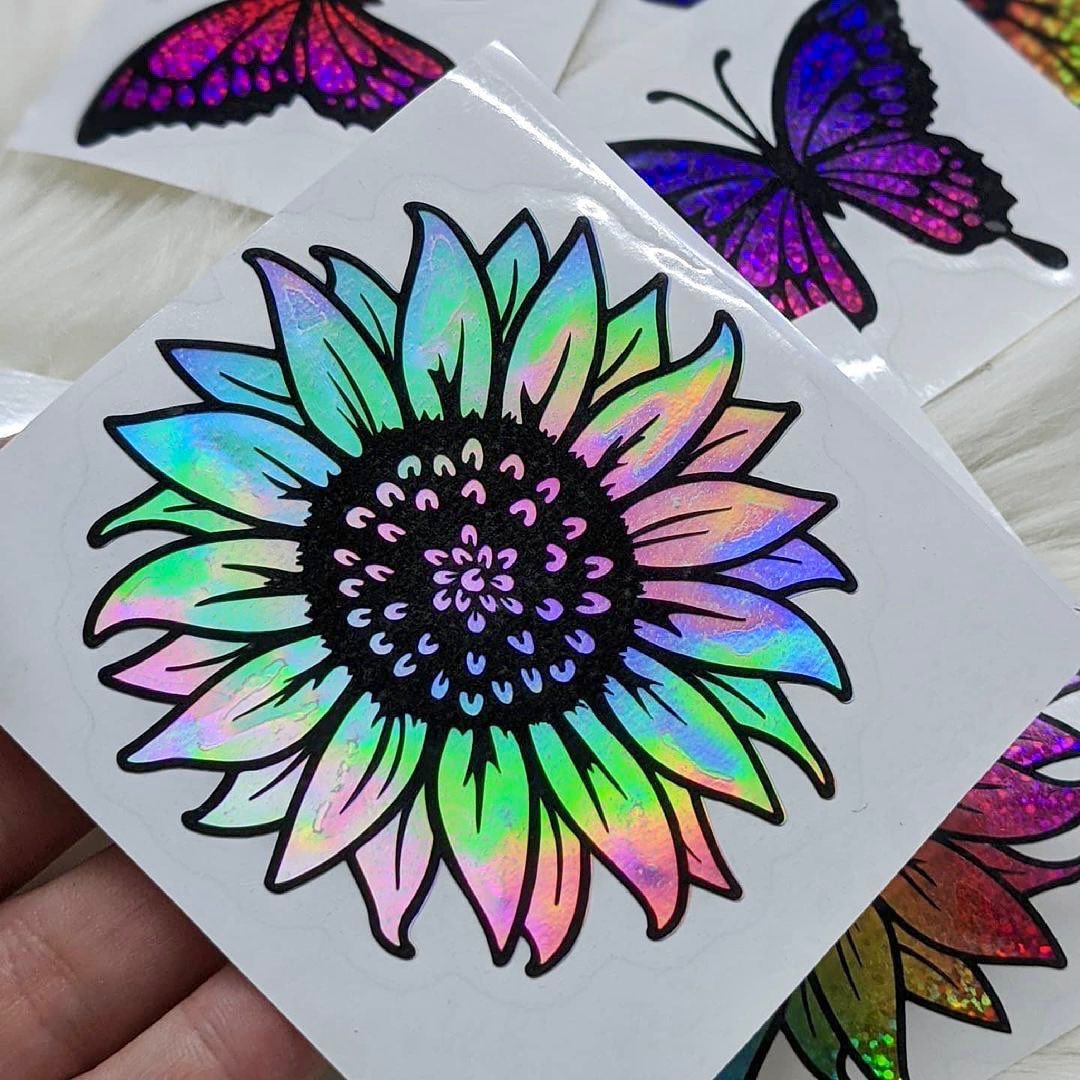
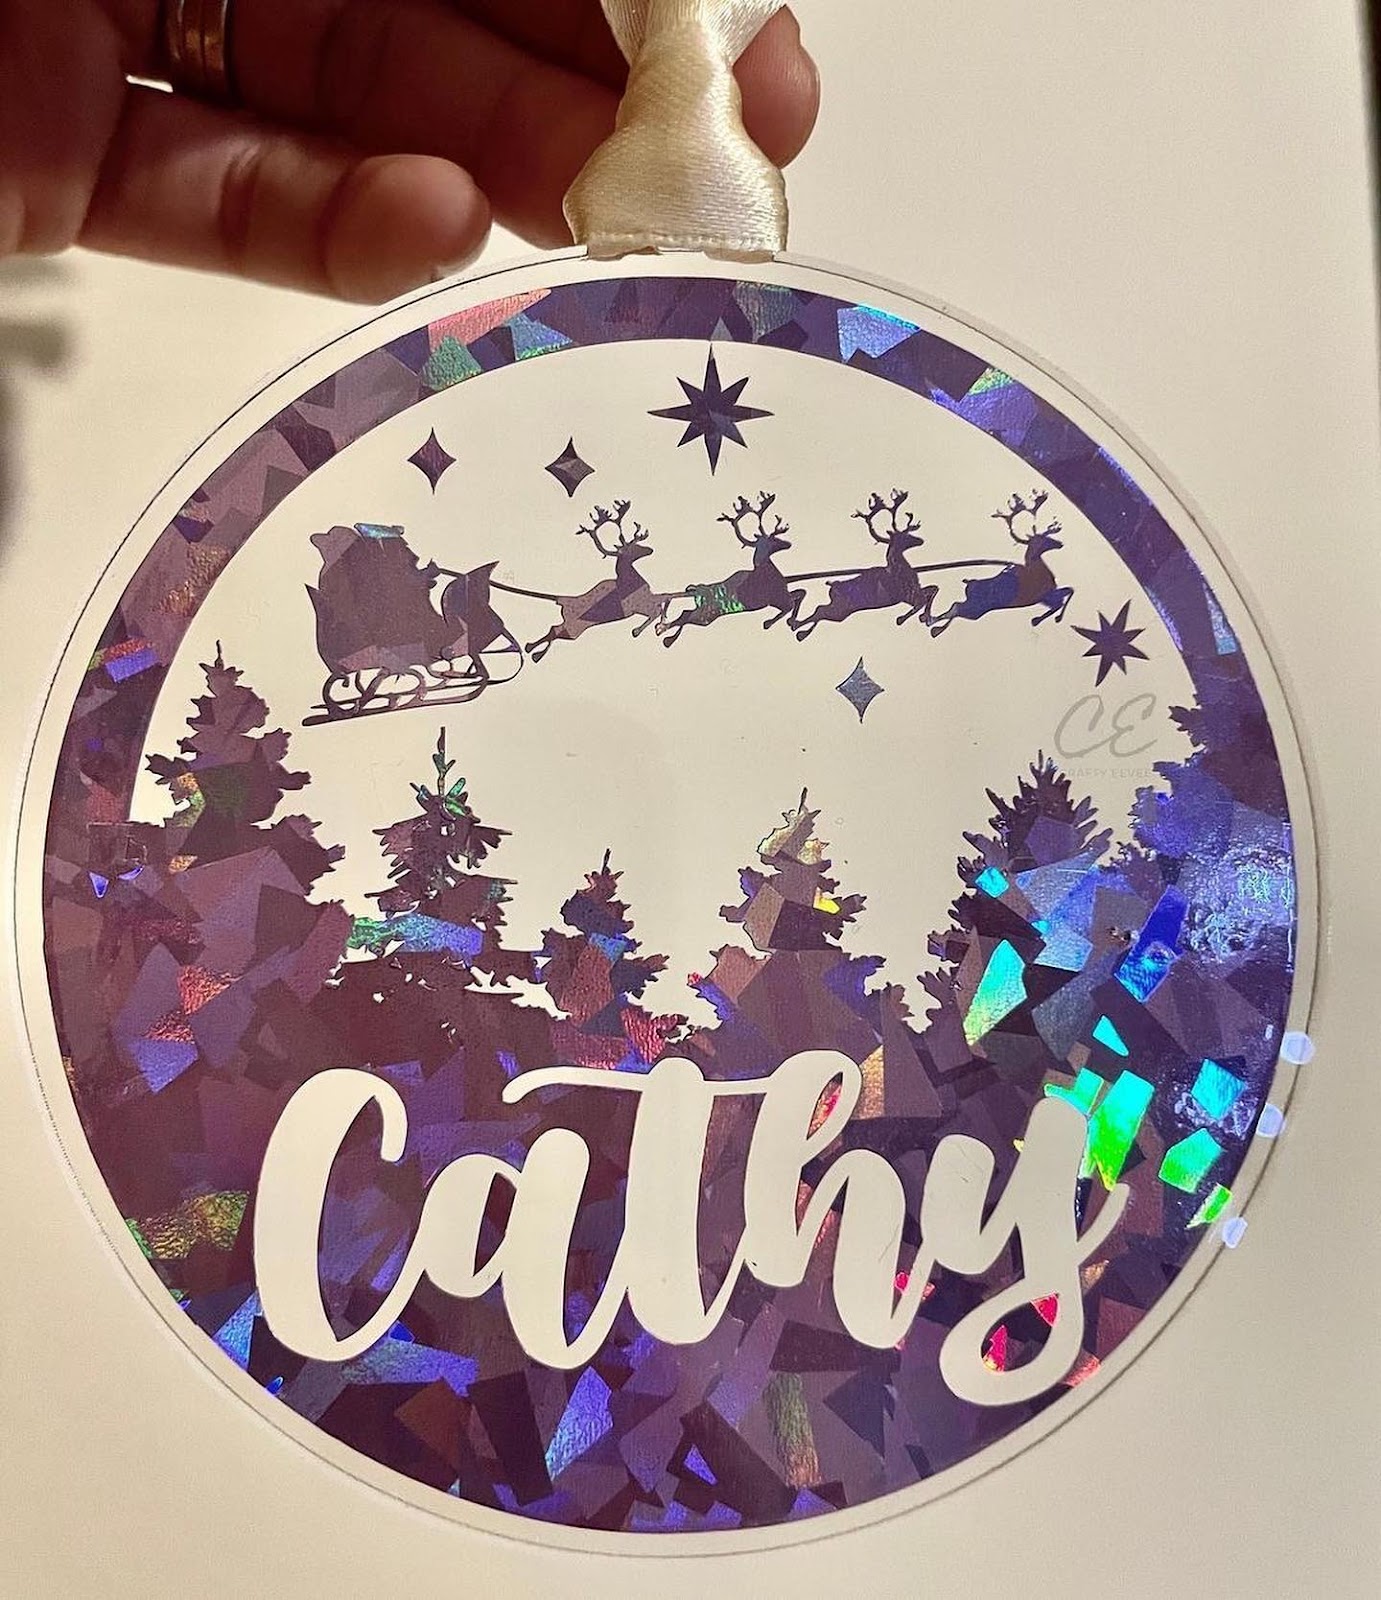 Christmas ornament using multiple colors of TeckWrap Craft vinyl |
Halloween design tumbler by TeckWrap Craft |
 TeckWrap Craft Color-changing adhesive vinyl |
 |
|
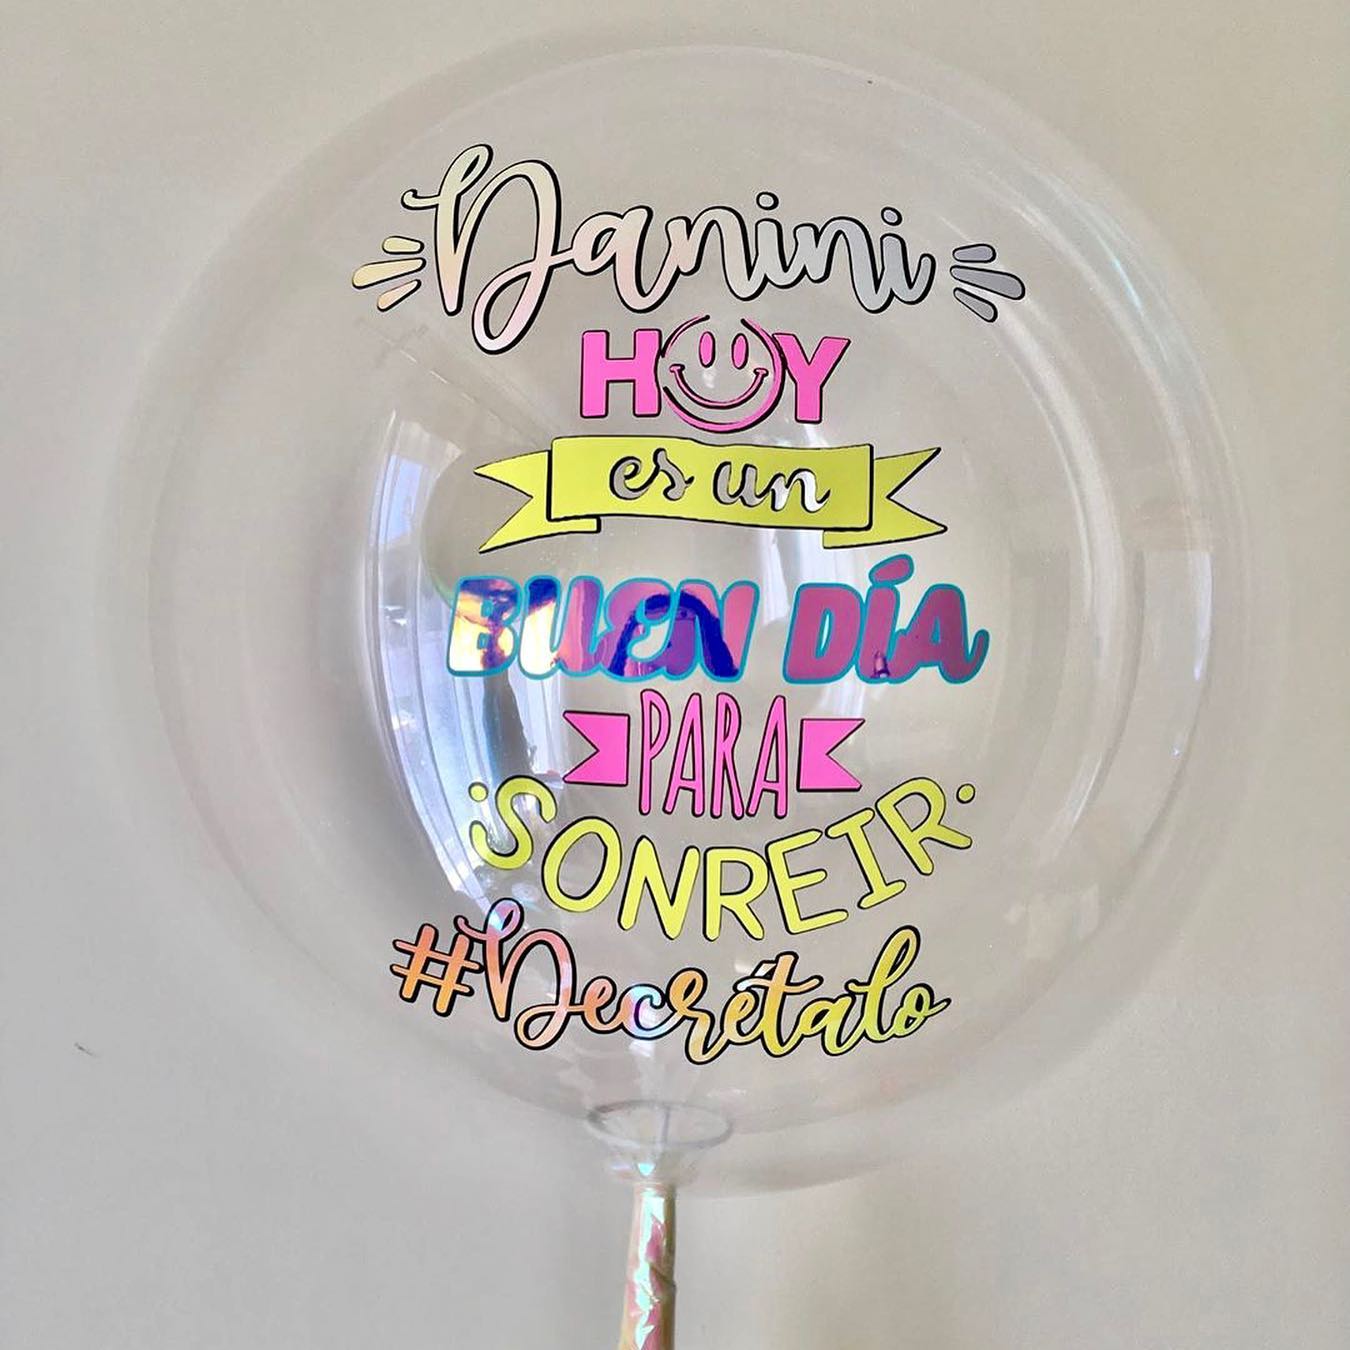 Vinyl decal on foil balloon |
Image from TeckWrap Craft Facebook Page |
That’s It!
There you have it! You now know how to layer adhesive vinyl like a pro. That’s everything you need to know on how to make multi-color vinyl stickers. Just remember, the guide stated above is for adhesive vinyl only.
Layering heat transfer vinyl for projects is a different process. Just remember to start small, work your way up, and practice, practice, practice!
- Choosing a selection results in a full page refresh.
!