Updated By TeckWrap Craft On April 01, 2024
How To Apply Vinyl Decal?

Vinyl decals offer a remarkable way to decorate various smooth, clean, and hard surfaces. You can easily apply vinyl decals with the help of transfer tape. By following the steps outlined in this blog, you can design custom decals and decorate different items or enliven your space without any hassle.
What Is A Vinyl Decal?
Vinyl decal is a sticker that is designed and cut to precision using adhesive vinyl. It has a versatile stick-on backing and can be of any size according to your requirements. These are used for vehicle decoration, window signage, laptop decoration, wall art, and more.
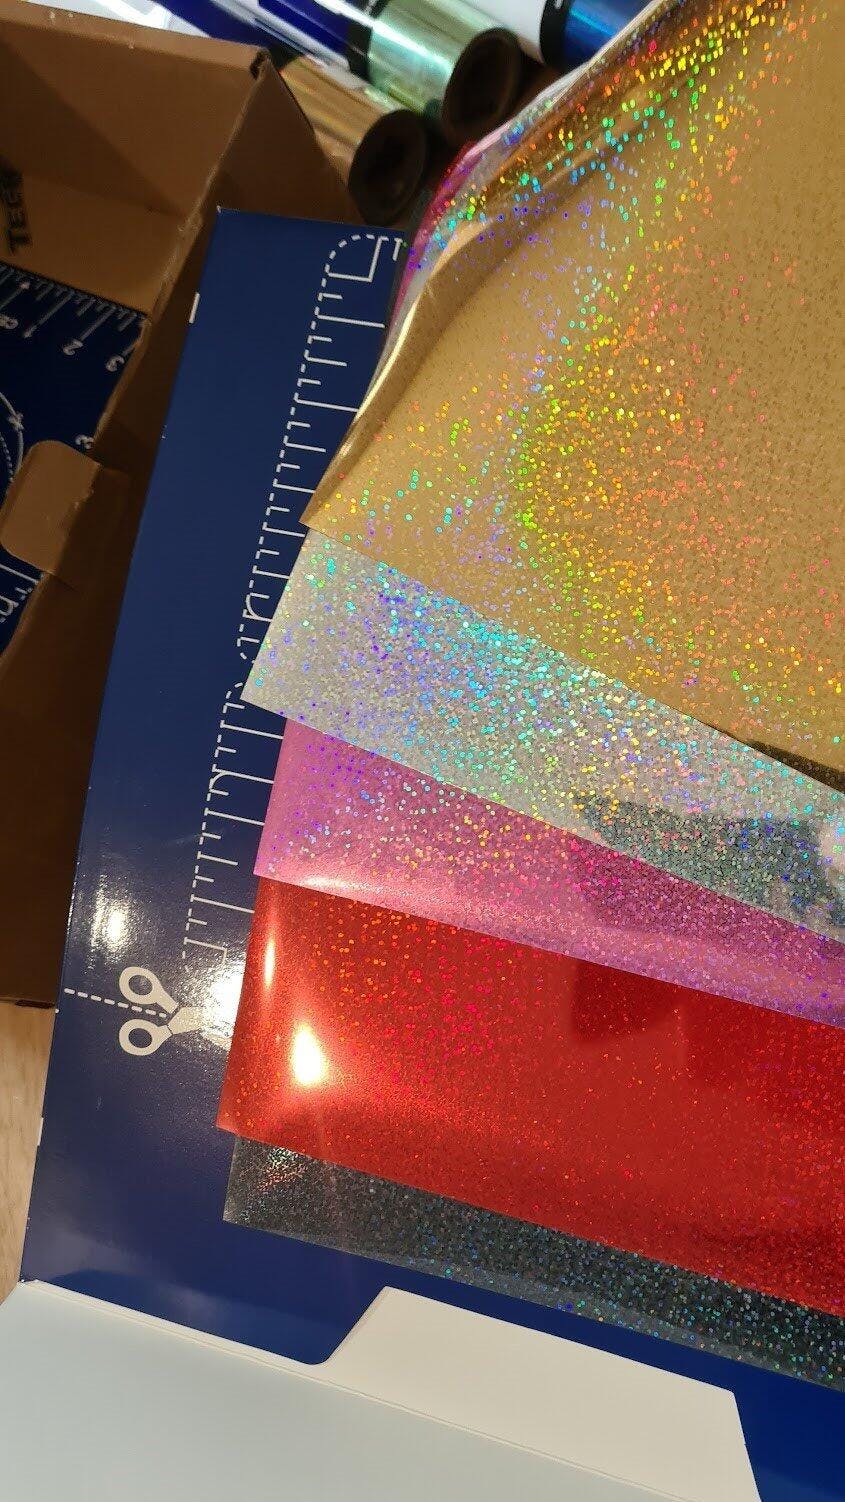
Adhesive vinyl can be both permanent and removable. The former is more durable with a high tack and can withstand harsh environments. Removable vinyl is temporary and will not damage the surface where it is applied when taken off. Both are available in a wide range of colors and finishes so you can choose the one that best suits your design strategy.
Step-By-Step Guide On How To Apply Vinyl Decal
By following these simple instructions, you will be able to create and apply custom adhesive vinyl decals.
Step 1: Gather The Tools
For any project to be successful it is important to have the right tools. Here’s what you need:
- Premium quality adhesive vinyl.
- Cutting machine.
- Cutting mat.
- Transfer tape.
- Weeding tool.
- Squeegee.
Step 2: Clean The Surface
- Use rubbing alcohol to clean the surface and let it dry completely before vinyl application.
- Vinyl will not stick properly if the surface is dirty, greasy, and bumpy.

Step 3: Prepare And Cut Your Decal
- Finalize the design of your decal on the software that comes with your cutting machine.
- Set its dimensions according to the space where you want to place it and select vinyl from the list of materials on the software.
- Cut a piece of the vinyl bigger than the size of your decal and place it on the cutting mat. Load the mat into the machine and allow it to cut.
- Weed out the negative vinyl pieces using a tweezer, weeder, or a weeding pen. After it’s done the decal that you initially finalized will be in front of you.

Step 4: Apply Transfer Tape
- Remove the backing of the transfer tape and place it over the vinyl decal.
- Burnish it with a squeegee to ensure proper adhesion and remove air bubbles and creases if any.

Step 5: Apply The Vinyl Decal
- Slowly peel off the vinyl’s paper backing. Your whole decal should now be sticking to the transfer tape.
- Carefully align and position the decal on the surface. Then press it to ensure excellent adhesion of the vinyl. If you are working on larger decals, you will need another person to ensure their accurate placement.
- Smoothen the decal over the surface with a squeegee. Using your dominant hand, hold the squeegee at a 45-degree angle and slide over the decal applying slight pressure.
- Carefully and slowly remove the transfer tape by starting at the corner of the decal. Do not lift it vertically. Keep it close to the surface. Let the vinyl cure for at least 24 hours before exposing it to water.
You have successfully applied your vinyl decal to the substrate of your choice. Enjoy your exquisite piece of craftsmanship!

How To Apply Vinyl Decals Using The Wet Method?
The wet method of decal application involves using a fluid to adhere vinyl to a clean and smooth surface. This is especially helpful if you are applying big vinyl decals. It gives you room to correct misplacement if any and prevents the formation of air bubbles.
There are application fluids available on the market but you can also make your own by mixing a couple of drops of dishwashing soap with water. Here’s how you can apply vinyl decals using the wet method:
- Spray the surface thoroughly with the fluid making it completely wet.
- Put your vinyl decal on a flat surface and remove the backing. Spray fluid on its adhesive side.
- If you are working with a large decal, it is better to get help from someone. Place the decal on the surface. Stretch only as much as required.
- Apply a squeegee to it to remove excess fluid, air bubbles, and creases if any. Start from the center, apply slight pressure, and move out toward the edges. Let your vinyl decal set for half an hour.
- Allow your decal to dry completely and then remove the transfer tape slowly, at an angle. Do not lift vertically. Keep it closer to the surface. Once it is removed, your decal is ready to flaunt.
Tips And Tricks For Applying Vinyl Decals
You may have to encounter certain difficulties at times during vinyl decal application. To make the process smooth and error-free, you can employ the following tips and tricks:
- Quality Of Vinyl: If you want your vinyl decal to last long and stay vibrant and captivating, do not compromise on the quality of the vinyl, the transfer tape, or the tools you are using. For premium quality products, visit TeckWrap Craft.
- Use Transfer Tape With Grid: A transfer tape is a clear sheet that allows you to apply vinyl decal to the substrate. It is available with or without a grid. Use the one with the grid for correct alignment and placement of the vinyl decal resulting in a perfect job. If you have large decals, you need a transfer tape that matches their size.
- Always Test Cut: When you finalize the design on the software, it is always best to test-cut a small piece of vinyl before cutting the actual decal to see if your settings are right or not. You should get a perfect ‘kiss-cut’ decal. This means that the vinyl should be cut, not the backing. This will make the process of weeding negative vinyl pieces smoother as well.
- Take Care Of The Temperature: Before you apply the vinyl decal, make sure that the temperature of the surface is more than 55°F. It should ideally be between 70°F to 90°F. This is a moderate temperature. If the surface is too cold or too hot, the vinyl will not adhere properly.
- Surface Preparation Is Very Important: Choosing the right surface for vinyl decal application and preparing it is very important. Adhesive vinyl sticks well to clean, smooth, and non-porous surfaces. For example, if you are putting up your vinyl decal on your glass window, clean it thoroughly with isopropyl alcohol. There should be no dirt, grime grease, or debris on it.
Frequently Asked Questions
Decorate With Decals!
Vinyl decal application is easy and fun to do once you get the hang of it. You can decorate walls, windows, glassware, and wood with beautiful designs. Decals can be used to advertise your business as well.
For high-grade vinyl films in an extensive variety of colors and finishes, visit TeckWrap Craft. Our vinyl allows you to unleash your creativity and come up with amazing decal ideas. It is durable and easy to apply. You can order rolls and tools that you need from the comfort of your home and they will be delivered to your doorstep.
So what are you waiting for? Transform and enliven your walls and give your room an exquisite revamp with eye-catching vinyl decals!