Updated By TeckWrap Craft On April 25, 2024
How To Make A Photo Board

A photo board is not just another decoration you can hang on the wall. It’s a piece of art where you can showcase your fondest memories and the photos of your loved ones. A display personalized and decorated with craft vinyl further enhances the sentimental value and aesthetic appeal.
To make your own photo board, you will have to decide on the material you will use as the base, collect pictures, and customize it with your favorite color and finish of craft adhesive vinyl.
In this how-to guide, you’ll learn the step-by-step process of making a photo board at home, on which you can proudly display your treasured memories and the special moments that you captured.
What Are Photo Boards Made Of?
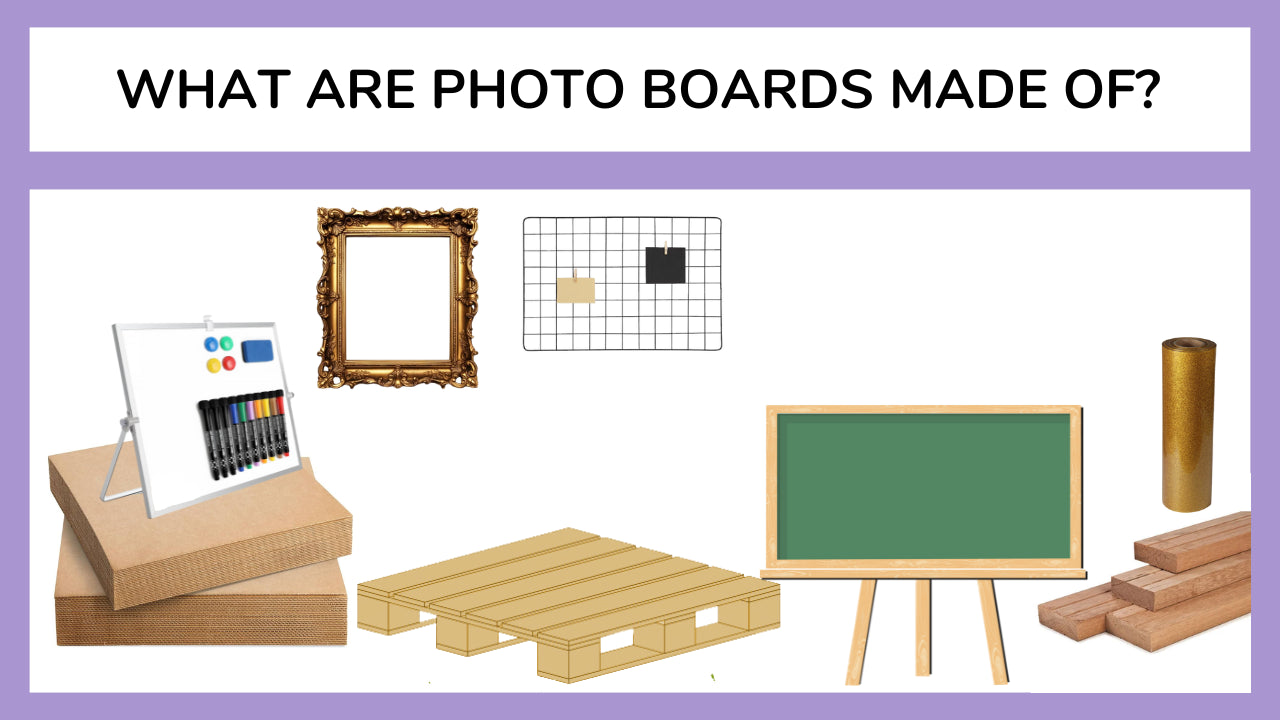
Photo boards are made with the following base materials:
- Cardboard.
- Pallet.
- Wood.
- Corkboard.
- Grid wire board.
- Picture frames.
- Blackboard.
- Magnetic board.
- Bulletin board.
- Whiteboard.
You can choose from the options above and set its color according to the theme of the room where it will be displayed. Use a neutral shade if you have not yet decided where to put up the board.

Step-By-Step Guide On How To Make Your Own Photo Board
Once you’ve decided on what kind of base material to use for the project, it’s time to create your photo board. Start with figuring out where you want to place it. In the living room, bedroom, or your home office.
For customizing the photo board, you can use adhesive vinyl from TeckWrap Craft. Let’s gather the supplies needed:
- Board.
- Photos (preferably of the same sizes).
- Double-sided tape, glue, push pins or wooden clips, and twine craft rope.
- Scissors.
- Cutting machine (Silhouette or Cricut).
- Adhesive vinyl of your choice from TeckWrap Craft.
- Weeding tools.
- Transfer tape.
- Squeegee.
- Other decorations: Ribbon, fairy lights, glitters, stickers, magazine cut-outs, or fabric with patterns.
Gather The Photos
The focal point of a photo board is the photographs. Gather the ones you want to display. If you have a printer at home, you can print the photos using high-quality photo paper.
For aesthetic purposes, it is best to display photos of the same sizes. Think of a theme, like displaying a collage of Polaroid photos, and do not deviate from it. You don’t want your board to look all chaotic and haphazard.

Arrange The Pictures
Now it’s time to arrange the photos. Think of the spacing, alignment, sequence, and placement of the photos on the photo board. Arrange the photos keeping in mind the aesthetics and the overall final look.
Consider organizing your photos in a sequence or pattern. For instance, organize one row of photos showing your trip to Paris, and then another row presenting beautiful pictures of your kids. The more organized it is, the better.
Once you’ve figured out the placement, secure each photo on the board using double-sided tape, glue, or push pin. You can also use a jute twine and wooden peg to hang the photos. Another idea is to use fairy lights and wooden clips to hang the photos. The most important point is to secure the photos well on the board.

Finalize The Craft Vinyl Design
Once you have sized your stickers, you will send them for printing. Turn the bleed off and print your custom designs onto the vinyl sticker paper sheet. When you get the print, check it for any smudges or inconsistencies. If it is perfect, keep it aside for drying.
- Upload your design to the cutting machine’s design software.
- Resize it according to the space on your photo board.
- Test cut the vinyl first!
- Send the design for cutting on the design software. Do not mirror craft vinyl!
- Weed the excess vinyl.
- Transfer your design onto the transfer tape.
- Use a squeegee to smoothen out and transfer the vinyl to the transfer tape properly. It should look like the photo below.
- Remove the backing from the design and apply it to your photo board where you want it to be.
- Burnish with a squeegee applying slight pressure to ensure adhesion then slowly remove the transfer tape at an angle, keeping it closer to the surface.
- Decorate your whole photo board this way.
If you want to make your board extra special, you can use Glitter or Glow-in-the-Dark adhesive craft vinyl from TeckWrap Craft. Make sure to check out this video tutorial from TeckWrap Craft’s YouTube Page.
Ideas To Decorate The Photo Board
It’s time to decorate the board with your craft vinyl design. Here are some ideas that you can gain inspiration from:
- Cut out the name or initials of the person/people featured in the photos using TeckWrap
001 Glossy or Matte vinyl. You can use different fonts and sizes to add visual interest. - Apply motivational quotes, meaningful phrases, or inside jokes in vinyl lettering around the border to add personality to the board.
- Create themed vinyl decals to complement the photos. For example, if the photos are from a beach vacation, incorporate vinyl cutouts of seashells, palm trees, and waves.
- Use vinyl borders or frames to outline individual photos or sections of the board. You can use Opal and Holo or Textured Metallic vinyl for this. Experiment with different shapes, patterns, and colors to enhance the visual appeal.
- Include vinyl labels with dates or event names to provide context for the photos.
- Design and cut out monograms or family crests using craft vinyl to personalize the photo board further and celebrate familial identity.
- Incorporate seasonal motifs such as snowflakes for winter, flowers for spring, or pumpkins for fall.
After you have completed the decoration, your photo board is ready for everyone to behold and praise!
How To Make A Photo Board With Cardboard?
This is quite easy to make. You should have the cardboard in the size you want and follow the steps mentioned below.
- Get a fabric of your choice to cover the cardboard. You can take a plain fabric and decorate it using heat transfer vinyl in the colors and finish that you like.
- Glue the fabric to the cardboard covering it completely.
- Tie rows of twine around the board and secure them with duct tape from behind. This is for hanging the photos.
- Using small wooden pegs, you can hang your photos on the twine. You can attach the cardboard to the wall using nails. In a few simple steps, you have designed an exquisite photo board.
How To Make A Photo Collage Board?
This is a fun craft to make. You can use a poster board to display your photo collage using double-sided tape. Print photos in different sizes. You might have to trim some as well to fit in the collage.
These can be vertical or horizontal. Piece them together to fit the board perfectly. Once it’s completely covered with pictures, hang the board on the wall to display your handiwork and the memories you cherish.
How To Make A Pallet Photo Board?
This is another great idea for a photo display board. Here’s how you can make it:
- Reduce the size of the pallet according to the board you want.
- Sand it to make it smooth and apply paint to it if you want.
- Decorate it using permanent craft adhesive vinyl.
- Put nails on either side at equal distances and tie jute twine to each. You can hang your pictures on the twine using wooden pegs.
- You can also decorate this using fairy lights and colorful ribbons. Hang it on your bedroom wall to add some color and personality to your decor. Plus you will be reminded time and again of the good times looking at the photographs.
Frequently Asked Questions
Create Your Photo Board Today!
Gather the tools and bring your memories to life with a vibrant and personalized photo board proudly displayed. Whether it's a collage of cherished moments, a showcase of milestones, or a tribute to your loved ones, crafting with vinyl offers endless possibilities for creativity.
Let your imagination run wild as you design and decorate your photo board with cutouts, quotes, and embellishments. For premium quality adhesive vinyl, visit TeckWrap Craft and get the color and finish that you like. Your photo board awaits, ready to showcase the beauty of your life's journey for all to see.
