Updated By TeckWrap Craft On March 22, 2024
Glitter iron-on Heat Transfer Vinyl is applied by cutting a mirrored design, weeding the excess, and pressing it onto fabric with heat and firm pressure for a durable, sparkly finish. Use a temperature of 320-340°F (160-170°C) for 10-20 seconds, ensuring even pressure throughout. After peeling, perform a final press to lock in strong adhesion and enhance longevity. With the right temperature, pressure, and timing, your design stays vibrant and holds up well even after multiple washes.
Supplies You Need
- Glitter HTV
- Iron heat press or household iron (with a Teflon sheet)
- Parchment paper
- Scissors
- Weeding tool
- Cutting mat (optional)
- Backing material (such as t-shirt, tote bag, or pillowcase)
Step-By-Step: How To Use Glitter Iron-On Vinyl
1. Select & Prepare Your Design
Start by creating or choosing your design in your cutting software (such as Cricut Design Space or Silhouette Studio). Adjust the size according to your garment and mirror the design before cutting so it transfers correctly.
Place the glitter heat transfer vinyl shiny side down on the cutting mat.
2. Cut the Glitter Vinyl
Load the mat into your cutting machine and select the appropriate material setting. Since glitter HTV is thicker, slightly higher pressure or a dedicated glitter setting is recommended.
Allow the machine to complete the cut, then carefully remove the vinyl from the mat.
3. Weed Out Excess Vinyl
Remove the unwanted vinyl pieces using a weeding tool. This process reveals your final design on the carrier sheet.
Take your time with small details to avoid lifting or damaging parts of the design.
4. Prepare the Fabric
Preheat the fabric for 3-5 seconds to remove moisture and wrinkles.
Make sure the surface is clean, smooth, and lint-free to ensure proper adhesion.
5. Position the Design
Place the design onto the fabric with the carrier sheet facing up.
Align it carefully in the desired position before applying heat.
6. Apply Heat & Pressure
Cover the design with parchment paper or a Teflon sheet, then apply heat using a heat press or iron.
Recommended settings:
- Temperature: 160-170°C (320-340°F)
- Time: 10-20 seconds
- Pressure: Medium to firm
Consistent pressure is key to ensuring the glitter vinyl bonds properly with the fabric.
7. Remove the Carrier Sheet
After pressing, allow the design to cool slightly (warm peel is usually recommended).
Slowly peel off the carrier sheet. If any part lifts, apply heat again for a few seconds.
8. Final Press for Long-Lasting Results
Place parchment paper over the design and press again for 5-10 seconds.
This final step locks the glitter HTV into the fabric and improves durability.
Care Instructions For Fabric With Glitter HTV
To make sure that your Glitter HTV design lasts for a long time and maintains its vibrant shine, follow the care instructions mentioned below:
-
Allow the design to cure for 24-48 hours before washing
-
Wash inside out using mild detergent in cold or lukewarm water
-
Prefer hand washing; if using a machine, choose a gentle cycle
- Avoid dry cleaning
-
Do not use bleach, fabric softener, or harsh chemicals
-
Air-dry away from direct sunlight; if using a dryer, select low heat
- Do not iron directly on the design, turn inside out or use a protective cloth
Safety Tips For Using Glitter Heat Transfer Vinyl
While applying Glitter HTV to your T-shirt or any other compatible surface, follow the safety tips mentioned below for a successful project:
-
Always preheat your heat press or iron safely and avoid overheating
-
Keep your hands away from the hot platen/iron surface to prevent burns
-
Use a protective sheet (parchment or Teflon) to avoid direct heat contact
-
Work in a clean, stable, and heat-safe surface area
-
Do not leave the heat press or iron unattended while in use
-
Allow the design to cool slightly before peeling to avoid burns
- Keep tools and hot equipment out of reach of children
Using Glitter HTV On Non-Fabric Surfaces
Yes, you can use Glitter Heat Transfer Vinyl on non-fabric surfaces and they will look simply amazing. You might have to adjust the heat and pressure settings a bit but the result is awesome. Some of these are:
-
Leather: Try designing your leather belt and wallet with Glitter Iron-on and be surprised with the remarkable outcome.
-
Mousepad: Why work on a plain pad, when you can add some bling to yours with Glitter HTV?
-
Cardstock: Let your creativity take wings with the amazing crafts that you can make with Glitter HTV and cardstock. If your notebook cover is of this material, you can customize it too.
-
Acrylic Blank: You can apply this impressive vinyl to acrylic blanks as well. Slightly increase the time and pressure settings for this project.
-
Cork: Now this is simply wonderful. Cork can resist heat and can be designed with Glitter HTV. You can make beautiful cork coasters and give them as gifts to your friends and family.
-
Glass: This can be a bit difficult since glass can break due to high heat and pressure but Glitter Vinyl designs can be applied to it if care is taken and proper method is followed.
-
Wood: You can make amazing designs by applying Glitter Iron-on Vinyl on wood. It is durable and looks fantastic. The wood should be completely smooth and well-treated.

DIY Eye-Catching Projects
Here are some DIY Projects you might be interested in:
-
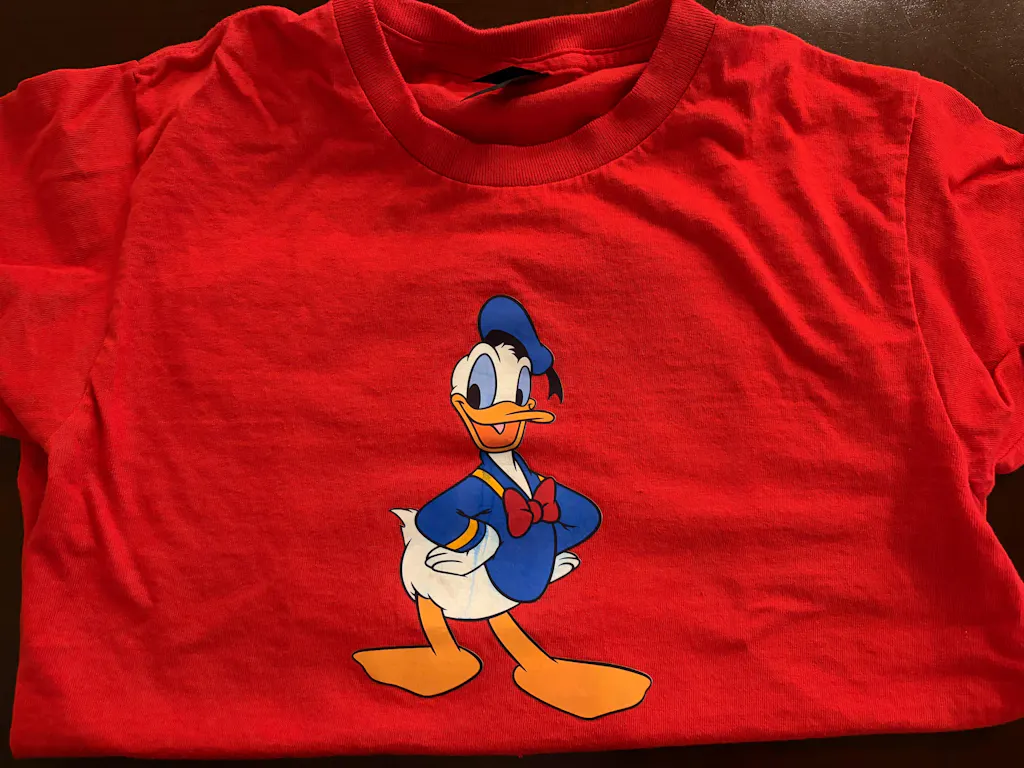
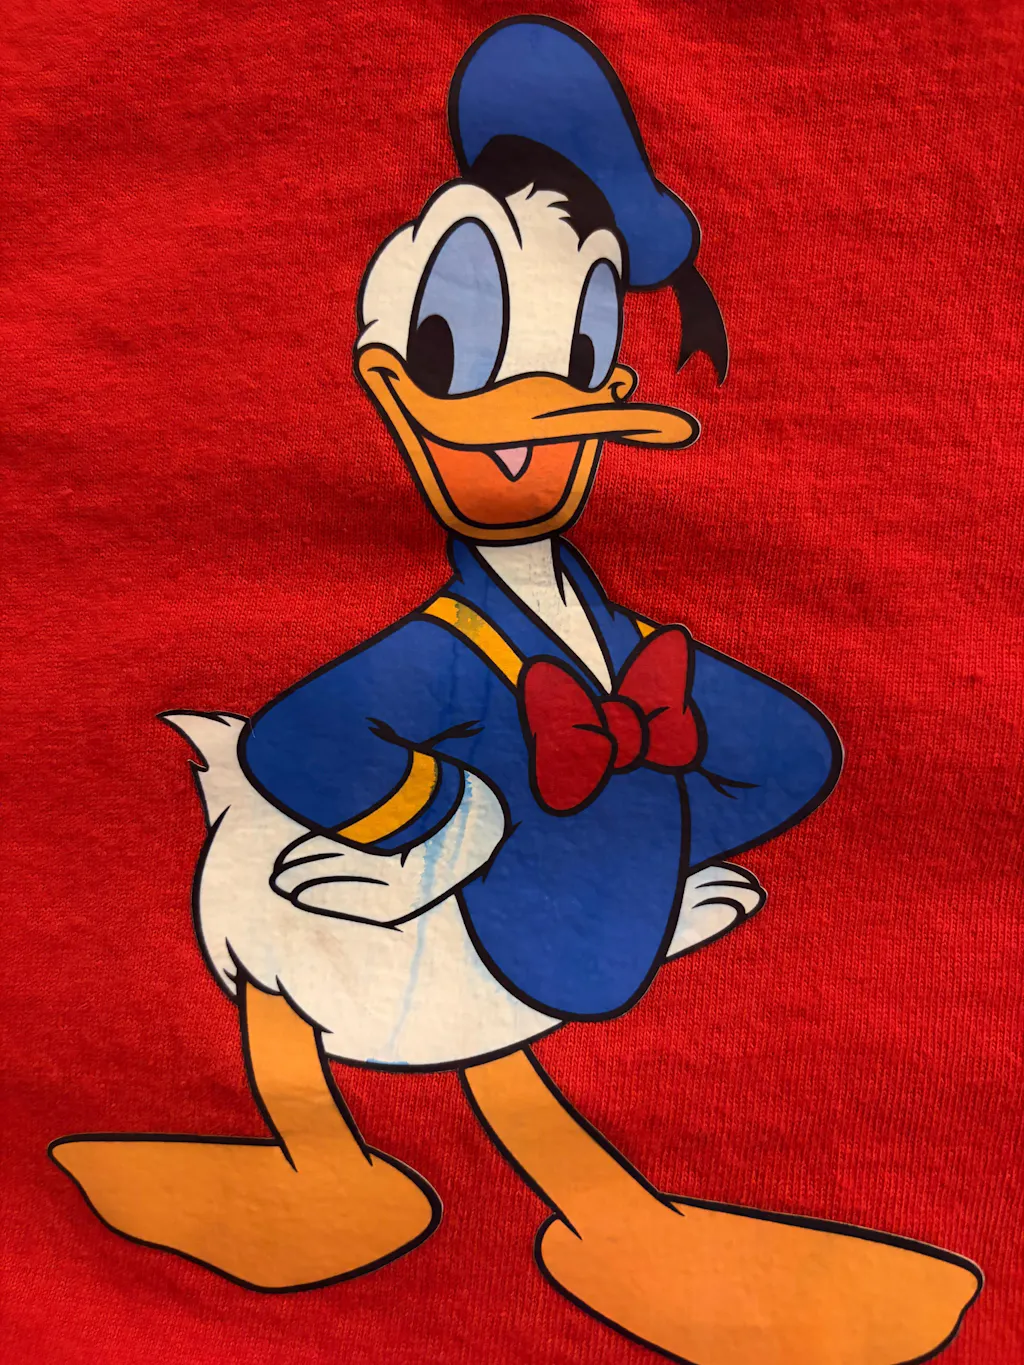
DIY Glitter Shirts: This project is perfect for a girls’ night out or bachelorette party! Use glitter iron-on vinyl to create an eye-catching design and then apply it onto t-shirts.
-
Glitter Tote Bags: Whether you are going shopping with friends or just need some extra storage space, these glitter tote bags are a great option! They make excellent gifts as well.
-
Glitter Pillowcases: Add some sparkle to your bedroom with this fun and easy DIY project. Just use heat transfer vinyl in your favorite color to create an eye-catching design on plain pillowcases.
Frequently Asked Questions
Q. How to cut glitter Iron-on vinyl?
Glitter iron-on vinyl (HTV) should be cut using higher pressure due to its thickness. The design must be mirrored before cutting, and the vinyl should be placed shiny side down on a StrongGrip mat. Use a sharp fine-point blade, select “Glitter Iron-On” as the material, and set pressure to “More” for clean, precise cuts.
Q. Which side of glitter iron on vinyl goes down?
Place glitter iron-on vinyl (HTV) shiny side down on the mat, with the adhesive side facing up. This allows proper cutting without damaging the backing. Always mirror your design before cutting.
Q. Do I mirror glitter iron on vinyl?
Yes, glitter iron-on (Heat Transfer Vinyl) should always be mirrored before cutting. Since it comes with a glossy carrier sheet attached, the design must be cut from the reverse side. That’s why you need to mirror your design and place the material shiny side down on the cutting mat.
Q. How to apply glitter HTV using a Cricut machine?
Mirror your design in Cricut Design Space, place the glitter iron-on vinyl shiny side down, and cut, then weed the excess. Preheat the fabric, apply the design using a heat press (330°F/165°C for 30s) or iron (25-30s with firm pressure), and let it cool slightly. Peel off the carrier sheet to reveal the final glitter finish.