Posted By TeckWrap Craft On March 14, 2025

Yes, you must mirror your design when cutting iron-on vinyl, also known as Heat Transfer Vinyl (HTV). Iron-on vinyl is cut on the back side of the material, so flipping the design horizontally before cutting ensures it appears correctly once pressed onto fabric like a t-shirt. If you skip this step, the design will transfer backward on the garment. Mirroring your design is a simple but essential step for achieving a clean, professional, and error-free vinyl application.
Why Do You Mirror Iron-On Vinyl?
Iron-on vinyl, also known as Heat Transfer Vinyl (HTV), has a clear, heat-resistant carrier sheet on the front (the shiny side) and the actual vinyl material with a heat-activated adhesive on the back (the dull or matte side).
- When cutting HTV, you place the material on the cutting mat with the shiny carrier sheet facing down, allowing the blade to cut through the vinyl layer from the back without damaging the carrier sheet.
- Because the design is cut in reverse on the backside of the material, you must mirror (flip) the image horizontally in your design software, before cutting.
- Once the design is cut, you flip it over for heat application onto your project, ensuring the image appears correctly oriented rather than backward after pressing.
Step-By-Step Guide On Using Iron-On Vinyl
Let’s see how to use heat transfer vinyl to design apparel. For a successful project, make sure that the fabric is either cotton, polyester, or blends with high cotton content. Here’s what you should do:

Step 1: Get The Tools Ready
You will need the following materials for your project:
- Excellent-quality iron-on or heat transfer vinyl.
- Compatible garment.
- A cutting machine such as Cricut or Silhouette.
- Cutting mat.
-
Weeding tool.
-
Heat press machine.
- Parchment paper.
-
Squeegee.
Step 2: Prepare The Design
Work on your design using the software that comes with your cutting machine. Cricut uses Design Space. Set the dimensions of the design and adjust the material settings. Then, most importantly, mirror your design or flip it horizontally.

Step 3: Cut And Weed Your HTV Design
Cut a piece of iron-on vinyl bigger than your pattern and place it on the cutting mat with the matte adhesive side facing up. Apply a squeegee to remove creases and ensure adhesion to the mat. Load the mat into the cutting machine and allow it to carve your design. When it's done, weed out negative vinyl pieces from it using a weeder or tweezer.

Step 4: Apply The Design To Your Garment
It's time to apply the design to your garment. Make sure it is washed, dried, and pressed properly to remove moisture completely and prevent shrinkage. Preheat the heat press according to the recommended temperature setting specified for the type of iron-on vinyl you are using. Now flip your design and place it on the garment where you want it to be with the shiny, carrier sheet side facing up. Place parchment paper on top and apply heat and pressure for the appropriate duration.

Step 5: Remove The Carrier Sheet
When the time is up, let the design cool down a bit then slowly remove the carrier sheet at an angle keeping it close to the surface. Voila! You have successfully transferred the iron-on vinyl design to your garment.

Projects You Can Make With Iron-On Vinyl
Iron-on or heat transfer vinyl comes in many different colors and finishes. You can use it to make amazing crafts and win praise from all. Some of the ideas are:

-
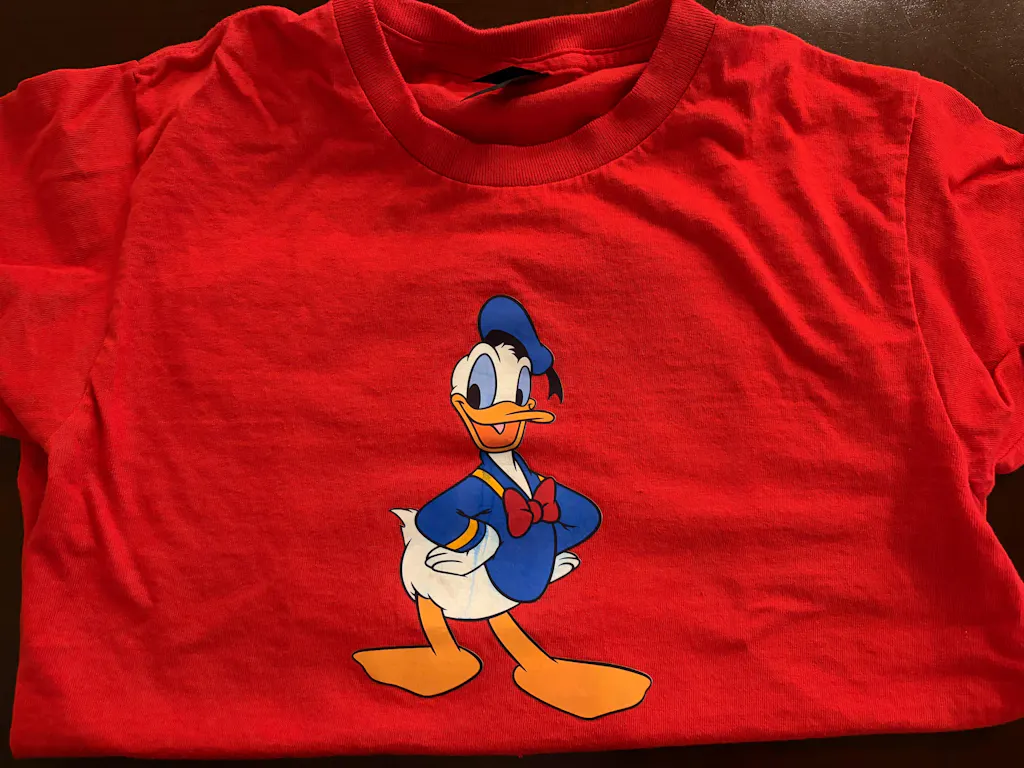
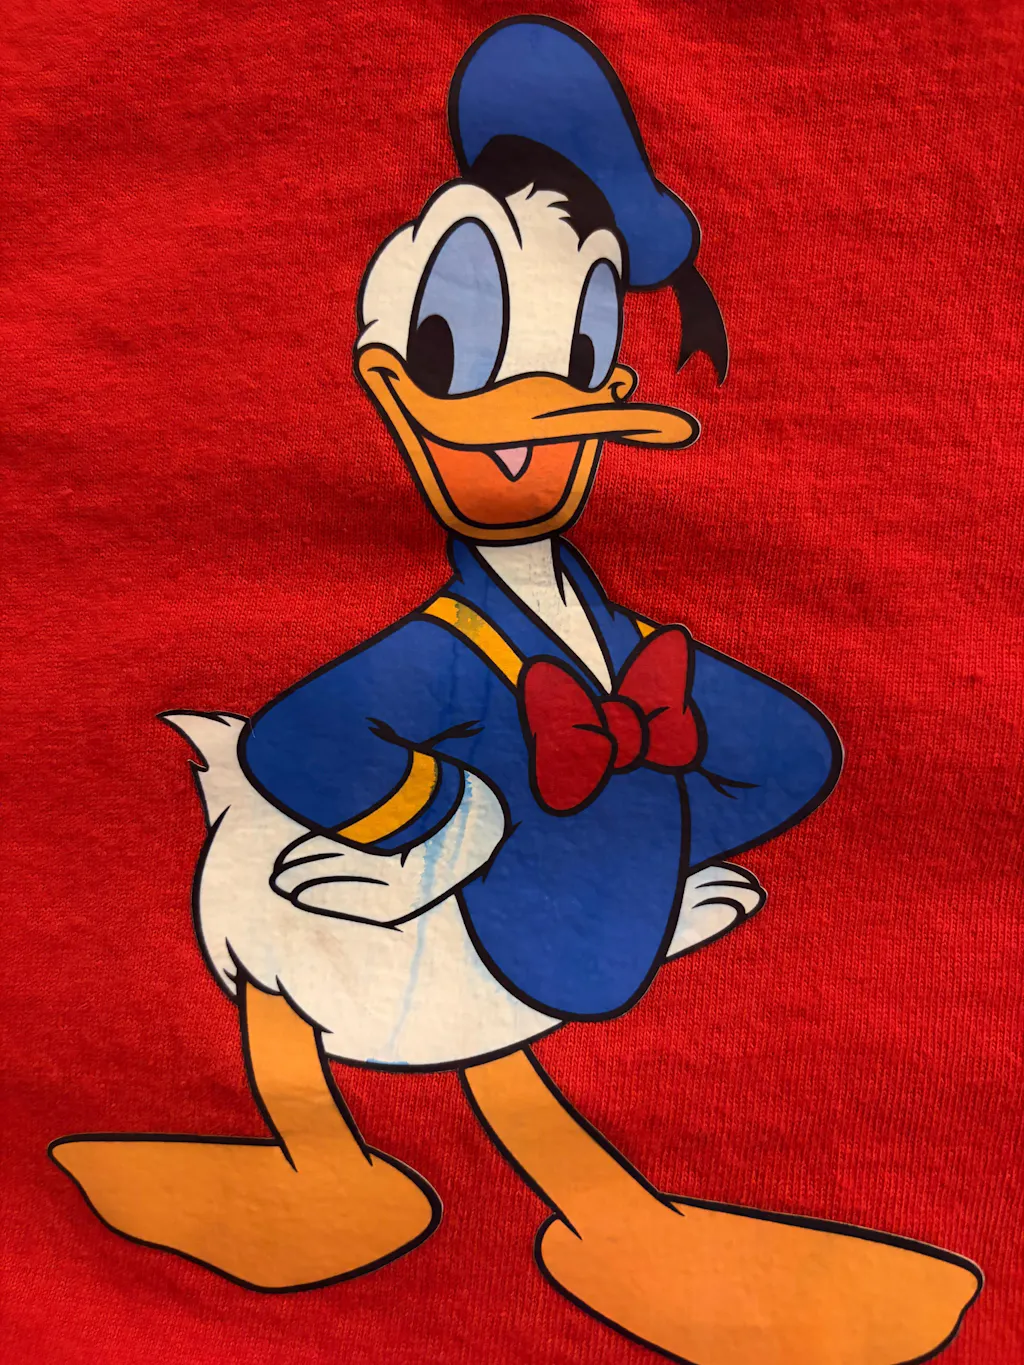
Personalized Garments: Design your shirts, T-shirts, jeans, hoodies, baby onesies, and other garments using heat transfer vinyl. Add a unique touch making them truly distinctive. PU Heat Transfer Vinyl is the best for these.
-
Amazing Accessories: You can apply iron-on vinyl designs on fabric headbands, canvas shoes, wallets, tote bags, caps, and more adding a custom touch to any fabric-based item. Add a little bling with Glitter HTV.
-
Embellish Home Decor: Soft home decoration items such as throw pillows, table mats, napkins, chair covers, couch throws, canvas wall art, and more can easily be designed using iron-on vinyl based on the color scheme of the room where these will be placed.
-
Holiday and Seasonal Decorations: Make festive items like tree skirts, stockings, or banners using holiday-themed designs made with iron-on vinyl. You can also design fabric party favor bags with names, dates, or themes for weddings, birthdays, or other events. Add glamor to the overall look by using Holographic or Glow in the Dark Heat Transfer Vinyl.
-
Workout Gear: Is the gym your favorite place? Now you can apply your initials, monogram, logo, motivational quotes, or any other design on gym bags, yoga mats, or other athletic wear. You can even design your swim cap to splash in style.
Frequently Asked Questions
Q. When using iron-on vinyl, do you mirror?
Yes, when using iron-on vinyl, it is necessary to mirror the design because it is cut from the adhesive side which is the back of the vinyl. When the design is applied, the vinyl is flipped and the shiny side faces up. If the HTV is not mirrored, the design will appear backward on the garment.
Q. Which side of the iron-on vinyl goes down?
The shiny, carrier sheet side of the iron-on vinyl goes down on the cutting mat. After the design is cut, it is placed on the fabric with the matte, adhesive side of the vinyl facing down.
Q. Do you cut iron-on vinyl backward?
Yes, the back side of the iron-on vinyl which is the matte, adhesive side is cut.
Conclusion Today!
To sum it all up, iron-on vinyl or heat transfer vinyl should be mirrored or flipped Horizontally whether you’re using Silhouette or Cricut. The shiny plastic carrier sheet faces down on the cutting mat. Make sure that the right temperature, pressure, and time settings are followed for a successful project. For high-grade heat transfer vinyl in many different colors and textures, visit the TeckWrap Craft website and take advantage of its international delivery worldwide.