Updated By TeckWrap Craft On April 06, 2024
Screen Printing With Vinyl Stencil

Table Of Contents
- How To Screen Print Using Vinyl Stencil?
- Step 1: Gather The Tools
- Step 2: Prepare Your Design
- Step 3: Place The Vinyl On The Cutting Mat
- Step 4: Cut And Weed The Vinyl Stencil
- Step 5: Transfer The Vinyl To The Transfer Tape
- Step 6: Transfer The Design To The Mesh Screen
- Step 7: Cover The Mesh With Painter’s Tape
- Step 8: Apply The Ink
- Step 9: Let The Print Dry
- Step 10: Clean Up!
- The Cost Of Screen Printing Vs Vinyl Transfer
- Screen Printing With Vinyl Vs Emulsion
- Tips For Screen Printing With Permanent Adhesive Vinyl
- Frequently Asked Questions
Now you can screen print your shirt using permanent adhesive vinyl. It is an easy process that requires you to apply a vinyl design stencil to the back of your screen and pull the ink across it to transfer the image to your garment. Voila! You have successfully created a crisp and exquisite print of your design.
Using TeckWrap Craft's glossy or matte adhesive craft vinyl, you can effortlessly create different stencils. Let's get started and learn the process of screen printing using vinyl.
How To Screen Print Using Vinyl Stencil?
Screen printing with a vinyl stencil is relatively simpler than the traditional method. Following is the step-by-step guide to the process:
Step 1: Gather The Tools
For a successful project, one must have the right materials. Here’s what you need:
- A garment to print on.
- Permanent adhesive vinyl.
- Vinyl cutter (Silhouette or Cricut machine).
- Painter's tape.
- Transfer tape.
- Weeding tool.
- Cutting mat.
- Screen printing frame (mesh screen).
- Squeegee.
- Screen printing ink (Plastisol, Speedball ink, or water-based paint) in your preferred color.
Note: You cannot use the same screen if the design has multiple colors. Always use a new one.
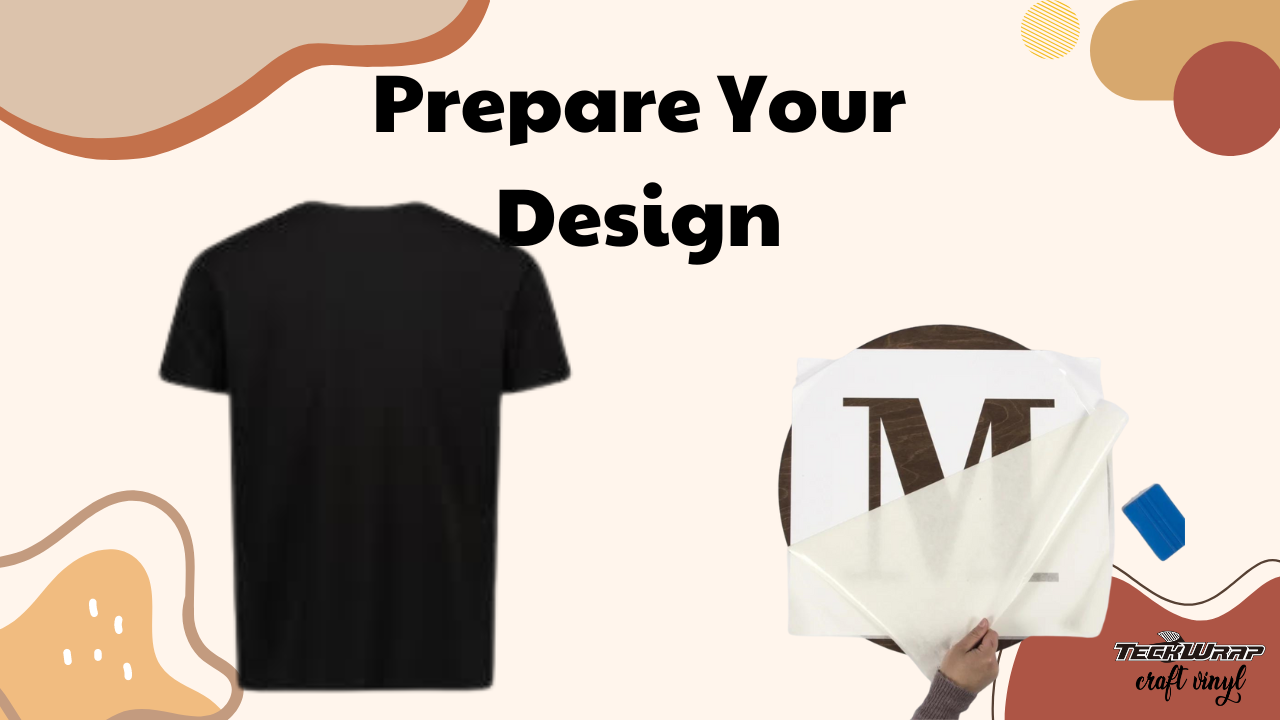
Step 2: Prepare Your Design
- Upload your design to your cutting machine's design software (Silhouette Studio or Cricut Design Space).
- Resize it to make sure it fits well onto the screen and garment.
- While positioning the image on your cutting machine's design software, place it in the center portion and allot at least two inches of space on its borders to serve as a blackout for the paint.
- Mirror the design and adjust the material settings to adhesive vinyl.
Note: A test cut is recommended to see if these settings work well or not.
Step 3: Place The Vinyl On The Cutting Mat
- Cut a piece of the permanent adhesive vinyl sheet bigger than your design and place it on the cutting mat with the colored side up.
- Using a squeegee, flatten out the vinyl firmly.

Step 4: Cut And Weed The Vinyl Stencil
- Allow the machine to cut the vinyl stencil.
- Take out negative vinyl from your design using weeding tools such as a weeder, tweezer, or a weeding pen. Weed the image that needs to be transferred to the garment. Do not remove the surrounding vinyl since you're using it as a stencil.
Step 5: Transfer The Vinyl To The Transfer Tape
- Place the transfer tape on the craft vinyl and use a squeegee to ensure adhesion.
- Make sure to remove bubbles and wrinkles.
Step 6: Transfer The Design To The Mesh Screen
- Remove the backing from the vinyl stencil and paste it on the print side of the mesh screen in the center. Use a squeegee to flatten it on the screen. This will ensure adhesion and remove creases and bubbles. These can affect the print quality.
- Remember to place the vinyl on the substrate side or print side. Once the stencil design is secure, you may carefully peel the transfer tape. Do not lift it vertically. Take it off very slowly at an angle keeping it closer to the surface.
Step 7: Cover The Mesh With Painter’s Tape
- Cover all sides of the mesh that are not part of the printing process with painter’s tape.
- This is to secure the sides of the vinyl stencil and cover all the blank portions of the mesh screen so the paint won’t transfer to the garment.
Step 8: Apply The Ink
- Place the garment on a flat surface. It should be free of wrinkles.
- Place the screen on the shirt. Ensure proper positioning of the stencil. The design should be exactly where you want to transfer it.
- Place a generous amount of ink on the upper portion of the screen, and using the squeegee, pull it along the full length of the design. Repeat this process at least three times to ensure full and proper paint transfer.
Step 9: Let The Print Dry
- Carefully remove the screen and set it aside. If there is excess ink on the screen, scoop it up with a plastic spoon and put it back in its jar. It can be reused.
- Don’t move the garment. Let it dry completely. This might take an hour or so.
Step 10: Clean Up!
- After you've printed all the garments with the same design, don't forget to slowly remove the vinyl stencil and blackout tape and discard it.
- Don't forget to wash the mesh screen with water to remove the paint.
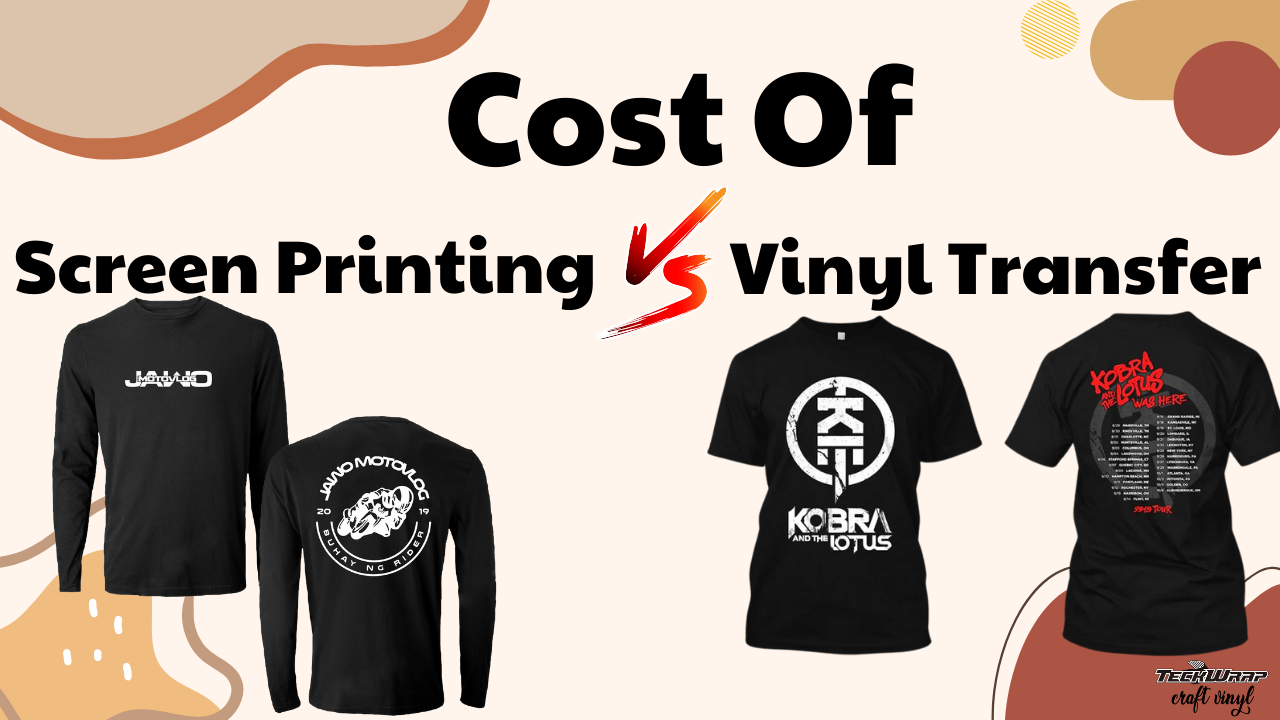
The Cost Of Screen Printing vs Vinyl Transfer
Screen printing costs more than transferring HTV designs to your garments. The tools needed for designing with heat transfer vinyl are less expensive. Plastisol inks for screen printing are pricey.
However, if you have bulk orders to print, you will find using HTV more tedious and time-consuming. HTV is only cost-effective if you are working on small batches. For designing a large number of garments, screen printing is more economical. Once its set-up is in place, making many copies of the same design becomes easy and saves money.
Screen Printing With Vinyl vs Emulsion
The main difference between screen printing with vinyl versus emulsion lies in the preparation of the mesh screen. In the former, you make a vinyl stencil of your selected design and paste it on the back side of the mesh screen.
In the traditional method, you place the printed acetate film on the mesh screen coated with emulsion and expose it to bright light to harden and develop. The unhardened emulsion is rinsed away and you're ready to screen print!
When using emulsion, the process of preparing the mesh screen alone takes about 20-30 minutes. That's for one framed screen only. But if you are using the vinyl stencil, the whole process, including printing the shirt, will only take 15 to 20 minutes.
Tips For Screen Printing With Permanent Adhesive Vinyl
Following are some tips you need to remember when screen printing with vinyl stencil:
- Keep the screen in place. If someone is holding the screen for you, make sure it is not moved at all as this can result in image bleeding.
- Be careful when printing multiple colors. It’ll take more time and you will have to use multiple screens and vinyl stencils. If your entire design has multiple colors, you can use Inkjet Heat Transfer Paper for printing your garments.
- Be careful with ink application. The first coat needs to penetrate the deepest into the material. This coating should have the thickest density. The subsequent coats should be lighter. Carefully strategize your ink usage.
- Use a straight and sharp squeegee. This tool can wear off over time.
- Keep your materials clean at all times. This includes the mesh screen and squeegee. Random ink blotches from past projects can ruin your future ones. Plus, completely dried paint may be challenging to remove from the mesh screen.
- Screen print on a flat and even surface. Any bumps may compromise the print outcome.
- Let the paint cure completely. Do not move the garment until it is completely dry otherwise the print will be ruined.
Frequently Asked Questions
Wrapping It Up!
At this point, you must be excited to create your own projects. Screen printing using permanent adhesive craft vinyl is easy and cost-efficient in the long run.
For best results, use the glossy or matte adhesive vinyl at TeckWrap Craft. Don't forget to check out the site for other printing techniques and products as well.

