Posted By TeckWrap Craft On October 16, 2023
What Is Infusible Ink Transfer Sheets Printing Method?

Table Of Contents
- What Are Infusible Ink Transfer Sheets?
- What Are Infusible Ink Markers?
- The Infusible Ink Transfer Sheets Printing Method
- Step 1: Get The Tools Ready
- Step 2: Work On Your Design
- Step 3: Place The Infusible Ink Sheet Onto The Cutting Mat
- Step 4: Weed Out Extra Pieces
- Step 5: Prepare The T-Shirt For Design Transfer
- Step 6: Transfer The Infusible Ink Design Onto the T-Shirt
- Amazing Infusible Ink Projects
- Tips For Applying The Infusible Ink Transfer Sheet To Fabrics
- Caring For Fabric After Applying Infusible Ink
- Troubleshooting Common Problems
- Frequently Asked Questions
Infusible ink transfer sheets are perfect for designing custom T-shirts, accessories, and other themed projects. They hold special ink that is transferred onto a suitable blank. To print with infusible ink sheets, simply cut and weed your design, then apply heat to it for the specified time. You will need a cutting machine and a suitable heat press for this process. Let’s discuss the method of printing with these superb infusible ink sheets in detail.
What Are Infusible Ink Transfer Sheets?
An Infusible Ink Transfer Sheet is a pre-inked paper that is used to print designs on specially engineered polymer or polyester based materials. When you apply heat to it, the ink evaporates and transfers onto the compatible blank then solidifies again to fuse completely, forming a permanent bond. The printed designs appear sharp and vibrant and are highly durable. They do not fade with time and can withstand frequent washing without losing their charm.
To choose the best infusible ink transfer sheets, it is important to understand your project’s needs. Infusible ink sheets are available in a variety of colors and patterns. Choose the one that aligns with your color theme. Always buy infusible ink transfer sheets from reputable brands if you want better color saturation and smoother transfer. Lastly, it is important to read reviews from previous customers to get a better idea of the product before purchasing.
What Are Infusible Ink Markers?
Infusible Ink pens and markers are products you can use to create amazing designs on compatible surfaces. You will have to load the marker into your Circut machine and it will draw your selected design for you on laser printer paper. After that, you can print it onto the blank by applying heat for a specified time. With this technique, you can achieve vibrant, lasting designs that won't crack or peel over time.
The best infusible ink markers deliver rich, vibrant colors that become more intense when heat is applied. Their ink flow is smooth and does not cause blotching creating clear, detailed designs. They dry fast to prevent smudging and make it easier to handle and transfer the design flawlessly. You get a variety of colors and nib sizes in them.
The Infusible Ink Transfer Sheets Printing Method
To get a durable, lasting print from infusible ink transfer sheets, it is important to follow the proper method. Below, we have presented the detailed step-by-step process:
Step 1: Get the Tools Ready
You will need the following materials:
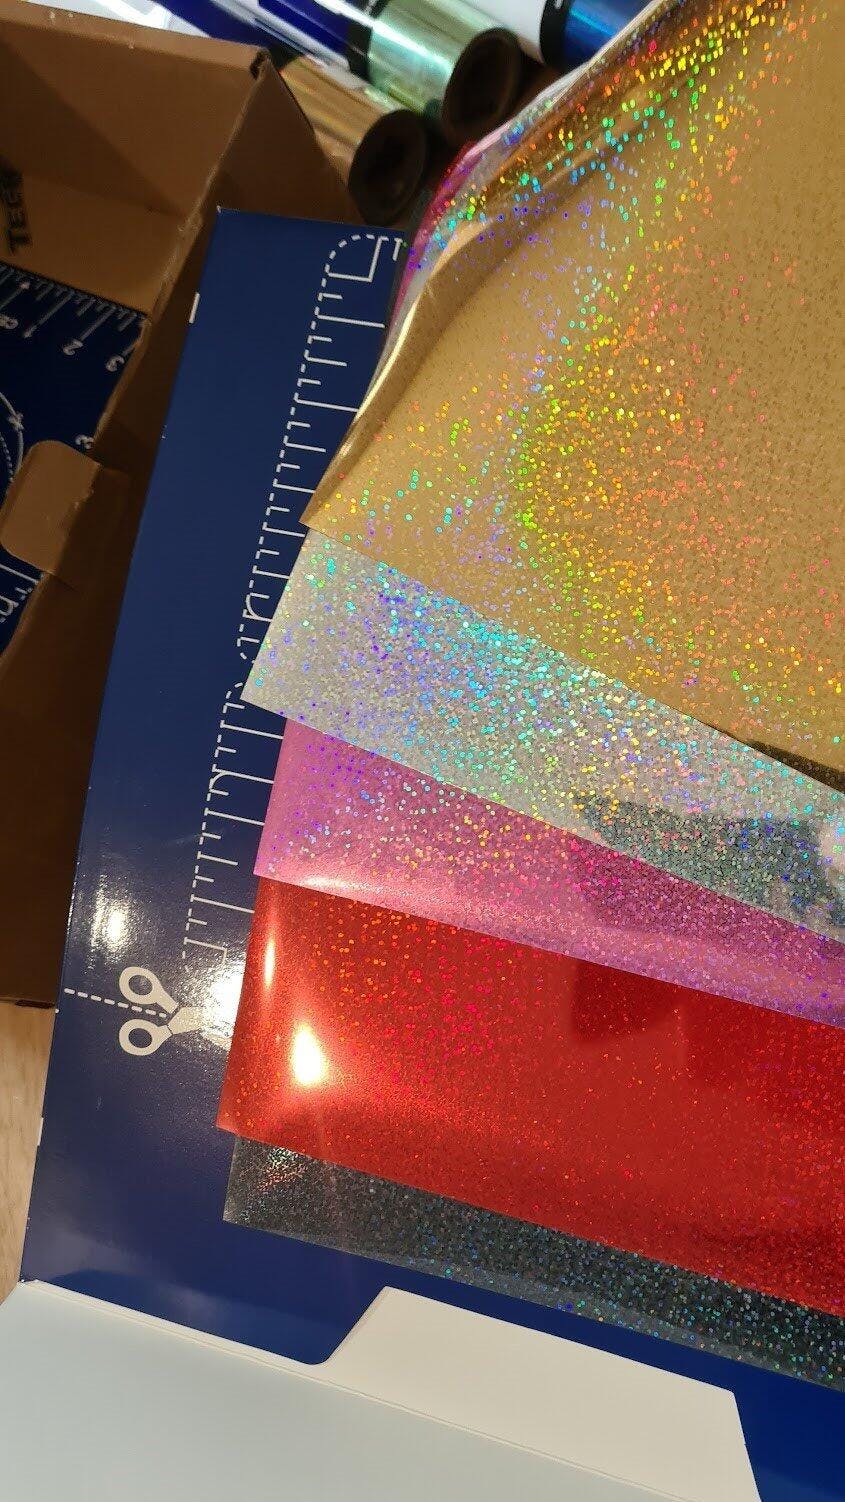
- High-quality infusible ink transfer sheets: High-quality infusible ink transfer sheets. Select the right size and colors according to your project for smooth, beautiful transfers.
- Compatible infusible ink blank: We will be designing a T-shirt. The blanks are specially manufactured to work with infusible ink. Be sure of this before buying one.
- Cutting machine: You can use Cricut or Silhouette, whichever you have. Both are excellent for infusible ink projects.
- Cutting mat: This has a standard tack and grid that allows you to place your sheet correctly for accurate cutting of the design.
- Heat press: Preset the required temperature on your heat press machine to transfer vibrant prints.
- Heat press mat: This gives a firm surface to your blank so you can easily apply heat and pressure to transfer your design.
- Weeding tools: Infusible ink sheets are easy to weed with hand but if your design is intricate, you might need a tweezer or a weeding pen to remove smaller pieces.
- Butcher paper: This allows even distribution of heat to the whole design which is very important for a successful project.
- Lint roller: Your blank, especially if you are using a T-shirt, should be free of any dust or lint to prevent tiny gaps or spots in the design.
- Cardstock: This is an important tool to prevent ink bleeding from the top layer of your shirt to the bottom one. You do not want your blank to get damaged.
Step 2: Work on Your Design
Finalize your design using the software that works with your cutting machine. Cricut uses Design Space. Set the dimensions according to the space on your T-shirt where you want the design to be. Select the material ‘Infusible Ink Transfer Sheet’ and mirror the image.
Step 3: Place The Infusible Ink Sheet Onto The Cutting Mat
Take the infusible ink sheet you are using and place it shiny side down on the cutting mat. The shiny side is the carrier sheet and the dull side is the ink. Make sure that your hands are completely clean, dry, and lotion free before handling the sheet or you will get ink marks on them. Place the sheet on the standard green cutting mat and allow the machine to cut.
Step 4: Weed Out Extra Pieces
After the machine has done its job, weed out the negative infusible ink transfer sheet pieces from your design using a tweezer, weeder, or a weeding pen. You should now have the final pattern in front of you on the transparent carrier sheet.
Step 5: Prepare The T-Shirt For Design Transfer
Apply heat to the shirt to remove any traces of moisture then go over it with a lint roller to make it completely lint-free. Place the shirt on a hard surface with a heat press mat under it. Put a piece of cardstock between its layers. This is to prevent ink from bleeding onto the back of the shirt. It is ready for transfer.
Step 6: Transfer The Infusible Ink Design Onto The T-Shirt
Place your weeded design where you want it to be on the shirt and put butcher paper on top. Now apply heat to it. The temperature should be 385°F. Apply firm pressure for 40 seconds. After the time is up remove the butcher paper and slowly take off the carrier sheet while it is still warm. Superb! You have applied a vibrant design that will move along with the fabric even if you stretch it, giving long-lasting performance.
Amazing Infusible Ink Projects
- Custom T-shirts Using Infusible Ink Transfers: This printing method is a great way to revamp your shirts with a durable, long-lasting design.
- Personalized Mug Or Cup With A Special Message: You can give your loved ones a personalized cup or mug as a gift to commemorate special occasions that they will cherish forever. The infusible ink transfer is both permanent and dishwasher-safe.
- Make Iron-On Patches For Your Clothes and Accessories: Using Infusible Ink to make iron-on patches is a great way to express your creativity and individualize your wardrobe. With these, you can customize any item of clothing or accessory easily.
- Personalize Home Decor: Bring a personalized touch to your home with Infusible Ink transfer designs! You can add unique artwork and beautiful patterns to compatible towels, pillowcases, and bedsheets.
- Decorate A Canvas Bag With An Inspiring Phrase: Decorate your canvas tote bags with inspiring phrases to add a fun flair. The durability and lasting quality offered by these transfers ensure your bag will look as good as new for years to come.
Tips For Applying The Infusible Ink Transfer Sheet To Fabrics
Crafting with fabric can be a fun and rewarding experience. Infusible Ink Transfer Sheets make it possible to easily add beautiful designs and logos to fabrics for quilting, home decor projects, and apparel. Here are some tips for success.
Cutting
Always mirror your design before hitting the cut button on the machine’s software. Remember, infusible ink transfer sheets are thick due to the embedding of ink on the paper.
Always check the cutter’s blade if it’s sharp enough to cut through the paper. Make sure your cutting machine is in tip top condition by regularly replacing or sharpening blunt blades.
Printing
Always make sure the surface is clean and free of any dirt or oils. You can use a lint roller. Then, preheat the blank material before attempting to apply the transfer sheet. Press firmly using a Cricut EasyPress. Peel away the carrier sheet once cool.
With these simple steps, you'll soon be crafting beautiful fabric designs created with Infusible Ink Transfer Sheets.
Weeding
Weeding an Infusible Ink transfer sheet can be more challenging than weeding vinyl. With the right tools and techniques, it's manageable. We recommend “cracking” the sheets before removing excess transfer sheets with your hands.
Avoid using tweezers with sharp tips because they might scratch the surface of the transfer sheet. A pinhole can cause unwanted ink transfer to bleed through your fabric.
So, weed by hand for larger designs. If your design includes small and intricate details, you can use reverse-grip tweezers. Just be careful not to damage the plastic backing as well as the surface of the transfer sheet.
Caring For Fabric After Applying Infusible Ink
Caring for a piece of fabric after applying an infusible ink transfer sheet is fairly simple yet important. To keep the ink looking vibrant and lasting as long as possible, it’s important to gently hand wash or machine-wash on a gentle setting with cold water.
If using the washing machine, wash infusible ink projects with a mild detergent and do not use bleach or fabric softener, as these can cause fading. Line drying is best instead of putting clothing directly in the dryer.
Don’t use dryer sheets because these will increase static that can ruin your shirt with infusible ink.
Afterward, let the item air out for 48 hours before wearing so that all adhesives are stabilized before coming into contact with your skin. With proper care, your fabric should retain its liveness for many years! For knowing about the best fabric for heat transfer vinyl check our blog.

Troubleshooting Common Problems
Using infusible ink transfer sheets for projects can be a rewarding and fun experience, but it's not without potential problems. The type of garment and the ink combination you choose can cause issues. Things like ghosting, ink feathering, and fading can easily ruin a project.
To avoid these problems, it's important to do your research and make sure you understand which materials and brands are going to give you the best result. Additionally, double-check all of your settings on your machine.
Manually adjusting some settings instead of relying solely on automatic ones may help give you the perfect result. If all else fails, there are plenty of resources available online with helpful advice about troubleshooting common issues with infusible ink transfer sheet projects.
Frequently Asked Questions
Conclusion
Infusible ink transfer sheets produce vibrant colors and result in a much softer feel than iron-on transfer. These sheets come in pre-printed designs or plain colors.
Each pack has butcher paper on it that you can use during the printing process. Unfortunately, infusible ink sheets are costlier than heat transfer vinyl because they are pre-inked sheets. All you need is to use a cutting machine to produce designs.
Thus, you’ll save up on buying specialized ink printers for sublimation. But, these transfer sheets are not an excellent alternative for bulk printing. In the long run, if you’re planning to bulk print, you may opt for a more cost-effective printing method. In the meantime, you can use an infusible transfer sheet for a one-time project.