Updated By Teckwrap Craft On September 02, 2024
Tie-Dye Shirts With Vinyl - Different Ways To Make Designs

Summer is almost here! This means tie-dye shirts are making a comeback. They're great to wear during the season, offering a burst of vibrant colors, and designing them can be an exciting hands-on project. Working on tie-dye shirts can also be a fun activity to do with kids!
You may already have a collection of tie-dye shirts in your closet. You can revamp them by adding vinyl designs, making them as good as new. You can also design these shirts for your family as a token of your love for them. Here’s how to do it.
The Two Types Of Tie Dye Methods
Using The Traditional Method
When you think of tie-dye, the traditional method is usually the first that comes to mind. If you don't have a tie-dye shirt, you can design one before embellishing it with vinyl. Watch this video tutorial if you want to create the tie-dye shirt yourself.

Bleach Dyeing Method
Another method is called bleach dyeing or reverse tie-dye. While traditional tie-dyeing adds color to light-colored shirts, bleach dyeing removes it from dark-colored shirts to create a tie-dye effect.
If you want to bleach-dye the shirt yourself, you will have to fold and tie it with rubber bands. Apply bleach and water solution to the tied-up areas. Rinse the shirt thoroughly, and you’re done. When working with bleach, make sure you are in a well-ventilated space. If such a space is unavailable, you can work near a window.
Just like the traditional method, it is best to allow the bleach to completely saturate the fabric before applying vinyl. Once the bleach cures, you can rinse your shirt and let it dry.
Whether you tie-dye a shirt yourself, refresh an old one, or grab a new one for summer, here's how you can personalize it with heat transfer vinyl.
Customizing Tie-Dye Shirts With HTV
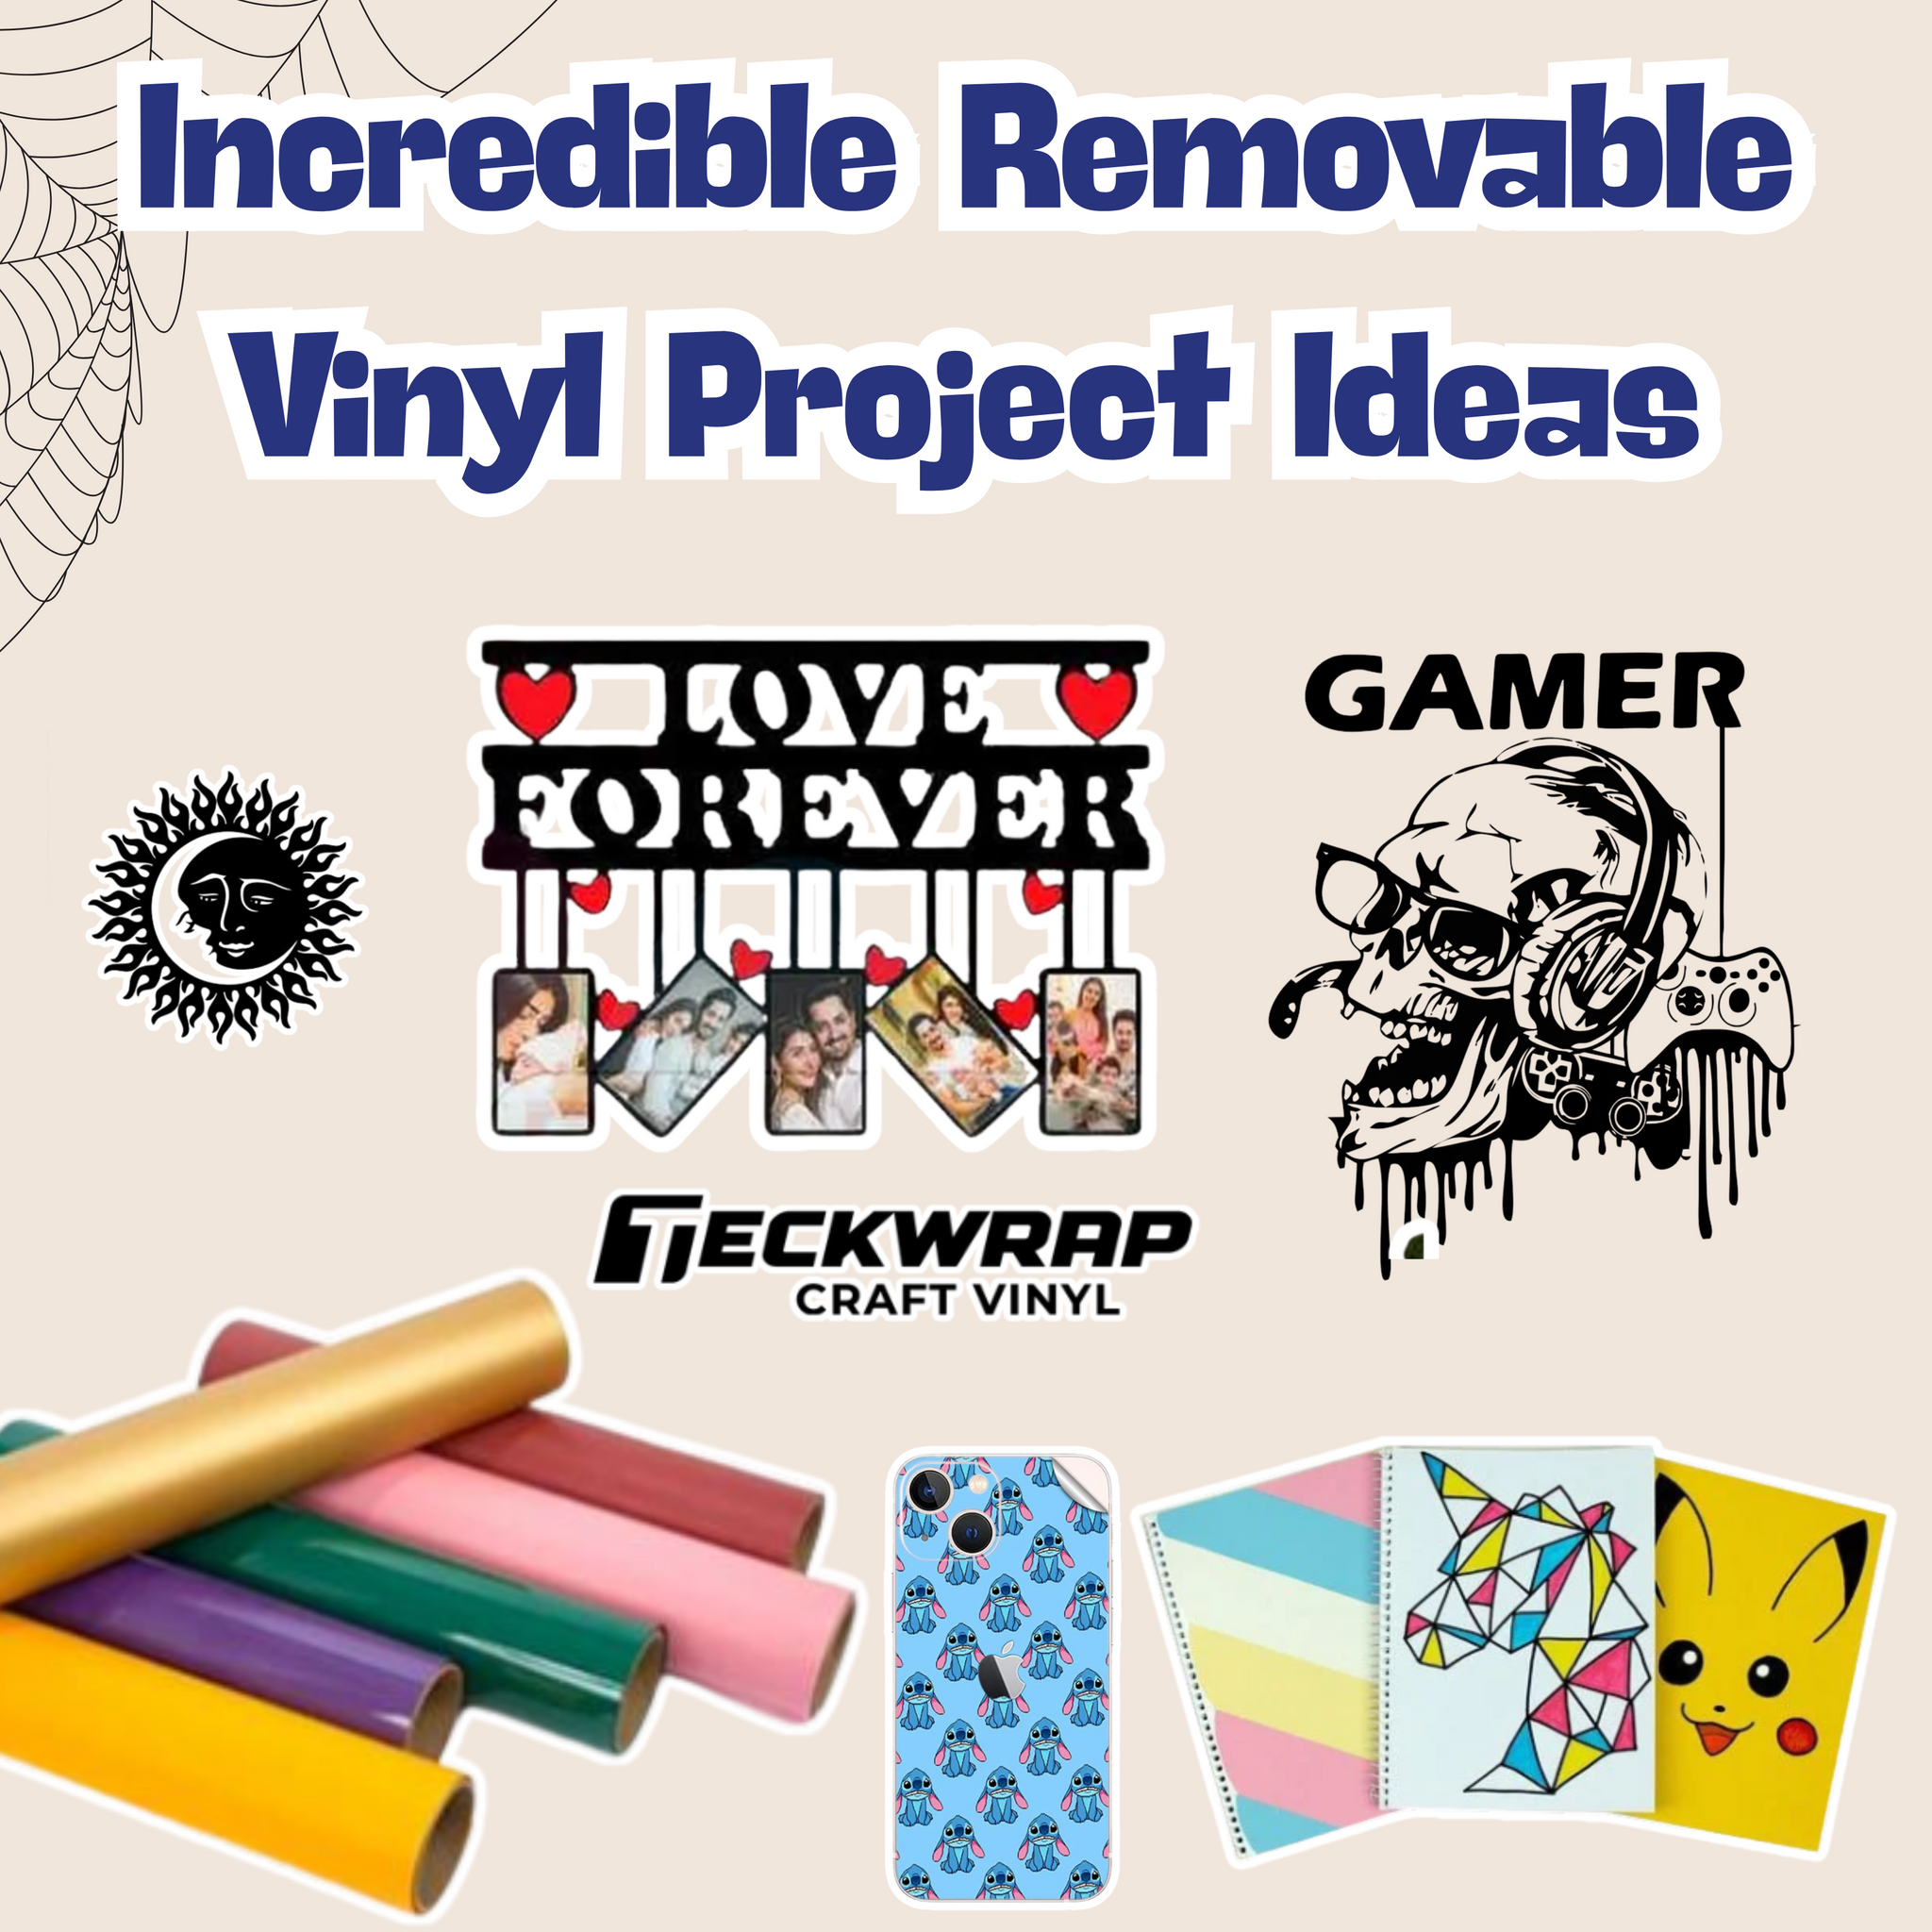
You can choose Heat Transfer Vinyl from TeckWrap Craft’s collection for your project. HTV is a great option for durable and long-lasting prints on tie-dye shirts. Make sure your shirt is made of cotton, polyester, or poly/cotton blend for a long-lasting result. Use monochrome vinyl on very colorful shirts so that your HTV design stands out.
Pre-press your tie-dye shirt to remove moisture and wrinkles. Finalize your design on software like Cricut Design Space and mirror the image. Place heat transfer vinyl on a cutting mat and load it into the automated machine to cut. Weed out the negative vinyl pieces and place the design on the shirt. Apply the recommended amount of heat and pressure according to the HTV finish you are using. Slowly remove the carrier sheet from the material after the vinyl has cooled down.
Tie-dye shirts with HTV create an excellent fusion of design and color and can be used in many different ways. You can easily convert casual shirts into partywear with this technique. They can be used for branding, especially by small fashion houses and boutiques. Companies can design group shirts with their logo for informal events and picnics. If you are throwing a theme party, you can design these for your friends and family for uniformity. Special tie-dye shirts can also be designed with HTV for fundraisers, carnivals, and charity events.
Using Removable Vinyl As Stencil
If you prefer to use fabric paint, stenciling is another great way to create designs for your tie-dye shirts. This is also a fun project that you can work on with your kids! There are so many fabric paint colors that you can choose from to design your tie-dye shirt. Just make sure the shade you have selected is in complete contrast so it stands out.
You would need a cutting machine to quickly make your removable vinyl stencil. It should be of the same size as the surface you are applying it to so that it is easier for you to position and align it.
Weed out negative vinyl from your stencil after cutting it then use transfer tape to adhere it to your tie-dye shirt. Before removing the transfer tape, ensure that the stencil is fully and properly stuck to the shirt.
To avoid paint bleeding, seal the stencil first. One effective trick is to apply a thin layer of Mod Podge over it. Let the Mod Podge dry completely before applying the paint.

Frequently Asked Questions
Final Thoughts
If this is your first time creating tie-dye shirts, be patient and take it slow. Tie-dye projects are fun to do but they can be tedious too. These shirts are easily available on the market, so you can just buy one without going through any hassle.