Image from Rawpixel
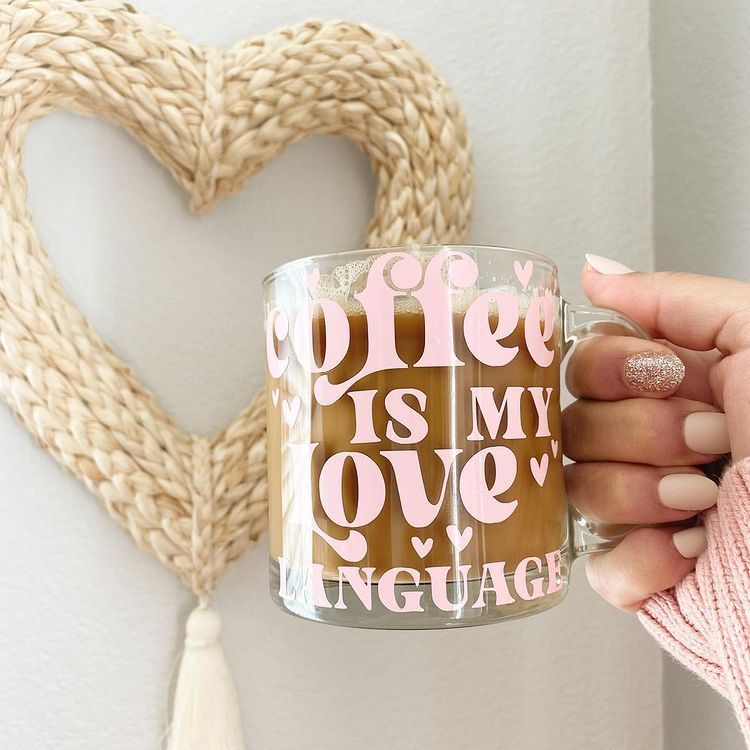
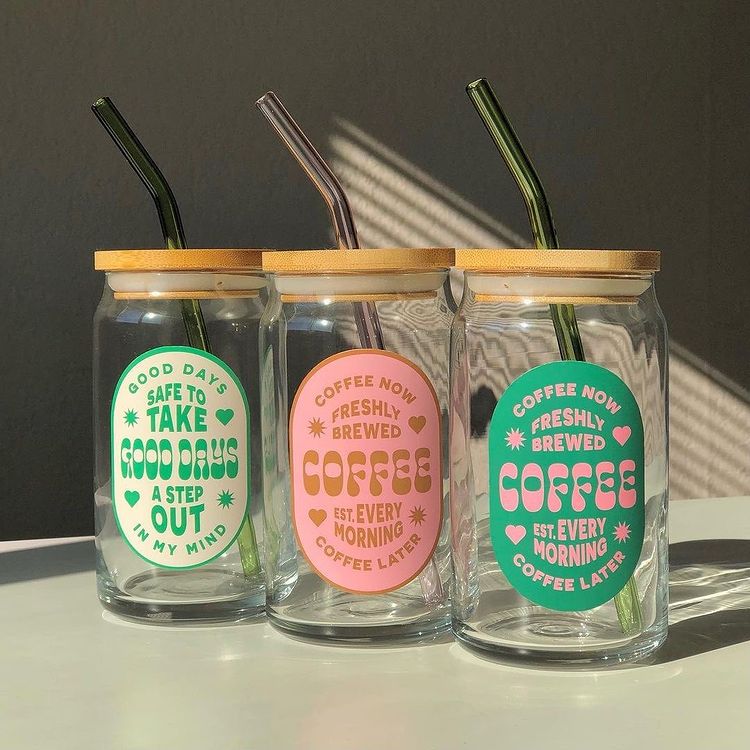
You may have been to several restaurants or coffee shops and stared in awe at the flawless glass stickers on their doors and windows. Amazing window decals are the best way to express one’s personality.
These stickers are called vinyl stickers or vinyl decals. Vinyl stickers are great decals that stand out on the glass. These don't easily peel off when exposed to varying weather conditions.
You may be interested in making window decals for personal use or even starting a crafting business. This article will provide you with the steps on how to make vinyl stickers for glass.
What Is a Vinyl Sticker?
Everyone is familiar with sticker paper. They come in different designs but are not durable enough when in contact with water. Is there a better option other than regular paper stickers? Yes, there are and it is vinyl stickers.
Vinyl stickers are an awesome alternative to regular stickers, for you can stick them to cups, windows, glass, or any material that can be washed. You won’t worry about the sticker peeling off or tearing apart.
Image from TeckWrap Craft Instagram Page
Making vinyl stickers for business advertisements, household labels, or other customized projects is a great idea. There are so many things you can do with vinyl stickers.
Tools for Making Vinyl Stickers
Crafting is easy and fun when you have all the materials and the right equipment or tools on hand. Here is the list of the tools you will need to create vinyl stickers for glass:
- Cutting machine (Silhouette Cameo or Cricut machine)
- Photo editing software or Design software
- Inkjet printer. If you are using printable vinyl
- Vinyl Sheet with an adhesive back
- Sharp knife
- Tweezers
- Scissors
- Cutting mat
- Glue or scotch tape
-
Application tool for burnishing vinyl like a scraper or old credit card to remove air bubbles
Steps for Making Vinyl Stickers
At this point, you may be pretty much excited about making vinyl stickers, so without further ado, here are the steps on how to make vinyl stickers for glass:
Step 1: Create Your Design
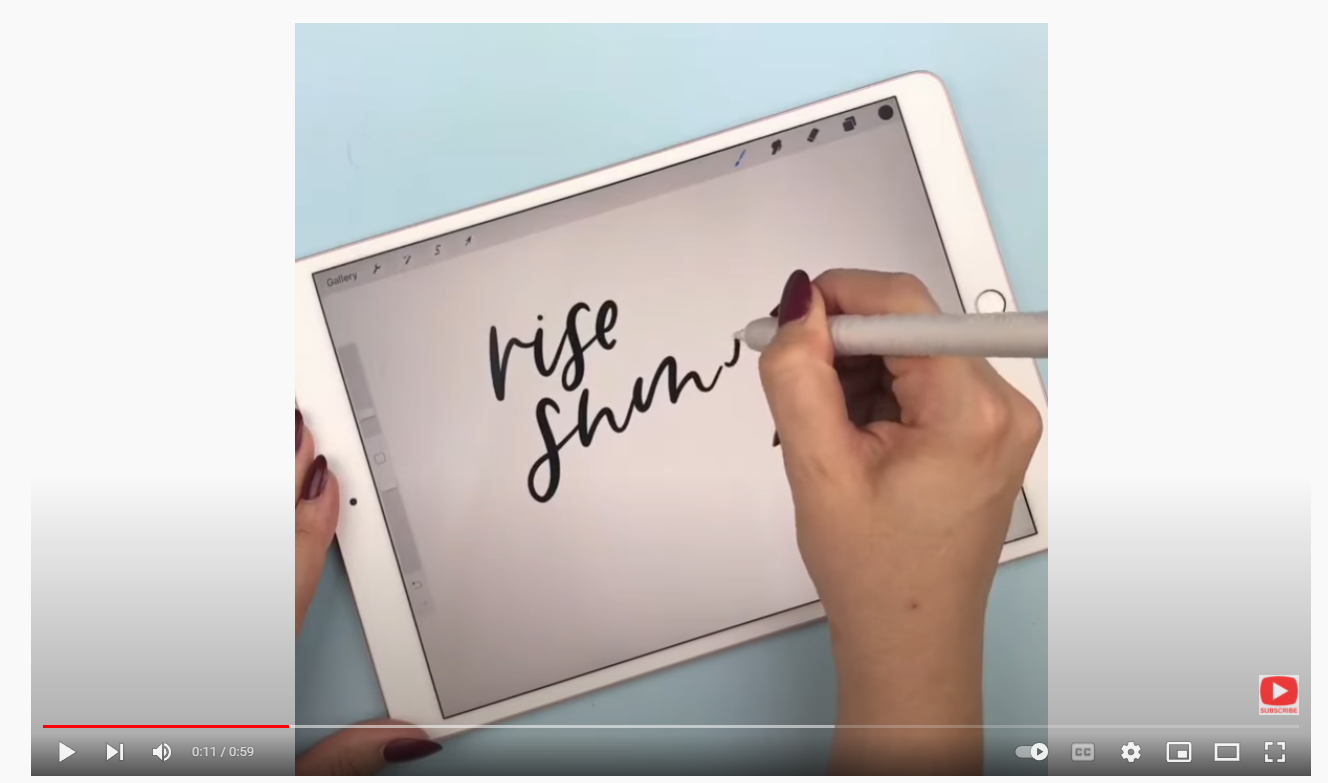
Creating a handlettering decal
YouTube Source: Handlettering decal by @megannicolelettering | TeckWrap Craft
You may have a design stuck on your head for a long time. You want this design to come to life. Using designing software can easily do the trick.
The important question to ask at this point is, “How do you choose the right design software”? When choosing design software, it is vital that the software allows you to create, import, and edit the designs on either a computer or tablet. After which, these designs can be migrated to your cutting machine with ease.
Using design software is the best option to come up with a great design. Design software has tools that you can manipulate to enhance the overall look of your design. If you have a Cricut cutting machine, you can use the Cricut Design Space.
You may also consider using Silhouette Studio. Silhouette Studio is an application known for sticker making. The application allows you to make sticker designs effortlessly. Silhouette Studio Basic is downloadable for free. You can pay for an upgraded version to use additional features.
What if you don’t know how to use any design software? Will you stop and give up? No. You can still create your design without the need for any design software.
If you are a newbie, you can start by using newspapers or magazines in creating your design. You may cut out different pieces to form a collective design. If you are still practicing, you may photocopy an existing design and start from there.
Step 2: Choosing a Vinyl
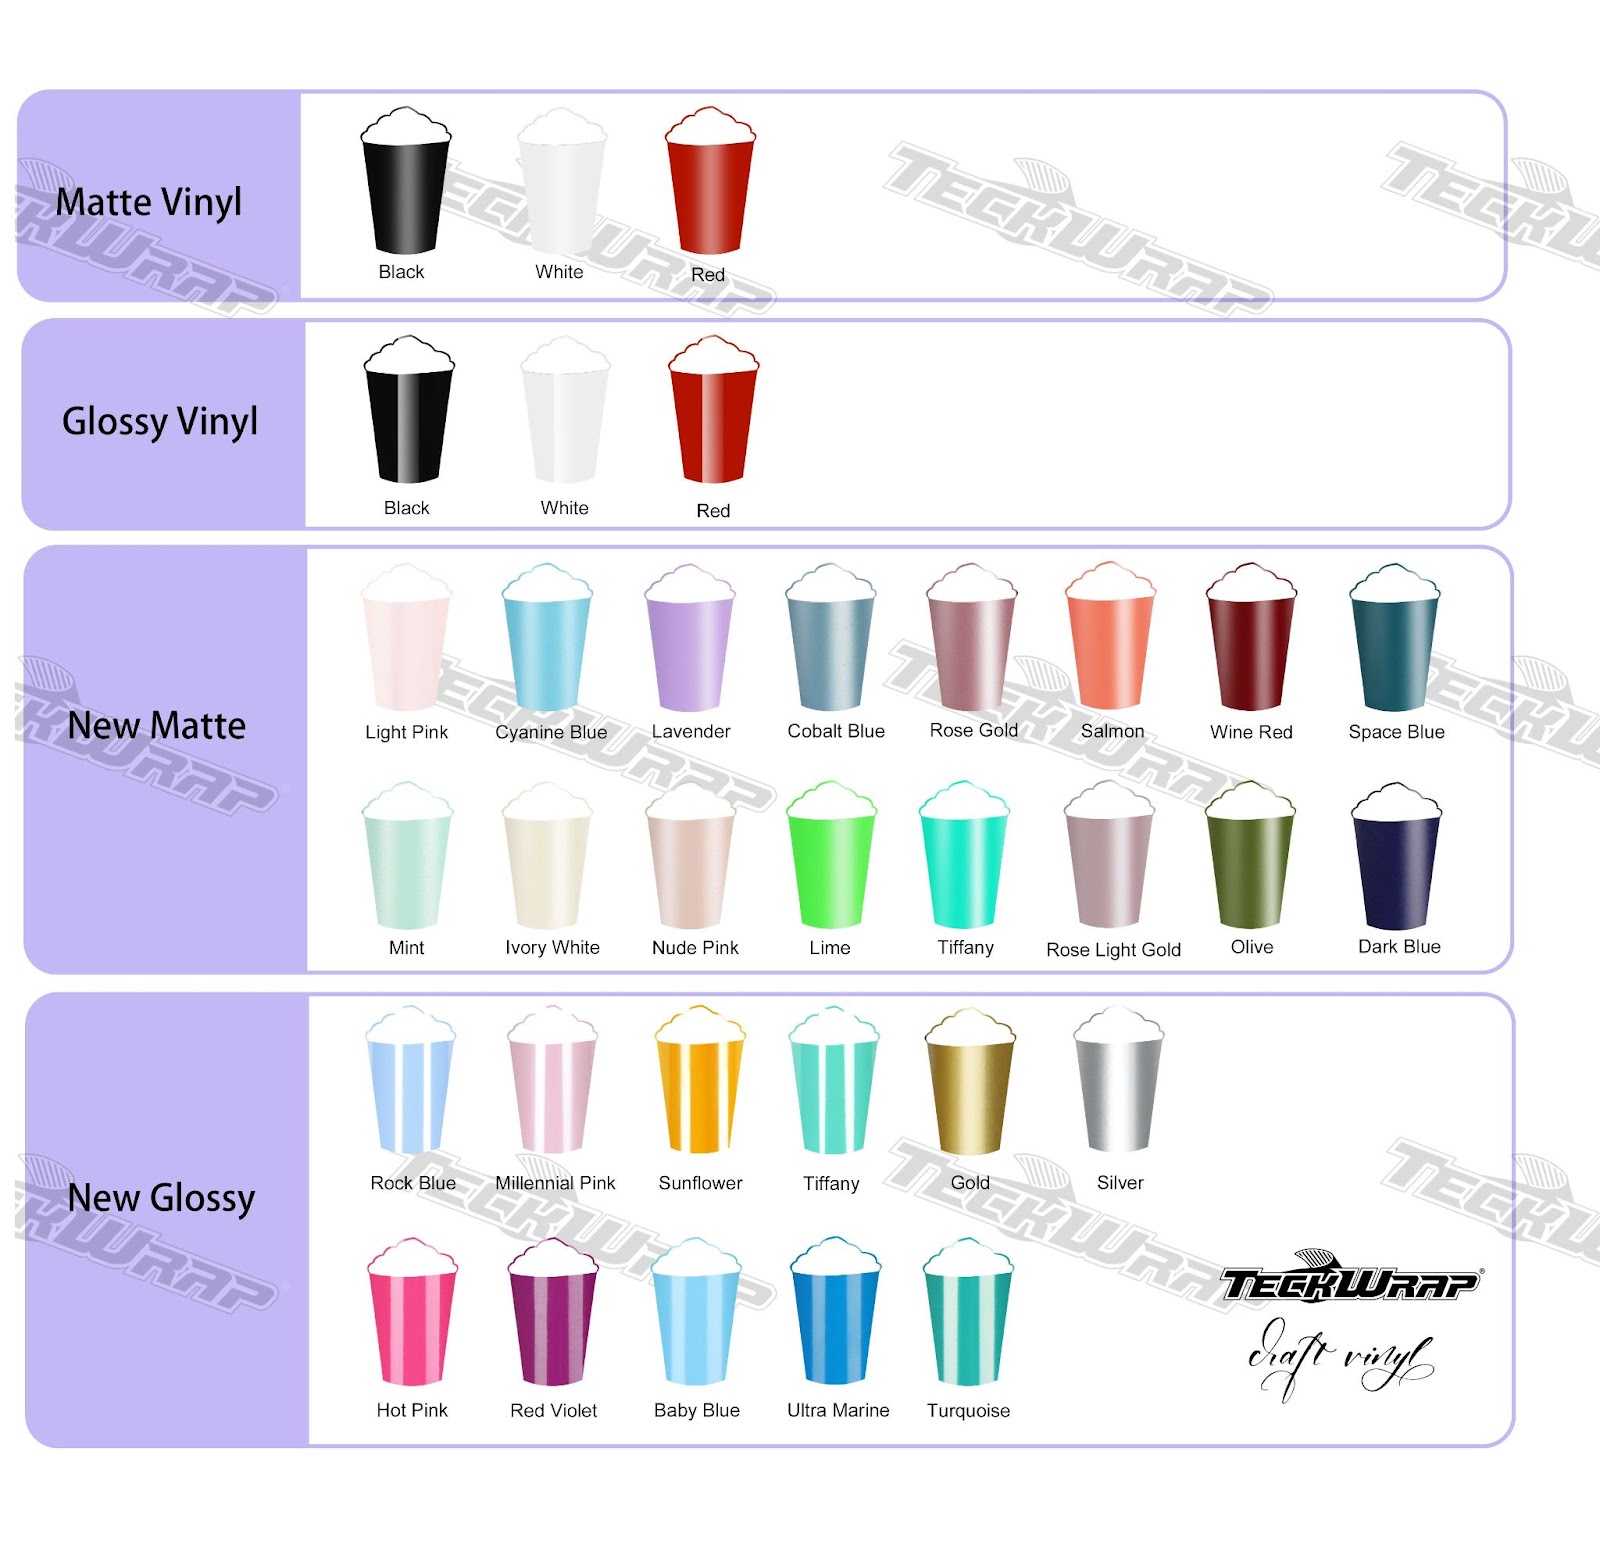
When making stickers or decals, vinyl is a great material to use. When stuck on glass, they shine and are very attractive to look at. Any permanent adhesive vinyl can be used for stickers for it can withstand water.
Choices of TeckWrap Craft Vinyl, check out the choices here
There are several varieties of adhesive vinyl. Cut vinyl is what you will need if you plan to cut out stickers. A cut vinyl offers average to high performance. You may also consider using translucent rolled vinyl and reflective vinyl, which are good for both cut and printed types.
Finally, if you have chosen the vinyl that you want to use for your project, cut a piece from it. How big should the piece be? You have to measure the size of your original design. The cut piece should be nearly half an inch as the original design.
If the vinyl is tricky to manage, you can opt to use a cutting surface to make your work easier. If you are using design software, you will need a printer. Prepare and secure your vinyl on the printer to ensure that your design is printed smoothly.
Step 3: Prepare the Design
When you have a cutting machine on hand, you need to set up the cut settings. If you have a Cricut cutting machine, the software that comes with it provides you with suggested cut settings.
Each cut setting varies depending on the material type and the type of cut. Most cutting machines will have three main settings. These three settings are blade depth, thickness, and cutting speed. A “test cut” feature is an option that you can use if you want to customize your cut settings.
You need to cut your design in its proper size after printing. The space you allot around the design is very important. You need to maintain a half-an-inch margin around your design. This space allowance is for you to easily position your vinyl sticker while placing it on the glass.
If you are working on multiple layers of vinyl to complete your design, the space allowance around the design is unnecessary. To properly position each layer in the correct order, you need to cut each piece as intricately as possible.
Step 4: Tape to Your Vinyl
If you have a vinyl cutting machine for your design, then you can skip this step. However, if you don’t have access to a cutting machine, then you have to manually tape your design onto the vinyl sheet.
If the design is printed out, you can now tape it to your vinyl of choice. Flush it out in as many directions as possible. If your design has a huge unused space, cut out a hole and secure it on the vinyl sheet. Secure the anchor points when taping the design onto the vinyl sheet.
Step 5: Weeding
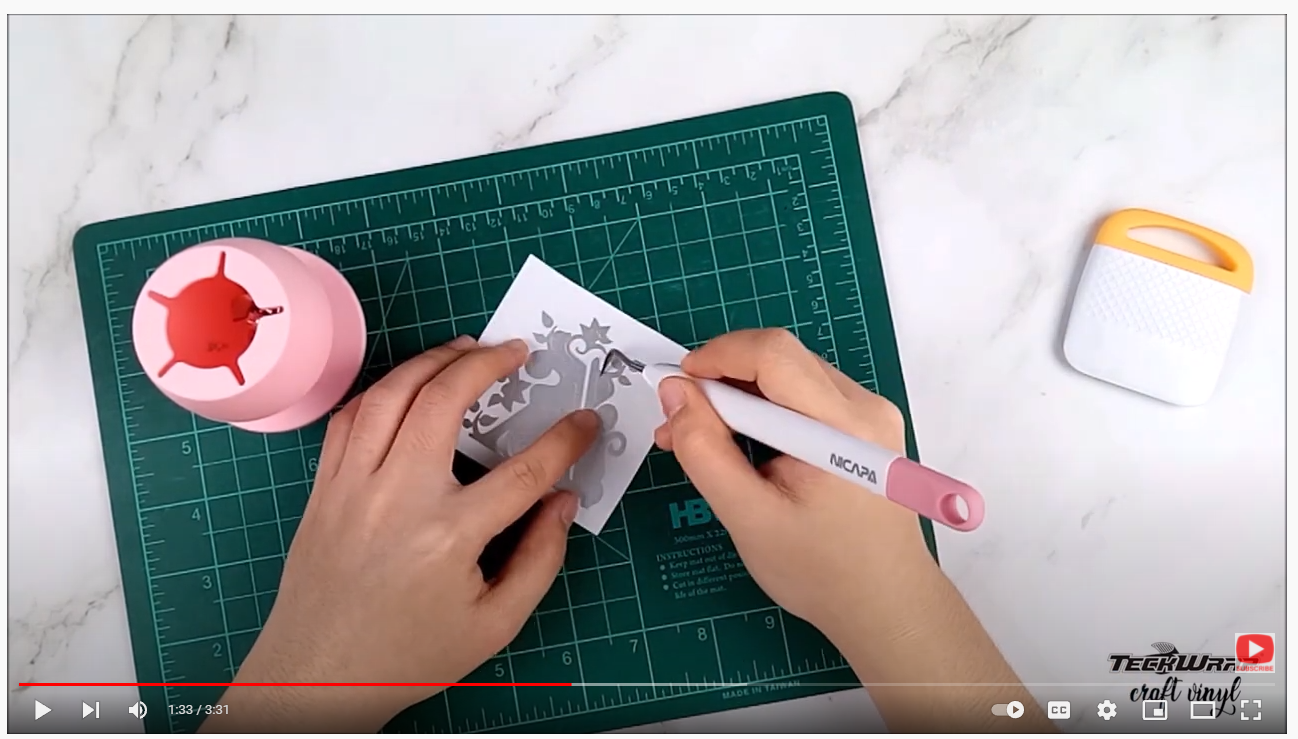
A guide on how to weed vinyl properly
YouTube Source: An Easy Way to Customize a Mug With TeckWrapCraft Vinyl - TeckWrap Craft
If you have a cutting machine, weeding is easier to do and will save you a lot of time. Weeding is removing excess vinyl, leaving you with only the entire decal design. However, if you don’t have a cutting machine and you have to tape your design on vinyl, you need to be very patient.
You have to be very careful in cutting out every single corner and curve of the design. You may experience at some point of your project eye strain, hand cramps, or headaches.
If by any chance there is a portion of the vinyl that wasn’t detached completely, you may use an X-acto knife to cut it. If you have set the cutting machine with the right configuration, it is unlikely that you will need an X-acto knife.
If you are just starting, don’t pressure yourself. You don’t have to finish your design in one sitting. You can take breaks from time to time. If it will take you a week to finish cutting vinyl and weeding your design, then it’s alright.
To obtain the best results, it is recommended to start cutting the inner details. If you are working with a text design, remove the inner details first, like those of the letters A, O, or P.
You can then start to remove the negative space by picking the vinyl starting from the corners. Don’t forget to look at your design to check your progress. You have to check if there are edges or portions you missed out on.
Step 6: Transferring the Vinyl
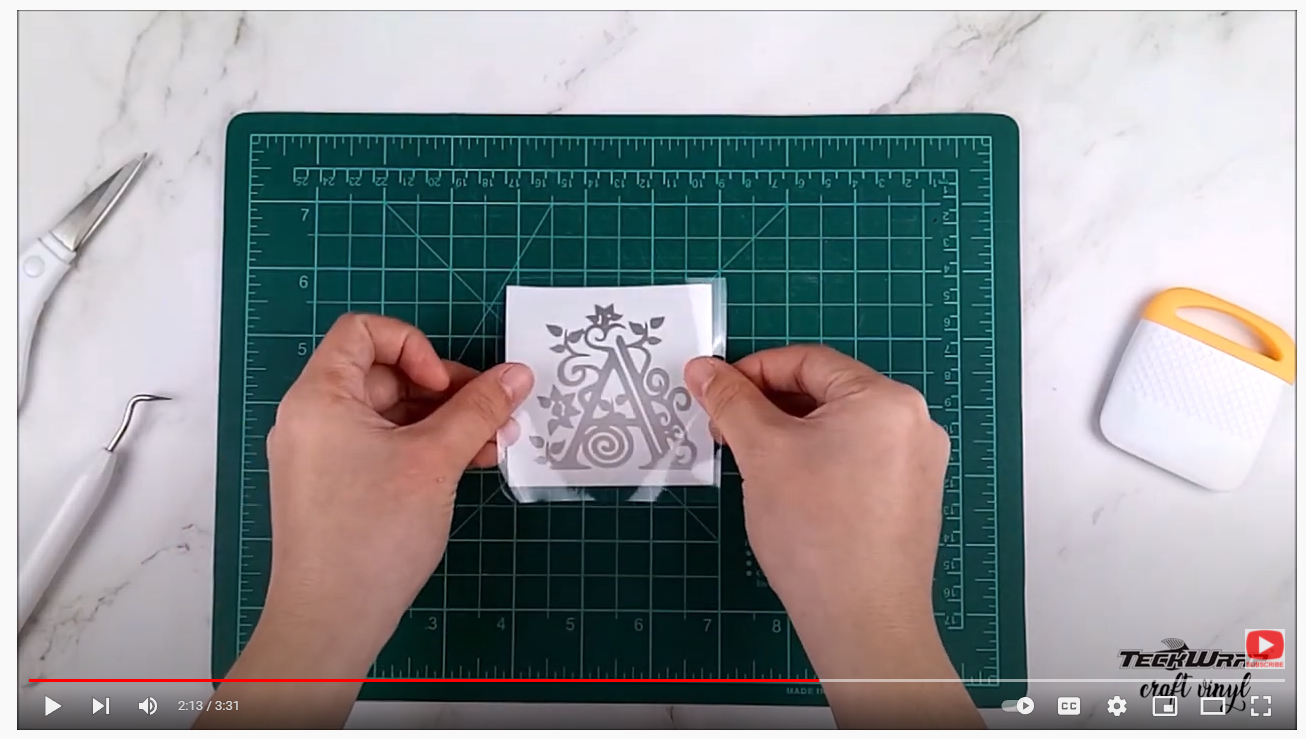
Transferring vinyl to transfer paper
YouTube Source: An Easy Way to Customize a Mug With TeckWrapCraft Vinyl - TeckWrap Craft
Before transferring the vinyl, you keep the glass clean and dry. Using rubbing alcohol can remove excess grease or fingerprints. This step is vital for glass to easily highlight dirt particles more notably than other materials. You wouldn’t want other people to notice the dirt behind your decal.
Lay your design on a transferable surface. The design should lay flat on its adhesive side. To avoid air bubbles or crease formation during transfer, flush the design well.
To flush, you can start from the upper corner of the design and roll down slowly with one hand. The other hand maintains the flush by holding the entire decal.
When your design is made up of many small pieces, it is recommended to use transfer tape. Vinyl is a thin material, and it could easily tangle up when transferred.
Using Transfer Tape for Vinyl Decals
When transferring your design from a vinyl backing to glass, use clear transfer tape. You have to remember that before putting the transfer tape on your design, you have to weed out the negative space first.
A transfer tape is sticky but is not as sticky as the vinyl. When you apply your vinyl to a glass, the transfer tape can easily be peeled off. You can use a squeegee, old credit card, or your fingers to smoothen and press down the vinyl and transfer tape.
When working with textured surfaces like wood or canvas, it is advisable to use tweezers to hold down the corner of the vinyl if you are struggling to stick it.
What other situations will you be needing a transfer tape? You will use transfer tape when you are working on layered designs or when layering multiple colors in one sticker. The transfer tape is used to align the design.
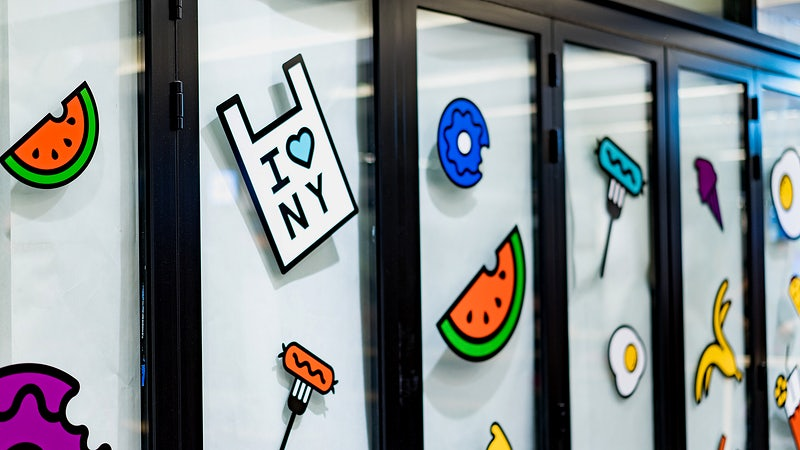
Vinyl Lettering
Outdoor signs on glass using regular vinyl
Image from Wikimedia Commons
If you are planning to make an all-text design, making vinyl letters can be tricky. It is tricky because most alphabets are not continuous in every font style.
When making an all-text design, think of how you can keep the letters together without spaces. If you are using design software, you may choose a font style that can connect all the letters making the words continuous.
Weeding Small Vinyl Lettering
Weeding small letters can be challenging. You may end up picking the letter when you weed out the surrounding vinyl. The trick is by weeding the design in reverse.
Reverse weeding is when you put the design onto a transfer paper. The transfer paper serves as a good medium in holding the design together while you weed. This minimizes the risk of weeding out the small and important portions of your design.
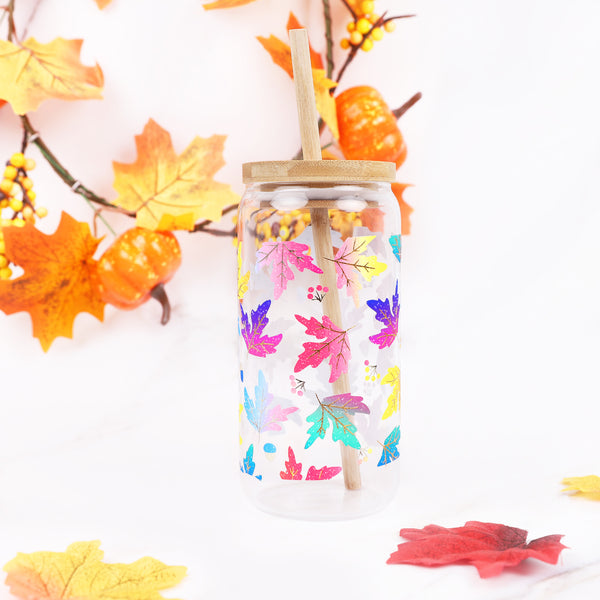
Making Multicolored Vinyl Decals
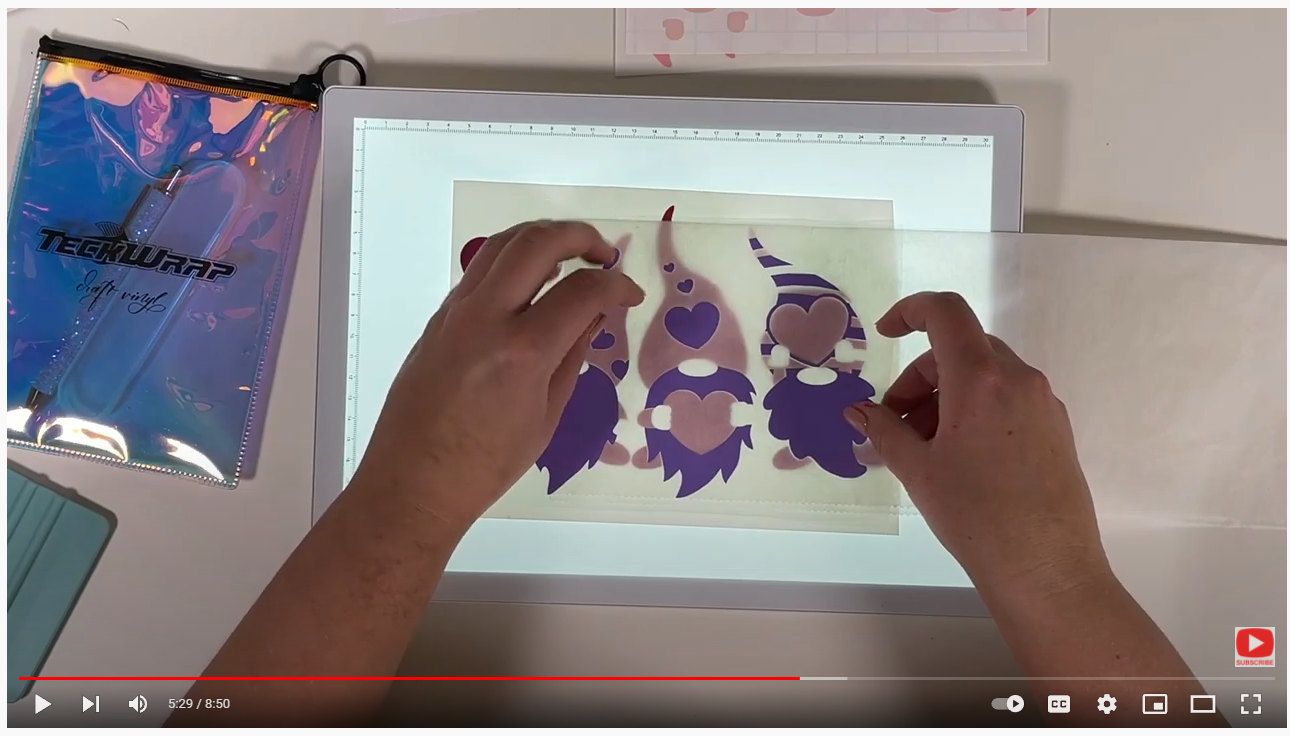
How to layer muti-colored vinyl
YouTube Source: Valentine's Day Theme Craft Tutorial | Crafting with Valentine's Day Sheets Pack | TeckWrap Craft
If you want to make a multicolored vinyl decal, the easiest way to do it is by printing on printable vinyl. It is recommended to first test print on plain A4 paper before printing on a vinyl sheet directly. This way, you can see if you are happy with the color, dimension, and overall look of your design.
Printable vinyl has a special coating where you can print your design on. Great color and intricate details can be difficult to appreciate with regular adhesive vinyl. When using printable vinyl, there is no need to cut the sides and weed. You won’t need a transfer tape.
When using printable vinyl, make sure that the material the vinyl will stick onto will not be washed. Printable vinyl is not recommended even if you make it waterproof.
You can add a clear vinyl laminate on top of a printable vinyl to make it waterproof. A printable vinyl with a clear laminate can last up to five years.
You have to remember that even if a printable vinyl is waterproof, the ink used for printing can smudge and will not last long with frequent washing. It is still possible to make a multicolored vinyl decal. How?
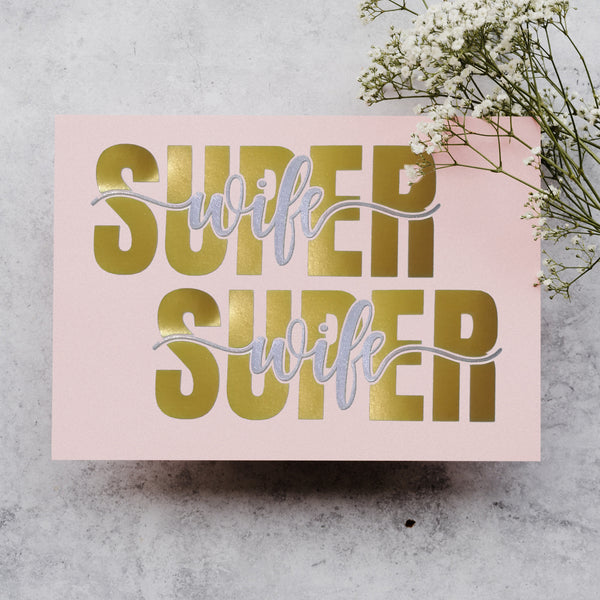
It is advisable to layer different colors in your design if you want to achieve a multicolored vinyl sticker. Through this means, you are assured that your vinyl will last despite frequent washing. This is the recommended procedure, but it can take a lot of work.
Layering multi-colored vinyl in one design
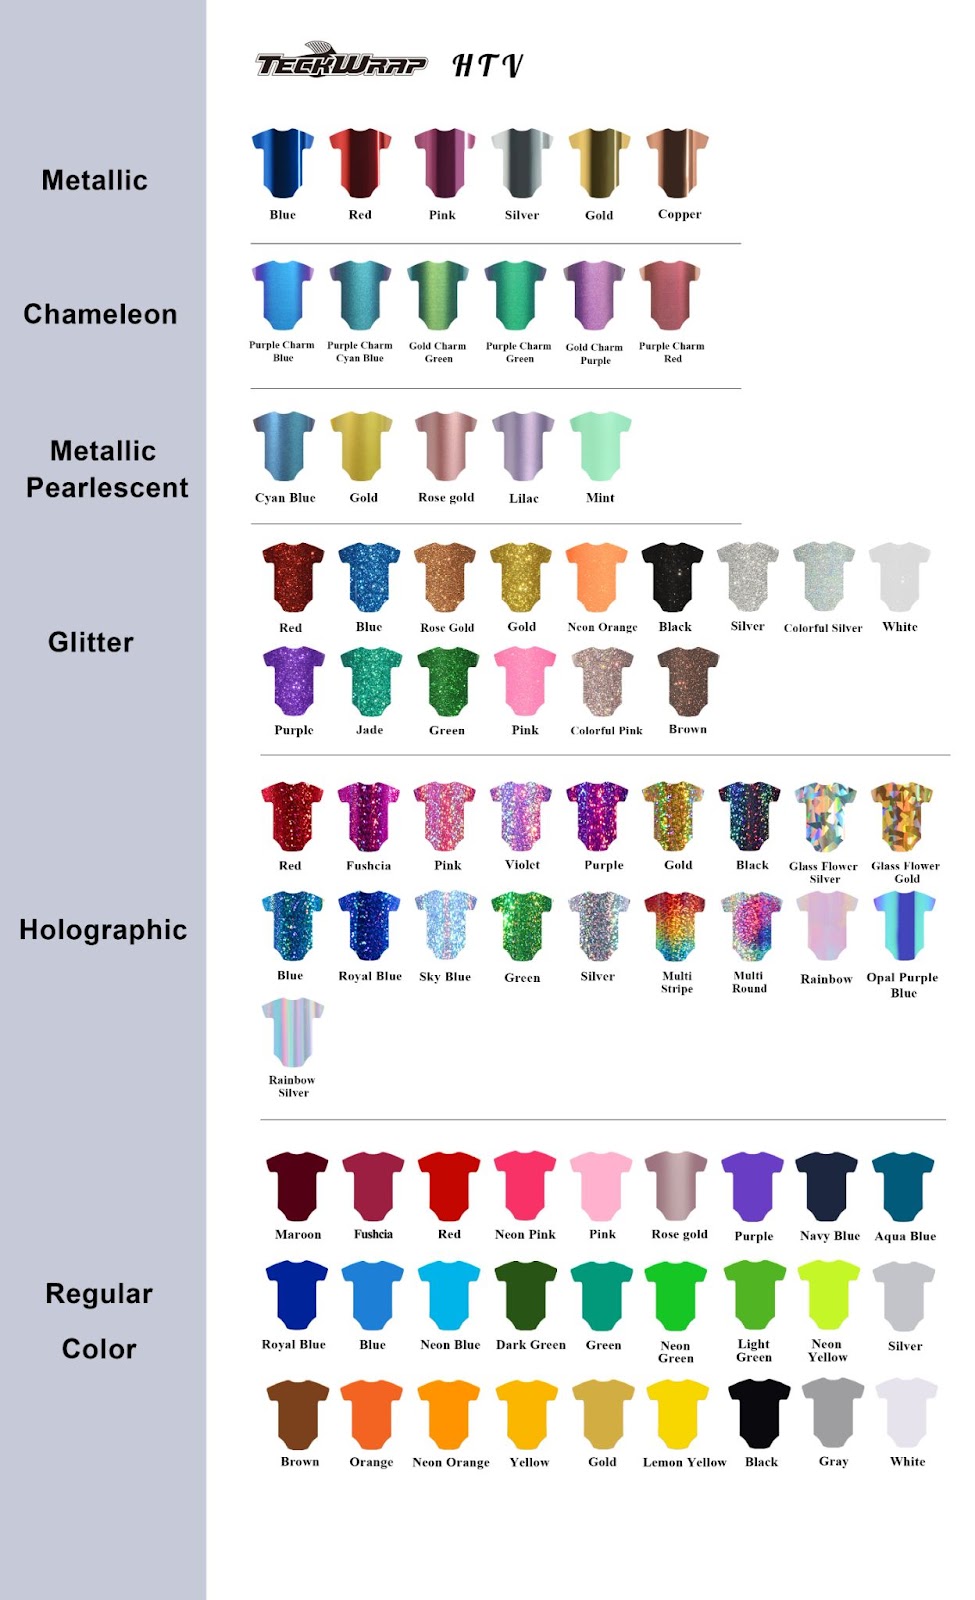
Heat Transfer Vinyl on Wooden Surfaces
Most doors have wooden surfaces. If you want to make a vinyl sticker for a wooden surface, make sure that the wood is smooth. If the wood is rough, you have to sand it first before sticking the vinyl.
It is advisable to use Heat Transfer Vinyl (HTV) and to iron the vinyl if you want a long-lasting result. Permanent vinyl will only be temporary when placed on a wooden surface.
Making Vinyl Decals Using a Cutting Machine
Creating vinyl decals is fun and easy if you have a cutting machine. With a reliable machine, you can make limitless designs no matter how intricate they can be.
Do All Cricut Machines Cut Vinyl?
Yes. Cricut uses the recommended fine point blade for vinyl cutting. Circut installs this type of blade on all their machines.
Vinyl Mirroring on Cricut
Vinyl mirroring can be done in two ways using a Cricut cutting machine. The first way is to use the Flip tool found in the top toolbar when in Canvas view. You have to flip the design horizontally. The other way for vinyl mirroring is by turning on Mirror when you are making the design.
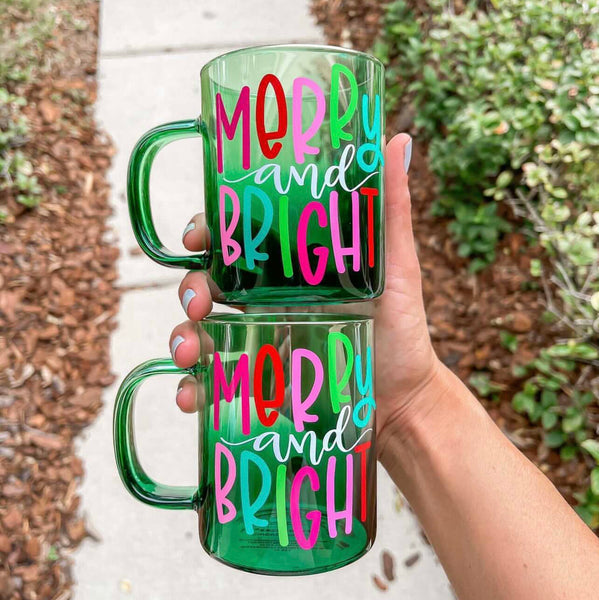
Vinyl craft on glass mug
TeckWrap Craft Creation
Using Cricut Design Space for Vinyl Layering
Manually working on layered designs or multicolored designs can be a tedious task. But, with the help of tools and software, this tedious task becomes easy and enjoyable.
Using Cricut Design Space it is easy to create different layers for cutting. A drop-down toolbar is available in Cricut Design Space for you to choose the color of the vinyl the design will be printed on.
The color of the design will not necessarily reflect on the vinyl. Instead, the color only serves as data informing the machine what vinyl color you are using. The actual color of the design and its shape doesn’t matter.
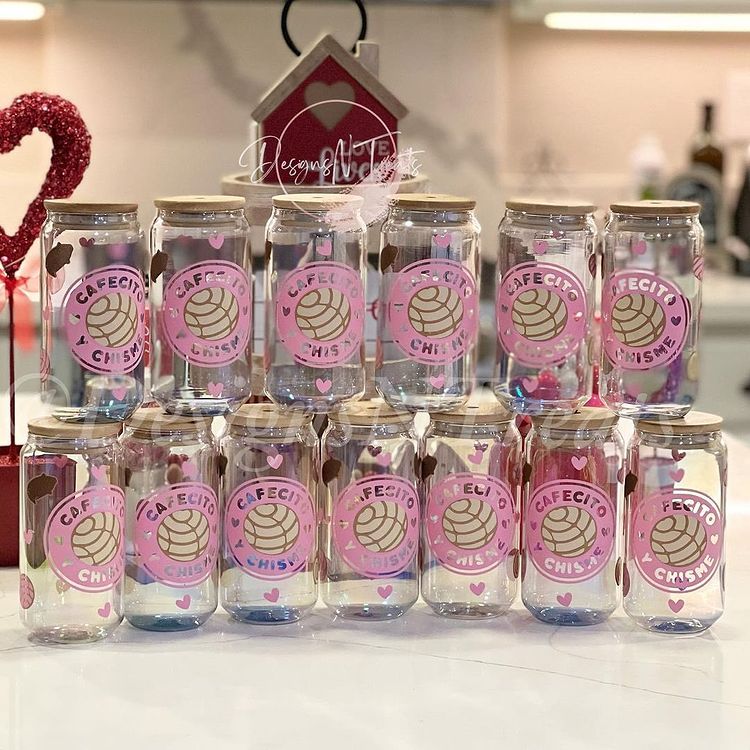
How to Make This Into a Business
Image from TeckWrap Craft Instagram Page
Wouldn’t it be great to make money from something you love doing? Yes, there are millions of people selling crafts online. But don’t be discouraged and intimidated because you can stand out. This is a competitive industry, and there is so much demand for crafts.
What is the first and most important step that you have to do? You need to build your brand identity. Most likely, your first clients will be your family and friends.
The vinyl crafts that you make for them can be documented to add to your portfolio. Word will spread about your quality of work which can be the start of your brand building.
From initially selling to family and friends, you can gradually expand your reach by selling outside your close circle.
You can start selling in school fairs, support local sports teams by making their promotional materials. You can even collaborate with local party planners to create stickers for souvenirs, invitations, and other party needs.
Establish Your Online Presence
Pick a great name for your brand and create your social media presence. You can post videos or blog posts about the vinyl crafts that you are making. You have to make a great first impression. The first impression can make or break your business.
Selling in your local community is a great start. However, you cannot expect your sales to peak because your community’s reach is limited. You may look into selling online through Etsy.
Image from TeckWrap Craft Instagram Page
Cost to Get Started
Another important question to ask is, “How much capital will I need to start a custom sticker business”? The good news is, it won’t cost you so much!
Assuming you are starting with absolutely nothing. You don't have machines, tools, and the basic materials (vinyl most especially). With roughly $500, you can purchase your vinyl cutting machine and a new printer. You may be spending an additional estimate of $200-$400 for the other crafting and office supplies.
Permits and Licensing
If you are just starting, you can register your brand under your name. You have the option not to register it as a business until you are seeing profit coming in. For more details about this, you can check your local state for the specific regulations and requirements.
Tips and Advice on Inks and Printers
When your designs are printed, make sure that the ink is completely dry before placing your clear vinyl laminate to avoid smudging your design. You can let the ink set for at least a day, depending on the ink type of your printer. A clear vinyl laminate is available in both rolls and sheets.
Another piece of advice is to make sure that your printer can handle heavy types of paper like vinyl. You wouldn’t want to compromise wasting your vinyl if your printer constantly jams.
It is advisable to have a printer that allows the vinyl to move in a straight path instead of a U-shaped path. You don’t want your vinyl to bend.
When purchasing a new printer, it is important to ask about the type of ink the printer has. Pigment-based ink can provide long-lasting images, while dye-based ink can create the best results on glossy paper. You may start with a 4-cartridge printer. That is sufficient enough.
FAQS
How Do You Make Vinyl Stickers Permanent on Glass?
Vinyl stickers can be permanent on glass if the stickers are made from permanent adhesive vinyl. Permanent vinyl offers the best and most long-lasting results.
Do Vinyl Stickers Stick to Glass?
Yes, vinyl stickers stick to glass. Vinyl can stick well to glass because of the glass’ high gloss and smooth surface.
What Makes Vinyl Decals Stick to Glass?
Vinyl decals stick to glass because of the cohesive forces between two smooth surfaces. The smooth surface of vinyl acts like a suction cup which permits it to stick to another smooth surface even with varying humidity levels. When two smooth surfaces are in contact with each other, air pressure is removed, creating a vacuum similar to what a suction cup does.
How Can I Make My Vinyl Stickers?
You can make your vinyl stickers with or without a machine. If you have a Circuit machine, then you can make unlimited designs for your DIY projects. However, if you don’t have a machine, you can still make vinyl stickers by using scissors and adhesive vinyl.
TeckWrap Craft vinyl sticker on glass using Rainbow Stripes Adhesive Vinyl
Summing Up
If you are a beginner and you don’t have a cutting machine to create your vinyl designs, it is advisable to start with simple designs. A simple design is easier to tape onto the vinyl and easier to cut and weed.
Surely, you are excited to start working on your first vinyl sticker project for glass. Don’t forget to bring to the table a lot of patience especially if you don’t have enough tools and equipment to make crafting easy for you.
You can surely make your house window, glass door, car window, or glass cups more attractive by putting on vinyl stickers. If you are thinking about starting your DIY project, then consider using Teckwrap Crafts’ variety of vinyl collections.

