Posted By TeckWrap Craft On May 28, 2022
How To Iron On Patches On Jeans

Table Of Contents
- Steps In Patching Your Jeans With Iron-On
- Step 1: Create Your Iron-On Patch
- Step 2: Cutting The Patch
- Step 3: Set Up Your Working Space And Ironing Board
- Step 4: Applying Heat
- Step 5: Applying Iron-On Appliques
- Step 6: Heating The Backside Of The Patch
- Step 7 (Optional): Whip-Stitching
- Other Options For Patches
- Limit The Use Of Appliqués For Children’s Jeans
- Iron-On Patches Vs Plastic-Backed Patches
- Steps In Making Iron-On Patches Using Vinyl
- Frequently Asked Questions
Want to have custom patches on your denims but can’t find any among embroidered ones in stores? The answer: create your own using flock vinyl! Yes you can get more creative with patchwork - read on to know how to make iron-on patches on jeans.
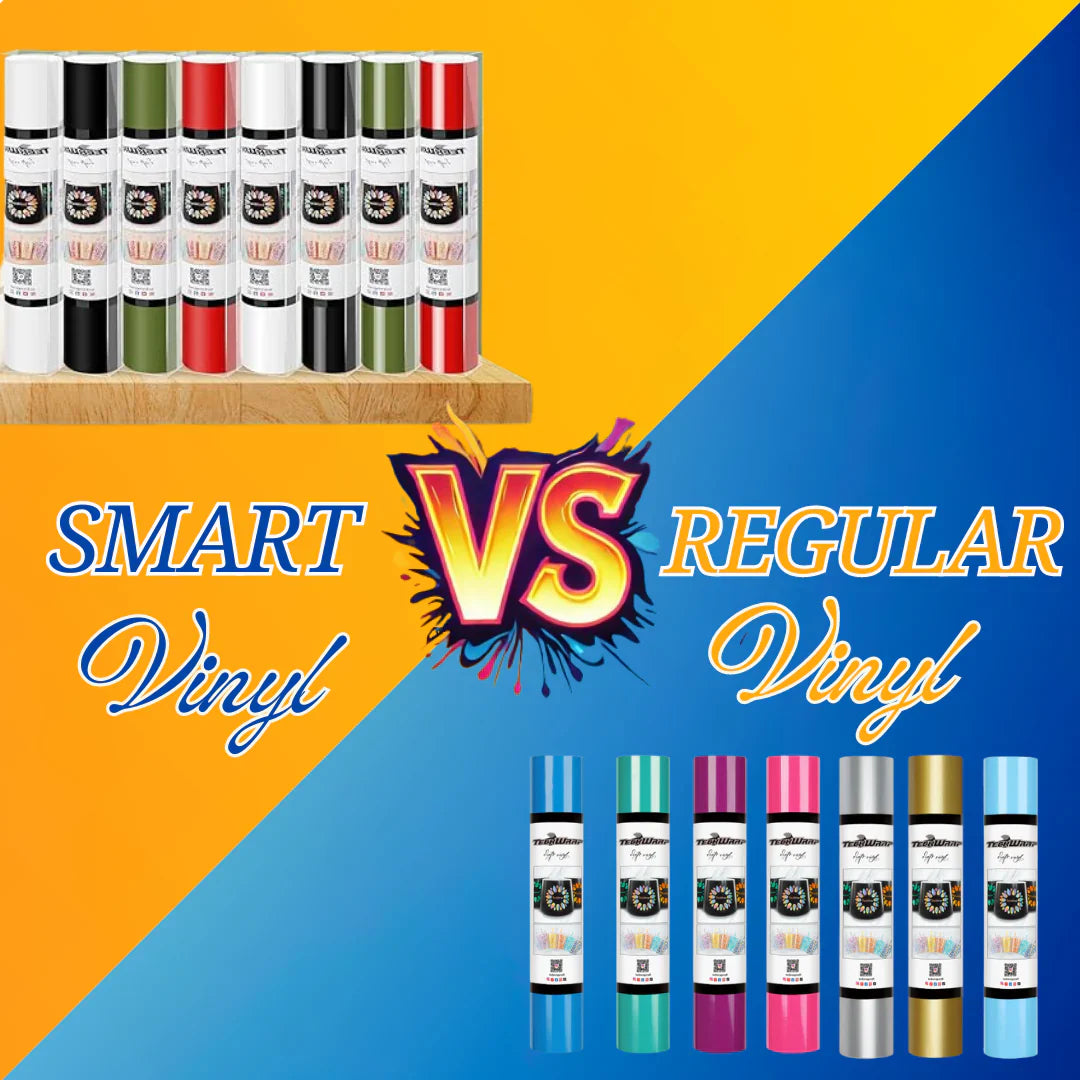
Flock vinyl is a great and more versatile option to embroidered patches because it has an elevated soft fuzzy feel - it is like velvet or suede.

Coupled with the fact that you can make your own design, you can now put creative patchwork on any piece of clothing or bags made of fabric. It is great for covering up holes or tears on your denims too!
You can patch it up and it will look brand new! Keep reading this article to guide you on how to iron-on patches on jeans. If you don't have access to store-bought patches, you can make one using HTV! It is time to get started!
Steps In Patching Your Jeans With Iron-On
It is very easy to patch up your jeans. You just need a flock heat transfer vinyl patch created from your Silhouette or Cricut machine and your iron. Patching iron-on on your jeans is fun and easy. Here are steps on how to apply iron-on patches on jeans:
Step 1: Create Your Iron On Patch
Thanks to

Step 2: Cutting The Patch
You can cut the patch in any shape but make sure that the corners are rounded. Patch designs with sharp corners are not a good idea as these sharp corners will have a tendency to peel .
Also, before ironing on the jean patch it is always better to reinforce the ripped area of the jeans with a bit of sewing.
Step 3: Set Up Your Working Space And Ironing Board
Keep in mind that iron-on patches should be applied to the fabric with the right time required and the right heat setting. For instance, cotton iron-on patches require the highest heat setting for them to work.
Lay your jeans on the ironing board. Insert a pressing cloth in the pant leg to avoid the fusible web of the iron-on patch from sticking to the backside of the pants. You can use a cotton pillowcase or damp towel as a pressing cloth.
Step 4: Applying Heat
Before applying the iron directly over your iron-on patch, you have to check that the jeans don't have wrinkles. To ascertain that your patch is in a perfect position, you can use a measuring tape. You may lay a thin cloth over the patch to protect the fabric from the heat.

Press the hot iron-on top of the patch while considering the instructed pressing time. Usually, most patch instructions require pressing for 30 seconds. If the patch has completely adhered to the jeans, it is time that you remove the inserted pressing cloth.
Step 5: Applying Iron-On Appliques
Once the iron-on patches have adhered to the jeans, the process doesn’t stop here. You may apply iron-on appliqués on the jean patches. Appliqués are embroidered fabrics with decorative designs applied to clothing or fabric.

If you have kids, you can ask them to choose an appliqué design that they want to put on their jeans. Before applying the appliqué, you need to pre-warm the jeans using an iron.
Position a thin cotton cloth above the appliqué. Press the iron over it for 20 seconds to secure it in place.
Step 6: Heating The Backside Of The Patch
You need to turn your jeans inside-out and heat the reverse side of the patch and appliqué. You need to apply heat to the patched area for 30 seconds for the appliqué to completely set. From this side of the jeans, you may still see the old tear.
However, when you flip the jeans back, you will no longer see the old tear. You now see a well-infused patch and appliqué. It looks like your pants are brand new and ready to use.
Step 7 (Optional): Whip-Stitching
The patch will stay longer if you add a whip-stitch along the border of the patch. A whip-stitch is simple to do and doesn’t require a sewing machine. Not to mention, adding a whip-stitch around the patch also makes it better to look at.
Other Options For Patches
Heating the patches is not the only method for attaching patches onto fabric. Here are some alternatives:
Sew-On Patches
Sew-on patches are applicable for embroidered types because they are thicker and the adhesive may wear off after a few washes. In such cases, an option is to sew them on.
Velcro Patch
Velcro patches and Velcro tapes are available in most craft stores. You need to attach the sticky side of the Velcro tape onto the garment where you want to place the patch. Then, you can now position the Velcro patch over the Velcro tape.

While these are also good options, nothing beats the creativity of using flock vinyl!
Limit The Use Of Appliqués For Children’s Jeans
When you are repairing children’s jeans, avoid using 3D appliqués. 3D appliqués will not stay on even if sewn, especially when the patch is on the knees for children tend to crawl and slide around.
It is recommended to use a fabric with a child-friendly design instead. You can find tons of designs for kids in your local arts and crafts store. A fabric with a repeating design pattern is easier to cut out.
Also, buy some fusible web which you need for patching. A fusible web is a man-made fiber that melts when heat is applied to it. When a fusible web is placed between two fabrics, the melting capability of the fusible web causes the adherence of two fabrics.
Steps In Applying Fabric Patches
- Cut out the shape that you desire from the fabric. Cut it slightly wider than the hole for the knee patch to fit correctly.
- Cut the fusible web almost the same shape and size as your fabric patch.
- You need to peel off one side of the fusible web. Position the fabric patch onto the fusible web.
- Once the fabric patch and the fusible web are attached, cut the fabric and fusible web with a pair of scissors. Cut them together with no rough edges. The end product of this process is the image that you will use to iron onto your jeans.
- Before applying the patch to your jeans, you need to remove the backside of the fusible web and position the patch onto the jeans.
- Read our heat press temperature guide if you have a heat press machine or an EasyPress, it will be much better as you can control temperature more.
- Don’t use a fabric sheet to dry the jeans for this it contains chemicals that could cause the fusible web to separate from the jeans.
Iron-On Patches Vs Plastic-Backed Patches
You can tell the difference between iron-on patches and plastic-backed patches by looking at the plastic backing. For iron-on patches, the adhesive extends to the edges of the patch. While plastic-backed patches usually don’t have plastic along the edges.
Steps In Making Iron-On Patches Using Vinyl
Indeed it is easy to buy ready-made patches for these and can be very convenient. However, if you are the artistic type who prefers to make your own patch design, you can make one yourself. Making iron-on patches is possible with vinyl!
Using heat transfer vinyl (HTV), you can patch up your jeans and make it look brand new! For this project, you can use TeckWrap Craft's flock HTV. Here are the steps on how you can apply a layered vinyl patch on jeans:
- Create your design using design software. HTV images should be mirrored before the cutting process begins.
- Position the vinyl on the cutting mat with the shiny side facing down. You can commence printing.
- Remove the excess vinyl using TeckWrap Craft's weeding pen.
- You can click this link for more details on how to apply HTV.
If you are planning on making a more interesting design, you can make a layered decal. You can click this link on how to create and apply layered HTV.
Frequently Asked Questions
Get Creative With Iron On Patches For Jeans!
The great thing about using flock vinyl as an iron-on patch is that you can be more creative and get exactly the design you want. You can be more intricate with the design and personalize it. What could be a greater gift than a custom design that suits the recipient?
Patches are not only meant for garment repairs. Patches are also meant to emphasize your fashion style. You can put patches on jeans, shirts, denim, and other garments to give these pieces a new identity.

You can apply iron-on patches to fabrics that can withstand heat and pressure such as cotton, polyester, canvas, and denim. It is important to place a pressing cloth between the hot iron and fabric for protection.
Make your own iron-on patch using flock HTV - the possibilities of design are limitless! TeckWrap Craft offers a variety of colors for you to choose from. With the help of the guide above, It is time for you to grab your iron and vinyl and get crafting!