The shiny side of iron-on vinyl faces down on the cutting mat. This shiny side is the carrier sheet. The dull or matte side, which is the actual vinyl with the heat-activated adhesive, faces up toward the cutting blade. This is the opposite of adhesive vinyl.
Getting this right is one of the first things you need to confirm before loading any heat transfer vinyl project. Load the HTV the wrong way and the blade cuts into the carrier sheet instead of the vinyl layer, which ruins the cut. This guide explains why the shiny side goes down, what happens during pressing, and covers every related step from loading to peeling.
Iron-on vinyl has two layers. The first is the shiny plastic carrier sheet on top. This is the clear, glossy layer that holds the design together and acts as a barrier between the vinyl and the heat press during application. The second is the actual vinyl with a heat-activated adhesive on the bottom, which is the dull or matte side.
When you load HTV into the cutting machine, the carrier sheet goes face down onto the cutting mat. The blade cuts through the dull vinyl layer from the top without touching the carrier sheet. This means the blade cuts the design from the back of the material.
Because the design is cut from the back, you must mirror it before cutting. If you skip mirroring, the design will transfer backwards onto the fabric. The carrier sheet stays intact and holds the cut design together until you press it onto the garment, at which point you peel it away.
Note: HTV vs Adhesive Vinyl
This rule applies to iron-on vinyl and heat transfer vinyl only. For adhesive vinyl used on tumblers, mugs, walls, and signs, the process is the opposite. With adhesive vinyl, the colored side faces up toward the blade and no mirroring is needed.
Key Terms You Should Know
These five terms come up in every HTV project. Understanding them before you start prevents the most common mistakes.
Term
What It Means
Carrier sheet
The shiny, clear plastic layer on top of HTV. It protects the design during cutting and holds it together until after pressing. Also called the clear liner, shiny side, or glossy side.
Weeding
Removing the excess vinyl from around and inside the design after cutting. You peel away all the vinyl that is not part of the design, leaving only the design on the carrier sheet.
Hot peel
HTV that must have its carrier sheet removed immediately after pressing, while the design is still warm.
Warm peel
HTV where you wait 15 to 30 seconds after pressing before removing the carrier sheet.
Cold peel
HTV where you wait until the design has cooled completely before removing the carrier sheet. TeckWrap Craft HTV is cold peel.
What Is Iron-on Vinyl?
Iron-on vinyl, also called heat transfer vinyl or HTV, is used to put custom designs on fabric. It bonds to garments using a combination of heat, pressure, and time. The heat activates the adhesive layer on the back of the vinyl, which fuses it permanently to the fabric fibers.
To work with HTV you need a cutting machine such as a Cricut or Silhouette to cut the design, and a heat press machine or household iron to transfer it. A heat press gives the most consistent results because it applies even heat and pressure across the whole design at once. A household iron works for small designs but requires more careful technique.
Yes. You must always mirror iron-on vinyl before cutting. Because the HTV is loaded with the dull adhesive side facing up toward the blade, the design is cut in reverse from the back of the material. When you flip the HTV over to press it onto the fabric, the design will appear backwards on the garment unless you mirrored it before cutting.
In Cricut Design Space, select the design and choose Mirror. In Silhouette Studio, right-click the design and choose Flip Horizontally. Do this before sending the design to cut. If you notice you have forgotten to mirror after cutting, check the design on the carrier sheet. If it reads correctly without flipping, it has not been mirrored and will transfer backwards.
Mirroring Exception
Some specialty HTV types for dark or light fabrics that use a print-and-cut method may have different mirroring rules. Always check the product instructions for the specific HTV you are using before cutting.
What Fabrics Work with Iron-on Vinyl?
Iron-on vinyl works best on smooth fabric surfaces that can handle the heat required to activate the adhesive.
Cotton. Handles heat well and gives the strongest bond. Pre-wash 100% cotton before applying HTV to prevent shrinkage that could distort the design later.
Polyester. Compatible but requires lower heat settings to prevent scorching. Use the lower end of the temperature range when pressing on polyester.
Poly-cotton blends. Work well with HTV. Use the temperature setting appropriate for the higher percentage content in the blend.
Canvas and nylon. Canvas works well. Nylon requires very low heat settings and a test press on a hidden area first.
Fabrics to avoid. Highly textured fabrics, loosely woven fabrics, and very stretchy materials like spandex reduce adhesion. Avoid placing designs over seams, zippers, or buttons as uneven surfaces prevent consistent pressure during pressing.
Supplies You Need
Have these ready before starting any HTV project.
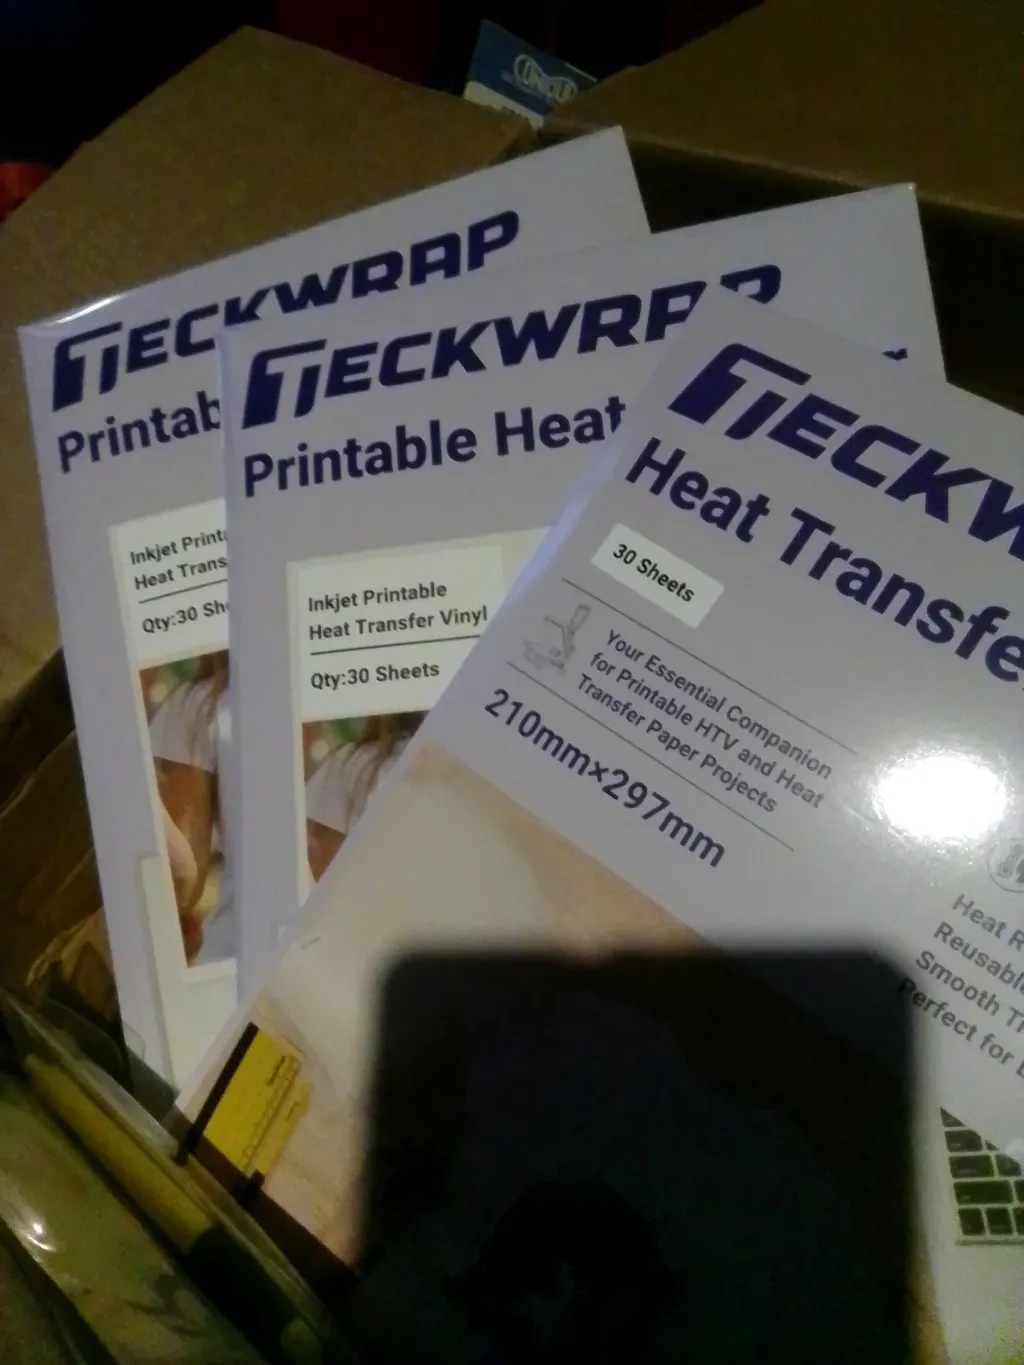
Iron-on vinyl or heat transfer vinyl. TeckWrap Craft HTV is available in PU, glitter, holographic, metallic, puff, and flock finishes.
Cutting machine. Cricut Maker, Cricut Explore, Silhouette Cameo, or Brother ScanNCut. Cricut uses Design Space software. Silhouette uses Silhouette Studio.
Cutting mat. A standard grip cutting mat holds the HTV in place during cutting.
Weeding tool or tweezers. Used to remove excess vinyl from around and inside the cut design.
Heat press machine or household iron. A heat press gives the most consistent results. If using an iron, turn off the steam and place the fabric on a hard surface.
Parchment paper or Teflon sheet. Place over the design before pressing to protect the vinyl from direct contact with the heat press plate.
Step-by-Step: How to Cut & Press Iron-on Vinyl
1 Prepare and Mirror Your Design
Open your design in Cricut Design Space or Silhouette Studio. Set the dimensions correctly for the garment. Mirror the design by selecting Flip Horizontally before cutting. This step is essential. Do not skip it.
Tip: Pre-wash the garment before applying HTV, especially if it is 100% cotton. This removes chemicals and pre-shrinks the fabric so the design does not distort after the first wash.
2 Load HTV onto the Cutting Mat with the Shiny Side Down
Place the HTV on the cutting mat with the shiny carrier sheet facing down onto the mat. The dull matte side faces up toward the blade. Press the HTV down firmly with a squeegee to make sure it is secure and flat on the mat. Load the mat into the machine.
3 Set the Correct Material and Cut
Select Iron-on or Heat Transfer Vinyl in your cutting software. Run a test cut on a small corner of the vinyl first to confirm the blade depth is correct. The blade should cut cleanly through the vinyl without cutting into the carrier sheet. If the backing is cut, reduce the blade depth.
4 Weed the Excess Vinyl
Remove the cutting mat from the machine. Use a weeding tool or tweezers to peel away all the vinyl that is not part of your design. Work from the outer edges toward the center. For designs with cavities such as the inside of letters, remove those pieces too. The finished design should sit cleanly on the carrier sheet.
Tip: Keep the design printout visible while weeding so you know which pieces to remove and which to keep.
5 Pre-Press the Garment
Place the garment on the heat press or ironing surface. Press it for 3 to 5 seconds with the heat press or iron to remove any moisture and creases. A damp or creased garment will cause uneven adhesion.
6 Position and Press the Design
Lay the HTV design on the garment with the carrier sheet facing up. Place parchment paper or a Teflon sheet over it. Press using the correct temperature, pressure, and time settings for your fabric type using the table below. Apply firm pressure straight down. Do not slide the press or iron across the design.
Tip: TeckWrap Craft HTV is cold peel. After pressing, let the garment cool completely before removing the carrier sheet. Peel slowly at a low angle close to the surface.
Temperature and Time Reference by Fabric Type
Fabric
Temperature
Time
Pressure
Notes
100% Cotton
305°F to 320°F
10 to 15 sec
Firm
Most forgiving. Handles heat well.
Polyester
270°F to 300°F
10 to 12 sec
Medium
Risk of scorch at high heat. Test first.
Poly-cotton blend
300°F to 315°F
10 to 15 sec
Firm
Lower end if polyester content is high.
Stretchy or spandex
270°F
8 to 10 sec
Light
Test on a hidden area first.
When to Peel the Carrier Sheet
Peeling at the wrong time is one of the most common causes of a design lifting away from the fabric. Check whether your HTV is hot peel, warm peel, or cold peel before touching the carrier sheet after pressing.
Peel Type
When to Peel
Notes
Hot peel
Remove immediately while still warm
Peel straight after pressing before the design cools. Common on some specialty HTV types.
Warm peel
Wait 15 to 30 seconds
Let the design lose most of its heat but peel before it is fully cold.
Cold peel
Wait until fully cool (1 minute or more)
The design must be completely cold before you peel. TeckWrap Craft HTV is cold peel. Peeling too early will lift parts of the design with the carrier sheet.
If any part of your design lifts away from the fabric when you peel the carrier sheet, lay the carrier sheet back down, place parchment paper over it, and re-press for another 5 to 10 seconds. Let it cool completely before trying to peel again.
Care Instructions for Garments with Iron-on Vinyl
How you wash and store HTV garments has a direct impact on how long the design lasts. Follow these rules every time.
Wait 24 hours before the first wash. The adhesive continues to bond with the fabric after pressing. Washing too soon is one of the most common reasons HTV designs peel.
Turn the garment inside out before washing. This protects the vinyl design from direct friction with other garments and the machine drum.
Wash with cold or warm water. Water above 178 degrees F weakens the HTV adhesive. Keep wash temperatures low.
Use a mild detergent only. Avoid bleach and fabric softeners. Bleach breaks down the adhesive. Fabric softeners leave a coating that reduces adhesion over time.
Do not dry clean. The chemicals used in dry cleaning damage HTV adhesive and cause designs to crack or peel.
Air dry where possible. High dryer heat softens the adhesive and can cause the vinyl to lift or distort. If using a dryer, use the lowest heat setting.
Do not iron directly on the design. Turn the garment inside out or place a pressing cloth over the design area. Use a low temperature setting.
Frequently Asked Questions
The shiny side of iron-on vinyl faces down on the cutting mat. This shiny side is the carrier sheet. The dull or matte side, which carries the heat-activated adhesive, faces up toward the cutting blade. Loading it the wrong way will cause the blade to cut into the carrier sheet rather than through the vinyl layer.
Yes. Iron-on vinyl must always be mirrored before cutting. Because the HTV is cut from the back with the dull side facing the blade, the design is cut in reverse. Mirroring beforehand corrects for this so the design transfers correctly onto the fabric. If you skip mirroring, the design will appear backwards on the garment.
For adhesive vinyl, the dull paper backing faces down on the cutting mat and the colored vinyl side faces up toward the blade. This is the opposite of iron-on vinyl. You also do not mirror adhesive vinyl because it is cut from the front and transfers directly without flipping.
For 100% cotton, press at 305 to 320 degrees F for 10 to 15 seconds with firm pressure. For polyester, use 270 to 300 degrees F for 10 to 12 seconds to avoid scorching. For poly-cotton blends, use 300 to 315 degrees F. Always check the product instructions for your specific HTV type as settings vary between vinyl finishes.
Check whether your HTV is hot peel, warm peel, or cold peel before touching the carrier sheet. TeckWrap Craft HTV is cold peel, meaning the garment must cool completely before you peel. Removing the carrier sheet too early can pull the design away from the fabric.
Yes, but with care. Set the iron to the cotton setting, turn off the steam function, and place the garment on a hard surface rather than an ironing board. Press firmly down in one spot without sliding. A heat press gives more consistent results for large designs, but an iron works well for small or simple designs.
The most common causes are insufficient heat, insufficient pressure, or a damp or pre-treated fabric. Make sure the temperature matches the fabric type, apply firm downward pressure for the full pressing time, and pre-press the garment for 3 to 5 seconds before placing the design to remove moisture. Also check that the HTV is loaded correctly with the dull side up when cutting.
A backwards design means the image was not mirrored before cutting. Unfortunately there is no fix for a design that has already been pressed backwards. Cut a new piece of HTV, make sure to select Mirror or Flip Horizontally in your design software before cutting, and press again on a new area of the garment or on a new blank.
Wrapping Up
The shiny carrier sheet side of iron-on vinyl always faces down on the cutting mat. The dull matte adhesive side faces up toward the blade. Always mirror your design before cutting. After pressing, let the garment cool completely before peeling the carrier sheet since TeckWrap Craft HTV is cold peel.
Getting these three things right covers the most common mistakes beginners make when starting out with HTV. Everything else, including temperature, pressure, and care, follows logically from having a good base press.
Shop TeckWrap Craft heat transfer vinyl in PU, glitter, holographic, metallic, and more.