Updated By TeckWrap Craft On March 09, 2026

DTF transfer (Direct to Film) is one of the fastest-growing methods for printing custom designs on fabric. It allows creators to print full-color graphics onto a special transfer film and then apply them to garments using heat. This process makes it easy to produce vibrant, durable prints on many different types of fabric.
Unlike traditional printing methods, DTF works on cotton, polyester, blends, and many synthetic materials. In this guide, you’ll learn what DTF transfers are, what tools you need, and how to make DTF transfers step-by-step.
Tools Needed for DTF Transfer
To successfully create DTF transfers from scratch, you need several specialized tools and materials. These tools ensure accurate printing, proper adhesion, and durable results.

-
DTF Printer: Uses CMYK and white textile inks to print designs onto transfer film, where white ink forms the base layer and colored inks produce vibrant graphics that remain flexible and resistant to cracking.
-
DTF Transfer Film: A PET (polyethylene terephthalate) film designed for high-quality ink adhesion, available in sheets or rolls with a typical thickness of about 0.075 mm (75 microns) and offered in both hot-peel and cold-peel variations.
-
RIP Software: Raster Image Processor software manages color layers, prints white ink correctly, and optimizes design output for accurate and high-quality DTF printing.
-
Hot-Melt Adhesive Powder: A fine adhesive powder applied to the wet print that melts during curing to bind the printed design securely to fabric fibers.
-
Automatic Powder Shaker (Optional): A commercial tool that spreads adhesive powder evenly and removes excess powder automatically, though manual application is common for small projects.
-
Heat Press Machine: Applies the correct temperature, pressure, and time to transfer the printed design from the film onto the garment.
-
Curing Oven (Optional): Used to melt adhesive powder before transferring the design, although many creators use a heat press in hover mode for curing.
DTF Transfer – Step-by-Step Process
Once you have the necessary equipment, you can begin the DTF printing process.
Step 1: Print Your Design
Create your artwork and send it to RIP software. The design should be in formats such as PNG, JPG, TIFF, PDF, or PSD. Mirror the image before printing onto the matte side of the transfer film.
Step 2: Apply Adhesive Powder
While the ink is still wet, apply hot-melt powder evenly over the printed design. Shake off excess powder so that only the inked areas remain coated.
Step 3: Cure The Powder
Heat the powder using a curing oven or heat press. The powder melts and forms an adhesive layer. After curing, the surface should appear smooth with a slight orange-peel texture.
Step 4: Pre-Press The Fabric
Press the garment for 2–5 seconds before transferring the design. This removes moisture and wrinkles that could affect print quality.
Step 5: Transfer The Design
Place the film on the garment and press it at about 160–170°C for 15–20 seconds using medium pressure.
Step 6: Peel The Film
Allow the transfer to cool slightly before peeling the film, depending on whether you use hot-peel or cold-peel film.
Step 7: Post-Pressing
Press the design again for 10–15 seconds to improve durability and wash resistance.
How to Make DTF Transfers Last Longer
To improve the durability of DTF transfers, follow proper curing and pressing guidelines. Always apply the correct temperature, pressure, and time recommended by the film manufacturer.
- Use high-quality DTF films and adhesive powder
- Pre-press garments to remove moisture
- Perform a post-press after transferring the design
- Wash garments inside out with cold water
These practices help ensure that DTF prints remain vibrant and resistant to cracking or peeling.
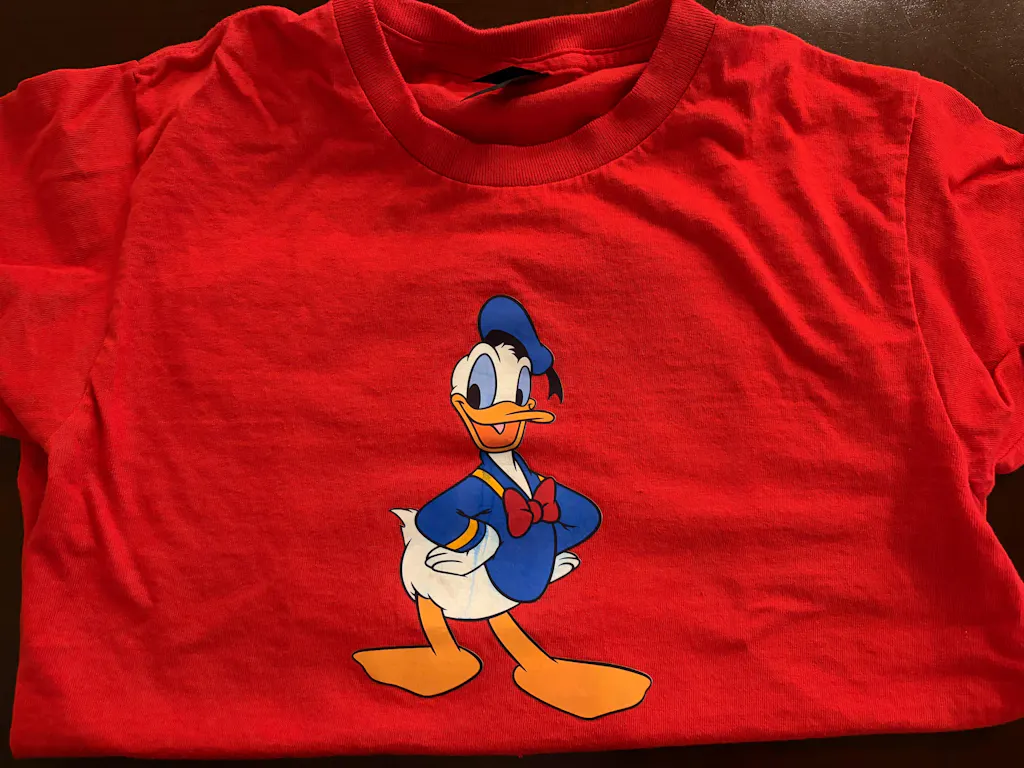
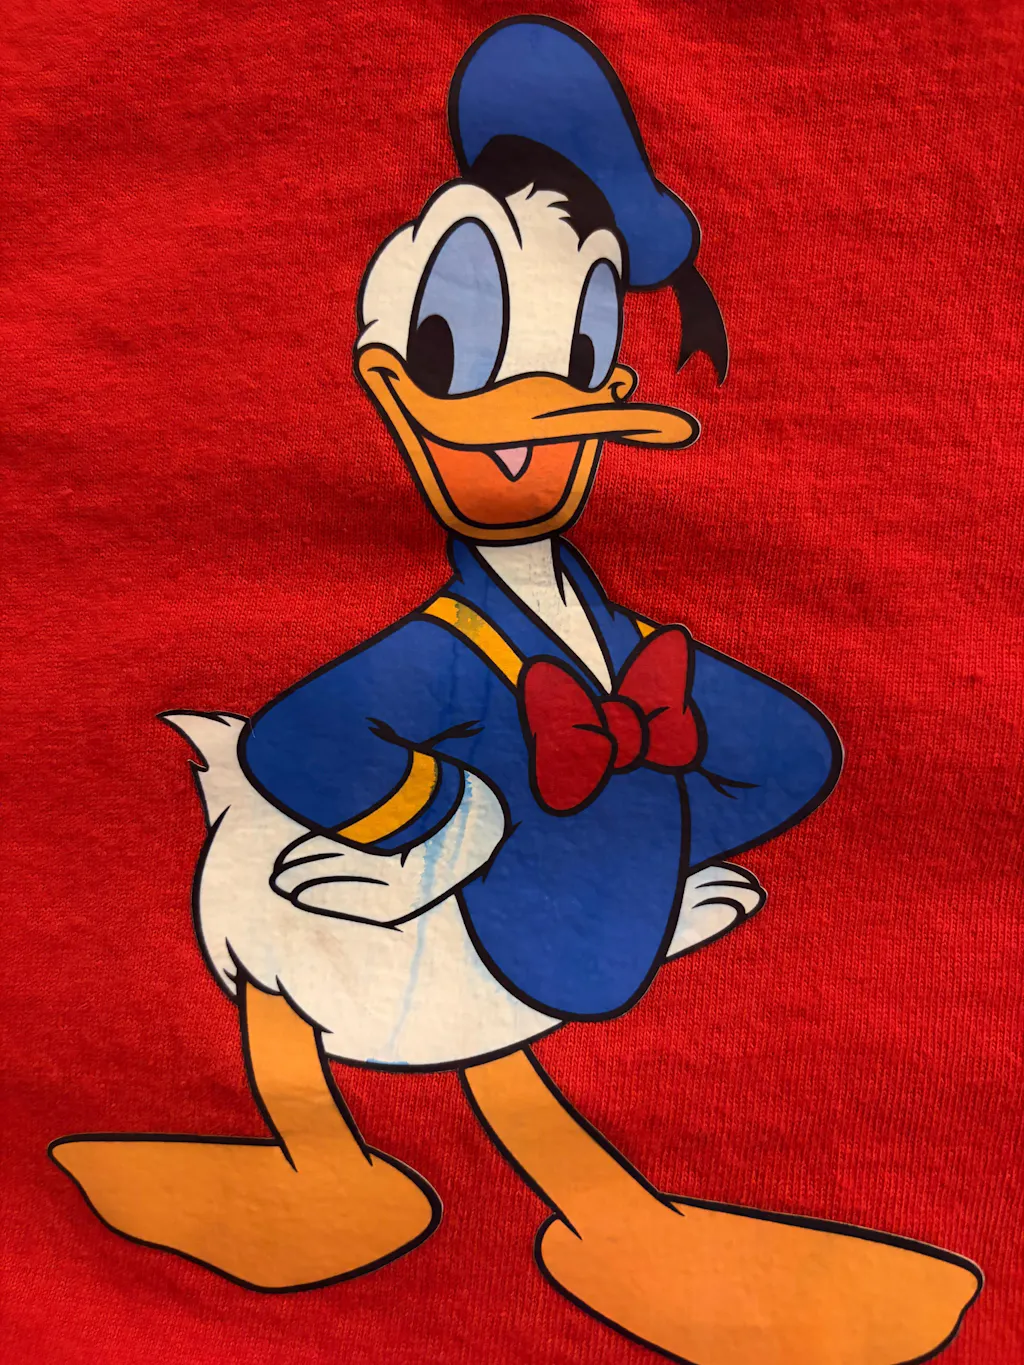
How to Make DTF Transfers for T-Shirts
Making DTF transfers for t-shirts follows the same process used for other fabrics. You print the design on DTF transfer film, apply adhesive powder, cure it with heat, and press it onto the garment using a heat press.
Because DTF printing works well on cotton, polyester, and blends, it is widely used for custom t-shirt printing and apparel decoration.
Common Mistakes To Avoid During DTF Transfer
-
Rushing the design stage: Take time to prepare your artwork correctly.
-
Using low-quality equipment: Good printers, films, and powder produce better results.
-
Skipping pre-pressing: Moisture and wrinkles can ruin transfers.
-
Incorrect temperature or pressure: Always follow recommended heat settings.
-
Peeling the film too quickly: Allow proper cooling depending on film type.
DTF vs Heat Transfer Vinyl
Both DTF printing and heat transfer vinyl (HTV) are popular methods for decorating garments, but they differ in several ways.
| DTF Printing |
Heat Transfer Vinyl |
| Best for medium to large production |
Ideal for small custom projects |
| Handles complex full-color designs |
Each color requires separate vinyl layers |
| Long-lasting prints |
Durable but may crack earlier |
| Requires ventilation during curing |
Simpler process |
Frequently Asked Questions
Can I make my own DTF transfers?
Yes. With the right equipment and workspace, you can create your own DTF transfers at home or in a workshop.
What fabrics work with DTF transfers?
DTF works on cotton, polyester, blends, nylon, and many synthetic fabrics.
Is DTF cheaper than screen printing?
For small or medium orders, DTF can be more cost-effective because it does not require screens.
What are the disadvantages of DTF printing?
DTF prints can feel slightly heavier than some other printing methods, and the process requires specialized equipment.
Can You Make DTF Transfers at Home?
Yes, you can make DTF transfers at home if you have the right equipment. A basic setup includes a DTF printer, transfer film, adhesive powder, and a heat press. Many small businesses and hobbyists create custom DTF transfers from home studios.