Updated By TeckWrap Craft On September 29, 2025
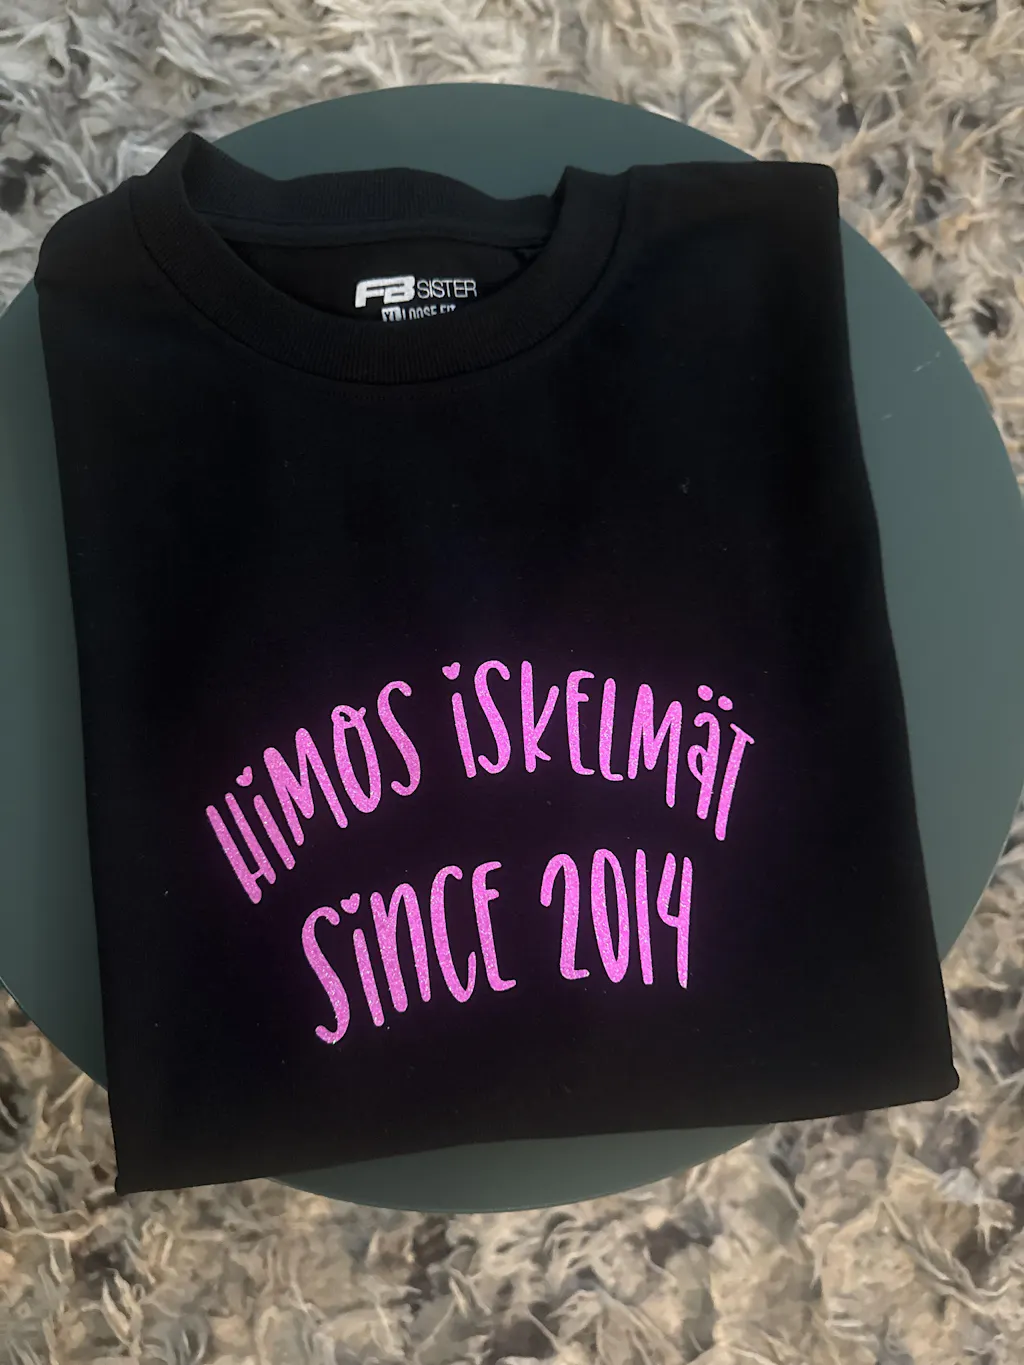
Iron-on patches are an easy and creative way to customize clothing, repair damaged fabric, or add personality to everyday garments. You may have seen them on denim jackets, backpacks, or jeans where they are often used to cover worn areas or decorate plain clothing. Instead of purchasing ready-made patches, many crafters prefer making their own using heat transfer vinyl and a piece of fabric.
If you are wondering how to do iron on patches at home, the process is simpler than it might seem. A design is first applied to fabric using heat transfer vinyl, which creates the patch, and then the patch is attached to a garment using heat-activated adhesive. Iron-on patches can be used to repair holes in jeans, reinforce weak areas in fabric, or add unique designs to shirts, hoodies, and bags.
In this guide, you will learn the step-by-step process of making your own iron-on patch with heat transfer vinyl and applying it correctly to clothing.
How To Do Iron-On Patches Using Heat Transfer Vinyl
Creating iron-on patches with heat transfer vinyl allows you to design patches in any shape, color, or style you want. This method gives you full creative control over your designs and lets you apply them to clothing exactly where you want.
The process involves cutting a heat transfer vinyl design, pressing it onto a fabric scrap to create the patch, and then attaching that patch to your garment using iron-on adhesive. Follow the steps below to make and apply your own iron-on patches.
Step 1: Gather The Tools
The right tools make the crafting process easier and help achieve cleaner results. Here is what you need:
- A cutting machine such as Cricut or Silhouette.
- Cutting mat
- Heat press machine or household iron.
- Measuring tape or ruler.
- A garment of choice (cotton shirt, jacket, or canvas bag).
- Fabric scrap where the HTV design will be applied.
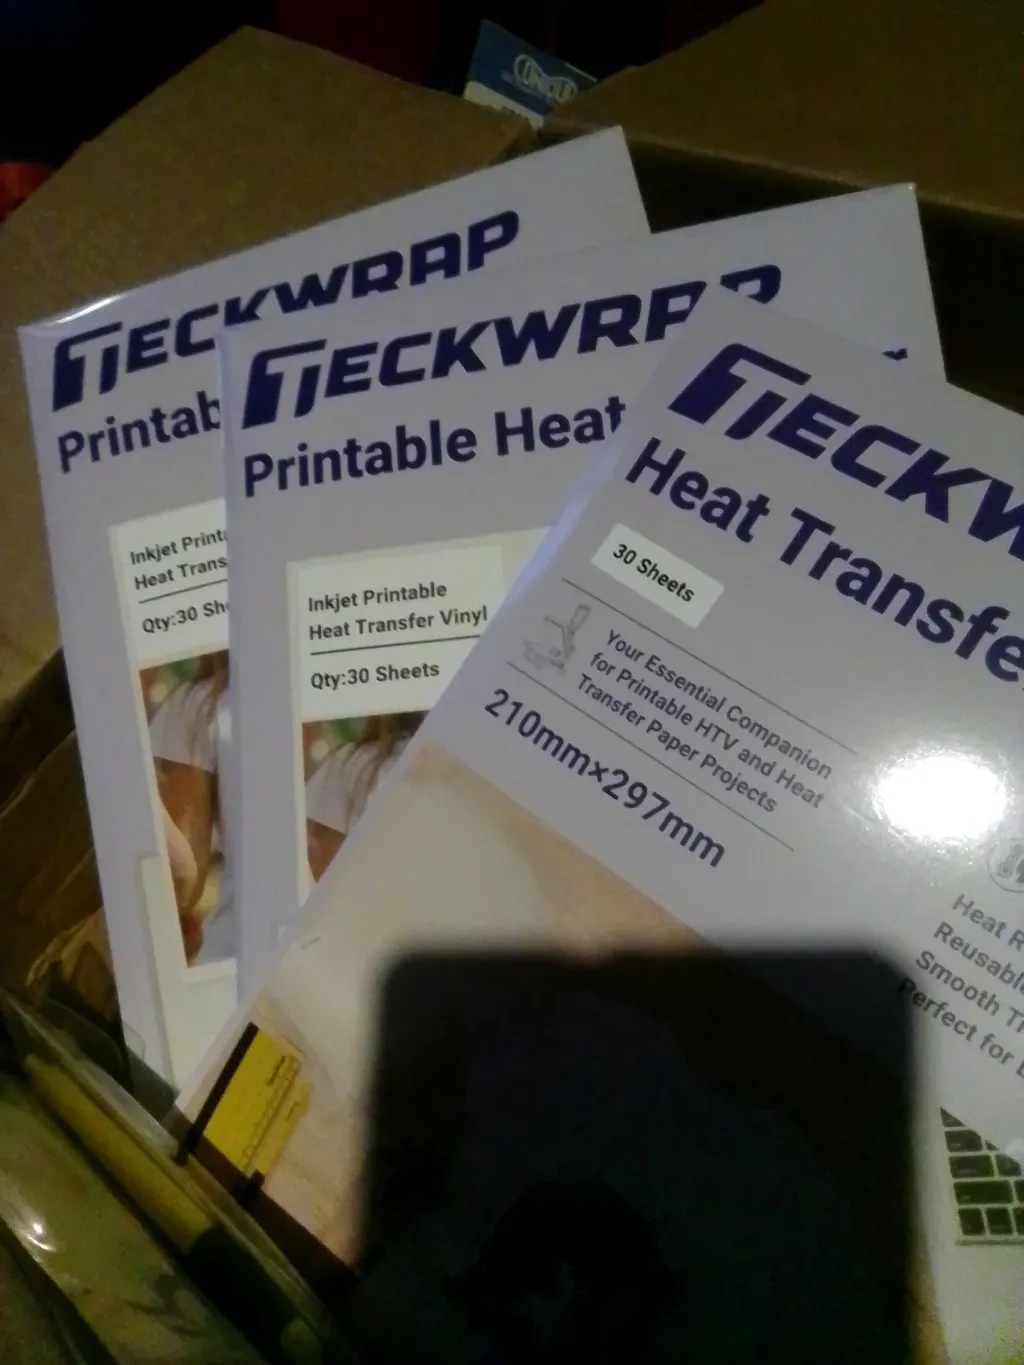
- Your preferred heat transfer vinyl.
- Parchment paper or Teflon sheet.
- Weeding tools
- HeatnBond UltraHold Iron-On Adhesive.
- Optional tools such as craft knife, lint roller, or thermal tape.
Step 2: Select A Design
Choose the design that you want to print on the fabric scrap. It can be text, artwork, a logo, or any custom graphic. Open your cutting machine software and adjust the design size so it fits perfectly on the patch area.
Make sure the design is properly centered and adjust the material settings according to the heat transfer vinyl you are using.
Step 3: Cut The Heat Transfer Vinyl
Select the HTV color and finish you prefer. Some crafters use flock heat transfer vinyl to create a texture similar to embroidered patches.
Place the vinyl on the cutting mat and load it into your cutting machine. Allow the machine to cut the design according to the selected settings.
Step 4: Weed Out The Extra Vinyl
Once the design is cut, remove the extra vinyl pieces using a weeding tool. Carefully peel away all negative areas so that only the intended design remains on the carrier sheet.
Keep a printed reference of your design nearby so you can weed accurately.
Step 5: Apply The HTV Design To The Iron-On Patch
Place the fabric scrap on the heat press or ironing surface. Position the vinyl design on the fabric and cover it with parchment paper or a Teflon sheet. Apply the recommended heat and pressure based on the HTV instructions.
After pressing, allow the vinyl to cool slightly before peeling away the carrier sheet. You now have a custom-designed fabric patch ready for attachment.
Step 6: Apply Adhesive Underneath The Patch
To turn the fabric piece into an iron-on patch, apply adhesive backing. Cut the HeatnBond UltraHold sheet to match the patch size and place it on the back of the fabric with the rough side facing down.
Set your iron to medium heat and turn off the steam function. Press the adhesive sheet for a few seconds until it bonds with the fabric. Apply firm pressure and avoid sliding the iron.
Step 7: Apply The Patch To Your Garment
Allow the patch to cool slightly before attaching it to clothing. Remove the backing paper and place the patch on the desired area of your garment with the design facing upward.
Cover it with parchment paper and press firmly with an iron for about 45 seconds. Press firmly across the entire patch area to ensure the adhesive bonds evenly with the fabric.
Iron-on patches work well on many fabrics including cotton shirts, denim jackets, canvas bags, sweatshirts, and backpacks. Denim and cotton tolerate heat well, while polyester fabrics require slightly lower heat settings to prevent damage.
These patches are also very useful for repairing damaged clothing. For example, if your jeans have a tear or hole, simply place the patch over the damaged area and apply heat as described above. The adhesive bonds the patch to the fabric and strengthens the weakened area while also giving your garment a stylish new look.
Frequently Asked Questions
Q. What is the best iron setting for iron-on patches?
Medium to high heat usually works best. Always turn off the steam function and apply firm pressure when pressing the patch.
Q. How long should you iron a patch?
Press the patch firmly for about 40 to 45 seconds to ensure the adhesive bonds properly with the fabric.
Q. Why isn’t my iron-on patch sticking?
A patch may fail to stick if the heat is too low, the pressure is insufficient, or the fabric contains moisture. Increasing the pressing time and ensuring the fabric is clean usually solves the issue.
Do Your Own Iron-On Patch Now!
With this simple process, you can easily design and apply your own iron-on patches using TeckWrap Craft heat transfer vinyl and a piece of fabric scrap. Explore different colors, finishes, and textures from our HTV collection and start creating unique designs for your clothing today.