Interior films are applied by first cleaning the surface thoroughly, then measuring and cutting the film with extra margin for adjustment. The film should be applied slowly using a felt-edge squeegee while peeling the backing in small sections to avoid bubbles and wrinkles. For corners and curved areas, gentle heat helps the film conform smoothly for a professional finish.
You want to refresh a kitchen cabinet, cover a glass partition, or give a reception desk a whole new look without tearing anything apart. Interior films make that possible. But the best film on the market will bubble, peel, or look sloppy if the installation is rushed. This guide walks you through the entire process from start to finish. What actually works, whether you are doing this for the first time or looking to sharpen your technique.
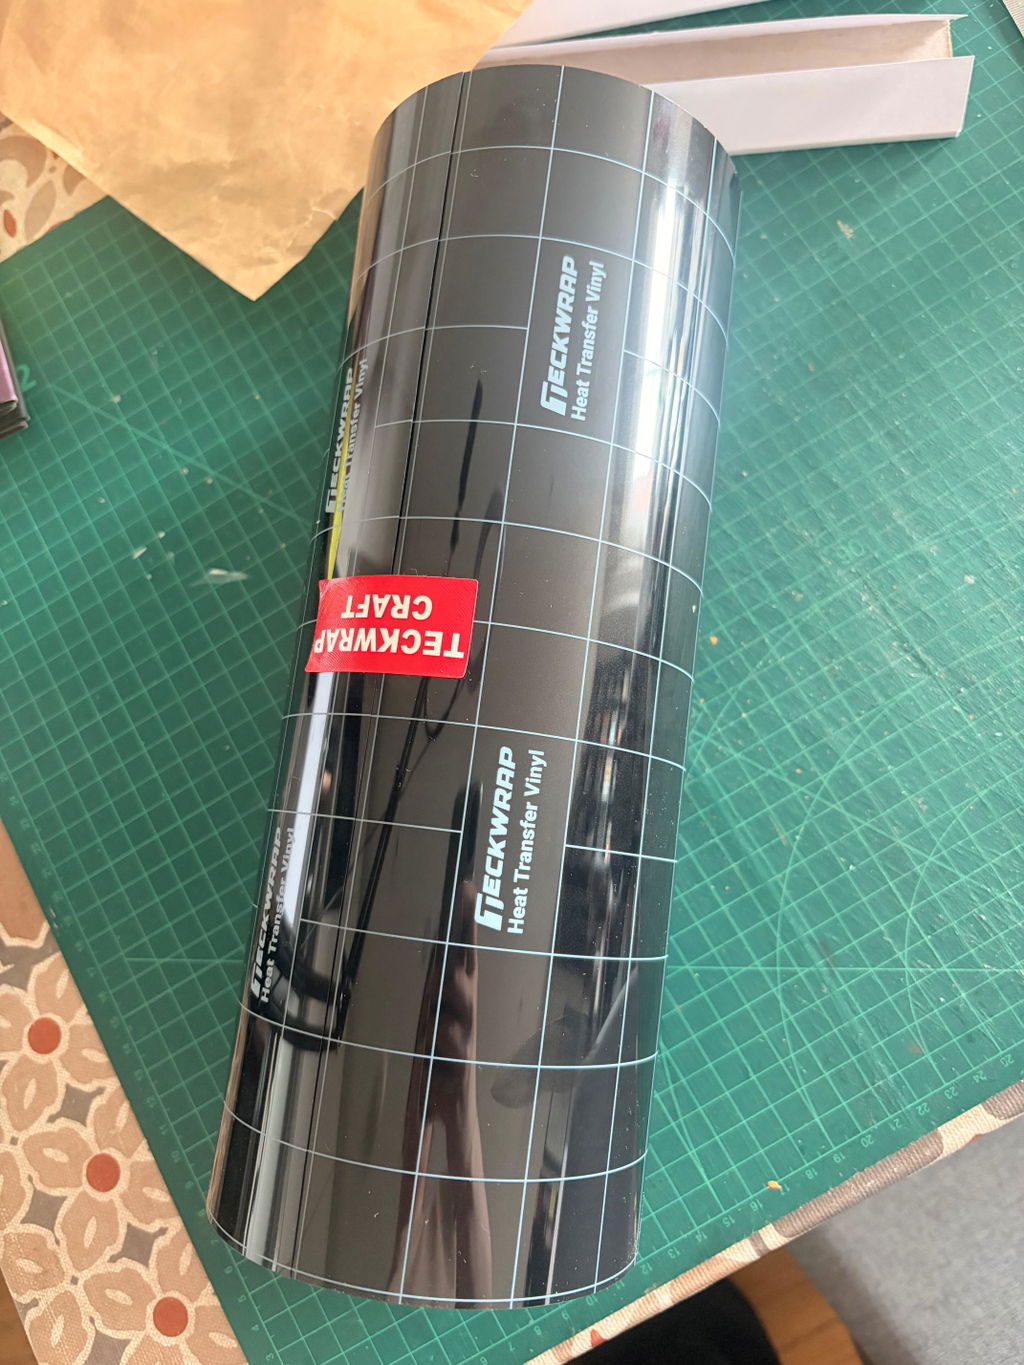
Interior films are self-adhesive architectural vinyl materials built to transform surfaces without full renovation. They are a go-to solution in homes, offices, hotels, hospitals, and retail stores because they cut renovation time and cost dramatically while still looking sharp.
Common surfaces people apply them to:
Cabinets & wardrobes
Glass doors, windows, & partitions
Office walls & panels
Reception desks and countertops
Elevator interiors
Furniture & kitchen panels
Retail display fixtures
Available finishes include wood grain, marble, metallic, matte, gloss, frosted glass, and fabric textures, giving you a wide range of design options without the renovation price tag.
Tools & Materials You Need Before You Start
Gathering your tools before you begin saves you from stopping midway through installation.
One item most beginners skip is the gloves. Even clean hands leave oils on the adhesive layer, and those oils create weak spots over time. Do not skip them.
One Thing Most Guides Skip: Temperature Matters
Before you touch the film, check your workspace temperature. The ideal range for interior film application is 15 to 27 degrees Celsius (60 to 80 degrees Fahrenheit). Below that range, the film becomes stiff and the adhesive loses its grip. Above that range, the adhesive activates too early and the film becomes hard to reposition.
Important
Working in direct sunlight or a cold garage on a winter morning are two of the most common reasons DIY film jobs fail. Pick a controlled indoor space and let both the film and surface reach room temperature before you begin.
Step-by-Step Installation Guide
1 Clean the Surface Properly
This step is non-negotiable. Dust, grease, old adhesive residue, or moisture underneath the film will cause bubbles, lifting edges, and early peeling. Clean the surface with isopropyl alcohol (70% or higher) using a microfiber cloth, working from one end to the other in overlapping strokes.
Pay extra attention to corners and edges where dust gathers. Do not use paper towels since they leave lint behind. Once cleaned, let the surface dry completely before touching it again. A quick visual check under a light at an angle helps catch any missed spots.
Do not apply film over peeling paint or damaged surfaces
Avoid oily or silicone-based cleaners as they reduce adhesion
For previously painted surfaces, wait at least 2 weeks after painting before applying film
2 Measure Carefully, Then Cut
Measure the width and height of the surface. Then add 3 to 5 centimetres (1 to 2 inches) of extra material on each side. This buffer gives you room to adjust positioning and trim cleanly after application.
Place the film face-down on your cutting mat. Keep the protective backing on while cutting. Use a fresh, sharp blade because dull blades drag the film and cause uneven edges. For wood grain, marble, or any patterned film, align the pattern direction before you cut.
Tip: Measure twice and cut once. A miscut piece on a large panel wastes film that cannot be reused.
3 Position the Film Before Peeling
Hold the cut piece of film against the surface with the backing still attached. Use masking tape at the corners to hold it in place temporarily. Step back and check the alignment, especially if you are working with a patterned film where misalignment will be visible.
For walls and cabinets, start alignment from the top. For glass applications, start from the center and work outward.
Tip: Getting positioning right at this stage takes 2 minutes but saves you from re-doing the whole panel.
4 Peel & Apply Slowly
Peel back a small section of the backing paper, about 5 to 10 centimetres, from the top edge. Fold the backing behind the film and use your masking tape hinges to hold the rest in place. Press the exposed adhesive section to the surface and run your felt-edge squeegee across it with firm, even strokes.
Continue peeling and squeegeeing in sections, working from the center outward with overlapping strokes. Never remove the entire backing at once. Doing so makes the film hard to control, and it will fold onto itself.
Hold the squeegee at a 45-degree angle
Work from center outward, not side to side
Use overlapping strokes to avoid missed areas
Apply firm but steady pressure, not a hard scrape
5 Use a Heat Gun for Edges & Curves
Flat surfaces are straightforward. Curves, corners, and recessed areas need heat. Warm the film gently with your heat gun as you work into these areas. The heat makes the film pliable, letting it conform to the shape without tearing or creasing.
Keep the heat gun at least 25 to 30 centimetres from the surface and keep it moving. Holding it still in one spot will distort the film or damage the adhesive. After pressing the film around a curve or corner, run your thumb or squeegee firmly over it immediately while it is still warm.
Once you finish the full application, go back and post-heat all the edges and corners again. This reactivates the adhesive and bonds the film more securely, which significantly reduces peeling over time.
Tip: Post-heating all edges after the full panel is applied is one of the most effective ways to prevent edge lifting over time. Most beginners skip this step.
6 Trim the Excess Film
With the film fully applied, trim the excess using a sharp utility knife. Follow natural panel edges, door frames, or grooves for a clean guide. Use light cutting pressure and let the blade do the work rather than pressing hard.
Replace the blade after trimming a large panel or if the cut edge starts dragging. A dull blade is the most common reason for ragged trim lines. For tight corners, use small relief cuts to reduce tension in the film before pressing it down.
Tip: A fresh blade is the single most important factor for a clean trim edge. Keep spare blades on hand and swap regularly.
7 Final Check & Touch-Ups
Go over the entire surface from multiple angles under good lighting. Look for air bubbles, lifted corners, uneven edges, and wrinkles. Small air bubbles can often be pushed out by re-squeegeeing toward the nearest edge. Larger bubbles can be gently popped with a fine pin at an angle, then smoothed flat with your finger or squeegee.
Loose corners or edges respond well to a bit of gentle heat followed by firm pressing. Give the film at least 24 hours before the surface sees any cleaning or heavy use. During this curing period the adhesive sets fully.
Common Mistakes That Ruin the Finish
Most failed installations come down to the same handful of errors. Knowing them in advance saves you wasted film and frustration.
Skipping surface cleaning. Anything left on the surface, even fingerprints or light dust, creates weak spots in the adhesive bond. It is the single most common cause of early peeling.
Working in the wrong temperature. Cold film tears easily. Hot adhesive activates too fast and grips before you are ready. Keep your workspace between 15 and 27 degrees Celsius.
Peeling the entire backing at once. The film folds, sticks to itself, and becomes nearly impossible to handle. Always peel in small sections.
Overstretching around corners. Stretched film relaxes and shrinks over time, pulling away from edges. Use heat to soften it instead of pulling it into shape.
Using too much heat. Excessive heat distorts the film surface and can cause colour changes in metallic or glossy finishes. Keep the heat gun moving at all times.
Lifting and reapplying the same section repeatedly. Every time you pull a section up and reapply, the adhesive weakens. Use your squeegee and heat gun to fix problems rather than lifting the film.
Surfaces That Need Extra Preparation
Not all surfaces behave the same way. These are the most common surface types you are likely to encounter.
Glass
Use a dedicated glass cleaner first, then follow up with isopropyl alcohol. Glass is one of the smoothest surfaces, which makes any remaining dust or grease very visible under the film.
MDF and Wood
Lightly sand any rough spots before cleaning. Raw MDF absorbs cleaner, so wipe quickly and let it dry fully. Do not apply film to raw unsealed MDF as the porous surface reduces adhesion significantly.
Metal Surfaces
Remove any rust or loose paint before starting. A surface that looks clean can still have oil from manufacturing. A second wipe with isopropyl alcohol after the first clean is a good habit on metal.
Previously Painted Walls
The paint must be fully cured. Fresh paint (less than 2 to 3 weeks old) contains moisture and chemicals that interfere with adhesion and will cause the film to lift.
How to Maintain Interior Films After Installation
A properly installed film will last for years if you treat it right. The maintenance routine is simple.
Wipe surfaces with a soft microfiber cloth and mild soapy water
Avoid abrasive scrubbers, scouring pads, or powders
Stay away from ammonia-based or solvent cleaners, as these degrade the film surface over time
Keep sharp objects away from wrapped surfaces
After cleaning, dry the surface rather than letting water sit at the edges
Keep sources of intense heat (portable heaters, direct sunlight through glass) away from edge areas
Frequently Asked Questions
Most good-quality interior films are designed to be removable. Heat the film with a heat gun to soften the adhesive, then peel slowly at a low angle. Any remaining adhesive residue can be cleaned off with isopropyl alcohol. Removal is generally safe on well-finished surfaces but test a small corner first if you are unsure.
When installed on a clean, smooth surface and maintained properly, interior films typically last 5 to 10 years depending on the brand, surface type, and environment. High-moisture areas like kitchens or bathrooms may see slightly shorter lifespans unless you use films specifically rated for those conditions.
Yes. Work in vertical strips and overlap each piece by 1 to 2 millimetres at the seam. Where possible, place seams in less noticeable areas such as corners or behind door frames. For patterned films, align the pattern before trimming the overlap to keep the design continuous.
Yes, but only if you choose a film rated for high-humidity or moisture-prone environments. Standard interior films are not waterproof. Check the product specifications and ensure all edges are sealed or trimmed within a frame to prevent water from getting underneath.
Final Thoughts
Interior films give you a genuinely practical way to transform a space without major renovation costs or disruption. The results look polished and professional when the process is done right. The difference between a great finish and a disappointing one usually comes down to three things: a properly cleaned surface, controlled temperature, and patience during application.
Take your time on the prep. Follow each step in order. The squeegee and the heat gun are your best tools, not shortcuts around them.
Shop TeckWrap Craft interior films in wood grain, marble, soft touch, and more.