Yes, but only in three specific situations. Heat is not part of the standard adhesive vinyl application process. Use gentle heat from a hair dryer or heat gun only when: (1) a vinyl edge is peeling and needs reactivating, (2) you are applying vinyl to a textured or curved surface, or (3) you are removing stubborn air bubbles. In all other cases, adhesive vinyl needs pressure from a squeegee, not heat.
Adhesive vinyl uses a pressure-sensitive adhesive. It bonds to surfaces through pressure, not heat. This is very different from heat transfer vinyl (HTV), which uses heat to activate a separate adhesive layer that bonds to fabric. Confusing the two is one of the most common mistakes beginners make. This guide covers exactly when heat helps with adhesive vinyl and how to apply it safely.
What Is Adhesive Vinyl and How Is It Normally Applied?
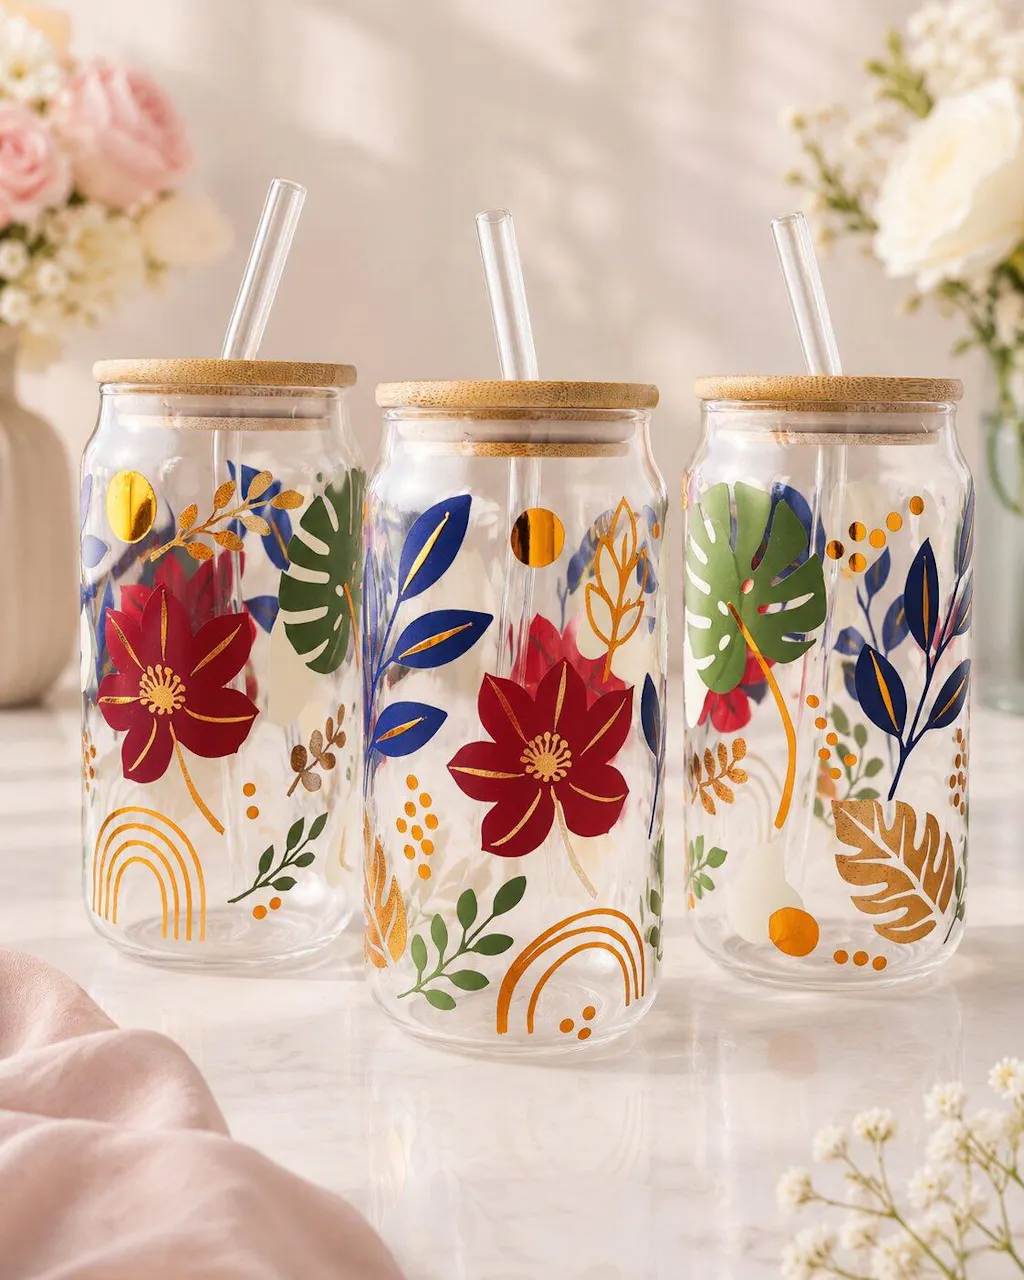
Adhesive vinyl is a thin film, typically made of polyvinyl chloride or polyurethane, with a pressure-sensitive adhesive on the back. When you press it against a clean, smooth, dry surface with a squeegee, the adhesive bonds to the substrate. No heat is needed or recommended for standard application.
There are two types: permanent vinyl with a strong adhesive for long-term bonding, and removable vinyl with lower tack for temporary applications that peel off cleanly. Both types apply the same way.
Standard application steps (no heat needed)
Clean the surface. Remove all dust, grease, and fingerprints with isopropyl alcohol. Let it dry completely before starting.
Cut and weed the design. Remove all excess vinyl from around and inside the design on your cutting machine.
Apply transfer tape. Burnish it firmly with a squeegee so the transfer tape picks up all parts of the design.
Position and press with a squeegee. Press firmly from the center outward to remove air bubbles and ensure the adhesive makes full contact.
Remove the transfer tape slowly. Peel it back at a low angle, close to the surface rather than pulling it upward. The design stays on the surface.
Adhesive vinyl does not require a heat press, iron, or hair dryer for standard application. If you are using heat as part of your normal adhesive vinyl process, you are likely confusing it with heat transfer vinyl. HTV requires heat. Adhesive vinyl requires pressure.
When Applying Heat to Adhesive Vinyl Does Help
There are three specific situations where gentle heat from a hair dryer or heat gun improves results with adhesive vinyl.
1 Fixing a Peeling or Lifting Edge
If a vinyl edge is starting to peel away from the surface, gentle heat can reactivate the adhesive and help it re-bond. This works best when the adhesive has not fully broken down and the peeling is at an edge rather than across the whole design.
Steps:
Set a hair dryer or heat gun to a low setting. A safe temperature range is 100 to 120 degrees F (38 to 49 degrees C). If no temperature setting is available, use the lowest setting and keep the device moving.
Hold the heat source at least 15 cm (6 inches) from the vinyl. Move in a slow circular motion rather than holding it in one spot.
After 10 to 15 seconds of gentle heat, press the lifting edge firmly down with your finger or a squeegee.
Hold the edge down for 20 to 30 seconds while it cools to allow the adhesive to re-bond.
If the edge lifts again after cooling, the adhesive has degraded too far. That vinyl section will need to be removed and replaced.
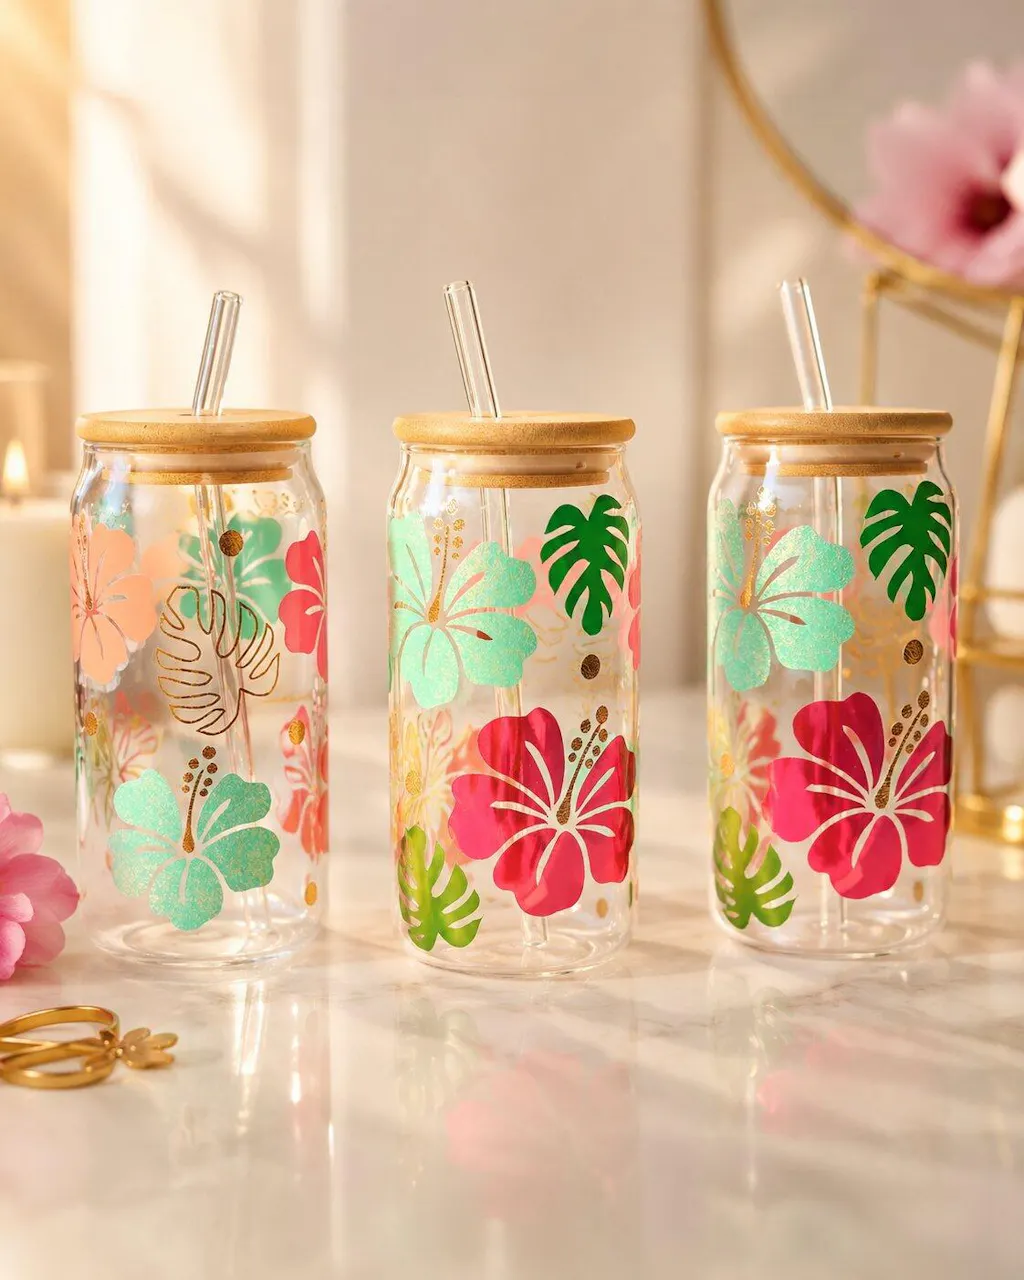
2 Applying Vinyl to a Textured or Curved Surface
Standard adhesive vinyl struggles to conform to textured or curved surfaces because the adhesive cannot fully contact all the small peaks and valleys. Gentle heat softens the vinyl film slightly, making it more flexible and allowing it to press into the texture more effectively.
Steps:
Clean and dry the surface thoroughly. Use isopropyl alcohol to remove any grease or residue.
Apply the design using transfer tape and a squeegee as normal. Press firmly into the surface.
Remove the transfer tape very slowly. Work in small sections if necessary.
After the transfer tape is removed, apply gentle heat with a hair dryer in a circular motion, working in small sections. Do not heat the whole design at once.
As you apply heat to each section, press the vinyl firmly into the surface texture with a soft cloth or your fingertip.
Take breaks between sections and let the vinyl cool before continuing. Adhesive vinyl can melt or distort if heated continuously without cooling breaks.
Continue working around the design until the vinyl has fully conformed to the texture.
For curved surfaces like mugs, tumblers, and round containers: apply the vinyl in sections rather than all at once. Work from one side of the curve to the other, using a squeegee and gentle heat to press the vinyl into the curve progressively. This reduces the risk of wrinkles forming at the edges of the design.
3 Removing Stubborn Air Bubbles
After applying vinyl, small air bubbles are common. Most will settle on their own within a week, especially if the project is placed in a warm area or mild sunlight. For stubborn bubbles that do not settle, gentle heat softens the vinyl enough to press them out.
Steps:
Place the project on a flat, clean surface.
Set the hair dryer or heat gun to a low setting and hold it 15 cm from the vinyl.
Apply heat to the bubble area for 5 to 10 seconds in a circular motion.
Immediately use a soft squeegee or your fingertip to press the bubble toward the nearest edge of the design, pushing the air out.
For very small bubbles, use a fine pin or weeding tool to make a tiny puncture in the center of the bubble, then press the air out gently with your finger.
Let the vinyl cool completely before handling the project.
Small bubbles in a fresh vinyl application often disappear on their own within 1 to 2 weeks. Place the project in a warm room or near indirect sunlight and the adhesive will gradually bond fully to the surface, eliminating the bubbles without any tools.
When NOT to Apply Heat to Adhesive Vinyl
Understanding when to avoid heat is just as important as knowing when to use it. These are the situations where heat will damage the vinyl or cause the application to fail.
Do not use an iron or heat press on adhesive vinyl. These apply high direct heat that will melt the vinyl film, distort the design, and permanently damage the adhesive. Irons and heat presses are for heat transfer vinyl only.
Do not use a heat gun at close range or for extended time. Holding a heat gun less than 10 cm from the vinyl, or keeping it on one spot for more than a few seconds, can melt the vinyl surface, cause discoloration, or make the adhesive fail. Always keep the device moving.
Do not use heat during the standard first-time application. Standard adhesive vinyl application requires pressure from a squeegee, not heat. Using heat during first application can cause the vinyl to shift or deform before the adhesive bonds correctly.
Do not apply adhesive vinyl to fabric using heat. Adhesive vinyl does not bond to fabric with heat. For garment decoration, use heat transfer vinyl instead. HTV has a separate heat-activated adhesive designed to bond with fabric fibers.
Do not heat the vinyl to the point of bubbling or discoloration. If you see the vinyl surface start to bubble, wrinkle, or change colour, stop immediately. The vinyl has been overheated and cannot be fixed. The design will need to be removed and replaced.
Safe Heat Gun Technique for Adhesive Vinyl
When heat is needed, the right technique prevents damage. Follow these guidelines every time.
Setting
Guidance
Temperature
100 to 120 degrees F (38 to 49 degrees C). Use the lowest heat setting available.
Distance from vinyl
At least 15 cm (6 inches). Move closer only if needed, never closer than 10 cm.
Motion
Constant circular motion. Never hold the device stationary on one spot.
Time per section
5 to 15 seconds per small area, then pause and let the vinyl cool before continuing.
Tool choice
Hair dryer on low is safer for beginners. A heat gun gives more control but reaches higher temperatures.
Stop if you see
Bubbling on the vinyl surface, colour change, warping, or melting edges. Stop immediately and let it cool.
Important
The heat gun should be your last option when a hair dryer has not worked. Too much heat will damage the vinyl adhesive and make it less effective permanently. Once adhesive vinyl has been overheated, the design cannot be re-adhered and will need to be replaced.
Frequently Asked Questions
Yes, but only in three specific situations: to reactivate a peeling or lifting edge, to help the vinyl conform to a textured or curved surface, and to remove stubborn air bubbles. For standard application on a smooth surface, adhesive vinyl needs pressure from a squeegee, not heat.
No. An iron applies high direct heat that will melt adhesive vinyl, distort the design, and damage the adhesive permanently. Irons and heat presses are for heat transfer vinyl only. Adhesive vinyl is applied with a squeegee and transfer tape, not heat.
A heat gun will damage adhesive vinyl if used incorrectly. Keep the gun at least 15 cm from the vinyl, use the lowest heat setting, and keep it moving in a circular motion. Never hold it stationary on one spot. If you see the vinyl bubble, change colour, or warp, you have applied too much heat.
The safe temperature range for using a heat gun on adhesive vinyl is 100 to 120 degrees F (38 to 49 degrees C). This is just enough to soften the adhesive and make the film more flexible without damaging the vinyl. If your heat gun has no temperature setting, use the lowest available setting.
Yes. Adhesive vinyl is designed to be applied without any heat. The standard process is: clean the surface with isopropyl alcohol, apply the design using transfer tape, burnish firmly with a squeegee, and remove the transfer tape slowly. Heat is only needed in specific corrective situations.
For small bubbles, use a fine pin to make a tiny puncture and press the air out with your finger. For larger bubbles, apply gentle heat with a hair dryer on low from 15 cm away for 5 to 10 seconds, then press the bubble toward the edge of the design with a squeegee. Small bubbles often disappear on their own within 1 to 2 weeks.
Yes. A hair dryer is often safer than a heat gun for adhesive vinyl because it reaches lower maximum temperatures. Use the low or medium setting and hold it at least 15 cm from the vinyl surface. A hair dryer works for all three corrective uses: fixing peeling edges, conforming to textured surfaces, and removing air bubbles.
Adhesive vinyl uses a pressure-sensitive adhesive and bonds to hard surfaces through pressure from a squeegee. No heat is required. Heat transfer vinyl (HTV) uses a heat-activated adhesive and bonds to fabric through heat and pressure from a heat press or iron. The two materials require completely different application methods and should never be swapped.
Wrapping Up
You can apply heat to adhesive vinyl, but only in specific situations and with care. The three cases where heat helps are: reactivating a peeling edge, conforming vinyl to a textured or curved surface, and removing stubborn air bubbles. In all other situations, adhesive vinyl should be applied with pressure from a squeegee, not heat.
When heat is needed, use a hair dryer or heat gun on the lowest setting, keep the device at least 15 cm from the vinyl, and keep it moving. Never use an iron, heat press, or high heat directly on adhesive vinyl. For garment decoration, use heat transfer vinyl instead.
Shop TeckWrap Craft adhesive vinyl in permanent, removable, and specialty finishes.
La calidad de estos vinilos es maravillosa los colores magníficos y la entrega muy rápida a mi país (chile) he hecho varias cositas y todo queda hermoso demaciado recomendado