Posted By TeckWrap Craft On May 04, 2023
Ombre Glitter Tumbler Ideas And How To Make Them

Creating a beautiful ombre glitter tumbler is a fun and creative way to add some sparkle to your drinkware collection. You can choose from many options available, from fine to chunky glitter. For your tumbler, choices range from plastic to stainless steel tumblers.
It's important to choose a tumbler that is compatible with the type of glitter you plan to use. Plus, you’ll need at least two different glitter colors. Let’s start the discussion with some ideas on color combinations.
Ideas For Color Combinations
Ombre is cute and can spice up your boring tumbler. To achieve the best results, you should learn how to select the right glitter color combinations. Of course, you can still combine any colors you want to reflect your personality. So, here are some color combos and ideas.
Cool Tones
One idea for a color combination is a blue-to-purple ombre with silver or white glitter. This color combination is perfect if you love cool tones and want a touch of sparkle. This combination is both calming and eye-catching, making it perfect for everyday use or special occasions.
Warm Tones
The primary colors for warm tones are red, yellow, and orange. You can combine a pink-to-orange ombre with gold glitter. This combination is perfect if you like warm colors and want a pop of shine on your personalized tumbler. The combination is both fun and playful, making it perfect for summertime..
Combined Cool And Warm
You can also combine green and yellow with holographic glitter. This combination is perfect if you want a touch of magic. Some combine cool and warm tones.
For more color combinations, you can use the color wheel as your guide. You can use monochromatic style, analogous (3 colors adjacent to each other in the color wheel, and other color combinations using the color wheel.
How To Make Ombre Glitter Tumbler
Creating a gradient glitter effect on your tumbler or mug is easier than you think. The important thing is to achieve nice, smooth transitions between colors. Place a clean piece of paper under your work-in-progress when applying glitter.
This paper will grab your excess glitter. After applying both glitter colors, blend the excess together and use it on the areas between the two colors.
Prepare The Tumbler And Materials
The first step is to carefully choose the right tumbler. It can be stainless steel or plastic. Clean the tumbler and make sure it’s free of any debris or residue. The second step is to select the right glitter colors to create this effect. It is recommended to choose three to four colors that blend well together.
Finally, it is essential to prepare the epoxy and other materials, including a mixing cup, stirring stick, and gloves, to ensure a smooth and successful process.
Apply The Glitters
Next, apply a base coat of acrylic paint or spray paint onto the tumbler to create the desired color for the ombre effect. It is essential to allow the base coat to dry completely before moving on to the next step.
Once the base coat is dry, you can now apply the glitter. Apply spray adhesive or Mod Podge on the first layer of glitter. Remember, the larger the tumbler size the more glitters you’ll need.
After the first layer, allow it to dry completely before moving on to the next layer. Repeat the process until you have applied all the colors you want. A great ombre effect is starting with a lighter color and gradually you can add darker colors. You can also reverse this.
Design With Vinyl
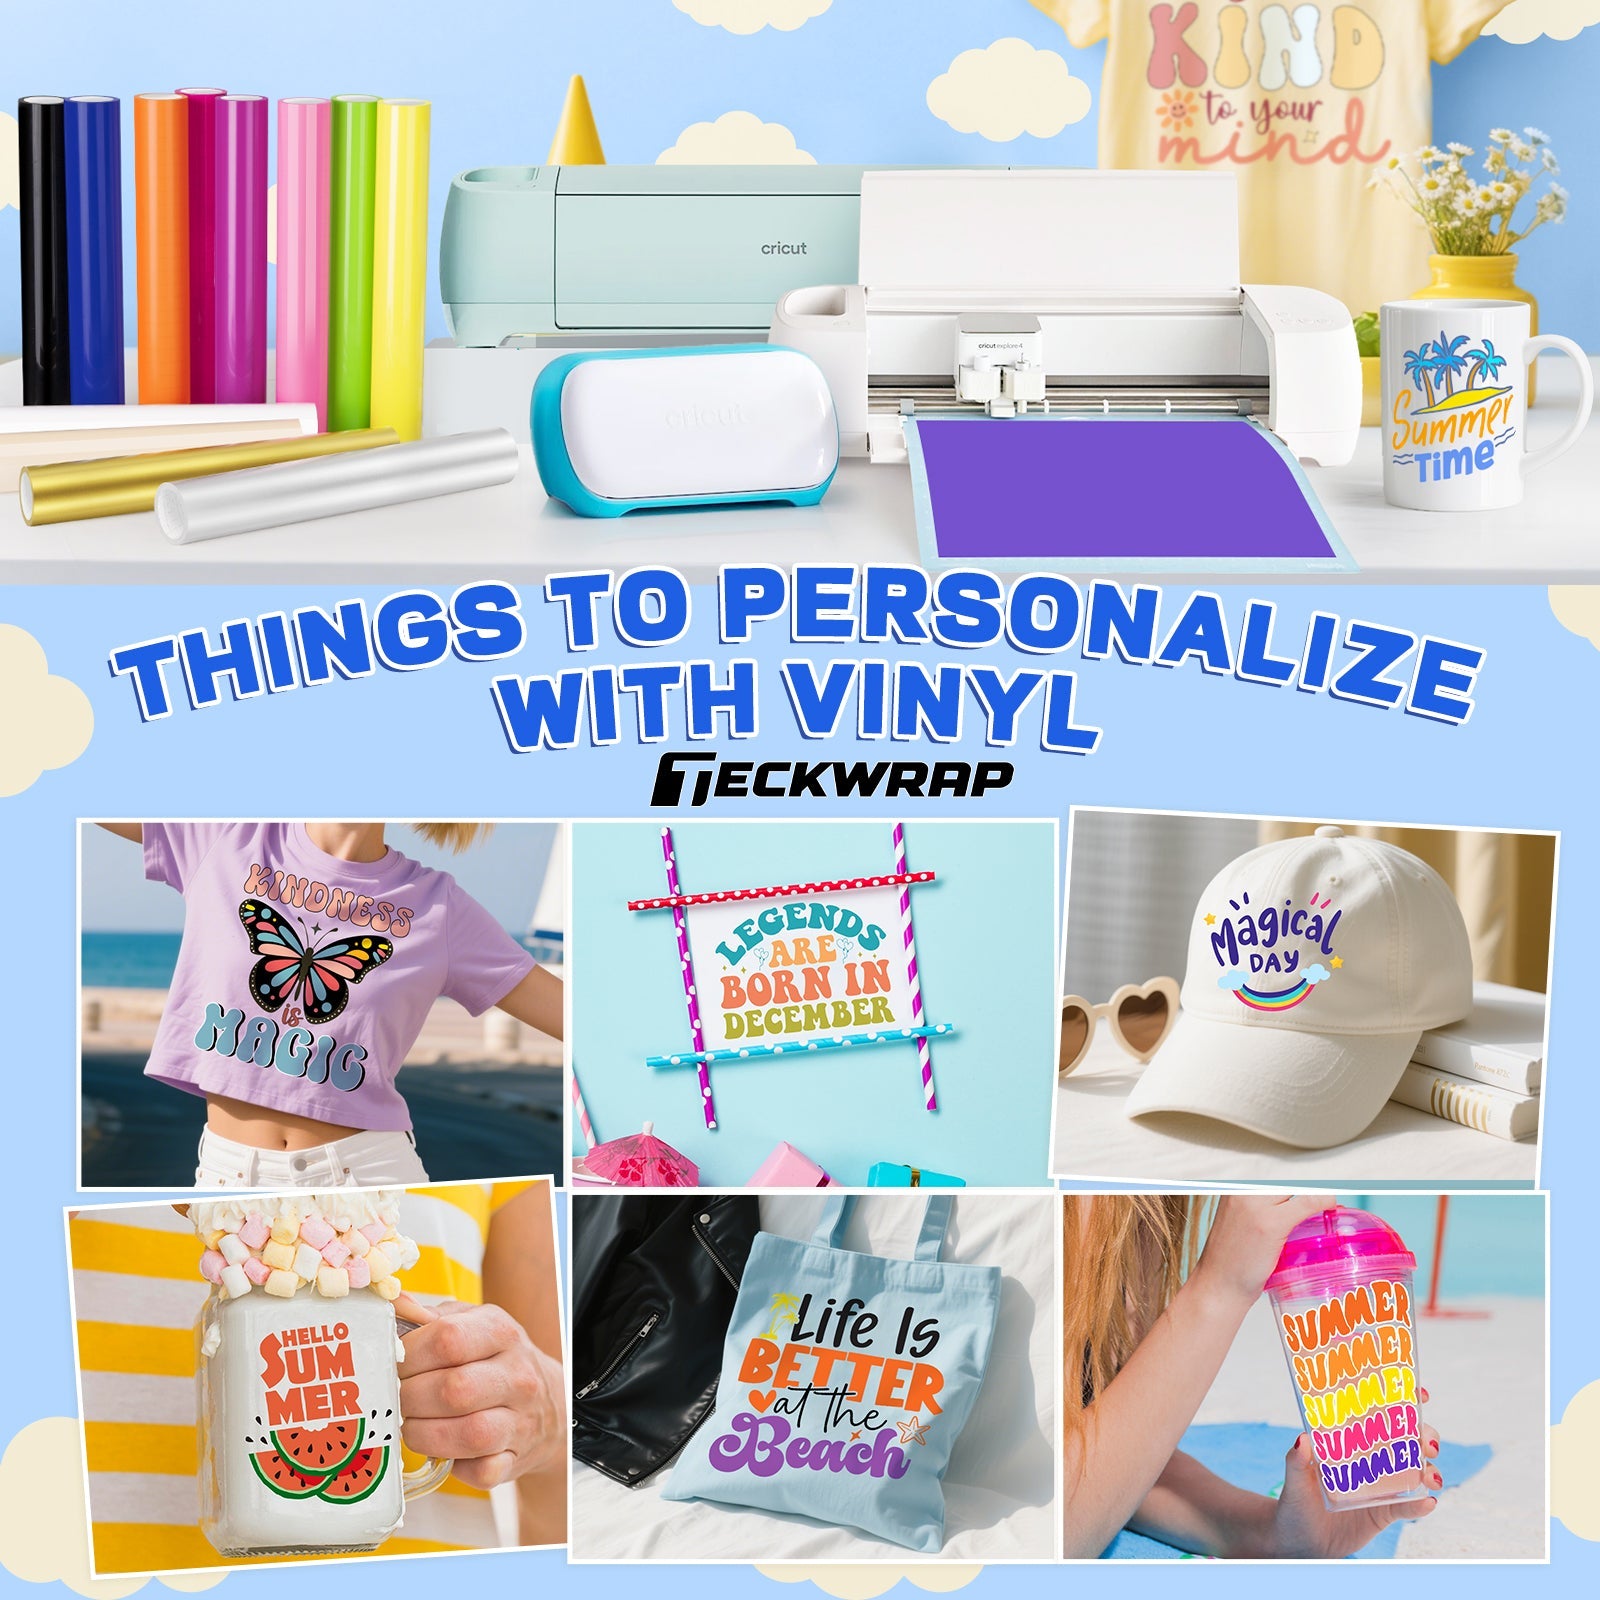
While waiting for the glitters to dry completely, you can start designing your graphics. You can customize by adding an inspirational phrase, a logo, an image, or any that will enhance the ombre glitter. With this addition, the ombre glitter will become the background for your design.
You’ll need a vinyl cutter machine and a weeding tool. Depending on the vinyl you used, you can have a heat gun for HTV. Apply heat to the design for a few seconds until it adheres to the tumbler. Be sure to use heat-resistant tape to hold the design in place while applying heat.
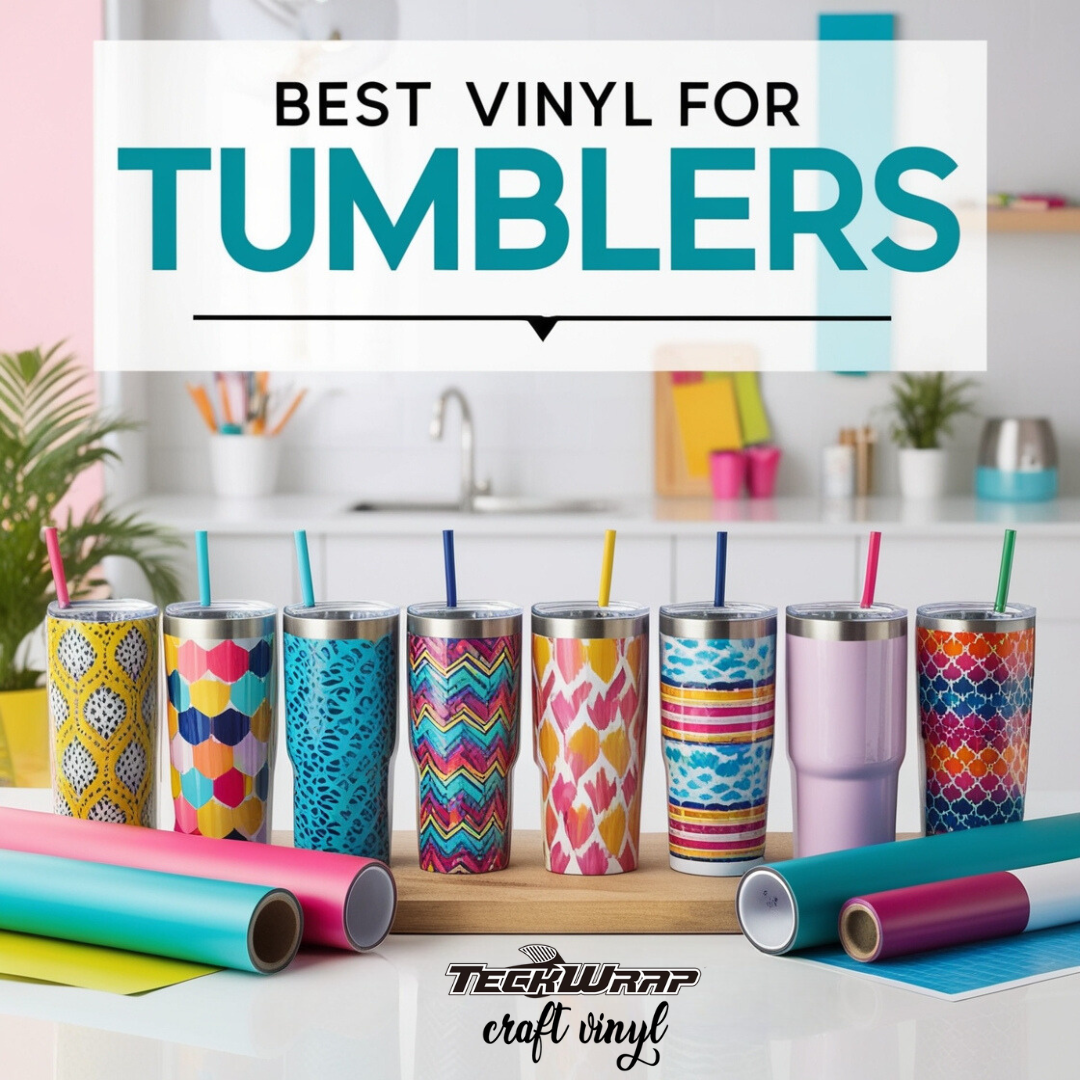
Since your tumbler is already coated in glitter, the adhesive backing of your vinyl may not really stick. But this won’t be a problem because you’d be using epoxy to seal everything. For knowing about the best vinyl for tumbler-a complete guide check our blog.
Finish The Tumbler
After drying the glitter completely and putting your vinyl on top of the glitter layer, the next step is to apply the final layer of epoxy. This layer will provide a smooth and glossy finish. Plus, it protects the glitter from flaking off over time.
To apply the epoxy, mix the two-part epoxy according to the manufacturer's instructions and pour it over the entire tumbler, making sure to cover the entire surface evenly. Use a foam brush to spread the epoxy and remove any air bubbles. Allow the epoxy to cure for at least 24 hours in a dust-free environment.
Once the epoxy has cured, you will need to sand and polish the tumbler. Start by using fine-grit sandpaper to remove any rough spots or drips. Then, switch to a higher grit sandpaper to smooth out the surface. Finally, use a polishing compound and a soft cloth to buff the tumbler until it shines.
For the last two steps, you can switch them. You can apply first the epoxy, sand it and polish it before applying vinyl with a transfer tape. But we recommend applying epoxy last so you can protect your vinyl stickers at the same time.
DIY Glitter Tumbler Ideas
Now that you know how to make this glittery tumbler, let’s have some projects you can do at home. Explore more DIY glitter tumbler ideas: A complete tutorial guide check it now.
Gradient Mermaid Scales
The added material here is a mermaid scales background. You can make this background using holographic or opal vinyl stickers.
To create this gorgeous glitter tumbler, first, prep the tumbler by sanding it to ensure the glitter and epoxy adhere properly. Then, apply a layer of epoxy resin and sprinkle glitter onto it. Gradually add more glitter to create the gradient effect.
Once you already applied all the glitters, add the mermaid scales background and cover it with another layer of epoxy resin. Let the tumbler dry, following the manufacturer's instructions.
Neon Tropical Theme
The first step in creating this theme is choosing a color scheme and materials that fit the tropical vibe. Neon colors include pink, orange, and green, as well as glitter in various shades of these colors. Other tropical colors are blue, orange, yellow and green.
To complete the neon tropical theme, add some tropical elements to the design. This could include adding images of palm trees, pineapples, or flamingos using decals or stencils.Another option is to use alcohol ink to create a 3D effect with the glitter and add some dimension to the design. The possibilities are endless, and each tumbler will be its own unique masterpiece.
Colorful Rainbow Swirls
Rainbow swirls are a great color combination. But it will take more minutes to finish since you’ll need 7 colors to complete the combination. Partner this combo with a plain looking vinyl stickers to avoid overdoing the design. Simply, just seal the tumbler with epoxy resin and leave it as is.
Artistic Ombre Animals
Pick the glitter you want and go to town. You can do lots of different designs with glitter on a tumbler, including solid, ombre, spots, lines, and images with glitter.
Begin sprinkling the same color of glitter again in the same spot you already glittered and you’ll notice that the angle of the tumbler allows the glitter to run down the sides. Continue doing this all around the tumbler until you have your glitter gradually tapering off as it gets to the middle of the tumbler.
Tips In Making Your Ombre Glitter Tumbler
There’s no limit to what you can do. But glitter is a bit messy to work with and it gets everywhere. The right mixture of Epoxy resin can be difficult to achieve, so make sure to follow the manufacturer’s instructions included. So here are some tips you might want to keep in mind.
- Apply the glitter in thin layers to avoid clumping and uneven coverage.
- For added durability, consider applying a layer of clear coat spray after the epoxy resin has dried.
- Use FDA-approved epoxy resin. Make sure you mix the resin properly in a well-ventilated area.
Cleaning And Care Instructions For Your Epoxy Tumbler
When it comes to cleaning your glitter epoxy tumblers it is important to follow specific instructions to ensure the longevity of the tumbler, especially after applying glitters.
Hand wash to avoid soaking in water. Additionally, it is important to avoid using abrasive materials or harsh chemicals when cleaning the tumbler.
Don’t place your glitter cups in the dishwasher, microwave, or freezer. Leaving the tumbler in a hot car can also cause damage to the glitter. When cleaning the tumbler, it is best to use a soft cloth to gently wipe the outside of the cup, rather than scrubbing it with a sponge or brush.
Proper storage of your Ombre Glitter Tumbler is also important for maintaining its appearance. When not in use, the tumbler should be stored in a safe and dry place, away from direct sunlight and extreme temperatures. If you plan to travel with your tumbler, store it in a padded bag or protective case to prevent damage.
Conclusion
Ombre glitter tumblers are great gifts to your friends, family or colleagues for special occasions. With these four creative ideas we’ve discussed, we hope you can turn a plain looking tumbler into a work of art.

