Updated By TeckWrap Craft On October 18, 2024
How To Make Halloween Crafts?

Table Of Contents
- Halloween Crafts Using Heat Transfer Vinyl (HTV)
- How To Make Halloween Crafts With Heat Transfer Vinyl?
- Step 1: Gather The Tools
- Step 2: Prepare The Base Surface
- Step 3: Choose Your Design
- Step 4: Cut The Design
- Step 5: Weed The Design
- Step 6: Apply Heat And Pressure
- Step 7: Remove The Carrier Sheet
- Halloween Crafts Using Adhesive Vinyl
- Halloween Crafts Using Adhesive Vinyl
- How To Make Halloween Crafts With Adhesive Vinyl?
- Step 1: Gather The Right Materials
- Step 2: Clean The Surface
- Step 3: Choose A Design
- Step 4: Apply Transfer Tape
- Step 5: Apply The Craft Adhesive Vinyl Halloween Design
- Halloween Craft Project Ideas Using Adhesive Vinyl
- Frequently Asked Questions
With the nip in the air and the leaves changing colors, it’s the perfect time to dive into the spooky world of Halloween! You can make amazing Halloween crafts using adhesive and heat transfer vinyl. Cut and weed your creepy designs and apply them to compatible surfaces. In this blog, we’ll be sharing how you can create Halloween-themed vinyl projects that will inspire your ingenuity and amaze your friends!
Halloween Crafts Using Heat Transfer Vinyl (HTV)
Heat transfer vinyl, also known as iron-on vinyl, is a particularly nifty crafting material. It comes in all types of colors, patterns, and finishes. It’s designed to be used on compatible fabric-based materials such as cotton, polyester, and poly/cotton blends.
At TeckWrap Craft, we offer the finest heat transfer vinyl collection at budget-friendly prices. You can purchase these in the form of sheets or rolls in different sizes. We have so many colors in different finishes that you will be spoiled for choice. You will find amazing HTV here for your Halloween Crafts!
How To Make Halloween Crafts With Heat Transfer Vinyl?
In this section, we’ll outline the steps for applying heat transfer vinyl onto the compatible fabric-based material of your choice for your Halloween craft.
Step 1: Gather The Tools
The success of any endeavor begins with the right set of accessories. Here’s what you need:
- Craft Blank: You need to have a clear image in your mind of what you will be applying the HTV Halloween design on. Whether it is a T-shirt, shirt, witch’s pointy hat, cape, or the Trick or Treat candy bag, make sure it is of the fabric suitable for HTV.
- Heat Transfer Vinyl: When buying HTV for your Halloween project, focus on the right spooky colors and finishes.
Cutting Machine : For perfectly carving out the design that you have visualized, you should have an automated cutting machine such as Cricut or Silhouette.- Cutting Mat: A green standard tack cutting mat will be perfect for the job. You can get this easily from TeckWrap Craft.
- Weeding Tool: This can be a tweezer, weeder or a weeding pen.
- Heat Press: This is an important tool for applying heat and pressure to your Halloween vinyl design after it is placed on the substrate.
- Parchment Paper: This is placed over the vinyl design before heat is applied so that it is distributed evenly all over.
- Squeegee: It removes creases and ensures adhesion.
Step 2: Prepare The Base Surface
If you’re working with a clothing item such as a T-shirt or a hoodie, make sure to wash it before applying the vinyl. This will remove the dirt, oil, and chemicals. Do not use fabric softener or bleach while washing. Press it after it has dried to completely remove moisture as it can interfere with the adhesion.
Step 3: Choose Your Design
You can create one from scratch or download an SVG file. Work on the design software compatible with your cutting machine. With Cricut, you use Design Space and with Silhouette you will have to work on Silhouette Studio. Adjust the material settings and the size of the image according to the project. Flip the design horizontally (mirror the image).
Step 4: Cut The Design
Once the design is final, cut a rectangular or square piece of your chosen heat transfer vinyl film and place it on the cutting mat with the shiny side facing down. Use a squeegee from TeckWrap Craft to make sure that the vinyl is firmly secured. Align it with the left corner of the grid on your cutting mat and load it into the machine.
Step 5: Weed The Design
After cutting, it's time to remove extra pieces. Take your weeding tool and take out the negative vinyl from your Halloween design. Once all the unwanted vinyl is removed, you will have the design that you finalized on the carrier sheet in front of you.
Step 6: Apply Heat And Pressure
Set the temperature of your heat press according to the recommended settings specific to the type of vinyl you’re using. Place the design on the fabric where you want it to be with the glossy side facing up and cover it with parchment paper. Apply heat and pressure for the specified time.
Step 7: Remove The Carrier Sheet
Once the time is up, remove the parchment paper and the carrier sheet. Be very slow and gentle and do not lift the carrier sheet vertically. Keep it closer to the surface. You have successfully made an amazing Halloween craft using heat transfer vinyl!
HTV Halloween Craft Ideas
Here are some marvelous projects that you can make with heat transfer vinyl films that will give the perfect spooky effect:
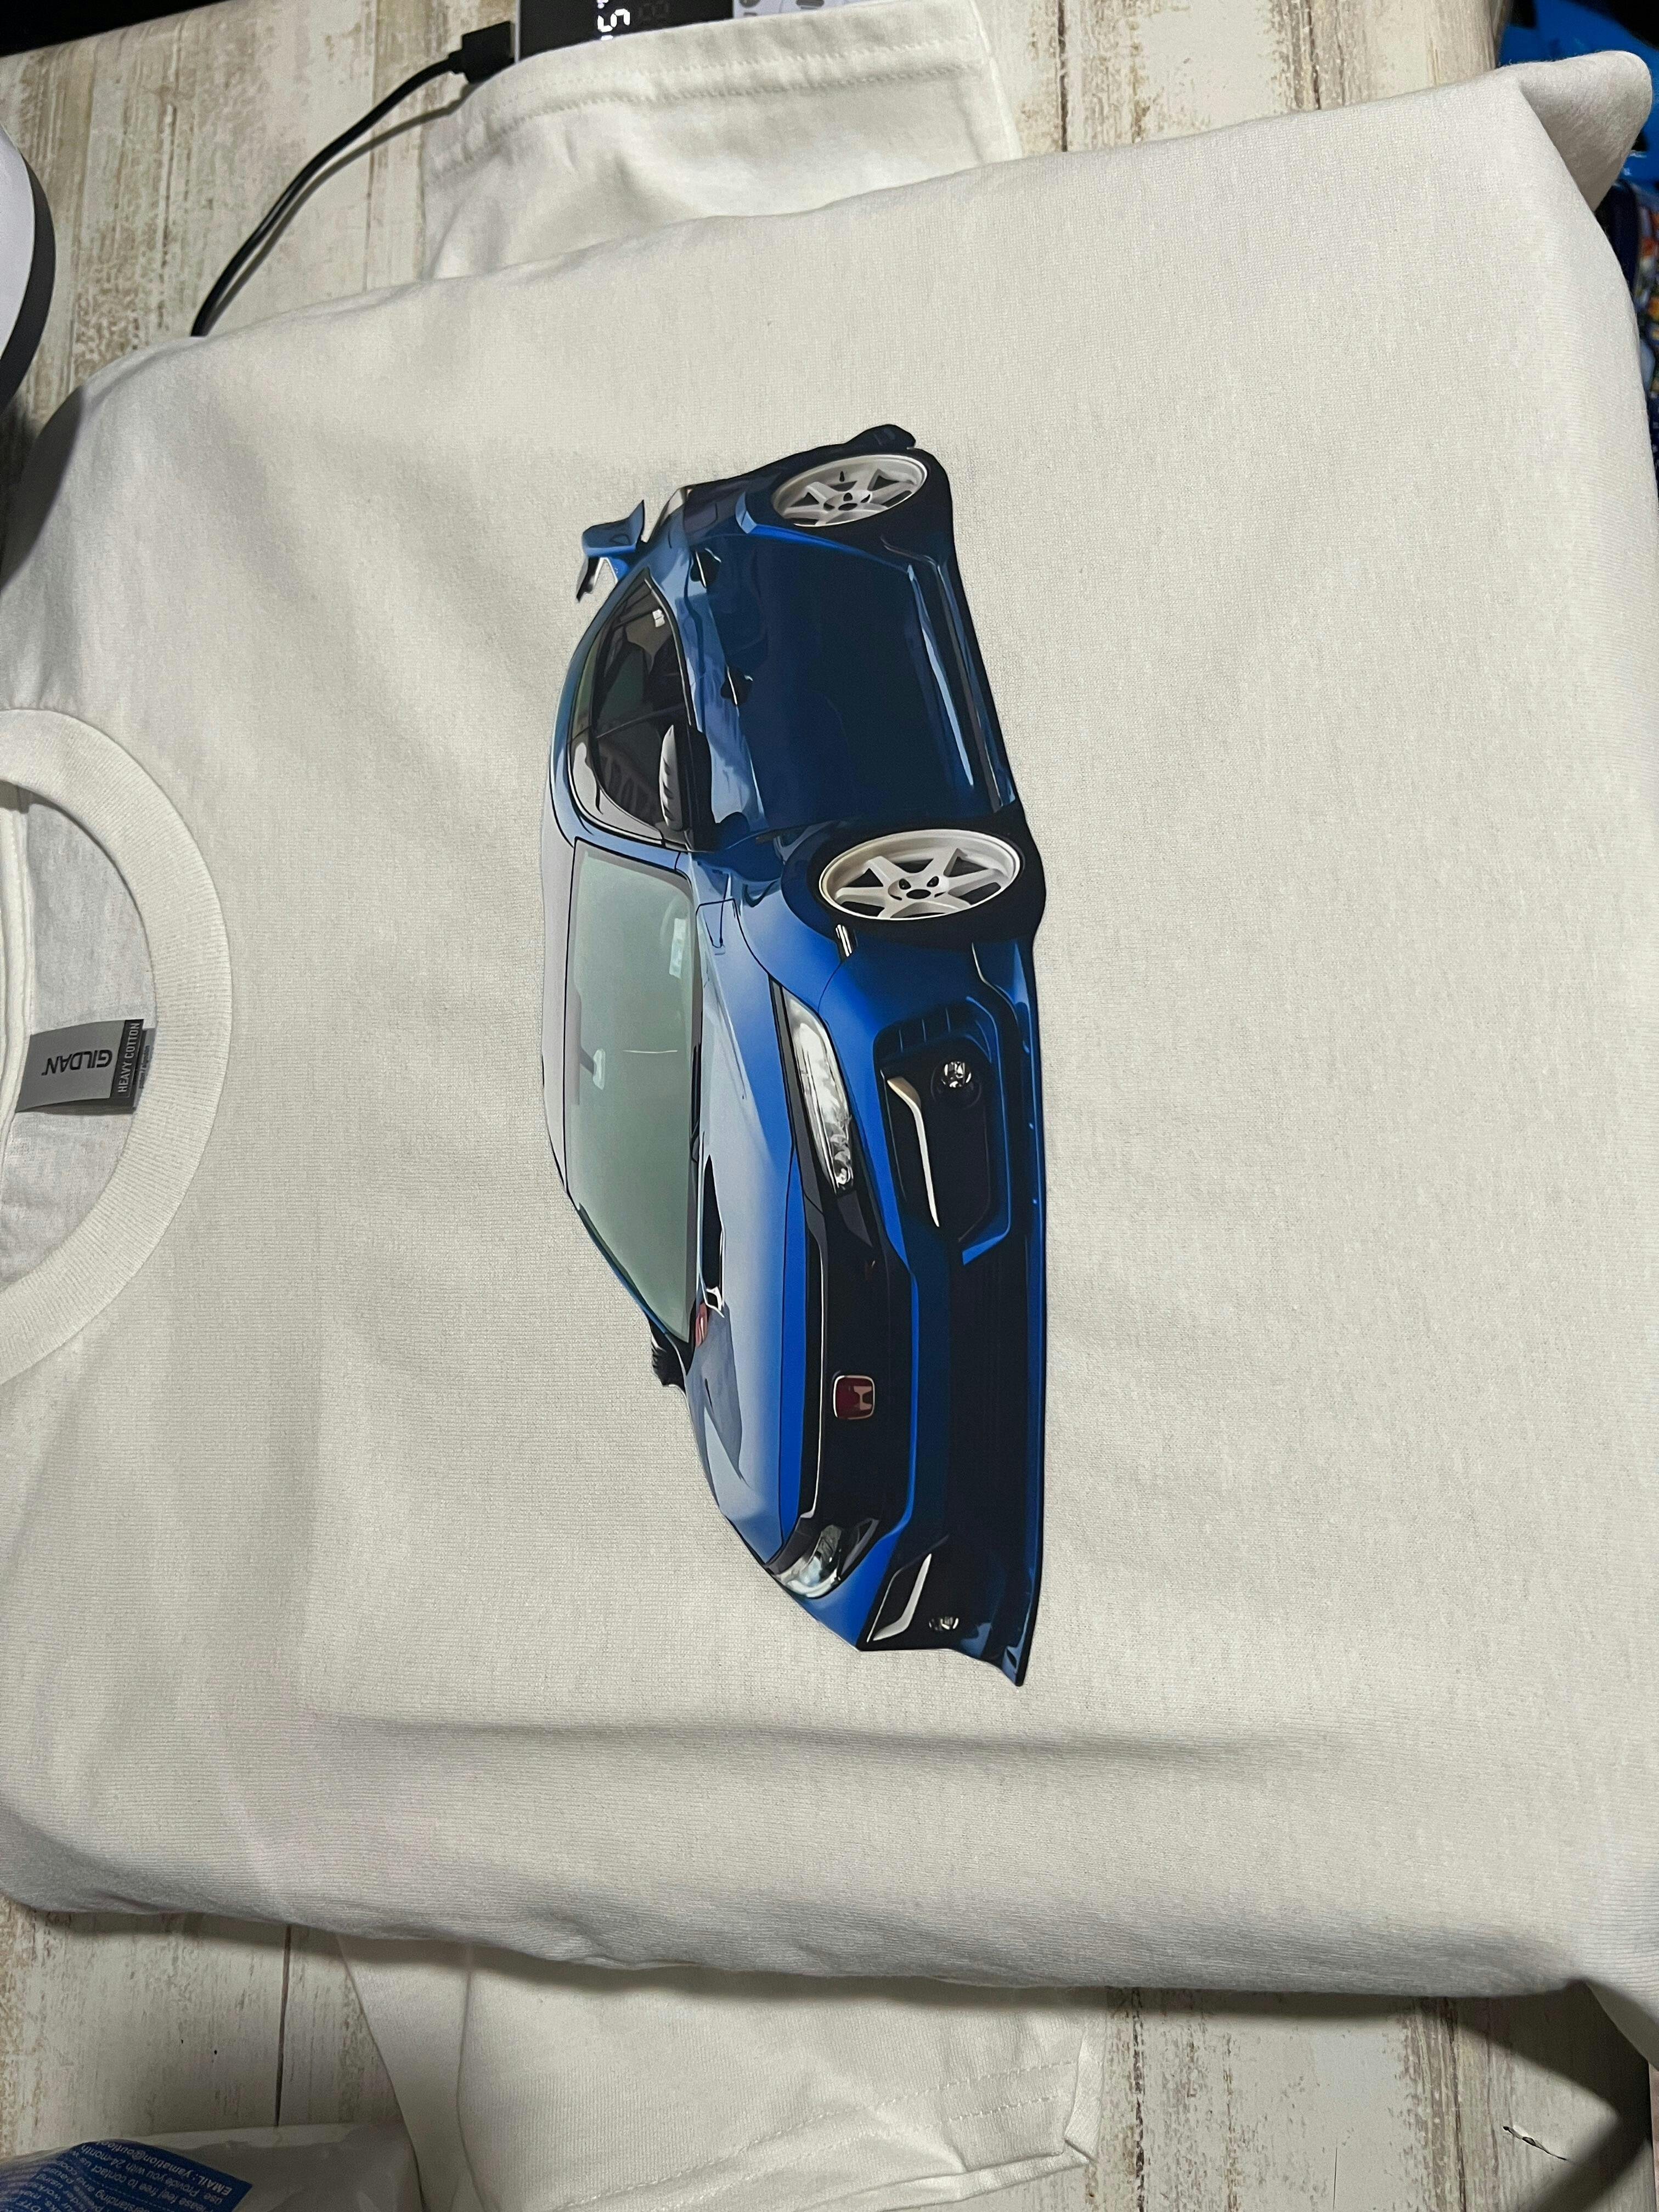
- Glow in the Dark Halloween T-shirt: With Halloween just around the corner, this spooky craft idea is great for anyone who loves dressing up. Some of the design options are a spooky smile, a witch’s broom or hat, a silhouette of a ghost with scary hollow eyes, bats flying around, and so on.
Trick or Treat Bag Using HTV : This project idea is perfect for anyone with children who love trick-or-treating! Instead of sending them off with a plain backpack for collecting sweets, why not customize a tote bag with spooky designs that will make them stand out?- Halloween Skeleton Hoodie Design with HTV: Skeleton designs are a huge hit every spooky season! This Halloween, transform an ordinary hoodie into a spine-tingling fashion statement using heat transfer vinyl.


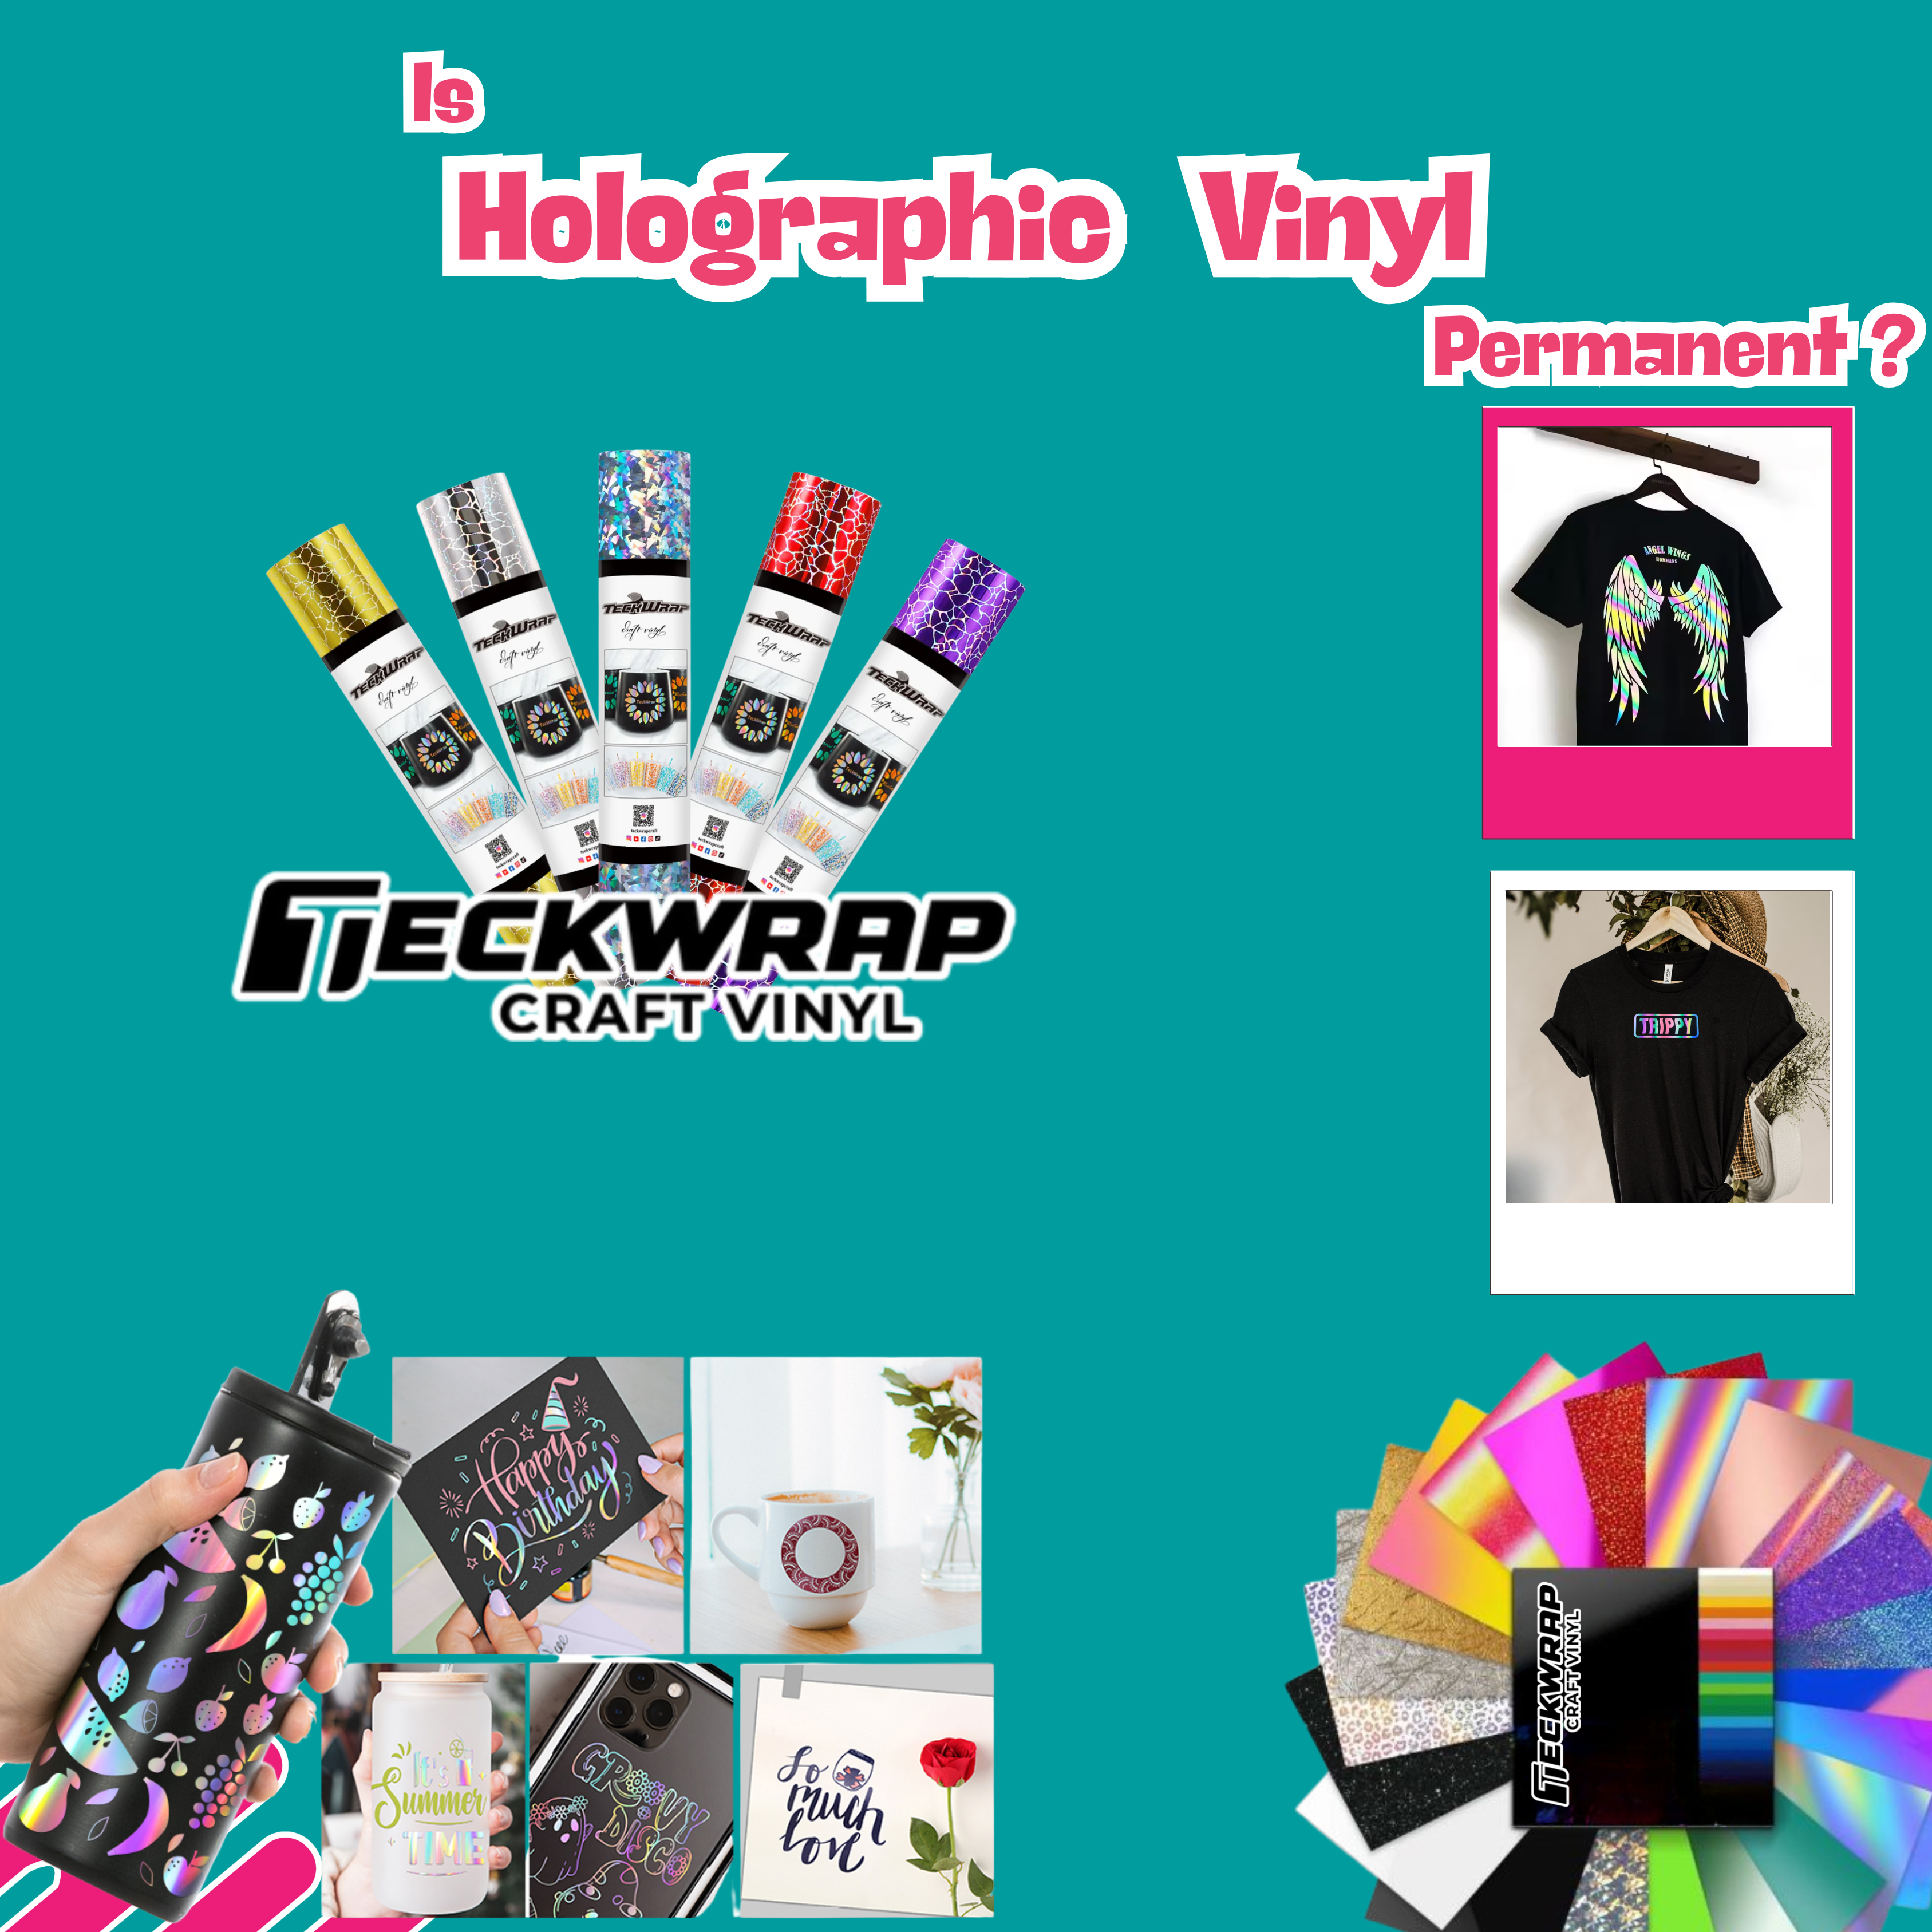
Halloween Crafts Using Adhesive Vinyl
Adhesive vinyl is an incredibly popular crafting material. It has a strong pressure-sensitive adhesive backing and is available in many colors and finishes such as matte, glossy, opal, holographic, chameleon, Glow in the Dark, and so on. This product can be applied to any type of hard, smooth, clean, and dry surface, including metal, plastic, glass, and wood. For supreme quality adhesive vinyl options, visit TeckWrap Craft.
How To Make Halloween Crafts With Adhesive Vinyl?
To apply adhesive vinyl to different surfaces, you will need to complete the following steps:
Step 1: Gather The Right Materials
For using adhesive vinyl, you will need more or less the same materials as with HTV except a heat press machine and parchment paper. For adhesive vinyl, you will have to get transfer tape for smooth application on your Halloween craft.
Step 2: Clean The Surface
Wipe down the base surface thoroughly with a wet cloth then use isopropyl alcohol to remove any traces of contaminants. This will ensure that no dirt, dust, or grime can affect the adhesive properties of the vinyl.
Step 3: Choose A Design
Steps 3 to 5 will be the same as with the heat transfer vinyl. You will finalize the design, cut it, and then weed out the negative vinyl that will leave the original design in front of you.
Note: We do not mirror the design on the software when using craft adhesive vinyl. In the cutting machine, we place it on the mat with the shiny side facing up.
Step 4: Apply Transfer Tape
Cut a piece of transfer tape slightly bigger than your Halloween adhesive vinyl design from all sides. Remove the backing and place the tape over the vinyl. Use a squeegee to burnish it with slight pressure to ensure that the tape has stuck to the design without any creases.
Step 5: Apply The Craft Adhesive Vinyl Halloween Design
Remove the backing from the adhesive vinyl design and set it in its desired position on the substrate. Use a squeegee to apply pressure and ensure that the vinyl has perfectly adhered to the craft. Slowly remove the transfer tape at an angle keeping it closer to the surface. Viola! You have made a remarkable Halloween craft using adhesive vinyl.
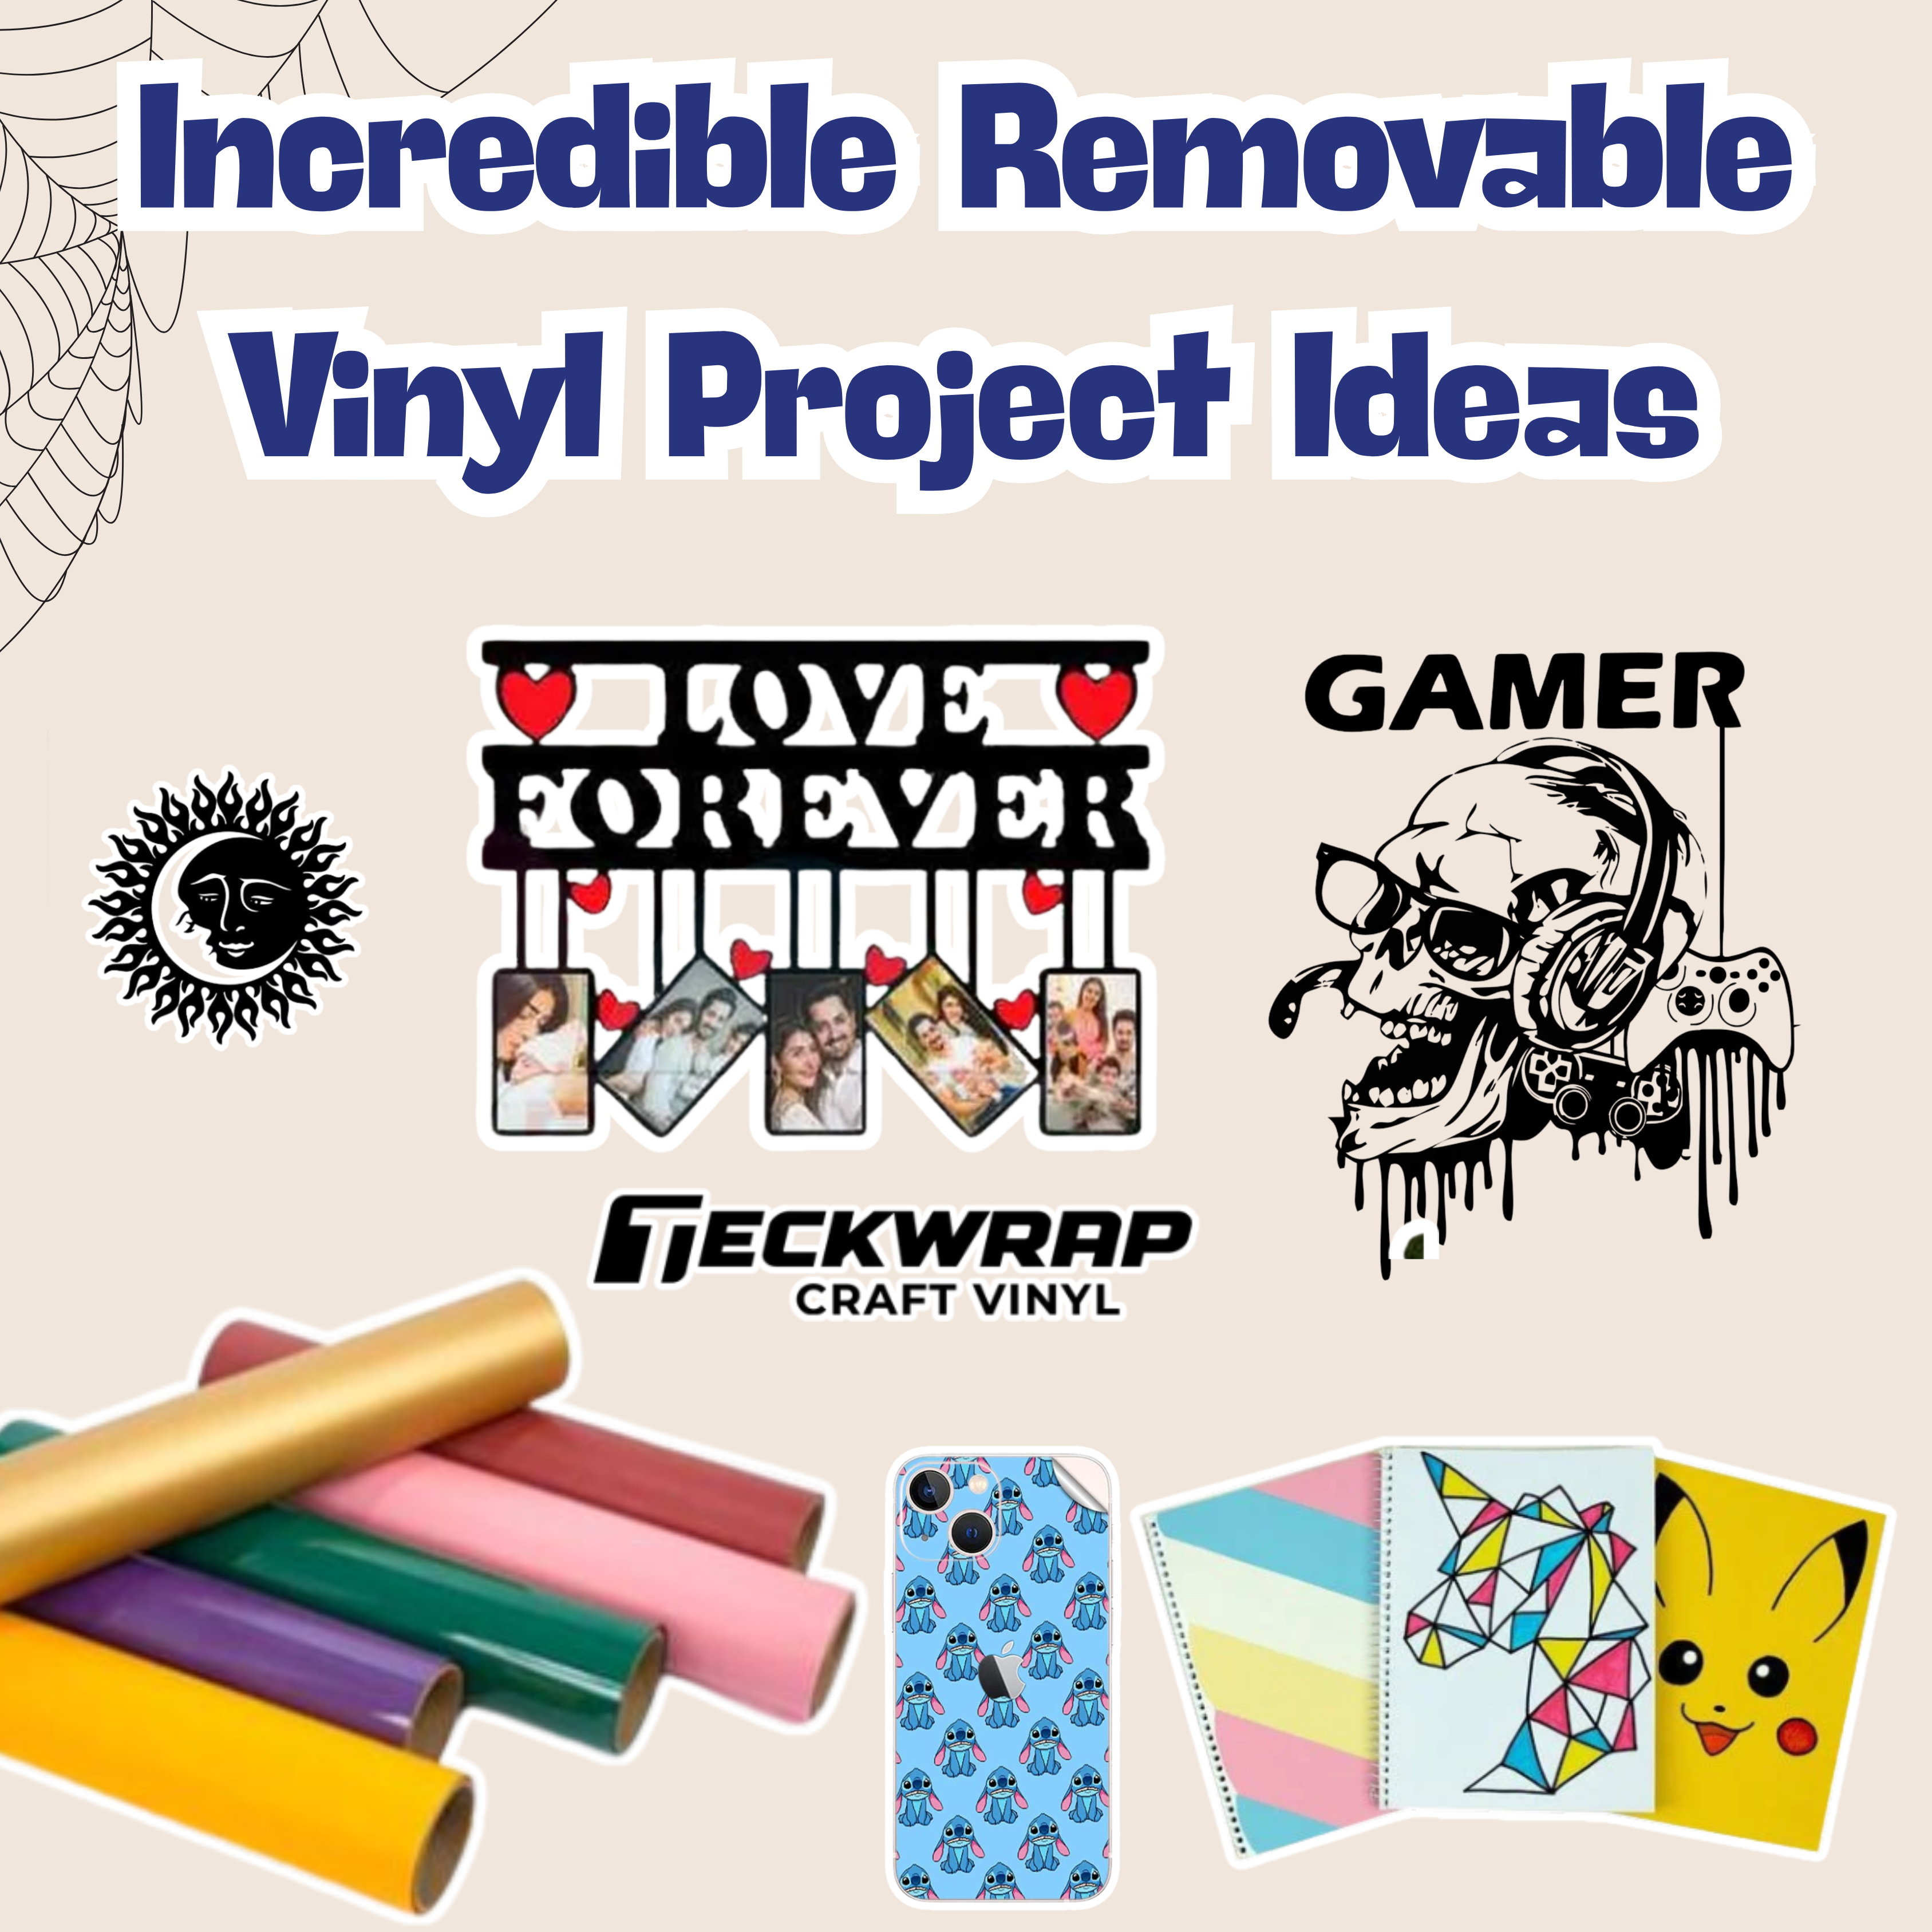
Halloween Craft Project Ideas Using Adhesive Vinyl
Here are some cool projects that you can make with adhesive vinyl to spread spine-chilling vibes all around:
- Spooky Mugs/Tumblers: DIY cups, mugs, and tumblers are super popular. They’re easy to make and look extremely impressive, so if you’ve been looking for a fun Halloween project, why not try this one?
- Halloween Press-on Nails: This project idea is perfect for the Halloween season! You can create stunning nail decals with spooky designs, such as skulls, ghosts, cobwebs, and witches. Try using the Reflective adhesive vinyl for this project.
- Halloween Stickers: Customized stickers are always a popular vinyl project. You can make these using TeckWrap’s Inkjet Printable Vinyl Stickers. It’s an excellent way to express your creativity, and with Halloween right around the corner, this crafting project is sure to be a huge hit!


Frequently Asked Questions
Let’s Make Amazingly Terrifying Halloween Crafts With Vinyl!
With these project ideas in mind and the step-by-step method of making them, we’re sure you must be feeling excited to create something new and unique for the Halloween season. Check out the vinyl collection on the TeckWrap Craft website if you’re looking for inspiration and the finest, premium-quality vinyl films and tools. We have something for everyone!