Updated By Teckwrap Craft On June 24, 2024
How To Attach Colors In Cricut Design Space?

Are you working with Cricut to make amazing multicolored crafts but having issues with attaching different shades? When you upload your image on the software, does it lose its color detail? You can attach different colors in Cricut Design Space through the layers panel by ungrouping different components of your uploaded image. In this blog, we will tell you how you can do this successfully.
What Happens When You Upload A Multicolored Image On Design Space?
When you upload a design with different colors, upon clicking ‘Make It’ you will see that the result is different from the original layout. The program will arrange the different components of your design on the virtual mat in a way that will save vinyl. This can disrupt the order of the whole set-up.
We need to keep the layout the same when cutting and for this Cricut offers its users the ‘Attach’ feature. Unfortunately, it’s not as simple as clicking the attach button and cutting away! When we select our entire design and use the attach feature, the design turns one color!
This would work if your design only has one color, but if it has different color layers that you need to keep separate and also maintain the layout, you will have to attach by color. To do this you need to go through the layers panel and select all pieces of the same color. Once selected, you can use the attach feature! Let’s try it.
How To Attach Multiple Colors On Cricut?
So your image has three or more shades that you need to keep together. We are working on one that has four. Here’s how you can cut multiple colors on Cricut:
- Upload your image on the Cricut Design Space and use the attach by color function. Images taken from the Cricut library are already attached by color. It is the ones that you upload from an external source that you need to work on.
- The hearts file that we have uploaded has four different colors and the whole design is grouped. The very first step is to ungroup it. Select the image, click on the ‘Layers’ panel, and then click on ‘Ungroup”. Ungrouping separates colors in Cricut Design Space. It allows you to select individual colors in your image.
- Now select one color at a time from the layers panel holding the ‘Shift’ button and click on attach. For example, we will select all the red-colored components of the design by pressing shift and then press attach. This way we will attach the four different colors that we have in our design. The ‘Attach’ feature holds the placement and position of the different parts of your image.
- It is time to click ‘Make it’. You will see that everything is nicely arranged as in the original image on the virtual mat in Design Space. The program no longer re-arranged our pieces to save vinyl and cutting this project will be a breeze!
For projects that have many colors, attaching each group can be time-consuming.
Attach vs Weld Feature In Cricut Design Space
Attach and weld are two different features in Cricut Design Space. Mentioned below are the different functions they perform:
- The ‘Attach’ function keeps the arrangement of your design. It will be the same on the mat as it is on your canvas. It also combines different colors of a multicolored design.
- The ‘Weld’ function allows you to join different pieces in one. With this, you can connect different parts of your project to cut as one. Thus you can weld separate images, words, or shapes. Be careful while using this tool as you cannot undo an image once you have welded it and saved your file.
Frequently Asked Questions
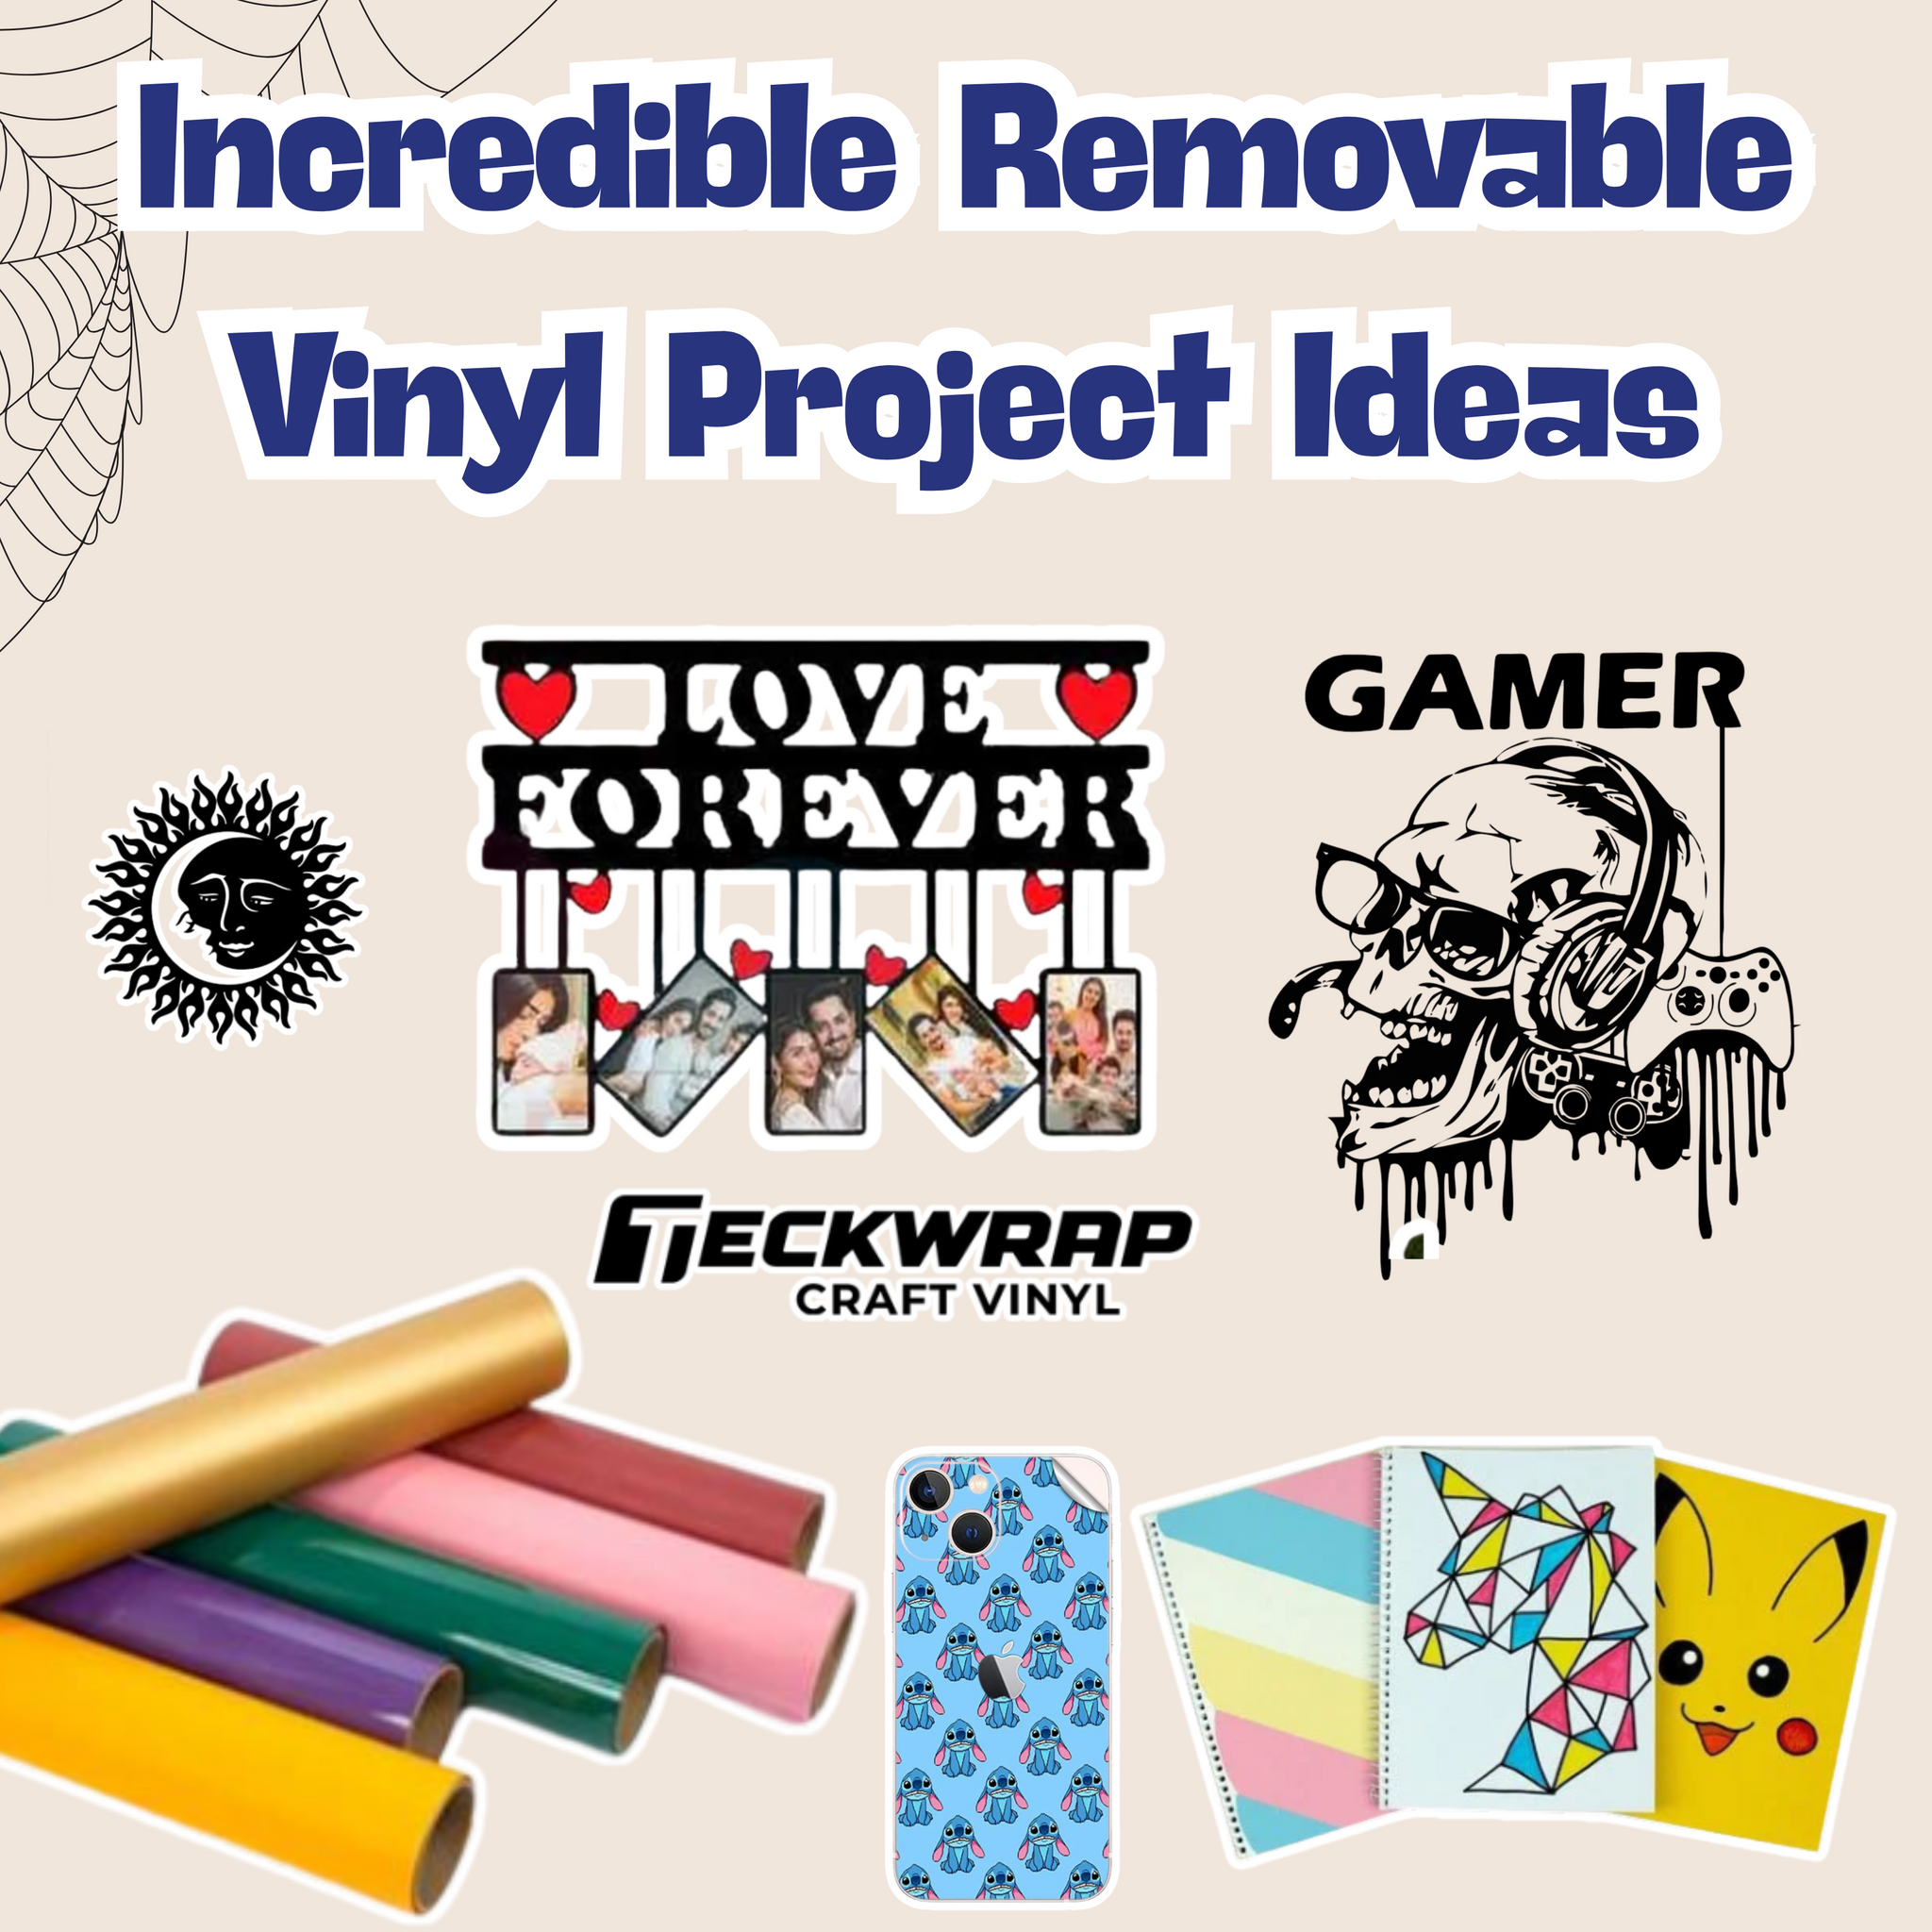
Let’s Make Colorful Vinyl Crafts!
With this tutorial, you will easily be able to cut and create multicolored designs perfectly with Cricut using its Design Space software. Remember to always use premium quality vinyl to make your crafts last longer and maintain their vibrance and beauty. Visit the TeckWrap Craft online store today to get the best permanent adhesive and heat transfer vinyl in many different colors and finishes. We will deliver these to your doorstep!