Updated By TeckWrap Craft On September 10, 2024
How To Do Iron On Patches - A Complete Guide

Table of Contents
- How To Do Iron-On Patches Using Heat Transfer Vinyl?l?
- Step 1: Gather The Tools
- Step 2: Select A Design
- Step 3: Cut The Heat Transfer Vinyl
- Step 4: Weed Out The Extra Vinyl
- Step 5: Apply The HTV Design To The Iron-On Patch
- Step 6: Apply Adhesive Underneath The Patch
- Step 7: Apply The Patch To Your Garment
- Frequentl Asked Questions
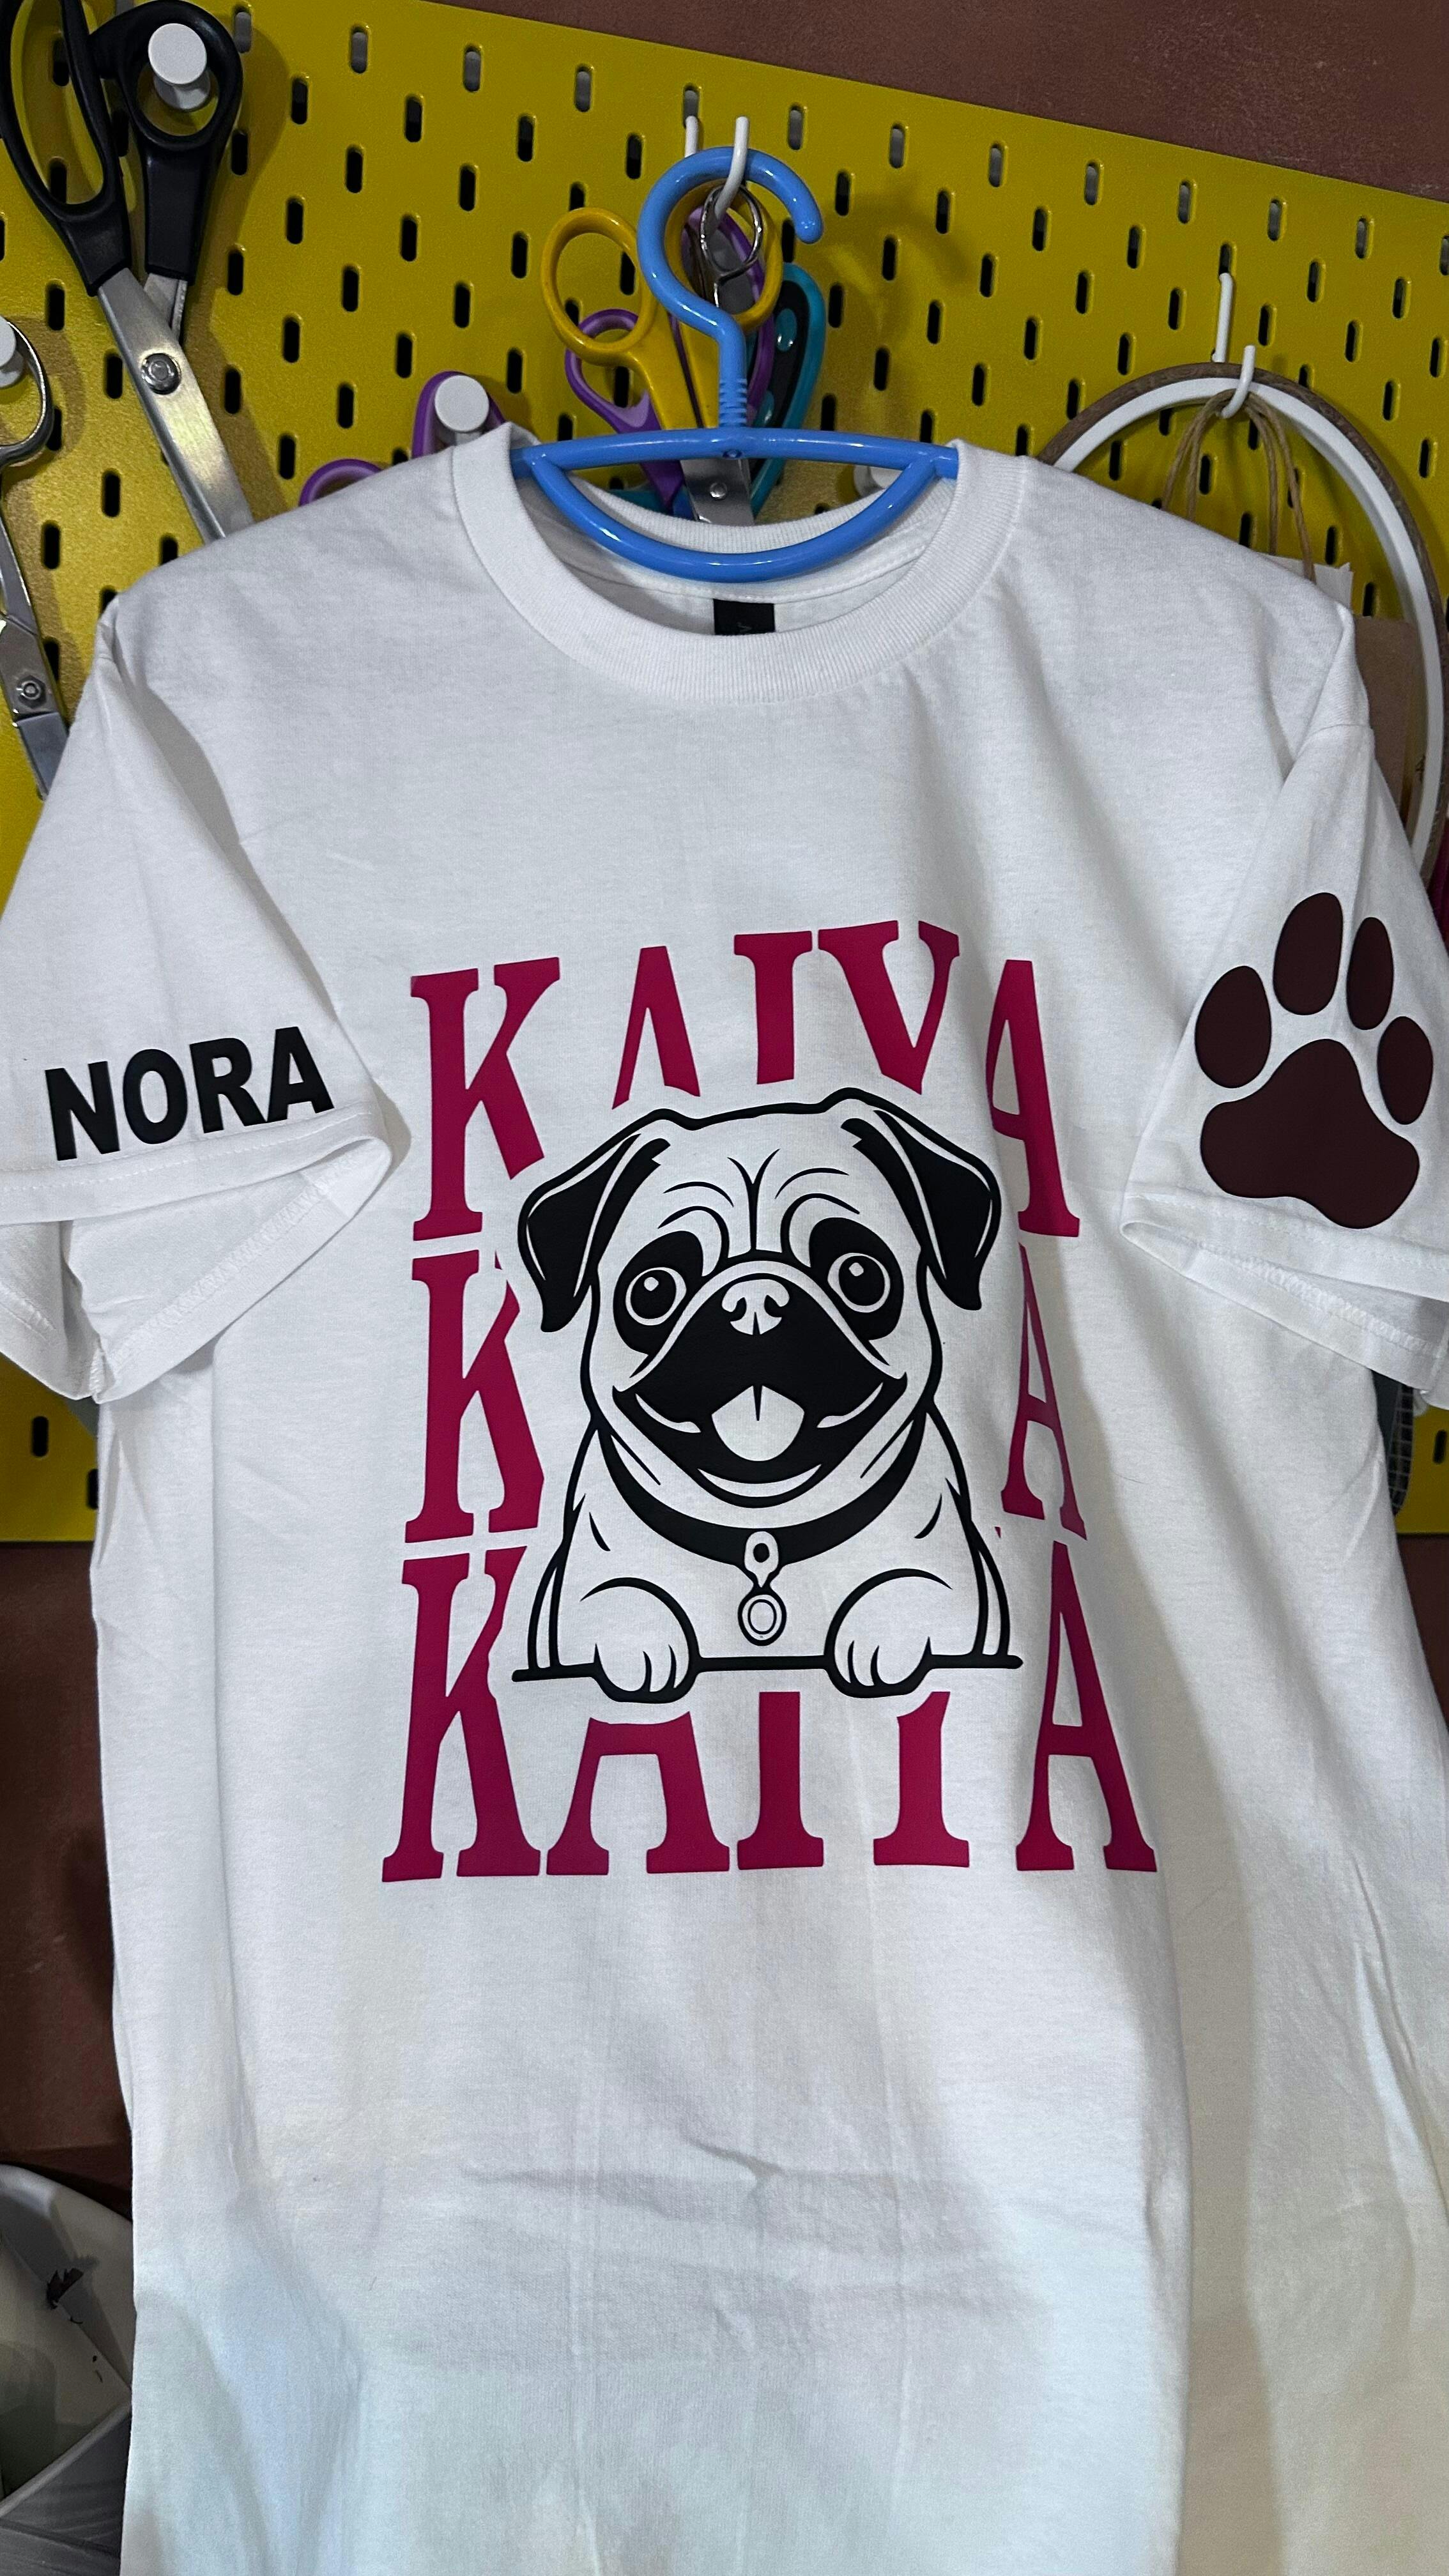
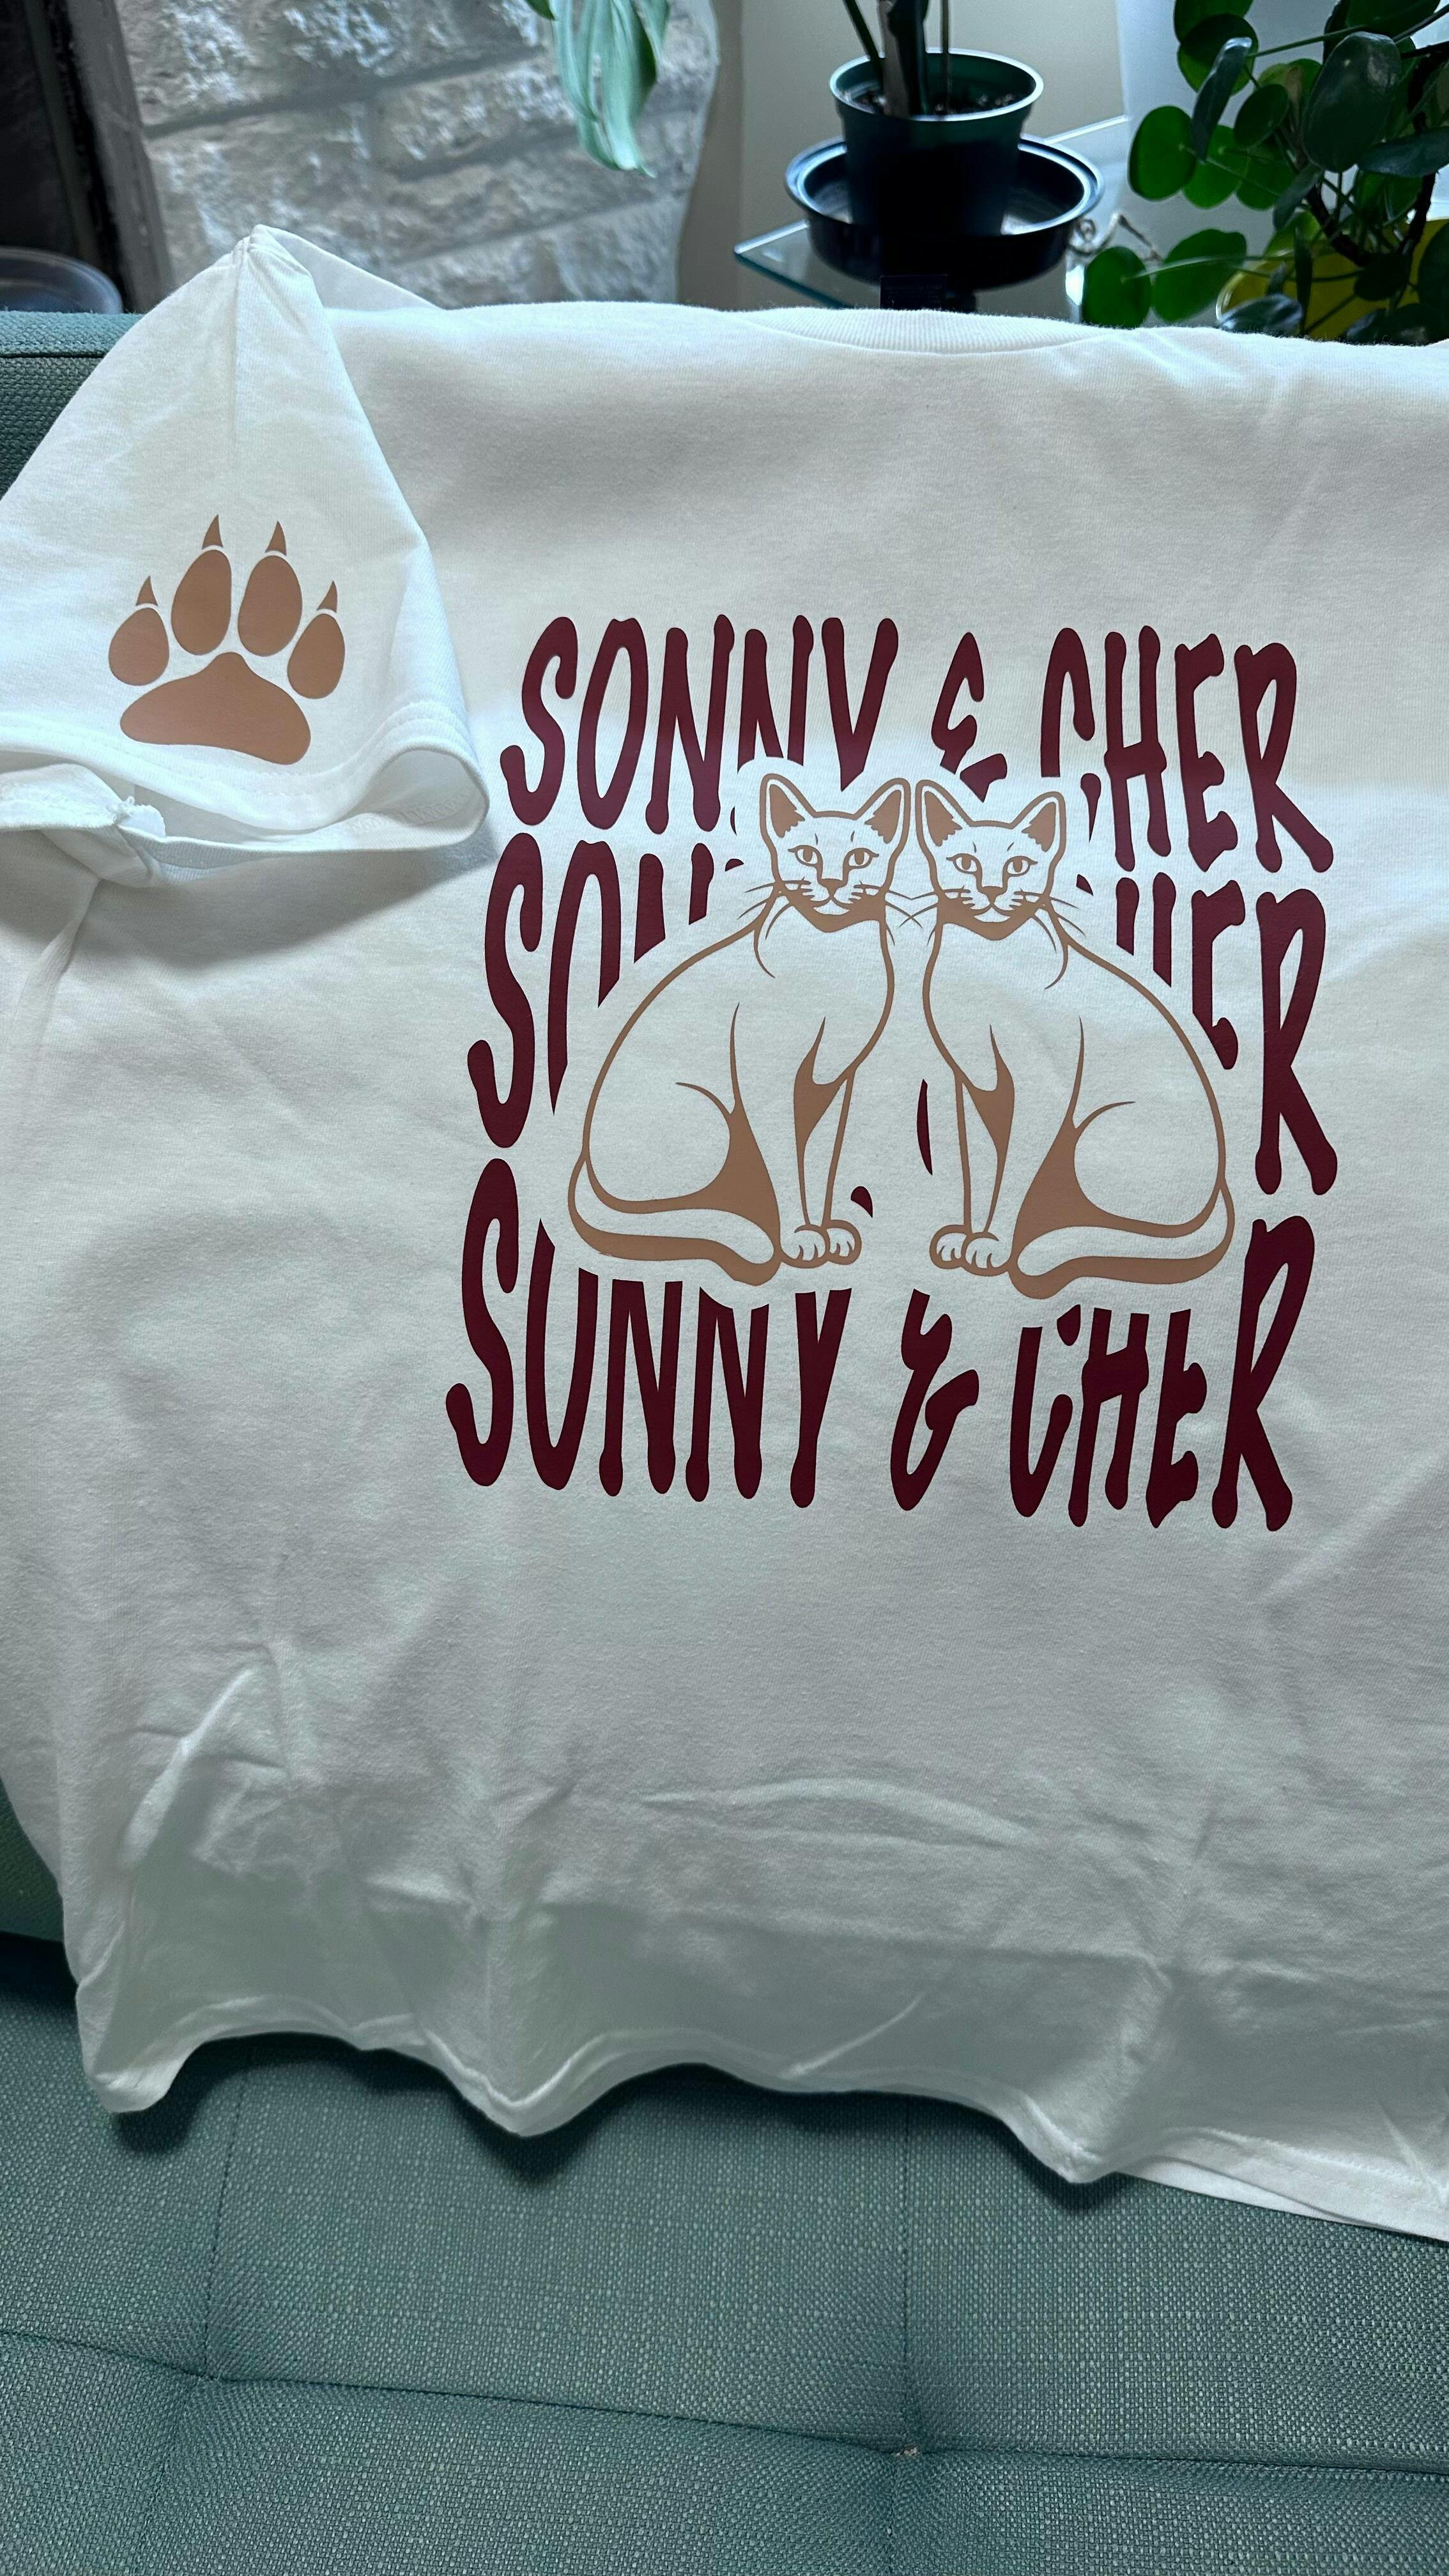
It is fun to create unique, customized patches for garments. You can do iron-on patches by printing HTV designs on them. Cut your heat transfer vinyl pattern, apply it to the scrap of fabric that you want to use as the patch, and then attach it to your garment using the HeatnBond UltraHold Iron-On Adhesive. In this craft guide, you’ll learn the step-by-step process of making iron-on patches and transferring them to your shirt.
How To Do Iron-On Patches Using Heat Transfer Vinyl?
Cloth patches were originally used to cover holes in denim jeans or jackets. These days, they are a style statement ideal for embellishing garments. You can make exquisite iron-on patches by printing heat transfer vinyl designs on fabric scraps. Following is the step-by-step process in detail.
Step 1: Gather The Tools
The right tools are very important for successful crafting. Here’s what you need:
- A cutting machine like Silhouette or Cricut.
- Cutting mat.
Heat press machine - Household iron.
Measuring tape or ruler.- A garment of choice (cotton t-shirt, canvas bag, or cotton pillowcase).
Fabric scrap to print HTV design on. Make sure it has high cotton content.- Your choice of heat transfer vinyl. Check out the premium HTV collection of TeckWrap Craft.
- Parchment paper or
Teflon sheet. - Weeding tools such as a weeder, tweezer, or weeding pen.
HeatnBond UltraHold Iron-On Adhesive - Optional: Craft knife, lint roller, thermal tape.
Step 2: Select A Design
Select a design that you want to print on the fabric scrap using HTV. On the software that is compatible with your cutting machine, set its dimensions according to the space on the scrap. Your design should be perfectly centralized when placed on it. Also, adjust material settings depending on the type of HTV you are using.
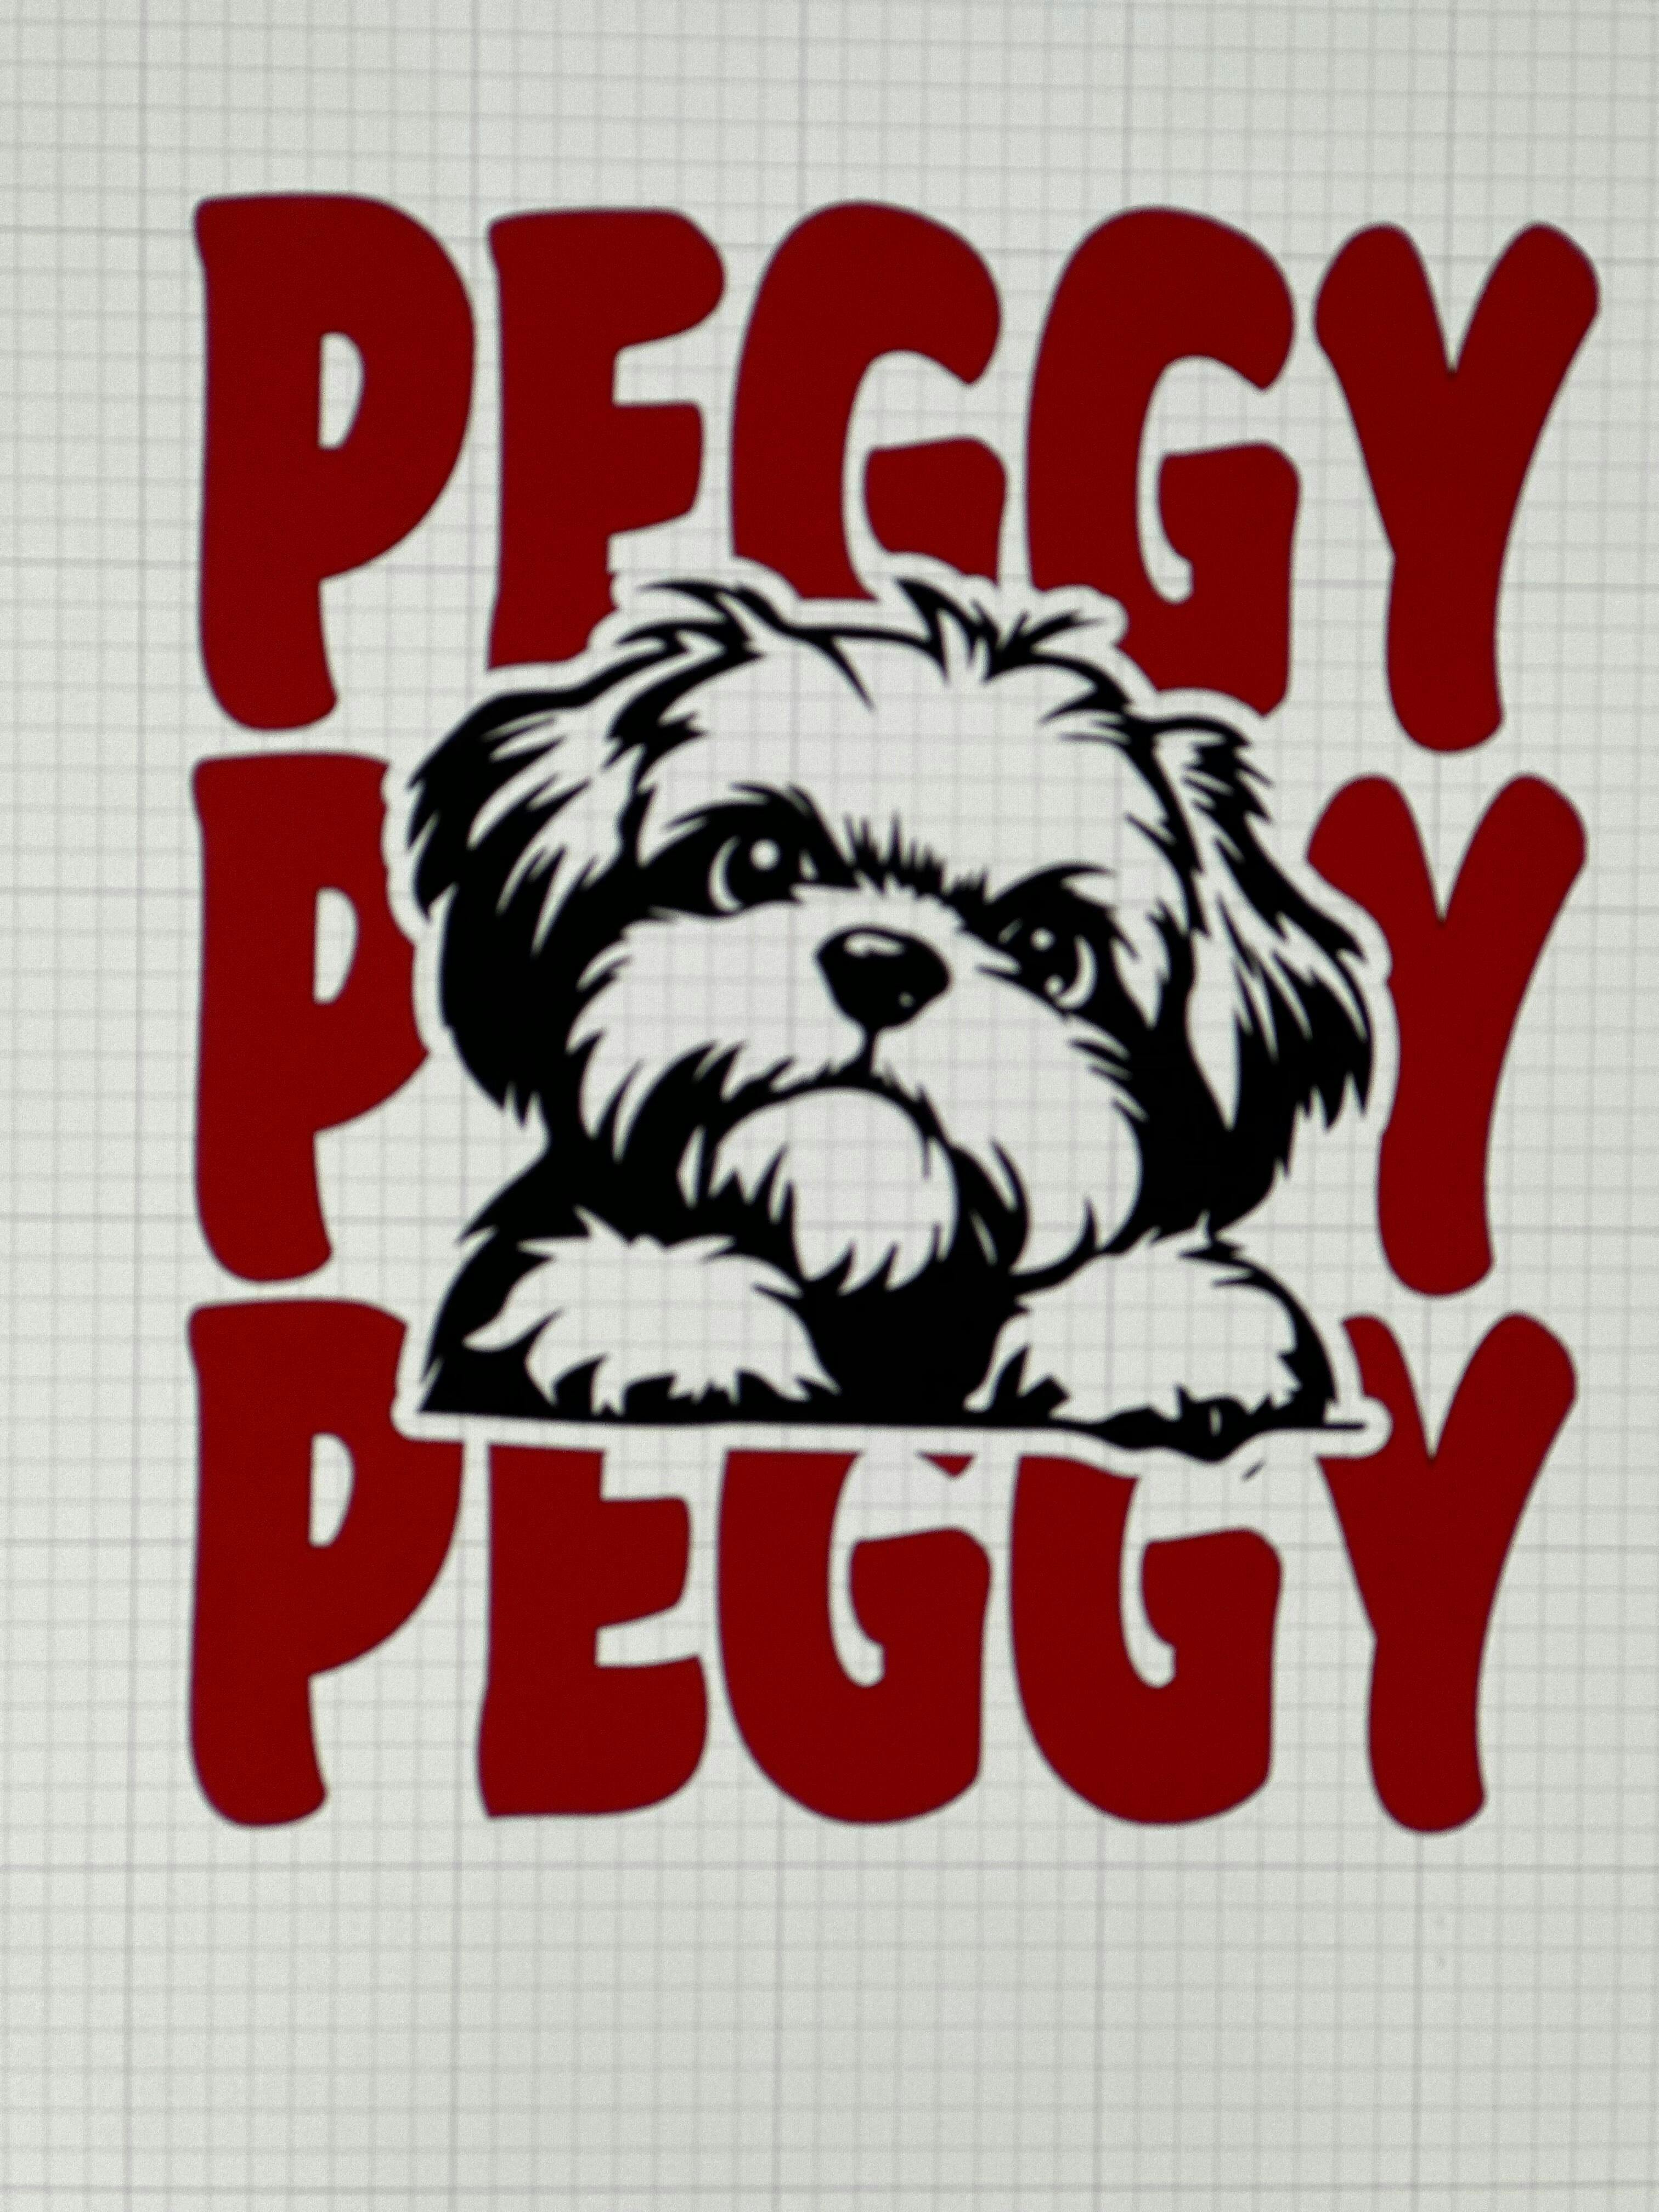
Step 3: Cut The Heat Transfer Vinyl
Choose the color and finish of the HTV that you like and cut a piece from the roll larger than the measurements of your design. You can use Flock HTV to give your iron-on patch an embroidered look. Place it on the cutting mat and load it into Cricut or any other cutting machine that you use. Allow it to cut your design.
Step 4: Weed Out The Extra Vinyl
Keeping the printout of your design in front of you, take out the negative vinyl pieces using a weeding tool that you are comfortable with. Once all the pieces are removed and you see the final design exactly as it is on the printout, it’s time to heat-press it.
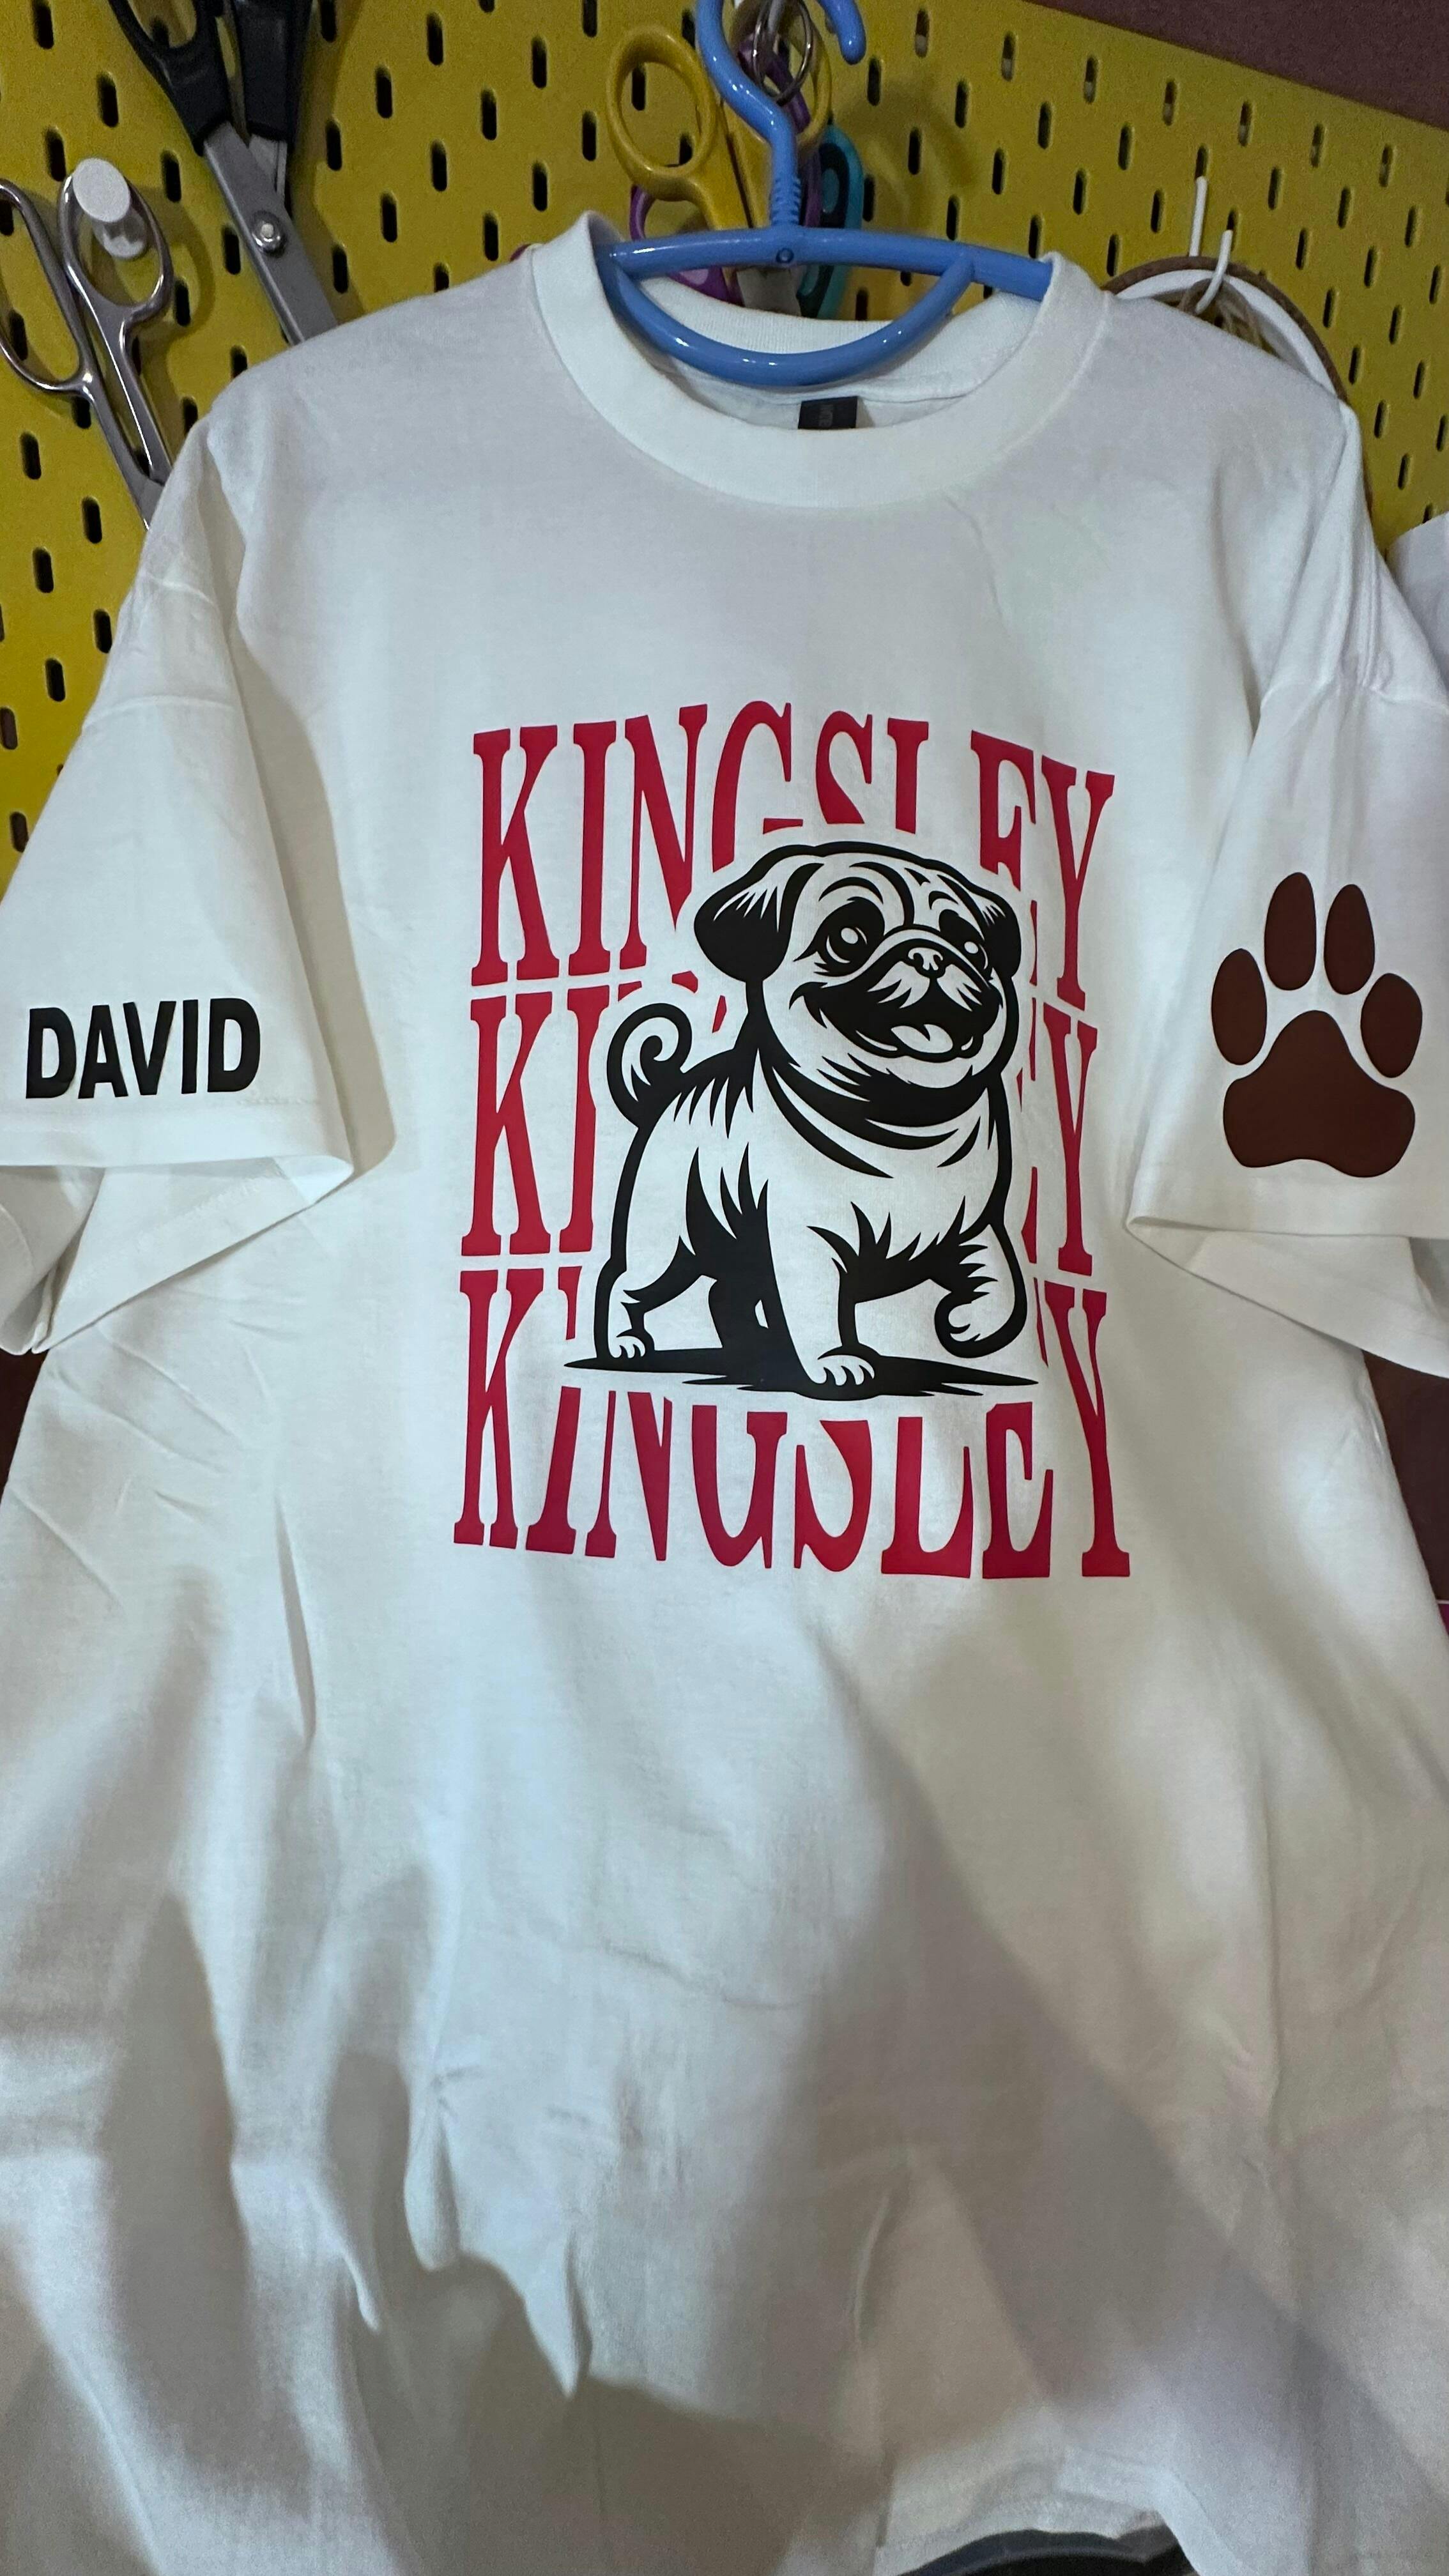
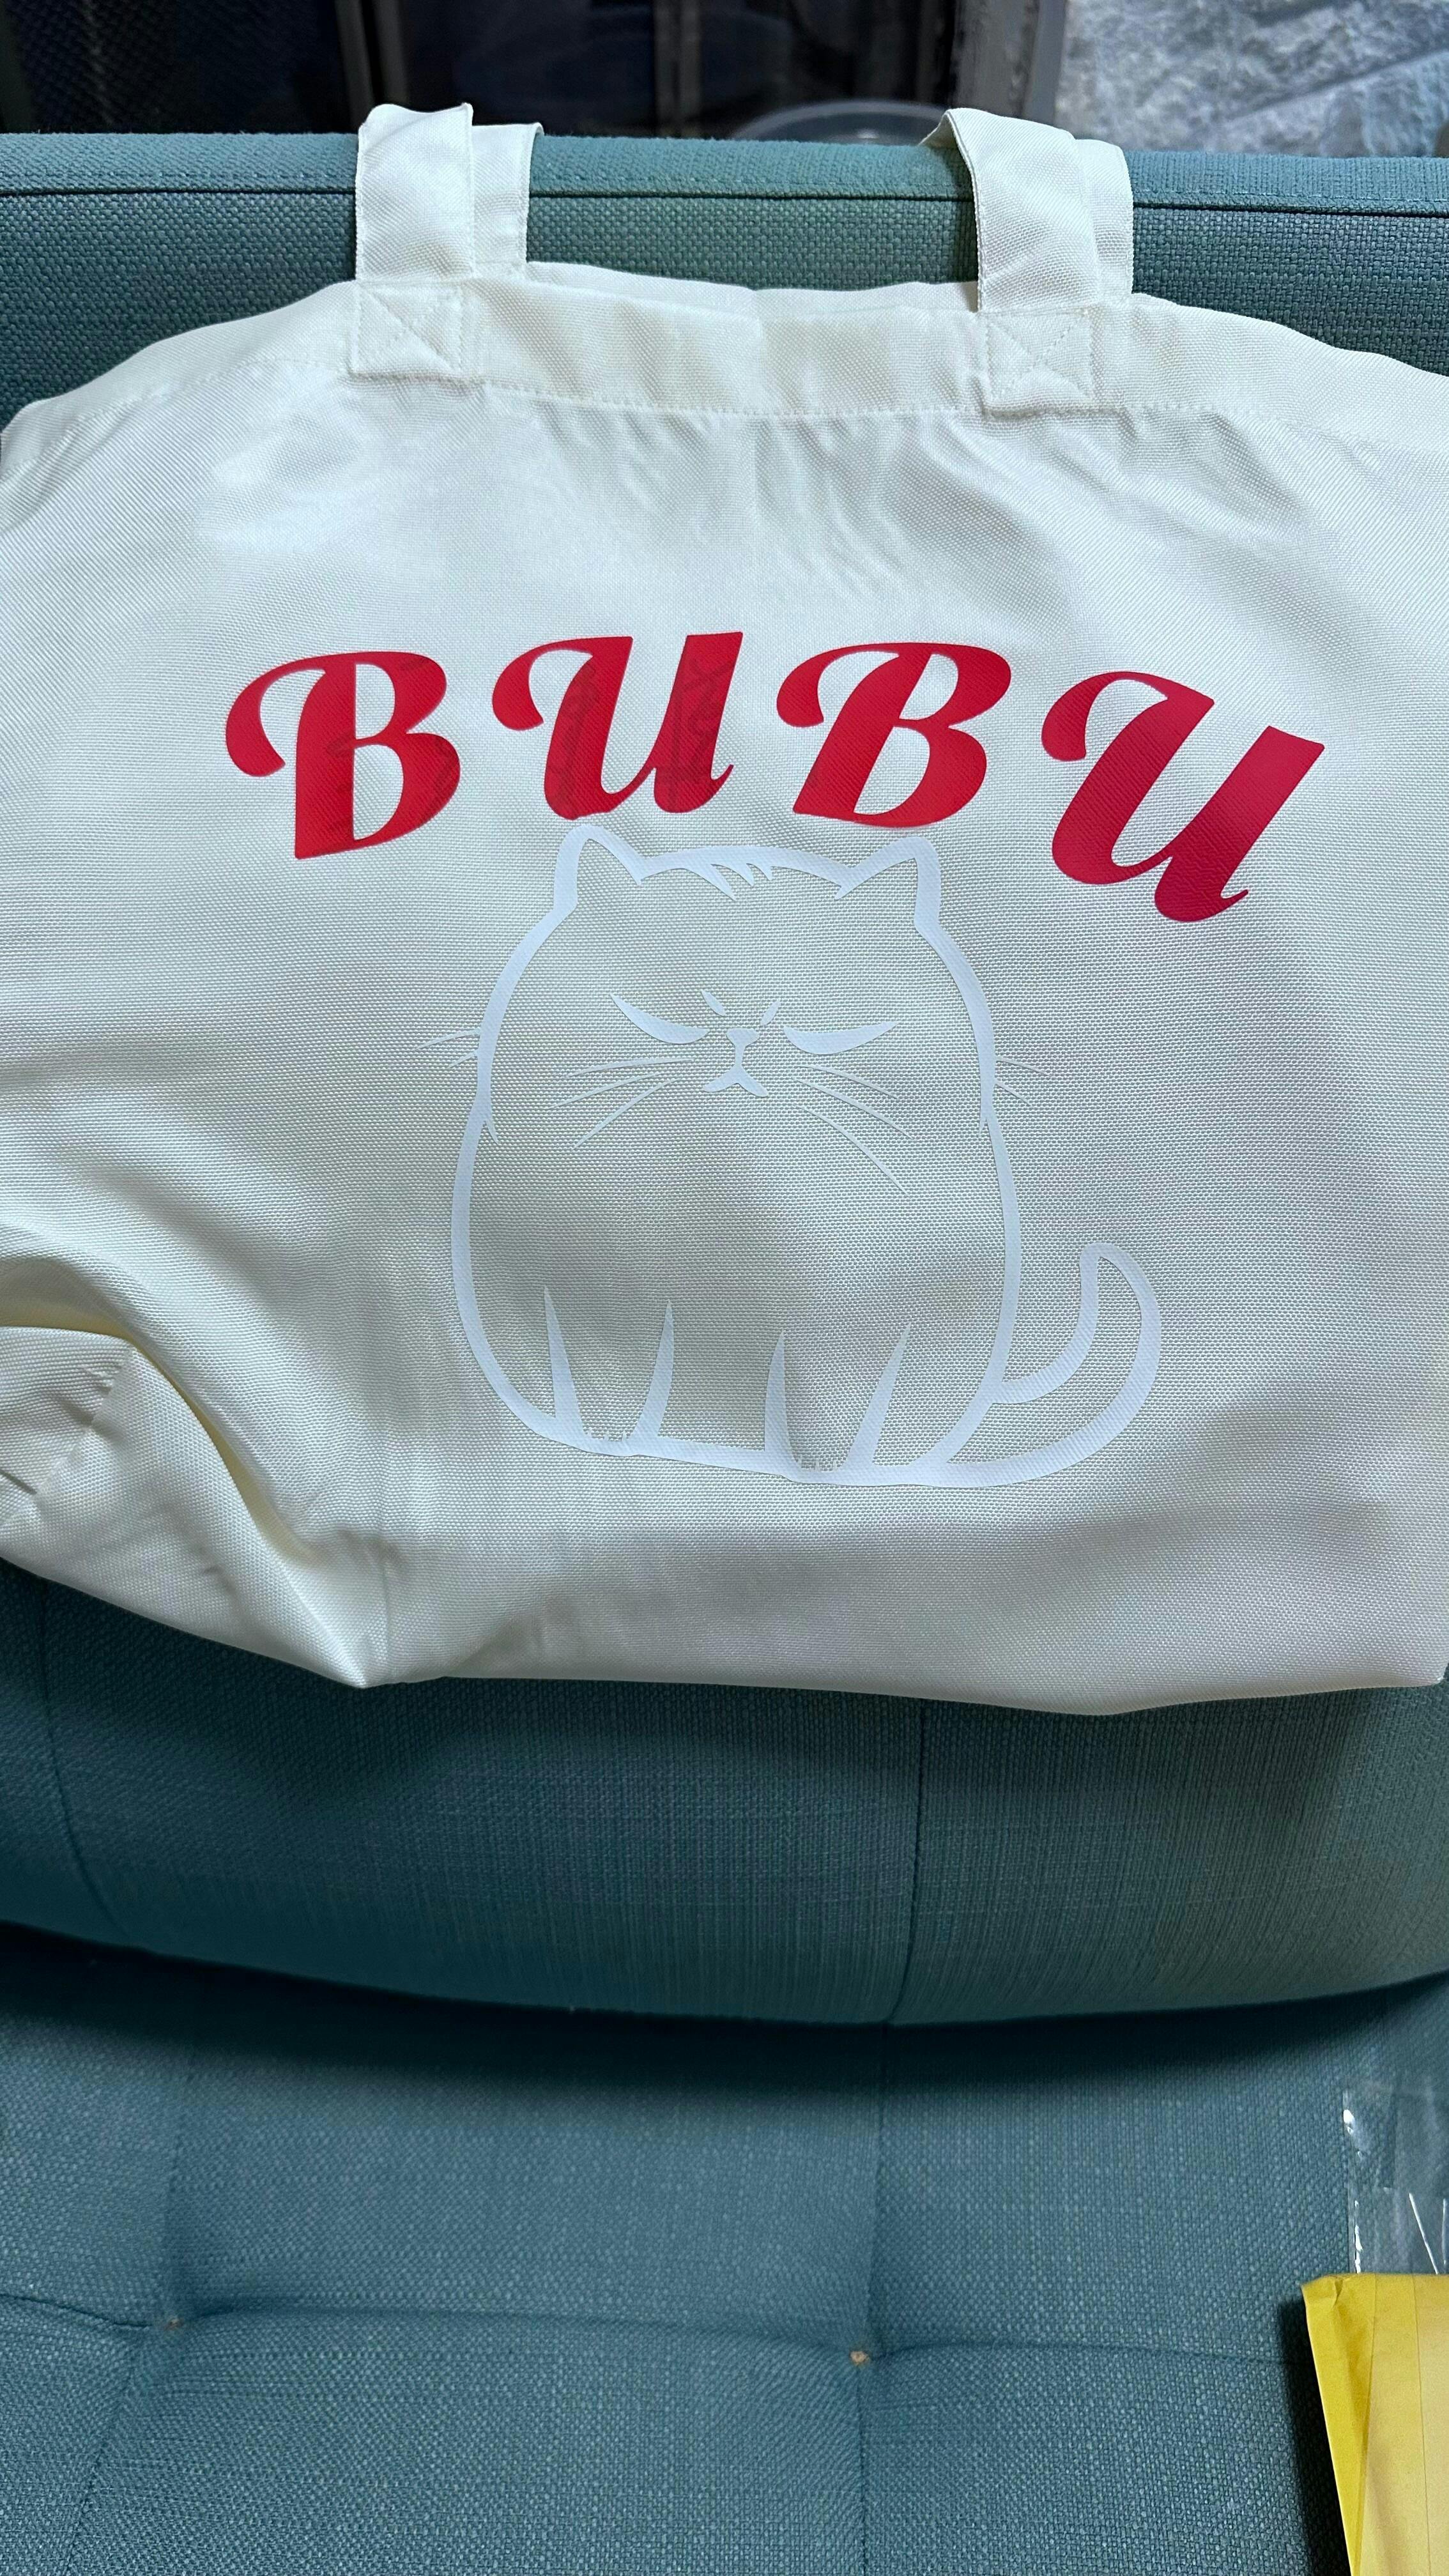
Step 5: Apply The HTV Design To The Iron-On Patch
Now it's time to apply the HTV design on the iron-on patch. Place the fabric scrap with the vinyl on it in the heat press machine, put parchment paper on top, and apply the recommended heat and pressure according to the type of vinyl you are using. Once done, remove the paper and slowly peel off the carrier sheet. You have successfully created a fabric patch to apply to your garment.
Step 6: Apply Adhesive Underneath The Patch
Apply HeatnBond UltraHold Iron-On Adhesive sheet under this designed fabric patch. Cut it according to size and place it at the back with its rough side facing down. Set your iron to medium heat with the steam settings off and press the HeatnBond sheet for two to five seconds. Apply heat evenly until it has bonded with the patch. Don’t slide the iron to and fro. Just press and hold covering the whole area.
Step 7: Apply The Patch To Your Garment
Let the iron-on patch cool down a bit before applying it to your garment. Remove the paper backing from the HeatnBond sheet and place the patch where you want it to be with the HTV design facing up. Put parchment paper on top and press it with iron to adhere it perfectly. Apply firm pressure for 45 seconds, Lift and press. Do not slide. You have flawlessly created and applied an HTV-designed patch.
Frequently Asked Questions
Do Your Own Iron-On Patch Now!
With this tutorial, you can easily design an iron on patch at home with TeckWrap Craft’s heat transfer vinyl and a piece of fabric scrap. Excited? Visit our website today and select your favorite colors and finishes from our extensive HTV collection. Happy crafting!