Updated By TeckWrap Craft On September 09, 2024
How To Bleach A Shirt For Sublimation: A Guide For Beginners

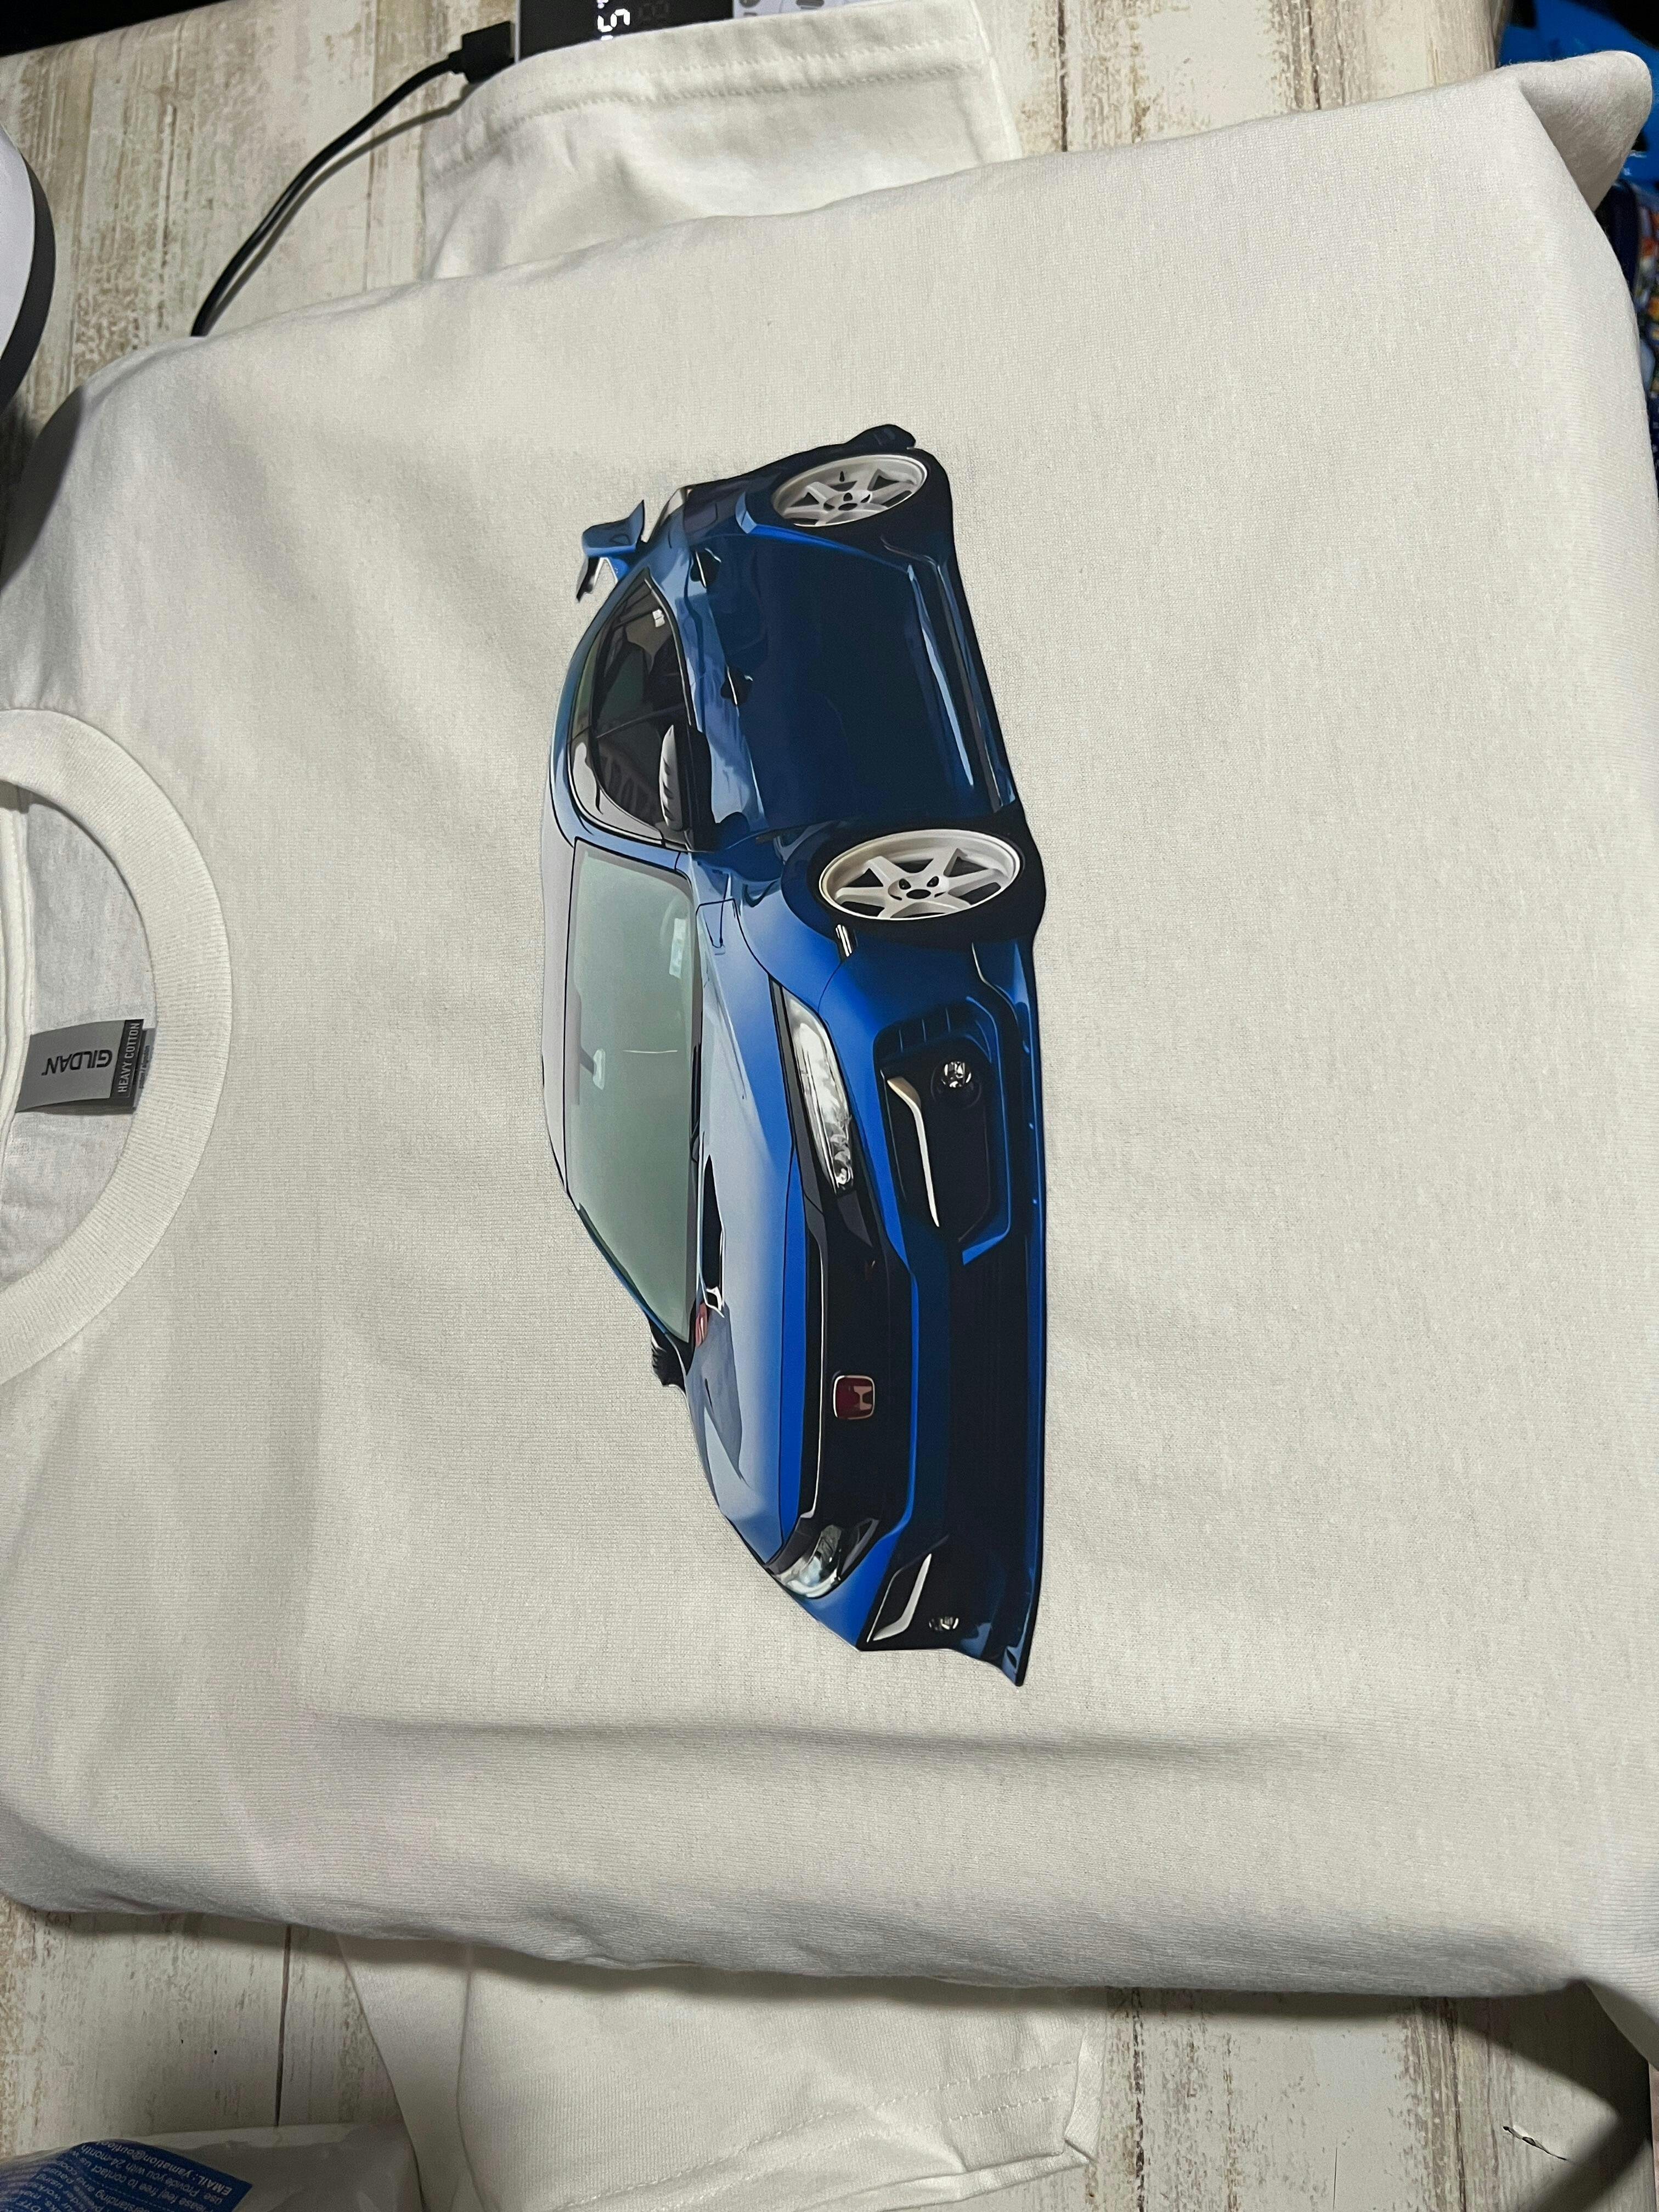
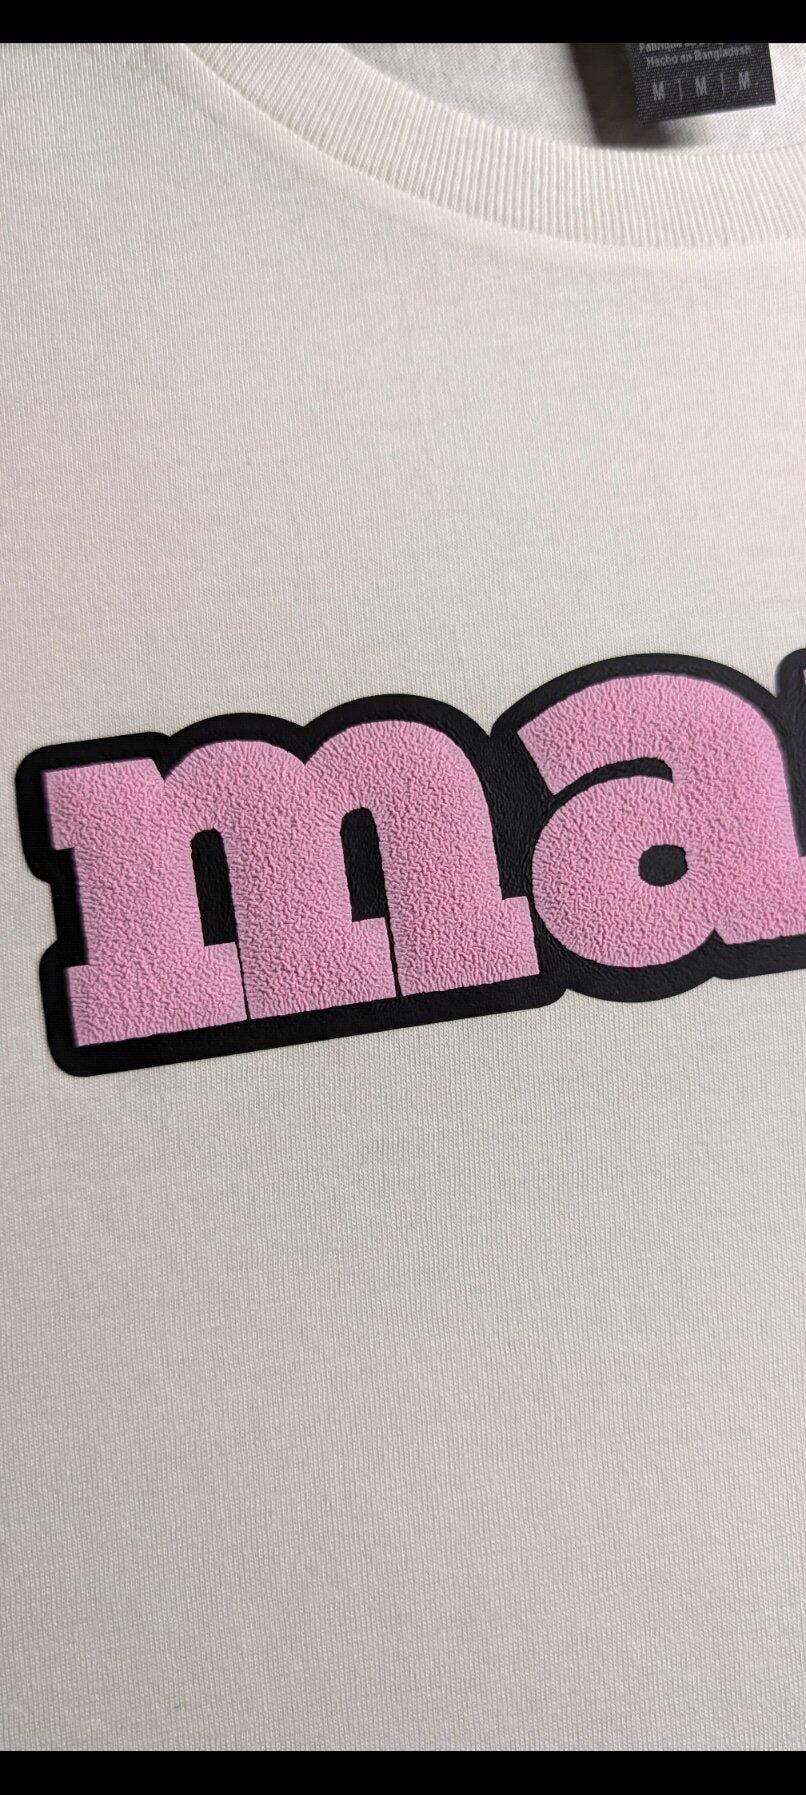
Sublimation is an excellent way to transfer vibrant designs to light-colored polyester garments. If you want to sublimate on a dark shirt, you will have to cut its color using chlorine bleach in a spray bottle and hydrogen peroxide. Here’s a guide that will help you understand how to bleach sublimation shirts.
What Is Shirt Bleaching?
Shirt bleaching is a process used to change the color of the fabric by applying common household chlorine bleach. It is necessary to remove the color of a dark shirt when you want to sublimate it otherwise the design will not show. You will only bleach the specific area where you want to place your pattern.
What Is Sublimation?
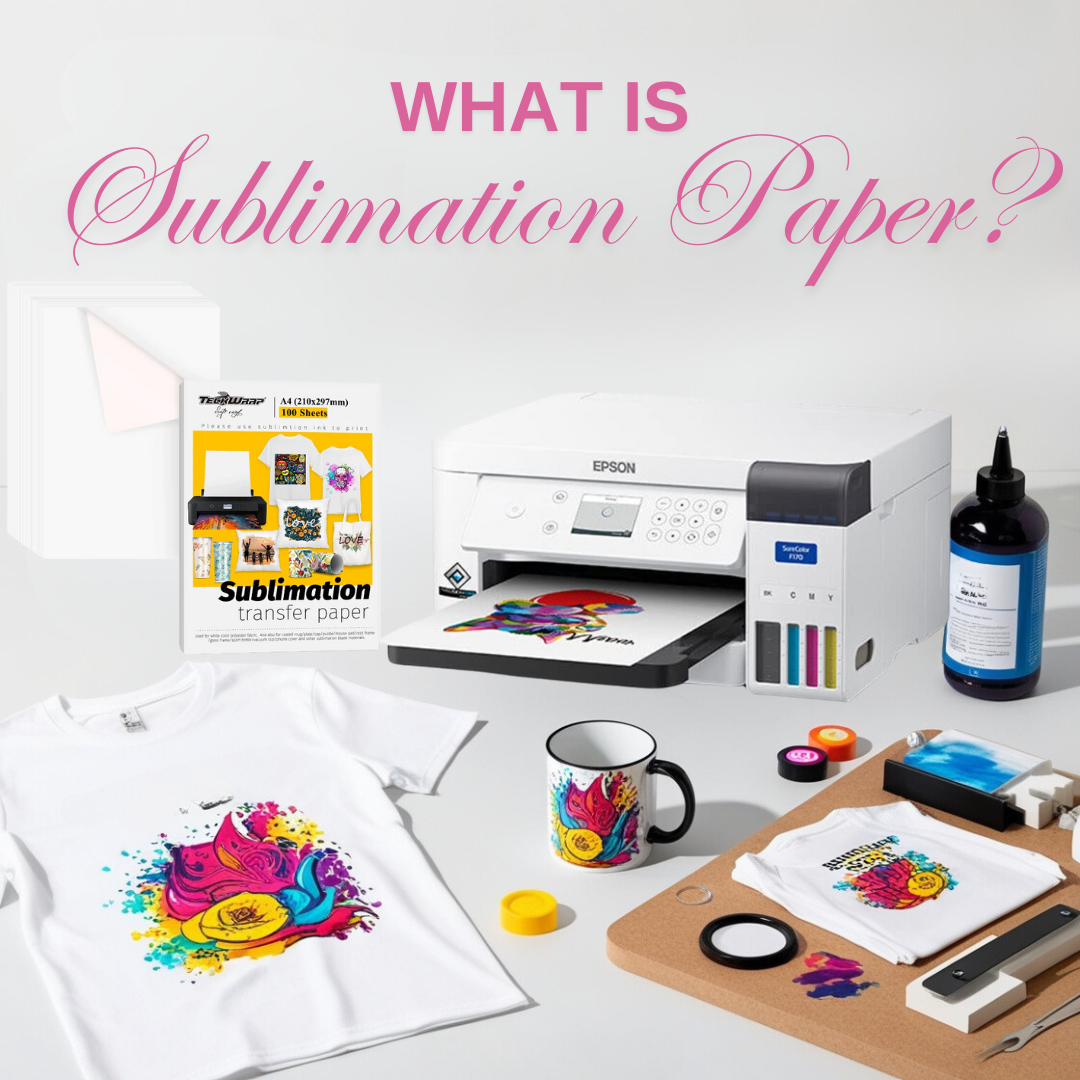
What is sublimation paper? Sublimation is a process that turns sublimation ink into its gaseous state without becoming liquid. In the t-shirt printing industry, sublimation is a method of printing that transfers design into the fabric using ink and heat.
What really happens in sublimation is there is a transition of the ink directly from being solid to the gaseous phase without passing through the intermediate liquid phase.
How To Get A Sublimation Design?
There are lots of websites offering free design templates. Just search for them on the internet, and they will present themselves, just a click away. But still the best option is to get creative and make your own designs.
You can use Canva or Photshop or other design apps that can help you put your imagination into your sublimation shirts.
For knowing how to do sublimation shirts? Check our blog.
What Fabric Type Can We Use As Bleach Sublimation Shirts?
The best shirts for sublimation are those that are made up of 100% polyester. Why polyester? The polymers of polyester open up when heated. When the ink dye is subjected to heat and changes into its gaseous form, it enters the fabric. Once it cools down, the dye has already bonded with the fabric.
The good thing about polyester is it does not wrinkle easily, and your design will be of high quality when sublimated onto it.
The downside is it’s not too comfortable to wear because polyester is not soft, and its smaller fibers contribute to its rough texture compared to cotton fabrics.
That’s why a poly-cotton blend is the best alternative and best fabric for hest transfer vinyl.
The best shirts for bleaching are made from cotton fabric. A Gildan brand women’s soft- style cotton shirts in Dark Heather or the Augusta Sportswear in Navy Heather are great for this. That is why a poly-cotton blend will be best for bleaching and sublimation.
Bleaching And Sublimation Supplies
You will need these supplies to complete your bleaching and sublimation:
- Sublimation Printer: There are particular brands of printers specifically made for sublimation. They offer varying features and output sizes.
- Design Software: A powerful software will help you through the design process. Popular ones like CorelDRAW, Canva, and Photoshop can deliver great results.
- Sublimation Ink: You’ll need the special dye sublimation ink that is compatible with sublimation printers. The ink’s quality directly impacts your bleached shirt.
- Sublimation Paper: You’ll need a high-quality sublimation paper. TeckWrap Craft offers sublimation paper with a 98% transfer rate.
- Heat Press: A heat press ensures high-quality prints and a full-color design. You can set the exact heat and pressure settings on it.
- Cotton Shirt: The shirt that’s best for bleaching is 100% cotton. Heather colors are the easiest to bleach.
- Bleach: Chlorine bleach is used to whiten fabrics. You cannot apply bleach directly onto the garment. Make sure you dilute it with water. The safe ratio is 1:1 water and bleach.
- Spray Bottle: The spray bottle will contain your mixture of bleach and water that you’ll lightly spray to bleach shirts.
- Hydrogen Peroxide: You’ll use hydrogen peroxide to stop the bleaching process.
- Thermal Tape: This is used to secure the sublimation print on the shirt.
- Gloves: Wear gloves to protect your hands from chemicals and heat.
- Butcher paper: This paper will be put inside the shirt during the bleaching and sublimation process.
- Foam pillows: These protect your shirt from direct heat when placed in the heat press.
- Silicone cover sheets: This prevents ink from bleeding onto your heat press.
- Cardboard box: It protects your shirt so bleach won’t bleed through the back of the shirt.
Other Supplies
Aside from the supplies mentioned above, you will also need the following to help your sublimation design succeed greatly.
- Thermal Tape- to secure the paper while you print
- Transfer gloves- wear gloves to protect your hands from bleaching shirts and from the ink and heat press
- Butcher paper- this paper will be put inside the shirt during the bleaching and sublimation processes
- Foam pillows- to help your shirts from direct heat during the heat press
- Silicone cover sheets-to prevent ink from bleeding onto your heat press
- Cardboard box- to protect your shirt so bleach won’t bleed through the back of the shirt
Ways To Bleach A Shirt For Sublimation
There is more than one way to bleach a shirt for sublimation or heat transfer vinyl printing. Let’s dive into the process. Remember, bleach spray shirts can be customized depending on the design you want on them. Now, let’s learn more how to bleach shirts!
Bleaching With A Spray Bottle
- Lay your shirt outdoors, exposing it to direct sunlight. Put a piece of cardboard inside the shirt so the bleaching will not go through.
- Mix together 50% water and 50% bleach; 1:1
- Put the mixture in a spray bottle.
- Spray onto the shirt. If your shirt is thick, put a heavy amount.
- Let the bleach work its way through the shirt by leaving it under the sun’s heat. Sunlight will hasten the process. And if you are satisfied with the extent of the bleach and want it that way, stop the bleaching process.
- To stop the bleaching, use hydrogen peroxide.
- Soak the shirt in water and hydrogen peroxide to stop the bleaching.
- Finally, wash and dry the bleach spray shirt as usual.
Bleaching With A Paint Brush
- Lay your shirt the usual way, with cardboard inside so the bleach won’t bleed through the back of the shirt. Let it rest under direct sunlight.
- Mix 50/50 water and bleach.
- Apply the mixture onto your shirt according to your desired design, with a paint brush. This is also another fun way of bleaching your shirt.
- Let it bleach when it is exposed to the sun. Plus you have more control over a paint brush.
- Then, rinse the shirt with water and hydrogen peroxide.
- Then wash it the usual way.

The Complete Bleaching And Then Sublimation Process
1. The first step to bleach shirts is to lay your shirt outdoors, exposing it to direct sunlight. Put a piece of a cardboard box inside the shirt so the bleaching will not go through.
2. Mix together 50% water and 50% bleach; 1:1
3. Put the mixture in a bottle spray. Applying bleach to your shirt with a bottle spray will be a fun activity.
4. Apply light sprays onto the shirt. If you want to bleach shirts that are thick, put a heavy amount. Some prepare a stencil of the design to put over the shirt so the stencil template will act as a safety net for the excess bleach. Plus, this will ensure your bleaching design will be achieved.
5. On a sunny day, let the bleach work through the shirt by leaving it under the sun’s heat. Sunlight will hasten the bleaching process. And if you are satisfied with the extent of the bleach and want it that way, stop the bleaching process.
6. To stop the bleaching process, use hydrogen peroxide.
7. Soak the shirt in water and hydrogen peroxide to stop the bleaching of the bleached areas.
8. Finally, wash and dry the bleached spray shirt as usual. To ensure all the bleach is flashed out, you may wash your shirt twice. Tip: do not use a fabric softener yet.
9. Your dry shirt is now ready for the sublimation design that you have prepared. At this point, you may prepare the design you made using your go-to design software on your computer. Happy Crafting!
10. Insert the sublimation sheet on your printer. And press the PRINT button.
11. Once the design has been printed on your sublimation sheet, you may prepare for transferring. Warning: Your design will look dull at this point. The heat press will do the magic.
12. Lay your shirt on a flat surface. Lint rolls the part of the shirt where you will put the design. This will ensure the surface is clean.
13. Place the sublimation transfer sheet with the image facing down. You may set the printer settings to Mirror images Secure the edges with the transfer tape. You wouldn’t want the image to move during the press and ruin the printing.
14. Place a Teflon sheet or another butcher paper on the sublimation sheet before using a heat press.
15. Heat Presses have their own prescribed time for how long the pressing will be, make sure to read about them. Usually, it will take around 30 seconds to press the machine without moving the image.
16. After the prescribed pressing time, lift the heat press without sliding things around. Then, remove the Teflon and butcher paper.
You’re done! You have your bleached shirts ready in no time.
Frequently Asked Questions
Final Thought
Understanding how to bleach a shirt for sublimation opens up a world of creative possibilities. By combining the unique effects of bleach with the vibrant and detailed designs achievable through sublimation, you can make shirts that truly stand out.
Remember that the choice of fabric plays a crucial role in the success of your project, with 100% polyester being ideal for sublimation. So, embark on your crafting journey armed with the knowledge and tools to create personalized and visually stunning garments that reflect your unique style and imagination.