Are you feeling annoyed whenever the paint keeps peeling off when you remove the stencil vinyl? Are you also frustrated whenever the paint bleeds under the stencil vinyl? Is your crafting hobby turning into a nightmare?
You may have been painting crafts for as long as you can remember. You may have heard of all the tricks in the book. It wouldn’t hurt if you continue reading. For all you know, you may stumble upon a gold mine in this article.
This article will guide you on how to keep paint from peeling when removing the vinyl stencil. The tips and tricks you can get from this article are going to be a game-changer for you.
What Is Acrylic Craft Paint?
Acrylic craft paint is a good paint medium for stenciling walls. Though, latex paint can alternatively be used. Almost all surfaces adhere well with latex paint except for fabrics.
Be careful when handling acrylic paint to avoid creating bulky and stiff layers. These layers may eventually crack and peel off if bent over time.
It is advisable to paint thin and light layers when using acrylic paint. This can give you a successful stencil project turnout with a sharp and clear design.
Both acrylic paint and latex paint can be used for a wooden sign. Using these types of paint can produce beautiful and crispy designs.
Acrylic craft paint can be prevented from bleeding by using a stencil spray adhesive. A stencil spray adhesive is effective in sealing the entire stencil to the surface. Sealing prevents all the paint from bleeding.
Watch a YouTube Instructional Video on How to Stencil a Wall with Paint by The Home Depot.
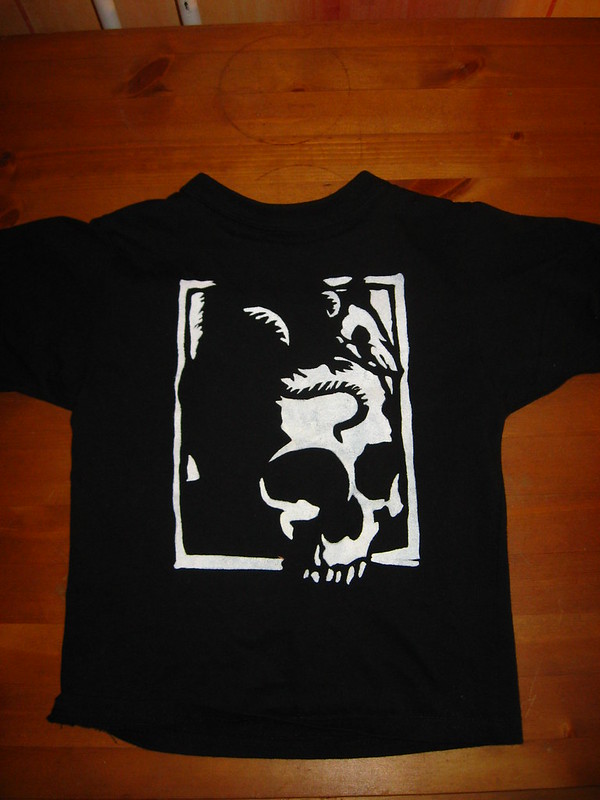
Skull and Rat Stencil Design for T-Shirt
Image by Staffan Vilcans from Flicker
How to Thicken Acrylic Paint for Stenciling
You can thicken acrylic paint by combining 1.5 cups of water with 2 tablespoons of cornstarch in a saucepan. Then, heat the mixture over low heat until the consistency becomes thick. You can turn off the heat when the consistency becomes paste-like. Allow the mixture to cool down.
Why Is the Paint Peeling off From Vinyl Stencil?
The sandblast etching method is used if you want to completely stop the paint from peeling with the stencil. Through sandblasting, you abrade or scrape away the glass below the surface.
After sandblasting, make sure to blow off the abrasive and dust particles. Then, wipe the surface with a wet lint-free cloth.

Why Does Paint Bleed Under the Vinyl Stencil?
Just like a regular adhesive vinyl, you use a cutting machine to cut the stencil out. With the same process, you allow the vinyl stencil to adhere to the surface. You can then start painting on the stencil by first applying a light coat.
The possibility of paint bleeding under a stencil is unavoidable especially when you are working with stained wood. You may have tried applying light paint coating, using a foam brush, lightly pouncing paint over the stencil, or even brushing away from the stencil’s edge.
The other reason why the paint bleeds is that the wood wasn’t sanded enough. You have to sand the wood with 120 or 150 grit sandpaper and finish it with 220 grit sandpaper.
No matter what you do, you still get bleeding paint. Is there a hack to remedy this situation?
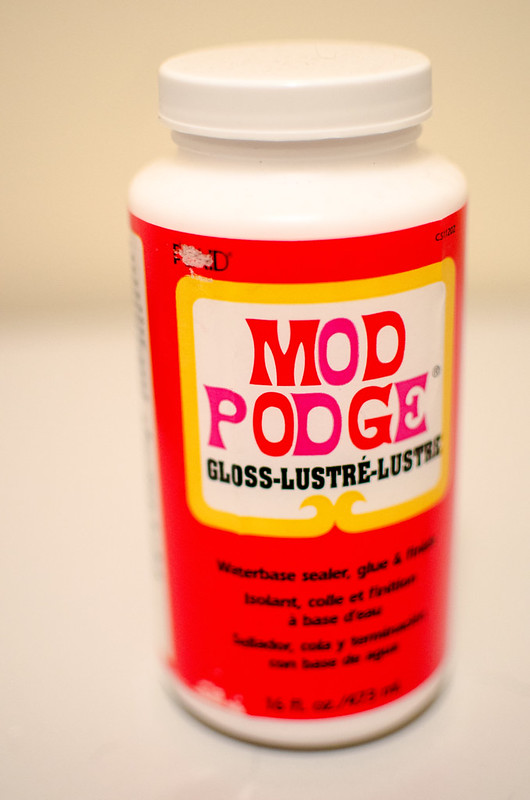
How to Prevent Stencil Bleeding: Mod Podge Does the Trick
Mod Podge image bym01229 from Flickr
Sealing the stencil using a Mod Podge before painting does wonders! The Mod Podge is a game-changer! Here is a step by step guide on how to do this amazing hack:
Step 1: Cutting the Stencil
Cut your stencil using a cutting machine. To save you time and with less stress, you can make the size of your stencil nearly the same as the surface you are applying it to. Doing this can help you to easily straighten your stencil onto the surface.
You can use an adhesive shelf liner or contact paper in creating your stencils. An adhesive shelf liner is cheap and does the work.
Step 2: Peel and Attach
After cutting your stencil and weeding it out, you need your transfer tape to adhere it to your project. Peel off the stencil and adhere it to the surface. Make sure that the stencil sticks properly. Alternatively, you can use clear contact paper. This is cheaper and easier to use than most vinyl transfer tapes.
Step 3: Seal the Stencil (This Is the Hack!)
Sealing the stencil creates magic! Rub the Mod Podge lightly over the stencil with your fingers or a foam brush if you prefer. Doing this prevents the paint from bleeding under the stencil.
One thin layer coating of Mod Podge is enough. Give the Mod Podge enough time to completely dry out for roughly 15 minutes or more. Patiently wait for the Mod Podge to dry before moving on to step 4.
Tip: When you are using Mod Podge to seal the stencil, brush towards the edge of the stencil. Your painting strokes should be in a manner that you are trying to make it bleed.
Watch the YouTube Instructional Video on How to Mod Podge Stencils for Wood Signs by Etched with Vinyl
Step 4: Painting Time
After the sealant is dry completely, you can now paint your project with your color of choice. With acrylic craft paint, you can lightly paint 2-3 layers of paint over the sealed stencil. It is best to dab paint onto the stencil instead of brushing it. Wait for the first coat of paint to dry before applying another coat.
Watch the YouTube Instructional Video on How to Mod Podge Stencils for Wood Signs by Etched with Vinyl
Step 5: Peeling off the Stencil
Carefully peel off the stencil after the paint has completely dried. Make sure that you are peeling the stencil in a direction against the wood grain so as not to pull paint. This means that if the wood grains are going from left to right, slowly pull the stencil starting from the bottom up instead.
You will notice the big difference when you use a Mod Podge. The paint bleeding horror story is finally over and you can continue enjoying your stained wood-crafting hobby.
Watch the YouTube Instructional Video on How to Mod Podge Stencils for Wood Signs by Etched with Vinyl
Can Chalk Paint Be Used for Stenciling?
You may use chalk paint when you are working on furniture stenciling. Chalk paint covers the stencil quickly and dries fast.
Do not let the paint dry inside the paint container by leaving it open while working on your stencil project. It is best to place a small amount of paint in a cup or palette.
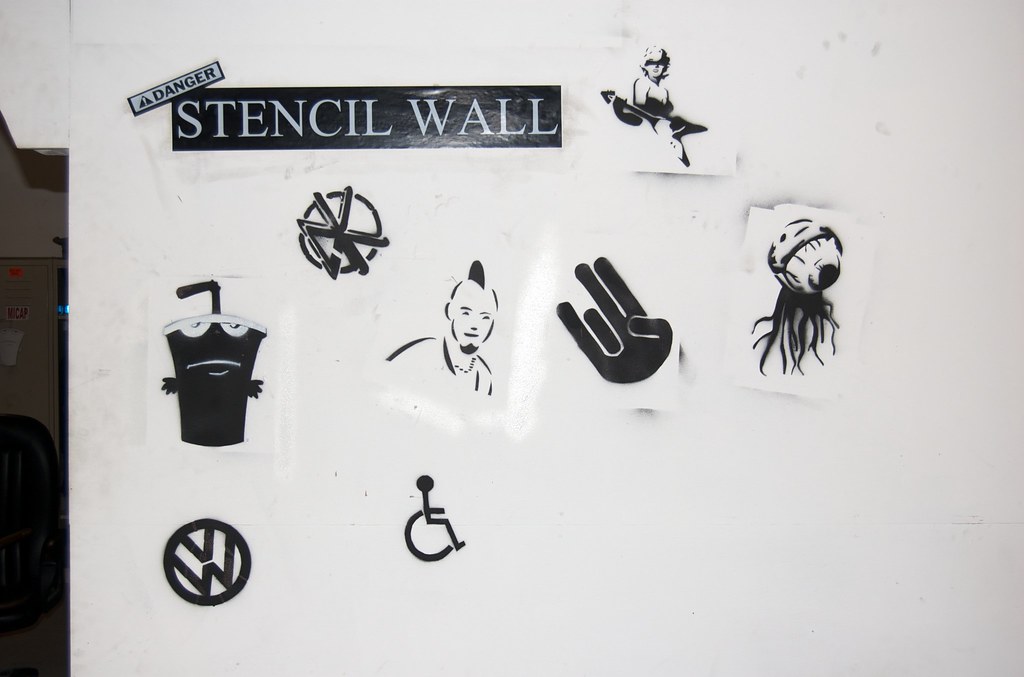
What Colors to Use for Stenciling Walls?
You may choose any color you like. But, the most important detail to consider is to make sure that the wall is well primed. For stenciling, you should use acrylic-based paints for any surface. However, you cannot use oil-based paint on any surface.
Stencil Wall Image by Ian Munroe from Flickr
How to Paint Over a Stencil?
After removing the stencil from the wall, you either want to paint it or place a different stencil design. If you decide to paint over the stencil, you need to first clean the wall. Clear the wall from dirt, dust particles, and oil by wiping it with a damp rag. Protect your floor by placing painter’s plastic over it.
With sandpaper, remove the residue paint, if any from the stencil. With a bonding agent, fill out the cracks. Then, apply paint primer evenly and generously. As soon as the primer has dried, you may apply the first layer of paint.
Can Vinyl Be Placed on Painted Walls?
If the paint is freshly applied, it is not advisable to put a vinyl decal over it. This will only lead to failure and waste because of the out-gassing of the substrate. If you really want to put vinyl on a painted wall, you have to let the paint cure for at least 5 days before applying the vinyl.
How Can You Remove Stencils From Stenciled Walls?
Removing stencils is not hard. The first step in removing the stencil is to clear the area from obstructions such as curtains, picture frames, and other wall decorations. After which, you can sander the stenciled wall.
In sanding the stencil, you have to attach 120-grit or 150-grit sandpaper to a pole sander. After sanding dust and removing the stencil, sweep the dust from the floor and clean and wipe away dust from furniture.
Watch the YouTube Video on how to Remove Old Stencil Design by mytalent Painting works
How to Get Dried Acrylic Paint off Stencils?
Are you planning on using reusable stencils? If yes, how can you remove the dried paint from it? First, when the paint is completely dry, you can soak the stencil in warm soapy water. Alternatively, you may soak the stencil in a latex cleaning solution. Soak the stencil for at least an hour or better overnight.
After soaking the stencil, lightly scrub the stencil with a dish brush. This removes the dried paint off the stencil.
YouTube Instructional Video on How to Stencil a Wall with Paint by The Home Depot
Base Coating: Professional Tips
Tip 1: Position Your Brush on a Paper Plate or Palette
Are you one of those who dunk their paintbrushes into the paint bottle or the paint bottle cap and make a lot of mess? Instead of doing this, it is best to use a paper plate or palette for your paints. This lessens the messy situation you would be in when you get paint straight from the bottle or bottle cap.
Tip 2: Everything Is Organized and Available at Your Worktable
Before working on your crafts project, make sure that your worktable or work area is organized and ready for action. Everything that you need to accomplish for your project should be available and within your reach.
Make sure that your brushes, paints, palette, paper towel, stencil, and container for water are placed on the side of your dominant hand. This is done for you to avoid reaching across your project which can cause paint drips or splashes that you wouldn’t want.
Tip 3: Load Your Brush With Paint
You want your brush to have even paint coating on both sides of the bristle. To do this, you need to first dip your brush into the pool of paint. For the paint to fill up the bristles you need to pull the brush towards yourself and flip it over.
Tip 4: Paint Your Work With No Visible Brush strokes
How can you paint without visible brushstrokes? You can do this by starting at one end of the stencil and making a short stroke. Focus on this area and gradually extend your strokes further.
Stay on this spot and keep extending your strokes even further until you are able to make one solid brush stroke covering the entire stencil project. It would look like you applied a single stroke to your project.
Tip 5: Paint With the Grain of the Wood
If you are working with stained wood, it is important that you paint with the grain of the wood. This helps you achieve a seamless brushstroke on your projects.
Image from Piqsels
Paint Brush Care: Professional Tips
Tip 1: Wash a New Brush Before Using
It is advisable to wash new brushes before you use them. The brush ends feel matted when removed from the packaging due to manufacturing reasons. Washing the brush helps it behave in a proper manner by allowing the paint to be applied evenly on the surface.
Tip 2: Pull the Brush’s Bristles Before Using
Aside from washing the brush before using it, it is also recommended to gently tug the bristles in their natural direction. This is done to remove loose bristles before painting. You surely don’t want to see a loose bristle on your project!
Tip 3: Immediately Wash the Brush After Use
You have to wash your brush right away after using it. If you won’t wash it immediately, the bristles of your brush will harden, and removing paint will be difficult. You may end up throwing a good brush away because of this issue.
In washing your brush, you can simply move it back and forth at the bottom of the container with water. Move the brush in the same manner as you would when painting. The residual paint will gradually detach itself from the brush’s bristles.
Tip 4: Drying Your Brush
When drying your brush, use a paper towel. Fold the paper towel in half lengthwise, repeat until you have a little square. Open the small square tissue and place your brush inside it.
Use one hand to pull the brush towards you while using the placing the other hand over the bristles of the brush. This process removes the water in the brush while retaining the brush’s natural shape.

Lay Paintbrushes Horizontally When Drying Them
Image by IndraNeel from Pixahive
Tip 5: Store Brushes Horizontally
After washing and drying your brush, it is advisable to lay your brush horizontally until it has completely dried. Once completely dry, you can store it vertically again.
If you store your brush vertically after drying it with tissue, the remaining water in the bristles will travel down to the handle of the brush. This can weaken the adhesive holding the metal barrel in place causing it to eventually fall off. Water can also cause damage to the brush’s handle through flaking, peeling, or rotting.
Professional Tips for Stenciling
Stenciling is a wonderful crafting hobby. You can even earn from doing it. However, stenciling can be tricky for beginners and even for some experienced crafters. With stenciling, mistakes can happen and you can easily mess up the image.
The most common problem with stenciling is applying too much paint. When too much paint is applied, the paint “bleeds” under the stencil. This causes blurry images. To avoid this from happening, here are some professional tips you can try:
Tip 1: Tape the Image in Place
You have to secure all the edges of the stencil by using painter's tape or washi tape. You should also tape the areas you don’t want to be colored. The design will turn out better if the stencil is more flush with the surface.
It is better to use adhesive stencils for they adhere completely to the surface. Also, using an adhesive stencil prevents small inside pieces of the design from moving.
Tip 2: Using a Stencil Brush
The right brush will give the best results. A flat paintbrush will not give you the best stenciling results. It is recommended to use a stencil brush. Stencil brushes come in different sizes and are designed specifically to give you a clean stencil image.
Tip 3: Load and Offload Your Brush
Loading paint onto a stencil brush is different from a regular paintbrush. When loading paint onto a stencil brush, you have to gently dip it into the paint while holding the brush vertically. The ends of the bristles should be the only part of the brush to have contact with the paint.
Do not directly apply the brush with paint over your project. You have to offload the paint with a paper towel. How do you offload the paint? You can do this by vertically holding the brush while the bristles are touching the paper towel. Make the brush do a “hula hoop” movement in a clockwise direction.
Offloading paint from your brush will remove the excess paint. This will leave your brush nearly dry.
Tip 4: Swirl or Tap Your Brush
If your brush is offloaded, you can start to carefully apply paint onto the open areas of the stencil by tapping motion. If you prefer moving your brushing in a swirling motion instead of tapping it, that is also fine. This technique may require you to frequently reload your brush with paint. However, it is better to reload than to drown your project with so much paint.
Tip 5: Removing the Stencil While the Paint Is Wet
It is best to remove the stencil while the paint is still wet. Don’t wait for the paint to dry out. Doing this allows the paint to bond with the stencil which can cause some paint to peel off from your project.
Professional Tip for Opening Paint Bottles
New paint bottles often come with plastic seals covering the cap. There are some plastic seals that are difficult to remove. There is a trick on how to remove annoying plastic seals.
The first step in removing the plastic seal is by firmly holding the bottle’s cap with your hand and twisting the cap clockwise. The plastic seal will start to move and can now be easily removed.
Which Is Better to Use for Signage: Removable Vinyl or Permanent Vinyl?
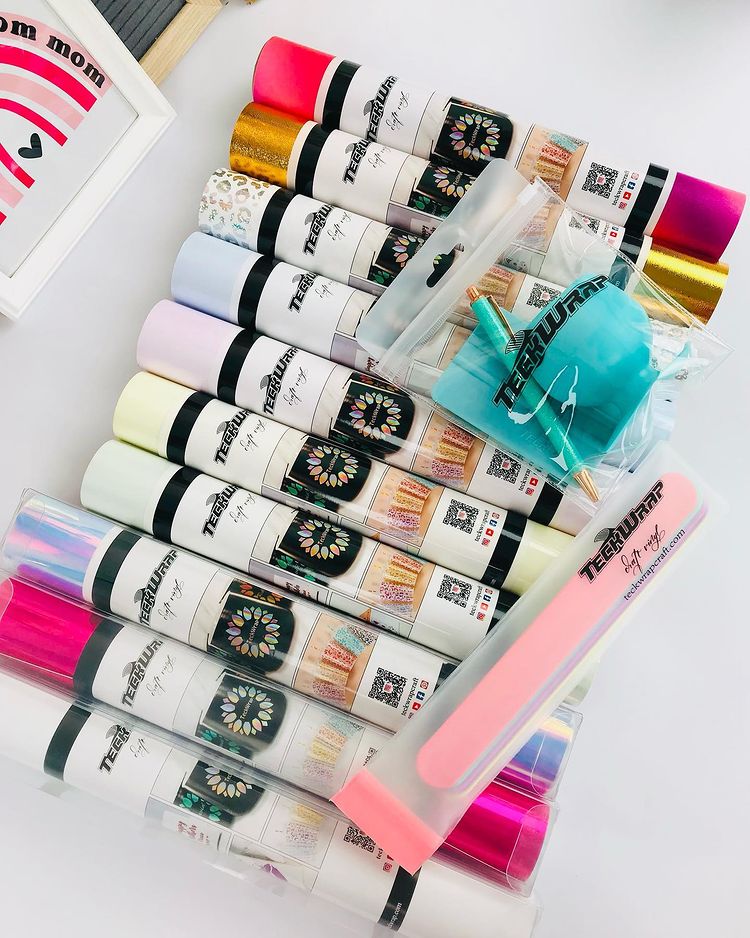
TeckWrap Craft’s Adhesive Vinyl
If it is your first time doing a stencil project, you may initially consider using removable vinyl as a stencil material. Yes, this is a good idea. Removable vinyl is great to use because it can easily be peeled off and it doesn’t leave any sticky residue on the surface. It doesn’t cause damage to the surface or material.
If you are using removable vinyl, you can apply the technique stated above by using Mod Podge to seal the vinyl. This prevents the paint from “bleeding”. The results are better.
However, if you are looking for an output with sharper and crisp lines, the better solution is to use permanent vinyl. If you are working on painted wood, permanent vinyl is the way to go. Permanent vinyl on painted wood is the quickest way to make outdoor wood signs. Using permanent vinyl can withstand changes in weather conditions and can withstand getting wet.
FAQs
Why Is My Paint Peeling off With My Stencil?
Your paint is peeling off because you waited for the paint to try before removing the stencil. When the paint is already dry, the paint and stencil have bonded together. Thus, when you remove the vinyl it can pull paint off. It is recommended to remove the stencil while the paint is still wet.
Should I Let Paint Dry Before Removing Stencil?
As stated above, you have to remove the vinyl while the paint is still wet. To be more specific, you may let the paint dry for a bit before removing the stencil. Don’t remove the stencil right after applying your last thin coat. Waiting for a few seconds before removing the stencil to ensure that accidental smudging or smearing will not happen.
How Do You Keep Paint From Bleeding Under Vinyl Stencils?
Sealing the stencil with Mod Podge can prevent the paint from bleeding under vinyl stencils. Apply a thin layer of Mod Podge over the stencil. Patiently wait for the Mod Podge to dry before applying paint on the stencil.
How Long should Paint Dry Before Removing Stencil?
For base coat paint, you may let it dry for at least 24 hours before stenciling. For best results, use a flat sheen base coat paint.
Summing Up
This article covered so many useful and professional tips that you can use for your next stenciling project. You can now make a perfect hand-painted sign with ease. Working with vinyl stencils is no longer going to be a nightmare!
You may use removable vinyl as your stencil at TeckWrap Craft. If you have a cutting machine at home, you can create stencil designs without worrying of the paint from removing. Happy painting!