In a previous post, we discussed about mirroring the print of heat trasnfer vinyl. Now when you’re customizing crafts using a permanent vinyl, you may ask yourself: Do you mirror permanent vinyl? Let’s cut to the chase and not confuse ourselves: No, you do not mirror permanent vinyl on the design space. You never mirror adhesive vinyl.
First things first, there are two types of vinyl — heat transfer for garments and adhesive vinyl for crafts. With heat transfer vinyl, yes you mirror the image. For adhesive vinyl, no you do not mirror the design. Read further to know more.
In this guide, we’ll talk about adhesive vinyl. Adhesive vinyl is used to custom-print solid surfaces like plastic, glass, metal, or even the wall. There are two types of adhesive vinyl — removable and permanent vinyl.
Both removable and permanent adhesive craft vinyl are like stickers. The colored vinyl side faces the blade of the cutting machine. Its bottom part is sticky, and sticks to the adhesive vinyl paper backing.
The vinyl is placed on the transfer tape, then the paper backing attached to the vinyl is peeled off and placed on the project surface. Basically, it’s like a sticker, that’s why you don’t need to mirror the image when creating a project using a permanent or removable vinyl.
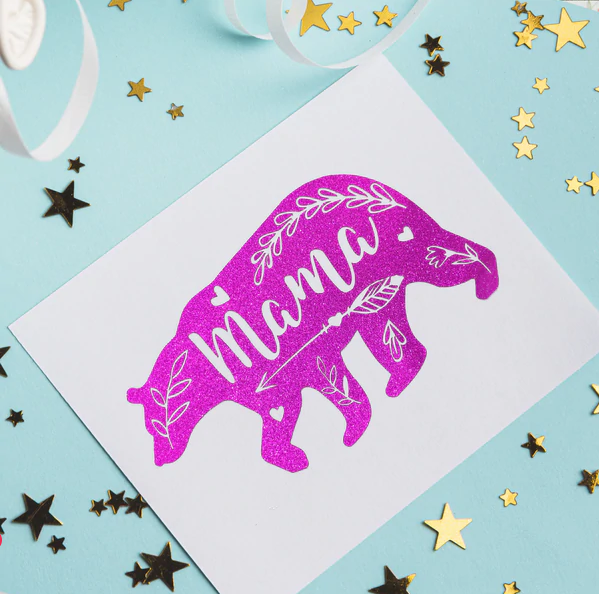
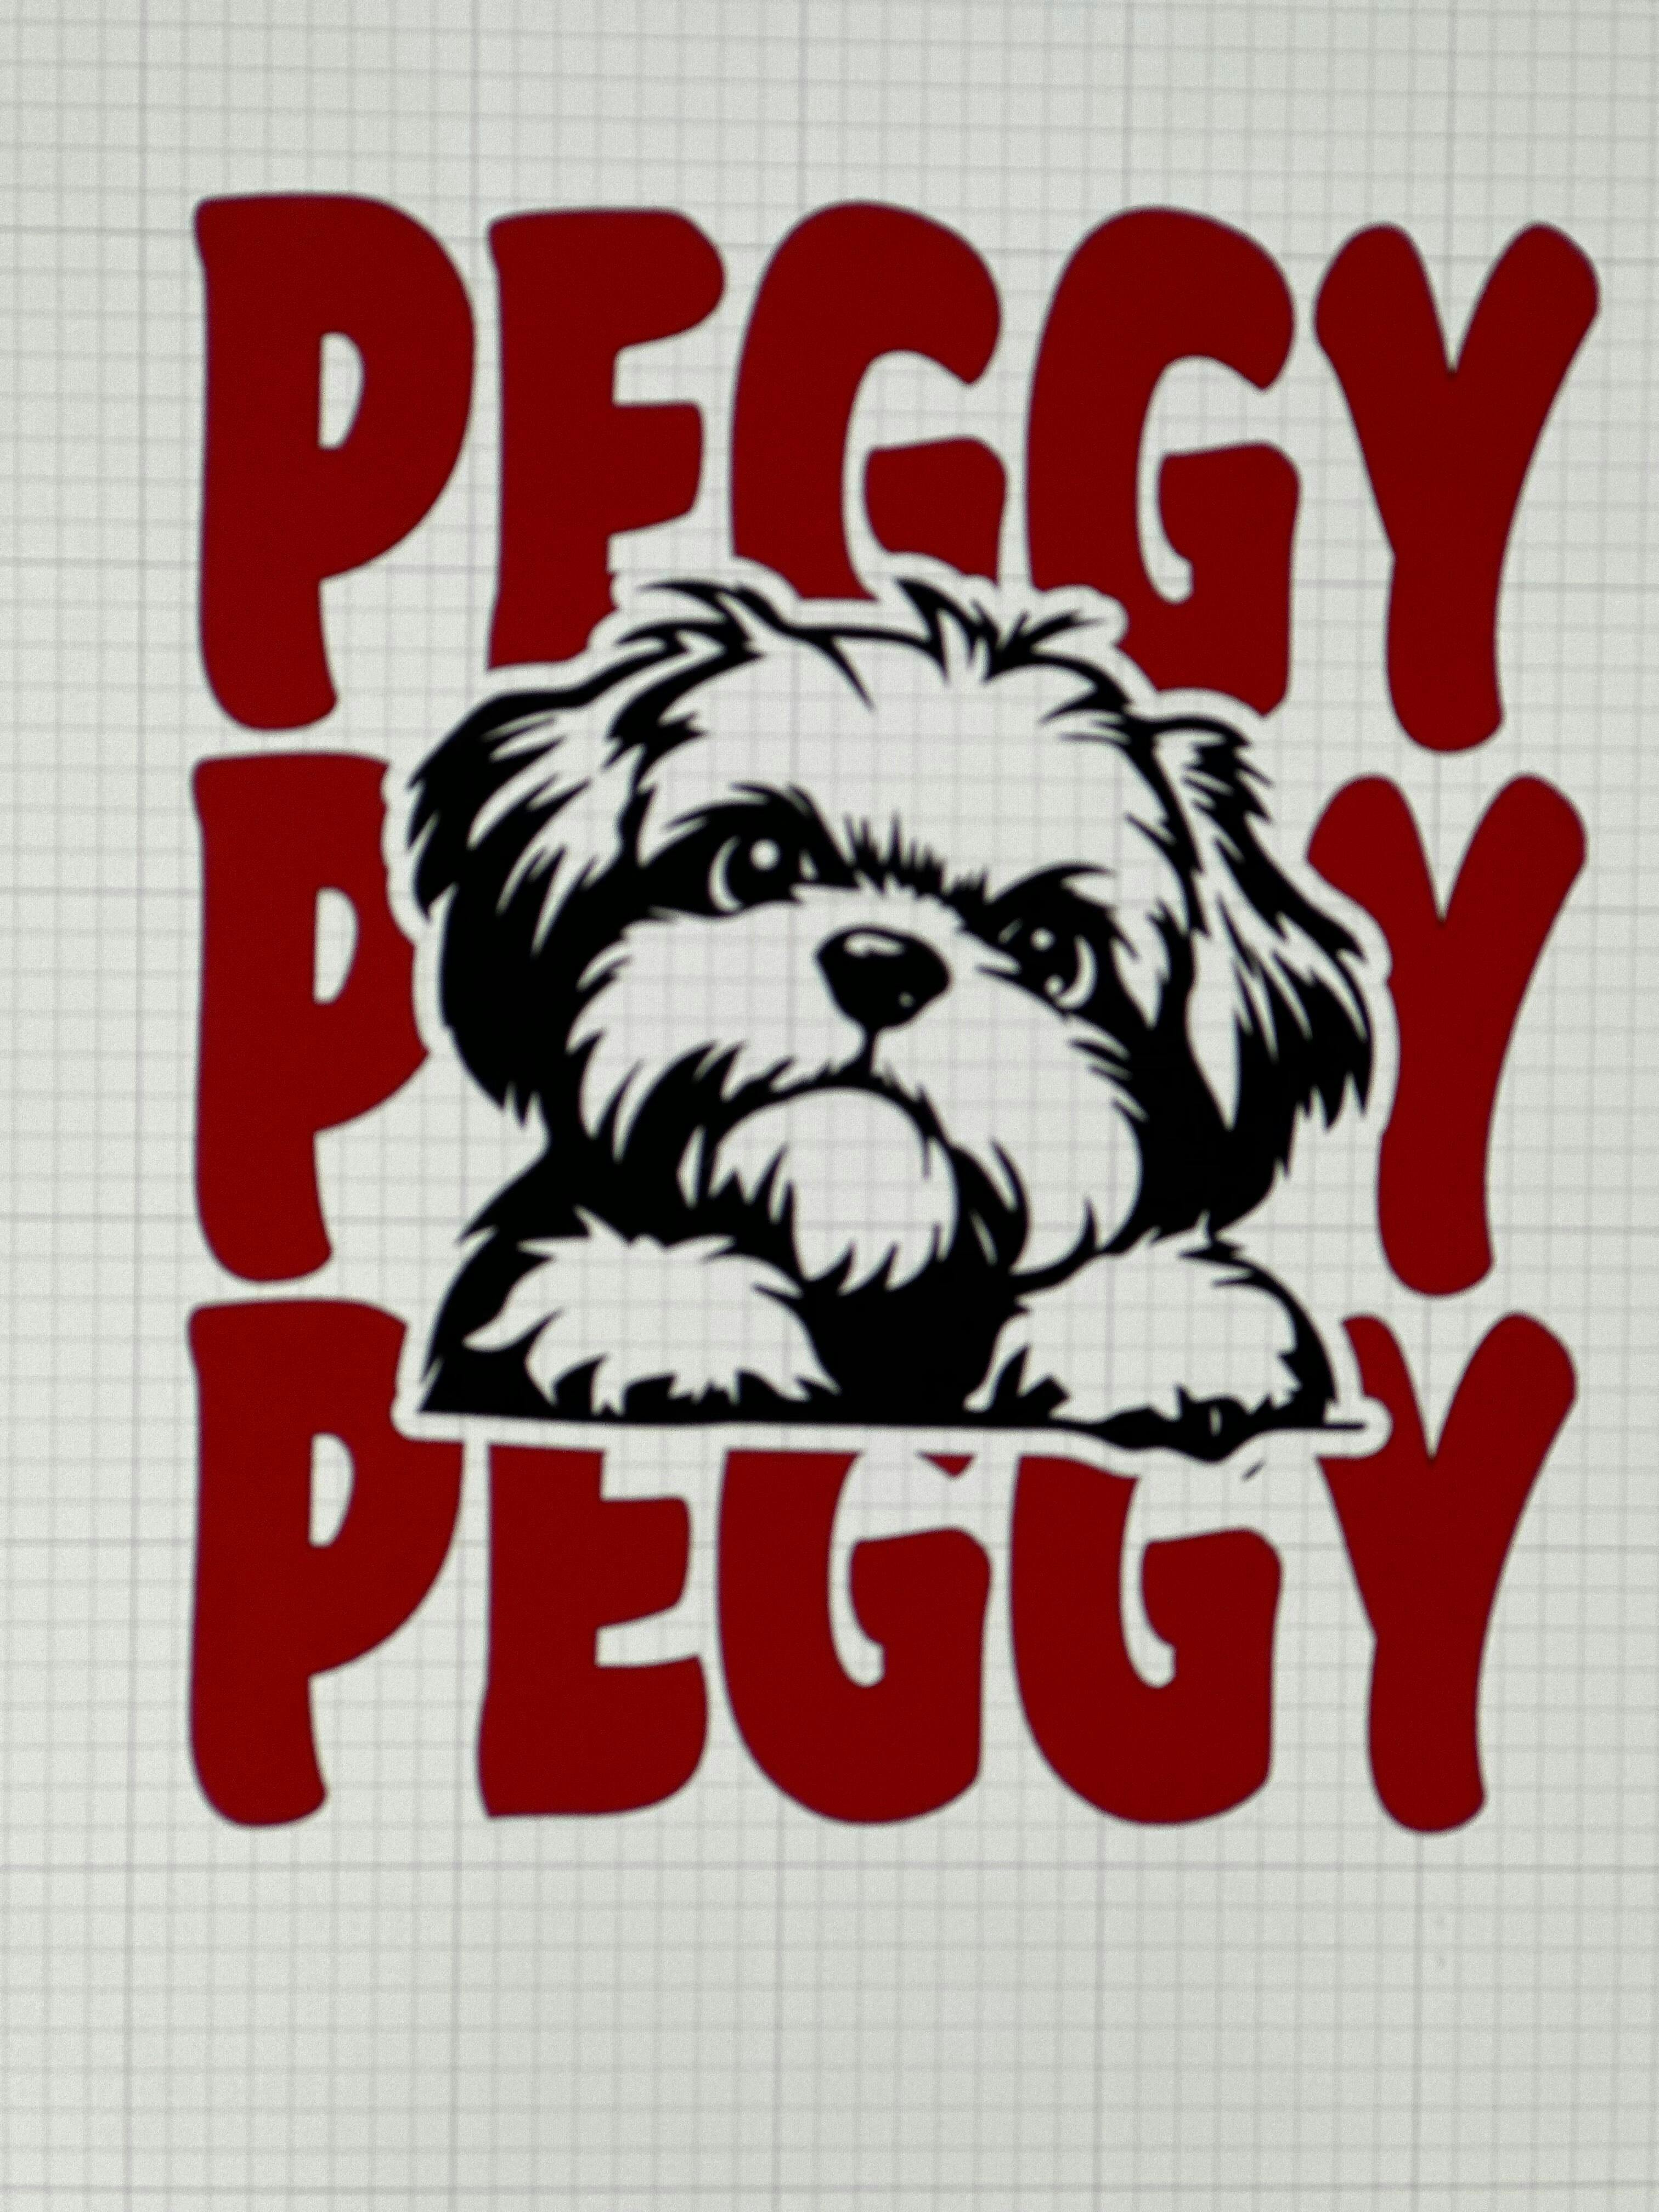
Parts of an adhesive vinyl — the white part is the backing sheet while the Fuschia bear is the sticky vinyl
What Does Mirror Image Mean?
To mirror the image means to flip the design horizontally. The adhesive vinyl has a paper backing just like sticker papers. As you place vinyl on the cutting machine, the top of the vinyl is what faces the blade of the cutting machine. That’s why you don’t need to mirror your image.
In the Cricut Design Space or Silhouette Software, there is an option to Select Flip Horizontally in order to mirror the image. This is applicable for (HTV) heat transfer vinyl or iron-on vinyl, you need to mirror the image.
Mirroring a design is also applicable for printable heat transfer vinyl, especially for sublimation printing. On the other hand, you should never mirror adhesive vinyl because it’s just like a sticker that you place directly on merchandise.
What Is Permanent Vinyl Used For?
Permanent vinyl is recommended to be used for car decals, outdoor signs, and other merchandise that needs to be washed like mugs, tumblers, or cups. It is not recommended to use permanent vinyl on walls as it may damage the wall’s paint.
As the name states: it’s permanent, which means it sticks for a long time on a surface. So make sure when you use permanent vinyl, the purpose is for permanent decals. Permanent vinyl is water-resistant and can withstand washing. If you think you need to remove the decal in the future, better use removable vinyl instead.
You can use permanent vinyl on these surfaces:
Plastic
Flat-surfaced walls
Glass
Metal
Ceramic
Wood
Any smooth surfaces
Temporary Vinyl vs Permanent Vinyl
As mentioned earlier, there are two types of adhesive vinyl — temporary and permanent vinyl. Removable vinyl is the vinyl of choice for temporary designs and for indoor walls. While permanent vinyl is recommended for permanent use and outdoor use.
When removable vinyl is used as wall decals, it won’t damage the walls even when removed. While permanent vinyl is recommended for outdoor signs, window decorations, and items that need to be washed frequently like tumblers or mason jars.
As for the other type of vinyl — iron-on or heat transfer vinyl, it is used for printing garments or fabrics. You cannot substitute one for the other as adhesive and heat transfer vinyl is different. Do not confuse yourself in this part.
Instructions on Creating Permanent Vinyl Crafts
Now that we’ve gotten that out of the way, and now know never to mirror your image when using permanent vinyl, it’s time to learn the clear instructions on how to personalize crafts using permanent or removable vinyl.
Whether you plan to use it as a car decal, for wall signage, or a washable mug, here are the step-by-step instructions on how to create crafts using permanent or removable vinyl. Here are the supplies you need:
Before cutting vinyl and sticking it to the merchandise, of course you have to prepare your design. You can create your own design or use the available vectors at the Cricut Design Space.
Step 2: Scale the Design
The second step is to scale the design. What does this mean? You need to measure the size of the decal depending on the surface where you want to place it. You can use a measuring tape or ruler to scale the design.
Measure the design by inches so it’s much easier to adjust later on in the Cricut Design Space. Take note of the desired size of your decal, then adjust the size on your cutting machine’s software. As a general rule, always adjust the image before you cut.
Step 3: Adjust Machine Settings
Whether you’re using heat transfer vinyl or Cricut permanent premium vinyl, here’s a step you should never miss out on is to adjust the machine settings. Using your Silhouette Studio or the design space of your Cricut machine, change the settings on the type of vinyl you’re using.
In this case, permanent outdoor vinyl is used for this project. But the question is, what kind of vinyl do you have? That will depend on the pattern or texture it has. Whether be it glitter vinyl or metallic, usually, you can choose ‘Regular Adhesive Vinyl’in the settings section.
When you change the vinyl material on the software, the default settings will change. This includes the force and speed of the cutting blade.
In most cases, the default settings are good enough to cut the vinyl smoothly. However, that’s not the case most of the time. You need to manually adjust the settings to get the cut right. That’s what a test cut is for, which leads us to the next step.
Step 4: Test Cut Vinyl
Whether you’re using a patterned or glossy vinyl, you need to test cut. For expert crafters, a test cut is usually done at the upper left corner of the vinyl, which is a default setting for every cutting machine.
Step 5: Cut the Design
If you’re confident that the vinyl easily peels off from the cover sheet, proceed with cutting the design. Always use a cutting mat and place the material face up. Place the dull side of the vinyl on the cutting mat and make sure it sticks well. Place the vinyl glossy side upwards facing the cutting machine’s blade.
Load the vinyl, click send and wait for the design to be finished. If you notice, when you send the design for cutting, it will prompt if you need to mirror your image. Skip this step because you won’t need that for permanent vinyl.
Step 6: Weed Out the Excess Vinyl
Weeding out the excess vinyl means removing the part of the vinyl that should not be part of the decal. Use a weeding tool or tweezer, included in TeckWrap Craft’s Tool Kit for more precision when weeding out vinyl especially if you’re dealing with intricate designs.
Step 7: Transfer the Design to the Transfer Tape
Now you need a transfer tape on which you’ll have to transfer the decal. Why? Because you need to remove the backing paper when it’s time to stick the design to the material surface.
Apply transfer tape to the design itself. Use a squeegee to flatten the vinyl to the transfer tape. Then remove the paper backing. Repeat the process if you have multiple layers of design.
Step 8: Finish Your Merchandise!
That’s about it! After you’ve removed the paper backing, transfer the decal to the merchandise. Make sure to clean the material’s surface before transferring the design.
Custom-printed tumbler usingmetallic vinyl and glossy vinyl
Project Ideas Using Permanent Vinyl
Now that you’re aware of how to create decals using permanent vinyl, what are some projects you can do with it? There are several, here are some ideas from TeckWrap Craft, of course, using the high-quality TeckWrap Craft adhesive vinyl collection.
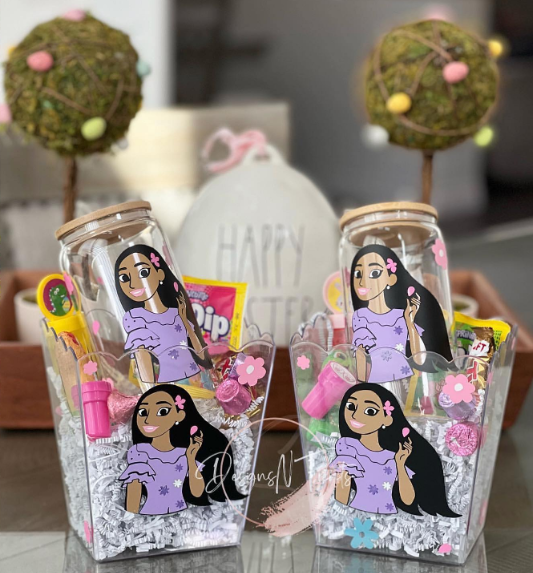
Create crafts using TeckWrap Craft adhesive vinyl and monetize your talents. How cute are these custom-printed beer glasses and acrylic containers? Buy these beer can glasses at the TeckWrap Craft site.
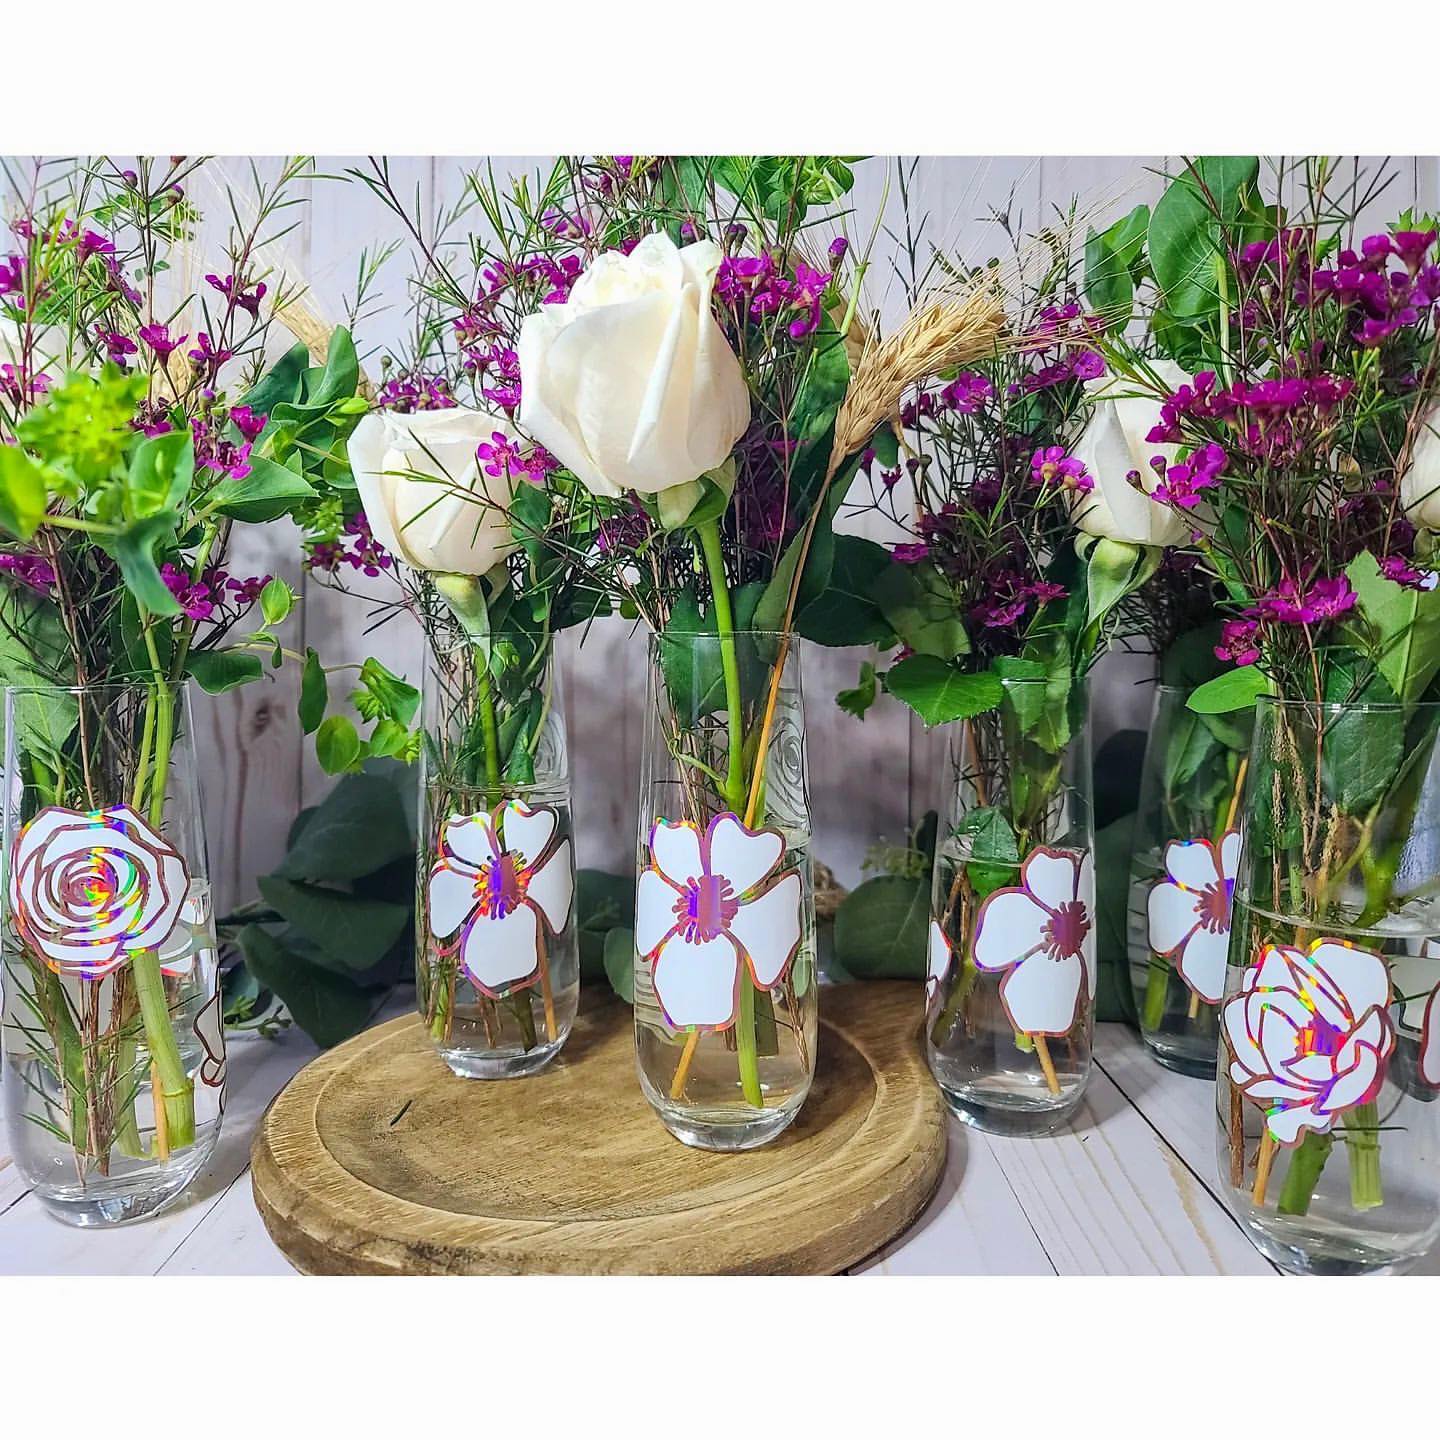
Are you planning a Sunday lunch or dinner with friends? Add more life to your dinner table with these custom-printed flower vases using permanent adhesive vinyl from TeckWrap craft.
Mason Jars
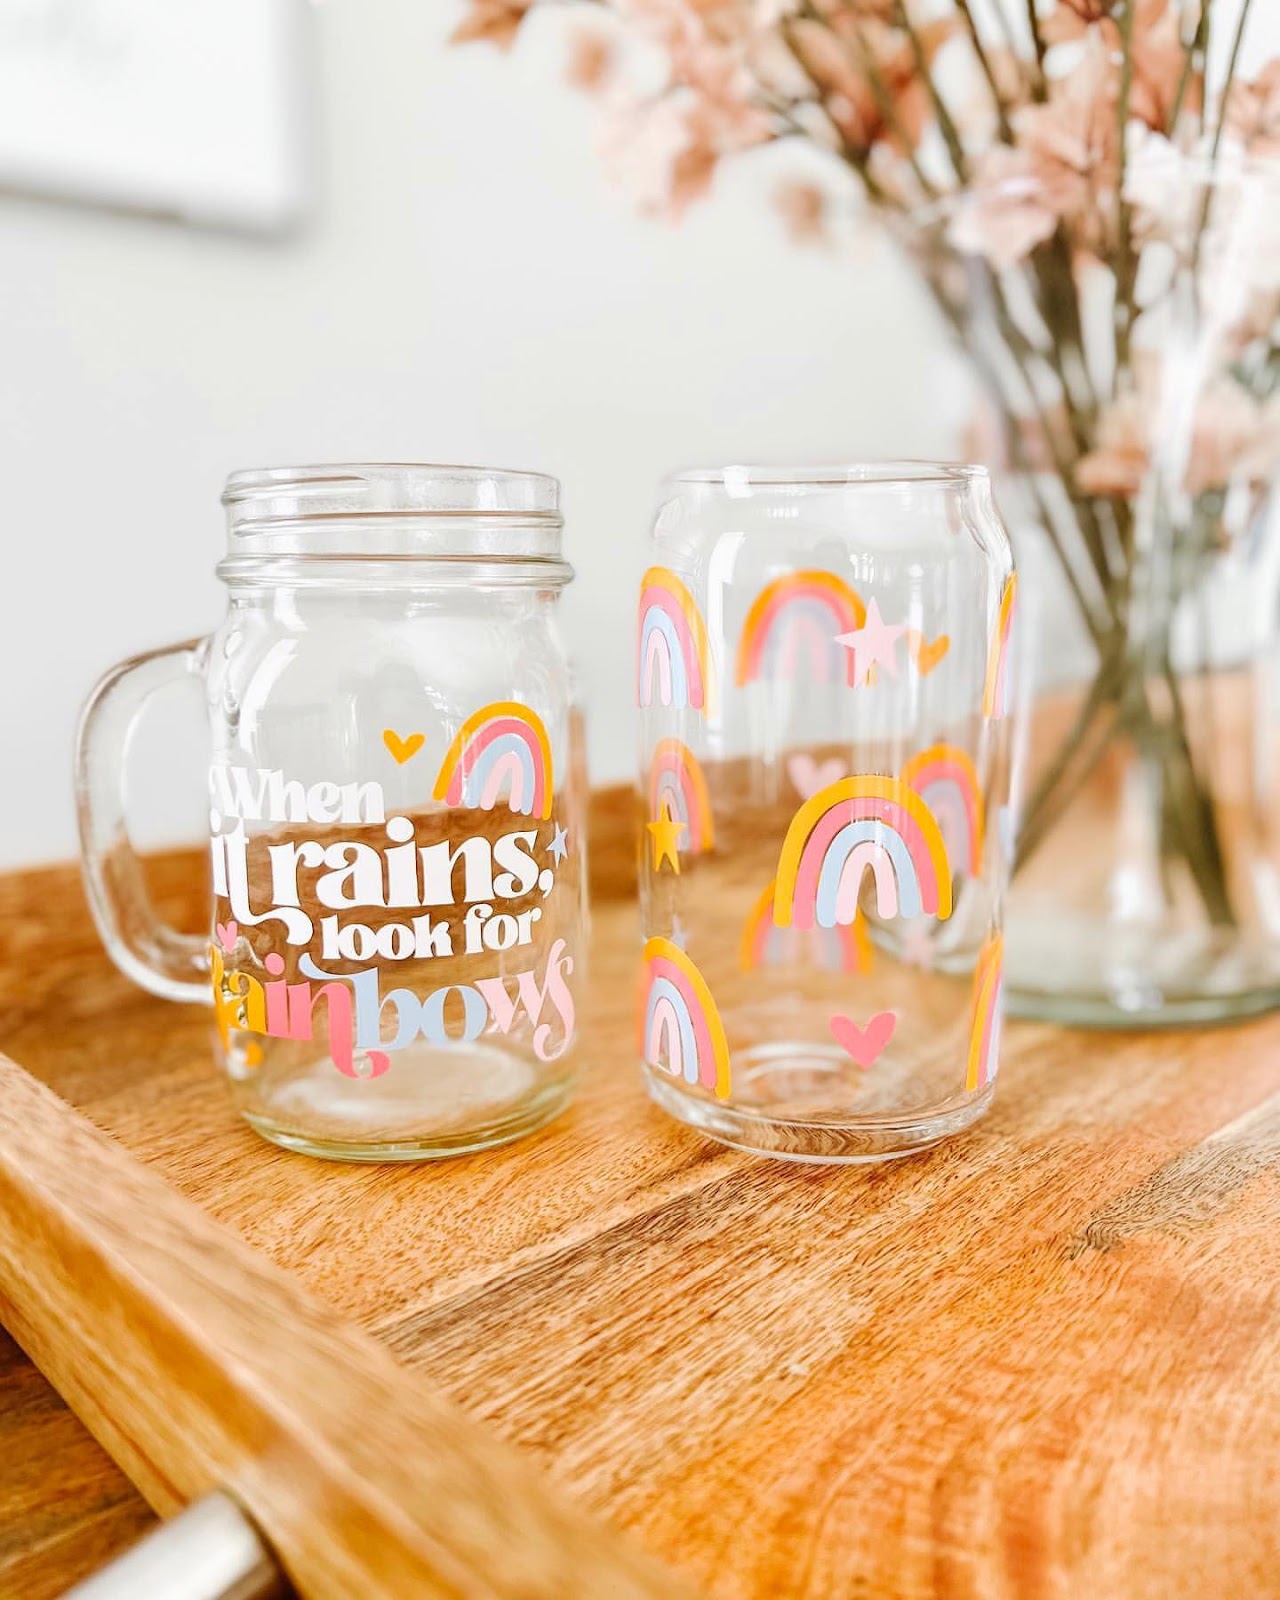
TeckWrap Craftglossy vinyl on mason jars and beer can glasses with glossy finish
Gift ideas for your friends or loved ones? Create these custom-printed mason jars or beer can glasses for them. Even the simplest designs can create the perfect gift. Do you know what’s a better idea for this? Use the UV-resistant color-changing vinyl of TeckWrap Craft. Every time they pour cold drinks into the glass, the color of the vinyl changes. How cool is that?
Frequently Asked Questions
Do You Mirror Heat Transfer Vinyl?
Yes, you should mirror heat transfer vinyl. When using (HTV) heat transfer vinyl, the carrier sheet is on top of the vinyl. The side with dull color is what faces the cutting machine’s blade. While the shiny side faces the cutting mat.
Do You Mirror Adhesive Vinyl?
No, you do not mirror adhesive vinyl. Only iron on vinyl or heat transfer vinyl is mirrored in the cutting machine’s software.
Which Side of Permanent Vinyl Goes Down?
The clear carrier sheet or the shiny side goes down cutting the vinyl on the cutting machine, or what sticks on the cutting mat. The side with dull color comes in contact with the cutting machine’s blade.
Summing It All Up
There you have it! To sum it all up, do not mirror permanent vinyl, the same concept applies to removable vinyl. Use transfer tape to transfer the design so you can stick it to the merchandise. Always scale the design prior to sending it to the cutting machine, and always use a cutting mat.
You only mirror the design if you’re using iron-on vinyl and print it on a t-shirt. The next time you create a craft using permanent vinyl, circle back to this crafting guide to refresh your memory. Happy crafting!
Choosing a selection results in a full page refresh.
The free shipping is a life saver sometimes when the cost can be very high. That and the fact your product is awesome helps in making decisions on what product to buy. Thanks for helping the senior craft family be able to still do what we love.
The description is misleading. Expected to get more rolls. Very disappointed in the vinyl as it was probably leftovers that wouldn't sell. Ugly colors for sure.
Teckwrap HTV, my most favorite of all HTV’s .. love the results of all my projects love the easy weeding process love all the colors … bottom line love my Teckwrap HTV; highly recommended❤️
D
2025 May Box Dianna
I really REALLY liked the concept. You get a variety of items to choose from.