Transfer tape for vinyl (also known as application tape) is a clear or semi-transparent adhesive film used to lift cut and weeded vinyl designs from their backing paper and transfer them accurately onto a surface. It acts as a bridge between the backing sheet and the final surface, helping designs maintain their exact shape, spacing, and alignment during application. Our adhesive Transfer tape is ideal for applying vinyl to glass, wood, metal, plastic, walls, windows, signs, and other smooth surfaces, and is especially helpful for intricate or multi-piece designs where precision matters.
By holding the vinyl securely in place, transfer tape allows for smooth, clean placement without stretching, shifting, or damaging fine details.
-
Low Tack Transfer Tape: Designed for delicate vinyl designs and fragile surfaces, offering gentle adhesion that lifts vinyl easily while reducing the risk of tearing or damage.
-
Medium Tack Transfer Tape: A versatile, all-purpose option suitable for most standard craft vinyl, including permanent and removable types. Ideal for smooth surfaces and precise placement.
-
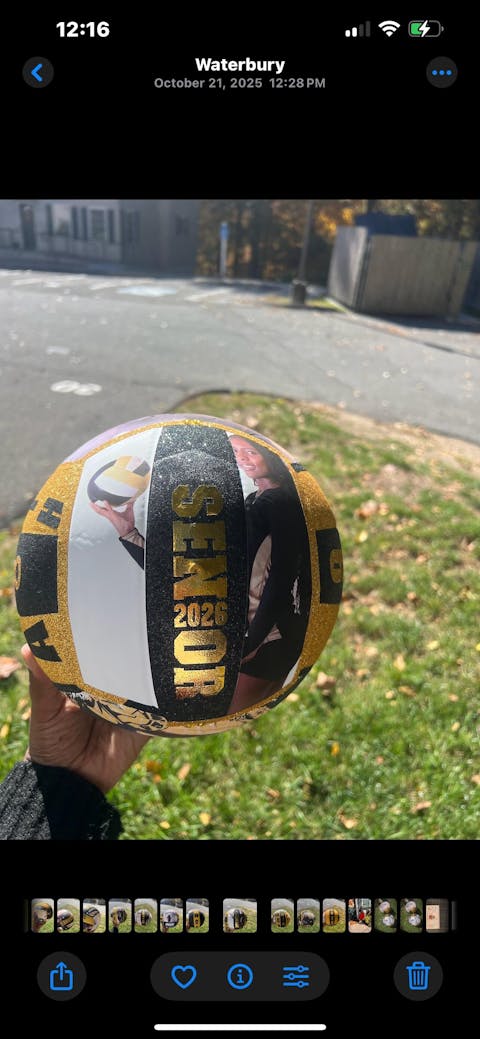
High Tack / StrongGrip Transfer Tape: Provides enhanced adhesion for textured, glitter, shimmer, or stiffer vinyls that are harder to lift, ensuring reliable transfer in tougher applications.

How To Use Transfer Tape?
Our transfer tape is quite easy to use. Make sure that the surface of your substrate is smooth, non-porous, and completely clean. There should be no contaminants or grease marks on it for the strong adherence and long-lasting performance of your craft. Here’s what you should do:
-
Cut the Transfer Tape: After cutting your design and weeding out the extra vinyl pieces, cut a piece of the transfer tape from the roll. It should be bigger than your pattern to cover it completely from all sides.
-
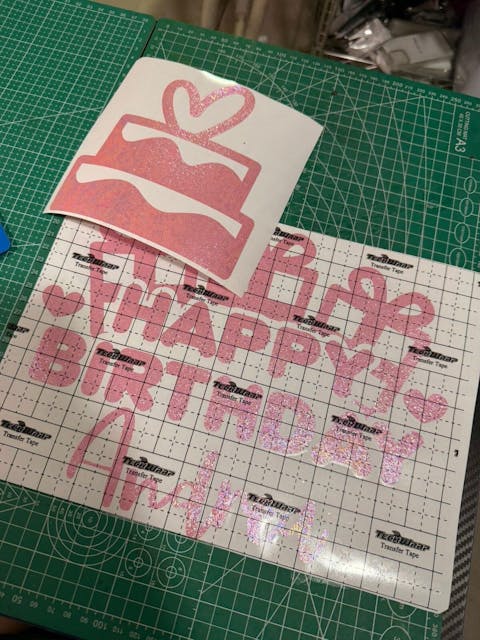
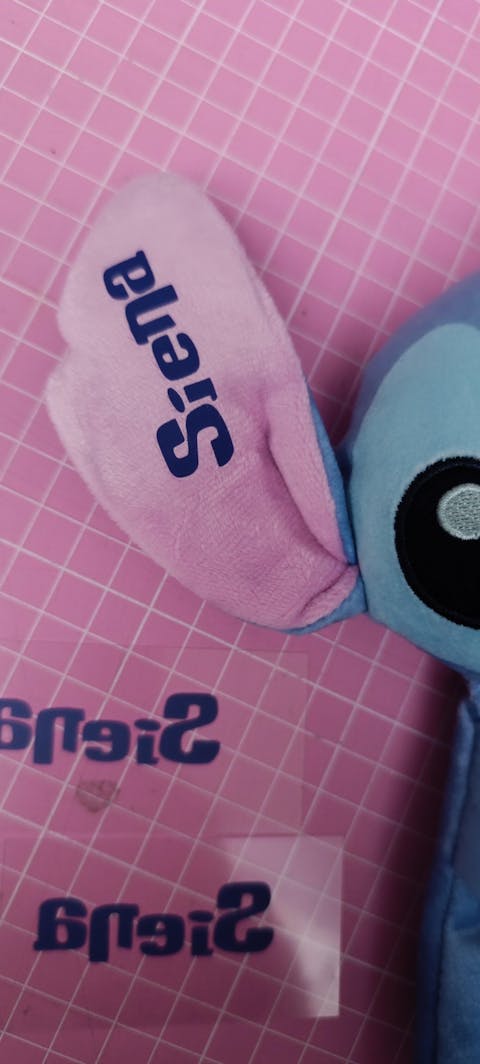
Apply It to Your Design: Remove the backing paper from the transfer tape and apply it to your design. If you are a newbie, it is recommended to use the one with the grid for correct alignment.
-
Burnish it with a Squeegee: Take a squeegee with a soft, felt edge and slide it over the design with slight pressure to help adhesion and allow smooth coverage. Be gentle yet firm.
-
Remove the Backing from the Vinyl: Now, slowly remove the backing of your adhesive vinyl. You will see that your design is now stuck to the transfer paper. If any of the small pieces have not adhered to the transfer tape, stick it over the design again and burnish with a squeegee. Now lift it again, ensuring that your design is completely on it.
-
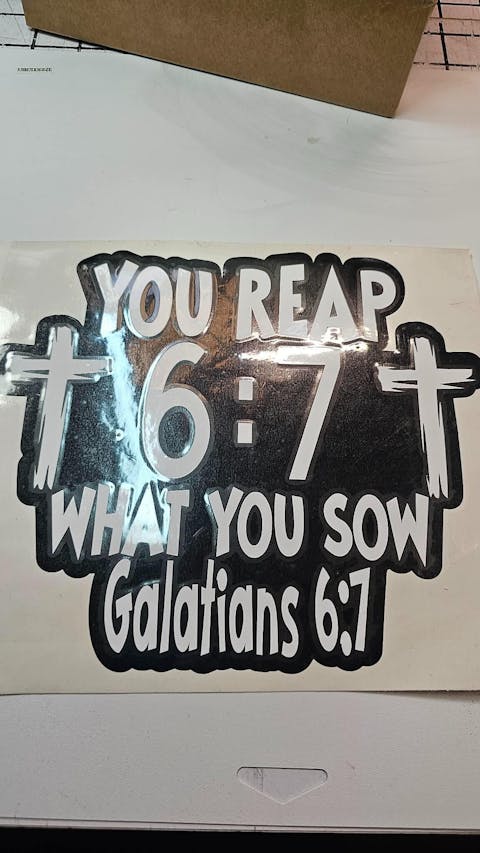
Apply Your Decal: Apply your vinyl design on the blank where you want it to be, and burnish with a squeegee again using slight pressure. Make sure that your design has adhered to the surface of your blank perfectly.
-
Remove the Transfer Tape: When you are sure that your design has adhered to the surface, slowly remove the transfer tape at an angle. Do not lift it vertically. Keep it close to the surface while removing, and that’s it. Admire your workmanship.

Features Of Transfer Tape
-
High Performance and Long-lasting: It is durable and easy to use. It keeps the different pieces together during transfer without tearing or stretching.
-
Great Compatibility: It is compatible with a variety of vinyl materials and surfaces, so you can work easily on different projects.
-
Different Adhesive Strengths: You can select among the different tack levels of our transfer tape depending on the adhesive vinyl you are working with.
-
Clean Transfers: Their adhesive won't damage the surface or leave any sticky residue.