Posted By TeckWrap Craft On April 26, 2023

Digitally embroidered batches for beanies are undoubtedly the norm and the trend. But digital embroidery machines cost a fortune. So what’s a cost-effective alternative to making custom-patches for beanies?
There are a few alternatives in making woven patch Beanies and this would surely spark your interest. Using sublimation patches and heat transfer vinyl, you can custom-print on your beanies. Read along and learn how.
What Do I need To Make Custom Patch Beanies?
Who says you need an embroidery machine to make a custom patch Beanies? You’ll be surprised to know that you can do it yourself even without the costly embroidery machine investment. Here are the supplies you need to make custom patch Beanies:
- Cap heat press machine or Mini Heat Press machine
- Sublimation patch blanks
- Sublimation paper
- Inkjet printer with sublimation ink
- Scissors
- A beanie or any kind of hat
- Ruler or measuring tape
- Thermal tape
- Teflon sheet or parchment paper
The best alternative to an embroidered patch is by using a sublimation patch blank. Where can you buy this? Check out the photo below to see what sublimation patch blanks look like.
It’s available in different sizes and shapes so the designs you can make are just endless. It comes in different colors of its borders so it’ll blend right in with any beanie you want to customize. Sublimation patches come in a polyester white background so it’s the perfect alternative to embroidered patch beanies.
Its back portion is highly adhesive to fabric when exposed to heat just like a heat transfer vinyl. So the sublimation patch adheres to almost any kind of fabric when heat pressed.
Of course, not only can you customize a beanie but other hats as well like trucker caps, baseball caps, bucket hats and more. Gather the supplies needed mentioned above and let’s start breaking down the steps!
Step-By-Step Guide On How To Make A Custom Patch Beanies
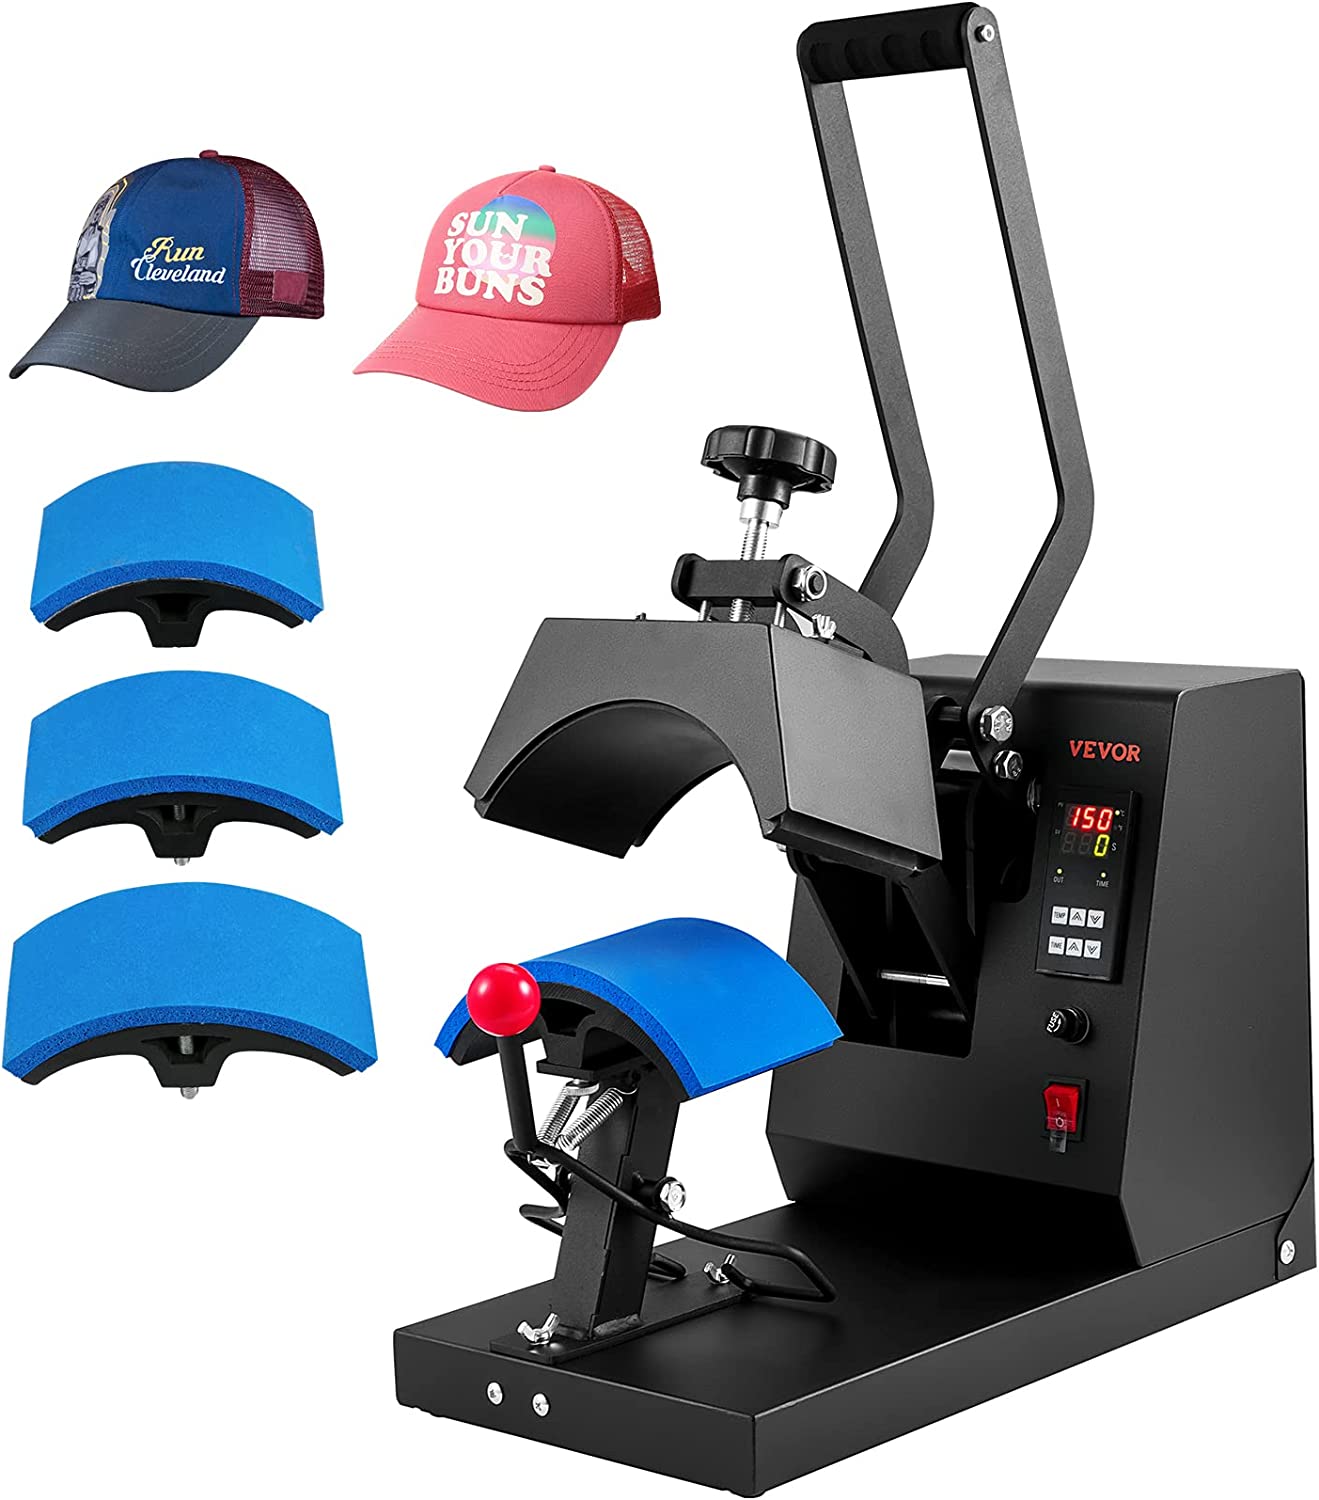
Before anything else, if you plan to make a profit out of this idea, and plan on printing plenty of hat patches, it is best that you invest in a cap heat press machine. You can pull off this project using a Mini Heat Press machine. However, the printing process will be more efficient, accurate and faster if you use a cap heat press machine.
Step 1: Measure The Size Of The Sublimation Patch And The Beanie’s Printable Area
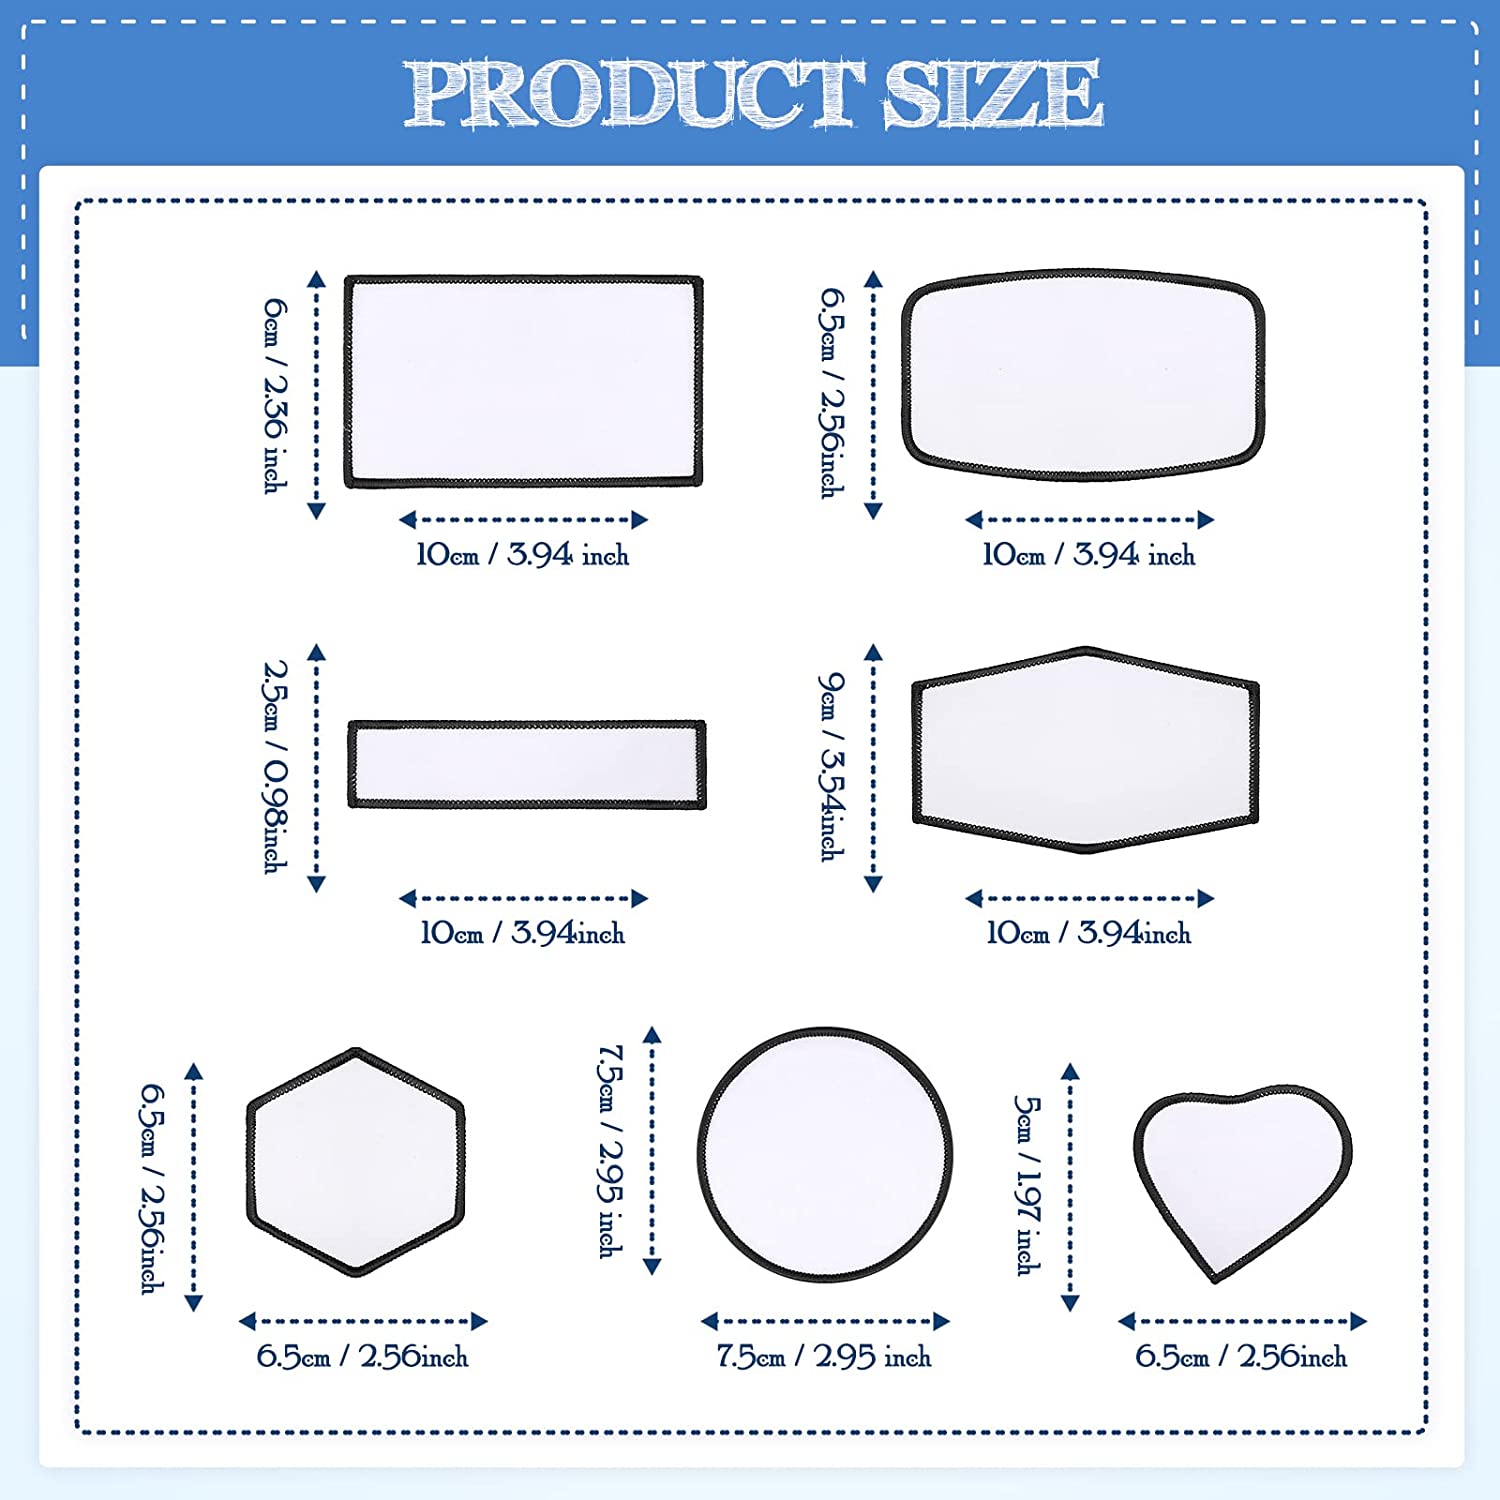
A crucial step, even before buying a sublimation patch blank, is to measure its size against the beanie or heat you want to print on. Double check the printable area of the beanie before buying sublimation patches. Use a ruler or measuring tape for this step.
Also, always check out the product description of sublimation patches before purchasing it. Check out the product sizes below for your reference.
Step 2: Upload Your Design Or Logo
The second step is to upload your design on your computer. You can use any editing software or even just your computer’s Microsoft Publisher program. Make sure the design is of the highest resolution and resize it according to the patch blanks size.
Step 3: Resize The Design
As mentioned, sublimation patch blanks come in different sizes and shapes. So when printing your design on sublimation paper, it has to be of the same shape and the size should be ½ inch larger than the size of the patch blank.
For instance, you opt for the round-shaped sublimation patch blank. Let’s say it measures 2.95 inches in width and length. So when resizing your design, add half an inch to it. It should measure 3.45 inches.
Step 4: Change The Design’s Shape
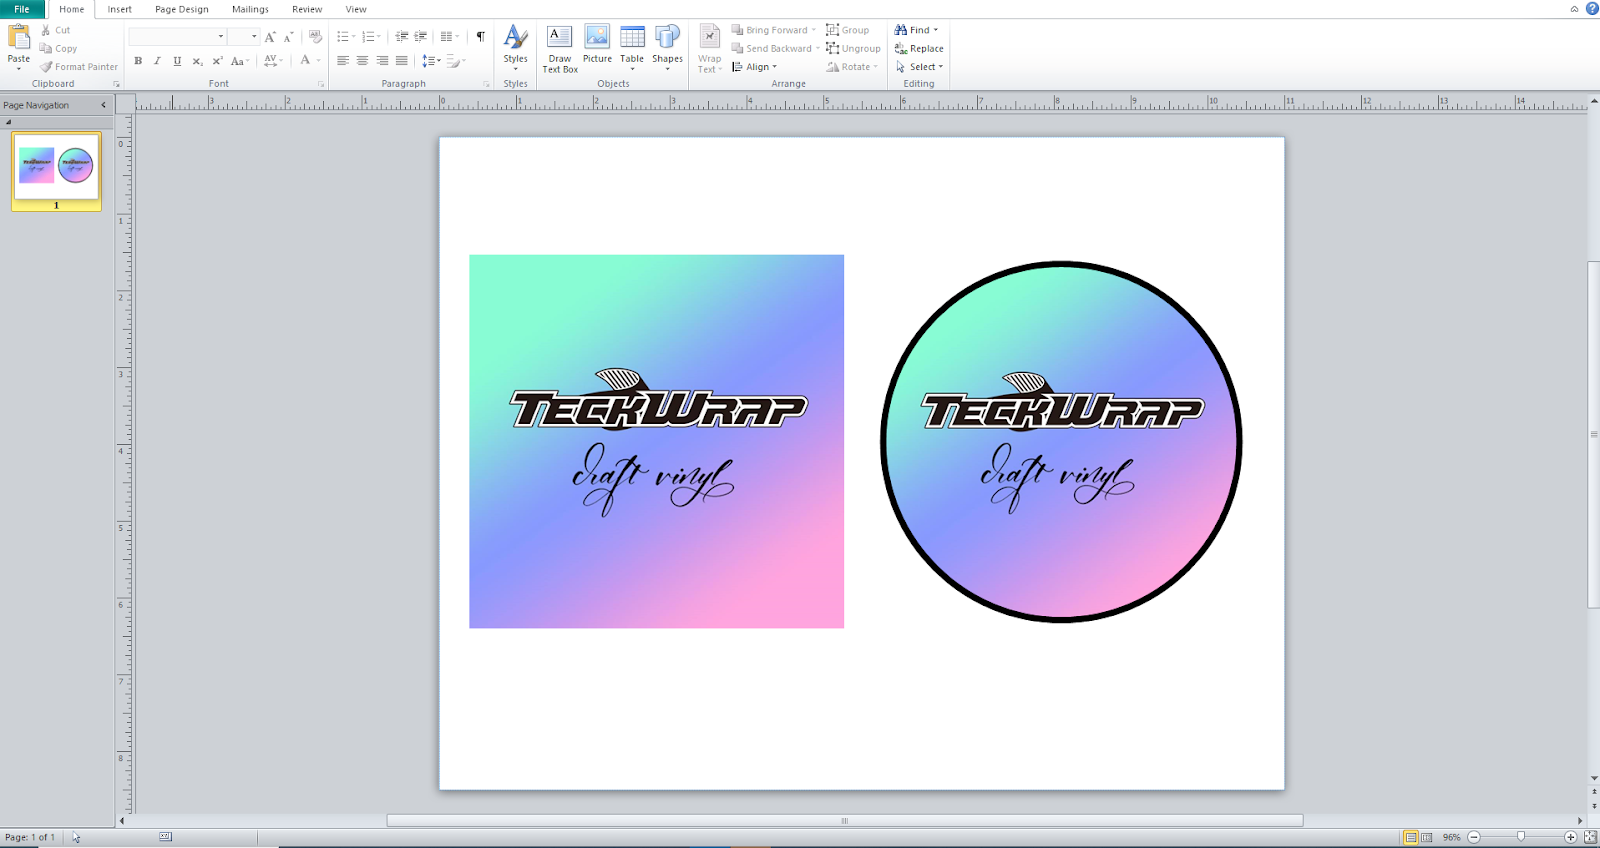
Let’s cross that T’s and dot the I’s and learn how to change your design’s shape. For instance, the file of the design you want is in a rectangle, but the sublimation patch you want to print on is round. So how do you create a round design? Pretty easy!
- Upload the design on Microsoft Publisher
- Double click the photo
- Go to Picture Tools → Format → Picture Style
- Choose the same shape as your sublimation patch
- See the comparison photo below
Step 5: Print The Design On Your Printer
As soon as you change the shape and are confident with the design, turn on your printer and prepare your sublimation paper because it’s printing time. Here’s what you need to remember:
- On the Printer Properties, print with the highest quality of print settings to ensure that even fine details on the design is visible (decrease the speed and increase the quality)
- Mirror the image
Once done printing, using your scissors, cut out the excess portion of the sublimation paper. The next step is to turn on your heat press machine, prepare your thermal tape, parchment paper and get ready to print.
Step 6: Heat Press The Sublimation Patch
- Place the printed sublimated paper on top of the sublimation blank and secure it with a thermal tape. Make sure it’s aligned and placed properly against the sublimation patch.
- Pre-press the beanie for about 5 to 10 seconds.
- Place the sublimation patch with the sublimation paper properly secured on the printable area.
- Place the hat on the aluminum platen of the heat press machine
- Place a Teflon sheet or parchment paper on top of the sublimation patch
- Then press! Follow the recommended temperature and time settings stated below.
If you’re using a cap heat press machine:
- Temperature: 380 to 390 °Fahrenheit
- Time: 40 to 60 seconds
If you’re using a Mini Heat Press Machine:
- Temperature: High
- Time: 50 to 60 seconds
- High pressure
- Place a rolled up cloth beneath the hat, enough to flatten the surface of the hat’s printable area
While heat pressing, the sublimation print will transfer onto the patch, while the patch itself adheres to the fabric like a heat transfer vinyl. So there’s no need for direct embroidery or tedious stitching. Customizing a beanie patch is not that hard, is it?
Other Uses Of The Sublimation Patch Blank
Sublimation patches are not just for customizing beanies only, it adheres to almost any kind of fabric as well. You can custom print on shirts, bags, hoodies and many more. Whether it be a cotton, polyester or poly blend fabric, it will adhere well onto the garment.
Sublimated patches will adhere to fabrics when heat pressed. However, you also have the option to sew the patch on the garment so it’ll look like a legit woven patch. But even without sewing it, it’s guaranteed to adhere to the fabric and you’re good to go.
Other Ways On How To Customize Beanies
Other than printing a sublimation patch on beanies, there are other ways to customize beanies as well. You can use heat transfer vinyl or inkjet heat transfer paper to custom print on beanie. Of course, that’s a whole different process, so you should check out this craft guide: How to Put Vinyl on a beanies with a Heat Press Like a Pro.
However, if you want to make legit embroidered beanies directly embroidered onto the hat, you have to invest in a digital embroidery machine. It’s going to cost you, but hey, any investment will be worth it in the future, right? In the meantime, try out this hat decoration method and check out how it’ll turn out.
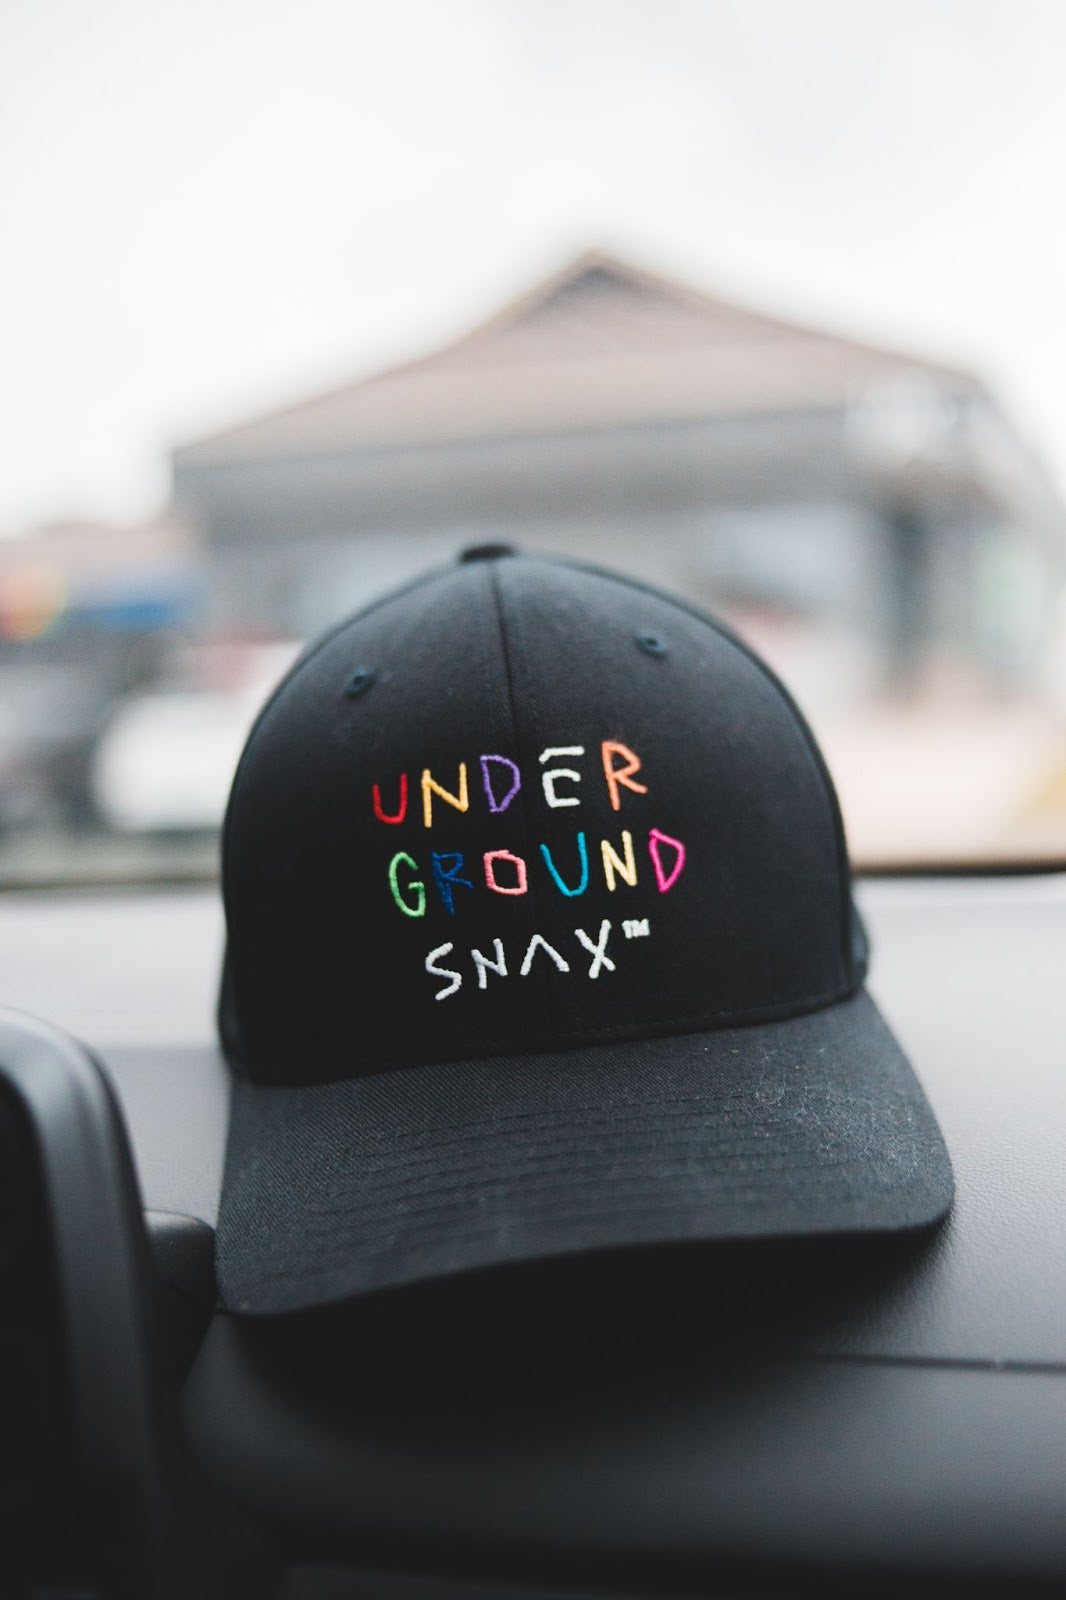
How To Make Leather Patch Beanies?
To make custom leather patches, you can purchase blank faux leather or colored rubber patches and use an engraving machine to customize it. Blank leather patches can be purchased from Amazon.
That’s It!
Amazing isn’t it? With a sublimation patch you can create as many patches for beanies as you want! In fact, you can customize on any cap you want with TeckWrap Craft’s sublimation paper, heat transfer vinyl for inkjet heat transfer paper, the projects are endless.
Make a big statement on small details you can print on hats, caps or any garment. So make sure to check out TeckWrap Craft’s selection of printable paper and collection of heat transfer vinyl now! Get ready your designs and start the work!


