Puff vinyl works like standard HTV with two key differences. First, place it shiny side UP on the cutting mat (opposite to most HTV). Second, peel the carrier sheet immediately while it is still hot so the vinyl can rise freely. Press at 300 to 320 degrees F for 10 to 15 seconds with very firm pressure, and only press once. A second press will flatten the raised effect permanently.
Puff heat transfer vinyl gives your designs a raised, three-dimensional texture that regular HTV cannot match. When heat and pressure are applied, a blowing agent inside the vinyl releases gas, which causes the surface to expand and rise. The result is a bold, tactile design that stands out on shirts, hoodies, and bags.
This guide walks through the full process from design setup to final press, along with the cut settings for Cricut and Silhouette, design tips specific to puff vinyl, a troubleshooting table, and care instructions to keep the puff effect looking good after washing.
Puff vinyl is a type of heat transfer vinyl made from polyurethane with a heat-sensitive additive called a blowing agent built into the material. When you apply heat with a heat press, the blowing agent releases gas and causes the vinyl to expand upward. The raised, bumpy surface it creates is the puff effect.
Before pressing, puff vinyl looks and handles like standard HTV. It is thin, flexible, and cuts cleanly on a Cricut or Silhouette. The 3D effect only appears after heat is applied. Once pressed and cooled, the design stays raised and holds its texture through washing if the correct care instructions are followed.
It works on 100% cotton, uncoated polyester, and cotton-polyester blends. TeckWrap Craft offers it in standard colors as well as Glitter, Neon Glitter, and Glow in the Dark versions.
A shirt or fabric item, preferably 100% cotton for the strongest adhesion
Heat press machine. A heat press is strongly recommended for puff vinyl because it delivers even pressure across the whole design at once. A regular iron often creates inconsistent puffing because it cannot cover the full design in one press.
Cutting machine such as a Cricut Maker, Cricut Explore Air 2, or Silhouette Cameo
Standard grip cutting mat with a grid for accurate sizing and placement
Lint roller to remove fuzz from the shirt before pressing
Parchment paper or Teflon sheet for pre-pressing the shirt before placing the design
A brayer or squeegee to help the puff vinyl sit flat on the cutting mat before loading
Why a Heat Press Works Better Than an Iron for Puff Vinyl
Puff vinyl needs firm, even pressure applied across the entire design at the same moment. A household iron has to be moved around the design, which creates uneven puffing. If you must use an iron, press each section firmly without moving it, but a heat press gives far more consistent results.
How Puff Vinyl Differs From Regular HTV
Puff vinyl has several differences from standard HTV that are worth knowing before you start. Getting these wrong is the most common reason for failed puff projects.
Feature
Regular HTV
Puff HTV
Mat orientation
Shiny side DOWN on the mat
Shiny side UP on the mat
Peel timing
Warm or cool peel depending on type
Hot peel, immediately after pressing
Number of presses
Can be re-pressed if needed
One press only. A second press flattens the effect permanently.
Pressure needed
Firm pressure
Very firm pressure. More than regular HTV.
Teflon sheet during pressing
Recommended
Not recommended for the main press. Puff vinyl needs direct contact with the platen to rise fully.
Design complexity
Works with fine details
Bold, simple designs only. Fine details fill in when the vinyl puffs.
Layering
Can be layered up to 4 times
Always the top layer. Nothing can be pressed on top of puff vinyl.
Step by Step: How to Apply Puff Vinyl to a Shirt
Applying Puff Vinyl: Full Process
Total Time25 to 40 minutes
DifficultyModerate
Best ForCotton, polyester, and blends
1
Select and set up your design. Open Cricut Design Space or Silhouette Studio and create or choose a design. Adjust the dimensions to fit the placement area on the shirt. Choose bold, simple shapes and text. Fine details and small gaps between letters tend to close up when the vinyl expands, so keep everything clean and open. Before sending to cut, flip the design horizontally. This mirror step is required for all HTV including puff vinyl. For the material setting, select Holographic Vinyl in your cutting machine software and set pressure to 180 to 185 for the Cricut Maker.
2
Place puff vinyl on the mat and cut. Cut a piece of puff vinyl slightly larger than your design on all sides. Place it on the cutting mat with the shiny side facing UP. This is the most important difference between puff vinyl and regular HTV. The dull, matte backing faces down against the mat. Use a brayer or squeegee to smooth it flat so it sits evenly. Load the mat and run a test cut on a small piece first to confirm your blade settings are correct before cutting the full design.
3
Weed the design. Remove the excess vinyl from around and inside the design using a weeding tool. Work through the larger areas first by hand, then use the weeder or weeding pen for smaller pieces. Keep a reference printout of the design nearby so you can tell exactly which pieces to remove. Hold the weeded design up to the light to check for any small missed pieces, especially inside letters.
4
Prepare and pre-press the shirt. Pre-wash the shirt without bleach or fabric softener and let it dry completely. Apply a lint roller to the shirt to remove any fuzz or dust from the surface, since even small debris under the vinyl can cause uneven adhesion. Place the shirt on your heat press and pre-press it for 30 to 40 seconds to drive out all remaining moisture and smooth out wrinkles. Pre-pressing is especially important with puff vinyl because any moisture in the fabric can interfere with the puffing process.
5
Position and press the design. Place the weeded design on the shirt in your chosen position, with the carrier sheet facing up. Check alignment carefully before pressing since the design cannot be moved once heat is applied. Do not place a Teflon sheet over the design for this press. The direct contact between the heat platen and the carrier sheet helps the vinyl puff fully. Press at 300 to 320 degrees F for 10 to 15 seconds with very firm pressure. See the press settings table below for machine-specific guidance.
6
Peel the carrier sheet while still hot. Lift the heat press and immediately peel the carrier sheet back while the vinyl is still hot. Puff vinyl is a hot peel material. Waiting for it to cool before peeling can restrict the vinyl from rising fully. Peel slowly at a low angle. The design should be visibly raised as you peel. Do not re-press once the carrier sheet is removed.
Helpful Tip: Press on a hard, heat-resistant surface like a wooden cutting board rather than a padded pressing mat. A firm surface gives the vinyl more resistance to push against, which produces a more pronounced puff effect.
Cut Settings for Puff Vinyl on Cricut and Silhouette
Puff vinyl is slightly thicker than standard HTV because of the blowing agent layer inside it. These settings work well as a starting point for TeckWrap Craft Puff Heat Transfer Vinyl. Always use a fine point blade and run a test cut before cutting the full design.
Machine
Material Setting
Blade / Pressure
Notes
Silhouette Cameo 4
Vinyl, Heat Transfer
Blade 3, Speed 5, Pressure 15
Fine point blade. Always test cut first.
Cricut Maker
Holographic Vinyl
Pressure 180 to 185
Fine point blade. Shiny side up on mat.
Cricut Explore Air 2
Iron On / Vinyl+
Pressure 230
Fine point blade. Slightly deeper cut than standard HTV.
Heat Press Temperature and Time Settings
The general range for TeckWrap Craft puff vinyl is 300 to 320 degrees F (149 to 160 degrees C) for 10 to 15 seconds with very firm pressure. Specific machine settings below.
Press Type
Temperature
Time
Pressure
Standard heat press
300 to 320 F (149 to 160 C)
10 to 15 seconds
Very firm
Cricut EasyPress
305 F (152 C)
10 seconds
Very firm with both hands
Cricut Autopress
300 F (149 C)
10 seconds
High pressure setting
Household iron
Cotton setting, no steam
15 to 20 seconds per section
Not recommended. Inconsistent puffing is common. Use a heat press where possible.
Important Warning
Press puff vinyl only once. Applying heat a second time will flatten the raised effect and it cannot be restored. If the design has multiple colors, trim your layers so every piece can be pressed at the same time in a single press.
Design Tips for Getting the Best Puff Effect
Puff vinyl rewards simple, bold designs. The material physically expands after pressing, which changes the look of anything small or detailed. Keep these things in mind when designing.
Use bold shapes and thick lettering. Thin text and fine details tend to blur or close up when the vinyl rises. Bold fonts and solid shapes hold their form much better.
Leave space between design elements. Elements that sit close together can merge when the vinyl puffs. Give each part of the design a little breathing room.
Avoid small holes inside letters. The interior spaces of letters like O, B, D, and A can shrink or disappear entirely when the vinyl expands. Confirm your design looks clear even if those spaces were reduced.
Size the design generously. Because the vinyl expands slightly in all directions, a design that looks perfectly sized on screen may feel slightly bigger once pressed. Factor this in when sizing.
Keep designs to a single press size. Puff vinyl should be pressed once in one go. Designs larger than your heat platen are harder to manage.
Use puff vinyl as the only or final layer. Regular HTV underneath puff vinyl is fine. Nothing goes on top once the puff vinyl is pressed.
Common Puff Vinyl Problems and How to Fix Them
The Problem
Why It Happens
How to Fix It
Vinyl is not puffing at all
Temperature too low, press time too short, or pressure not firm enough.
Increase temperature toward 315 to 320 F and make sure you are pressing with very firm pressure for the full 10 to 15 seconds.
Puff vinyl is wrinkling or creasing
Temperature too high, or the fabric moved during pressing.
Lower the temperature slightly. Make sure the shirt is flat and the design is in place before the press comes down.
Design is flat after a second press
Puff vinyl was pressed twice. The blowing agent is one-use only.
Nothing can restore puff that has been flattened by a second press. The design needs to be replaced. Plan multi-color designs so all pieces can be pressed at once.
Puffing is uneven across the design
Uneven pressure, or using an iron that had to be moved around the design.
Use a heat press that covers the whole design in one go. Press on a hard surface, not a padded mat.
Edges are lifting after pressing
Not enough pressure at the edges, or the shirt had moisture in it.
Pre-press the shirt for longer before applying the design. Press firmly all the way to the edges of the design.
Vinyl not cutting cleanly
Blade pressure too low or blade is worn. Mat not holding the vinyl flat.
Increase blade pressure by 5 to 10 units and run another test cut. Use a brayer to flatten the vinyl against the mat before loading.
Washing and Care Instructions for Puff Vinyl Designs
The puff effect holds up well with proper care. Rough handling or high heat in the wash will flatten the texture over time. Follow these steps to keep the design looking raised and sharp.
Wait at least 24 hours after pressing before the first wash. The adhesive needs time to cure fully.
Turn the garment inside out before washing to protect the design from friction.
Wash in cold water on a gentle cycle. Hot water speeds up adhesive breakdown.
Use a mild detergent and skip the fabric softener. Fabric softener leaves a residue that weakens the adhesive bond over time.
Air dry the garment. Tumble drying on high heat can flatten the puff texture.
Never iron directly over the puff vinyl design. If you need to press the garment, turn it inside out and iron the reverse side only.
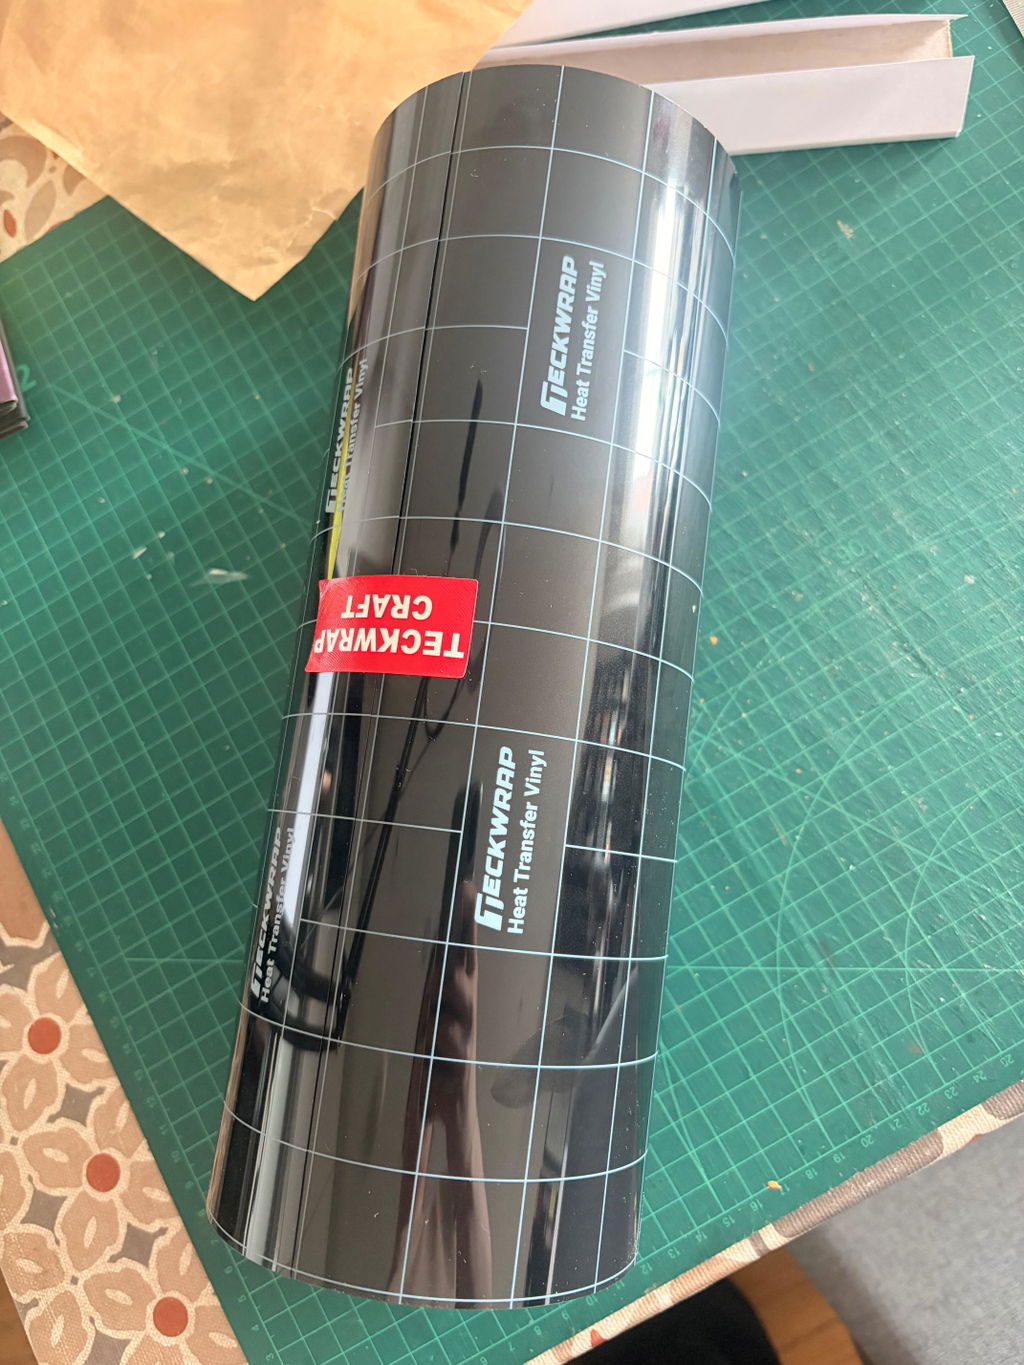
Store puff vinyl rolls in a cool, dry place before use to prevent warping or pre-activation of the blowing agent.
Puff Vinyl Variants Available at TeckWrap Craft
TeckWrap Craft carries puff vinyl in four versions. Each one shares the same application process and cut settings. The difference is the finish on the surface.
Standard Puff HTV
Clean, solid colors with a smooth raised surface. The most versatile option for shirts, hoodies, and bags. Available in a range of colors.
Absorbs light during the day and glows in the dark, with the puff texture on top. Ideal for Halloween, events, and kids clothing that needs to stand out.
The shiny side faces UP on the cutting mat. This is different from most other HTV types, where the shiny side goes down. With puff vinyl, the dull matte backing faces down against the mat and the shiny colored surface faces up toward you.
Puff vinyl contains a heat-sensitive blowing agent inside the vinyl layer. When heat and pressure are applied, the blowing agent releases gas and causes the vinyl to expand upward. This creates the raised, three-dimensional texture. The effect is permanent once the vinyl cools, and the blowing agent is one-use only.
Yes. Always flip the design horizontally before sending it to the cutting machine. Puff vinyl is heat transfer vinyl, so the mirroring rule applies just like any other HTV type. If you skip this step, text and asymmetric designs will press on backwards.
Wrinkling is usually caused by overheating or a shirt surface that was not flat. If the vinyl is not puffing at all, the temperature is too low or the pressure is too light. Make sure the shirt is pre-pressed to remove all moisture, work on a hard firm surface, press at 300 to 320 F, and use very firm pressure for the full press time.
No. Press puff vinyl once only. The blowing agent is one-use and applying heat a second time will flatten the raised texture permanently. Plan multi-color designs so all pieces can be cut and pressed at the same time in a single press.
Yes, but puff vinyl must always be the top and final layer. You can press regular HTV onto the shirt first, let it cool, then press the puff vinyl on top. Nothing can be pressed on top of puff vinyl after it has been applied without flattening the puff effect.
100% cotton, uncoated polyester, and cotton-polyester blends work well. Cotton gives the strongest adhesion and is the easiest to work with. Avoid nylon and any fabric that is prone to scorching under high heat.
Wait at least 24 hours after pressing before the first wash. Turn the shirt inside out, wash in cold water on a gentle cycle, and air dry. Avoid bleach, fabric softener, and high heat in the dryer. Never iron directly over the design.
Start Your First Puff Vinyl Project
Puff vinyl is one of those materials that gets easier once you know the handful of things that make it different from regular HTV. Place it shiny side up, press once with very firm pressure, and peel while it is still hot. Everything else works the same as standard heat transfer vinyl. The results are worth it and the 3D texture stands out immediately.
TeckWrap Craft carries puff HTV in standard colors as well as Glitter, Neon Glitter, and Glow in the Dark variants. Browse the collection and pick the finish that fits your next project.
Ready to try puff vinyl? Shop the full TeckWrap Craft puff HTV collection.